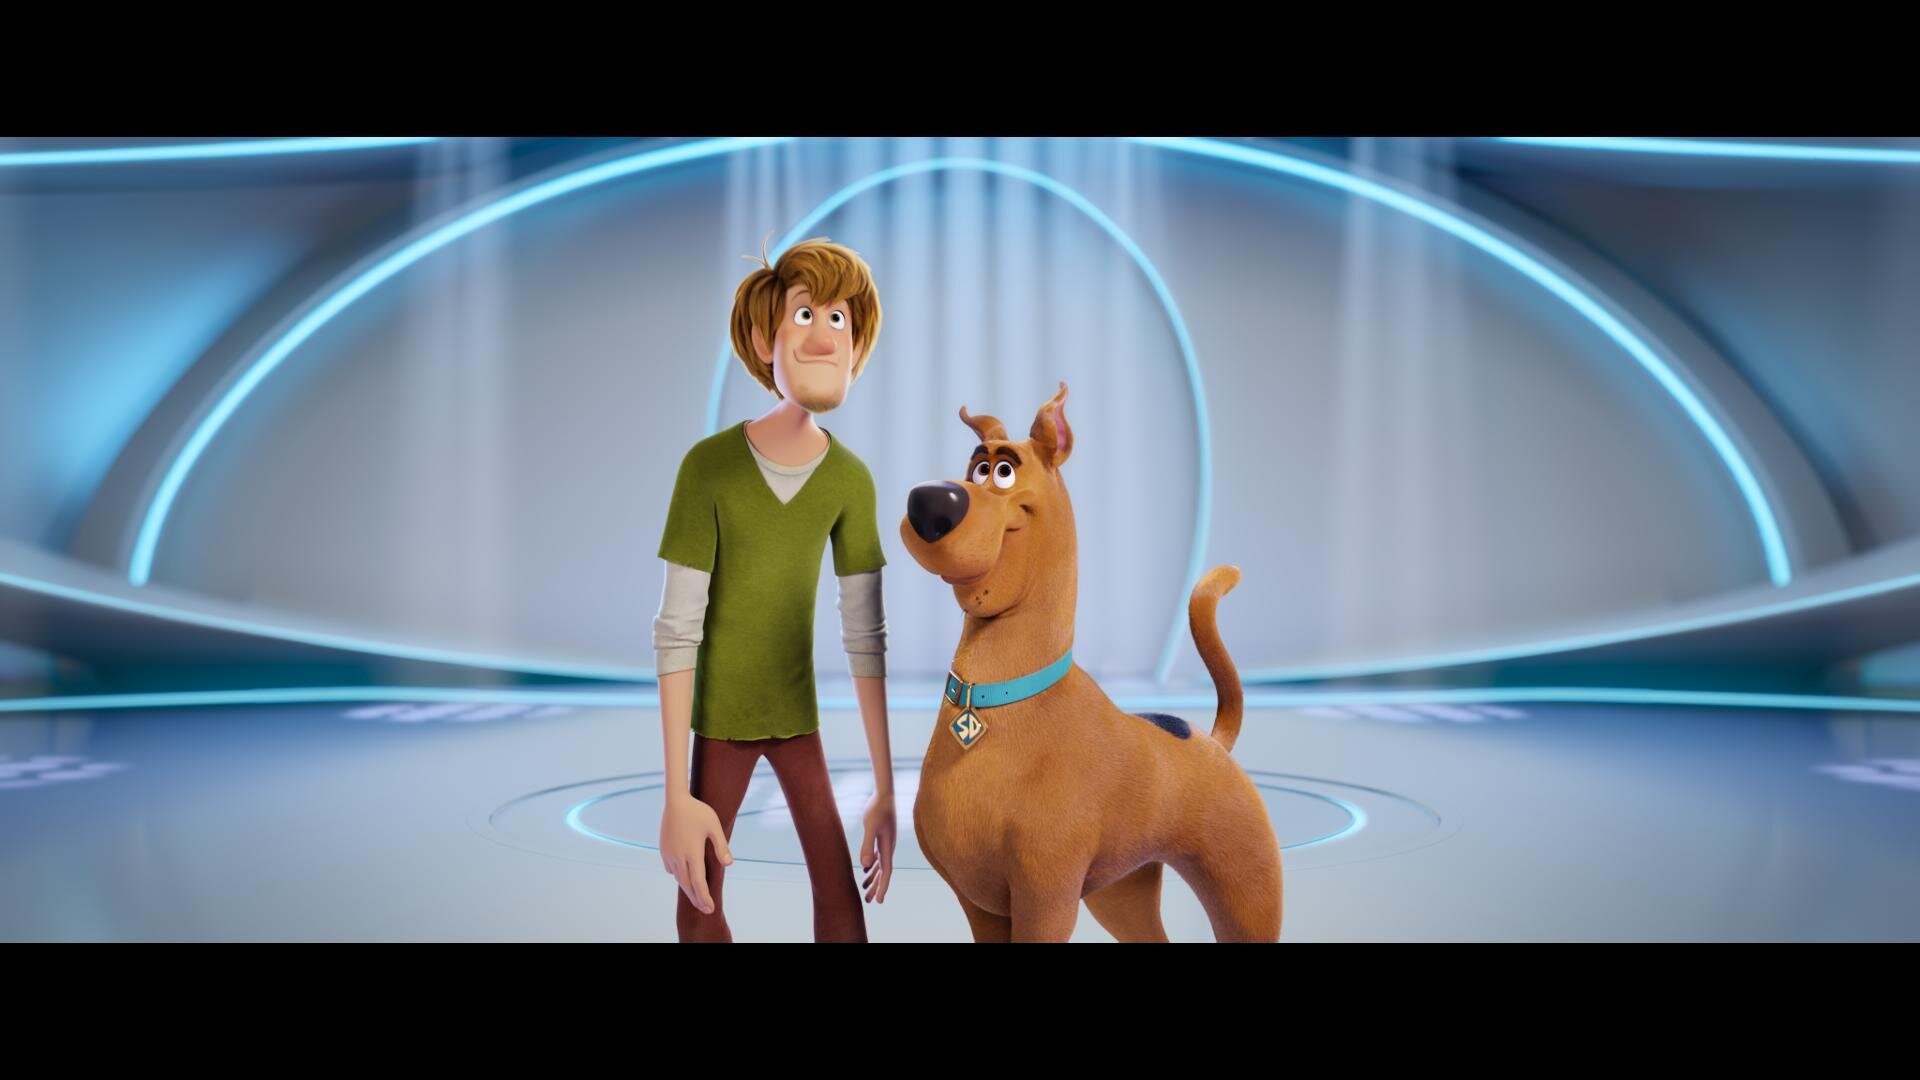
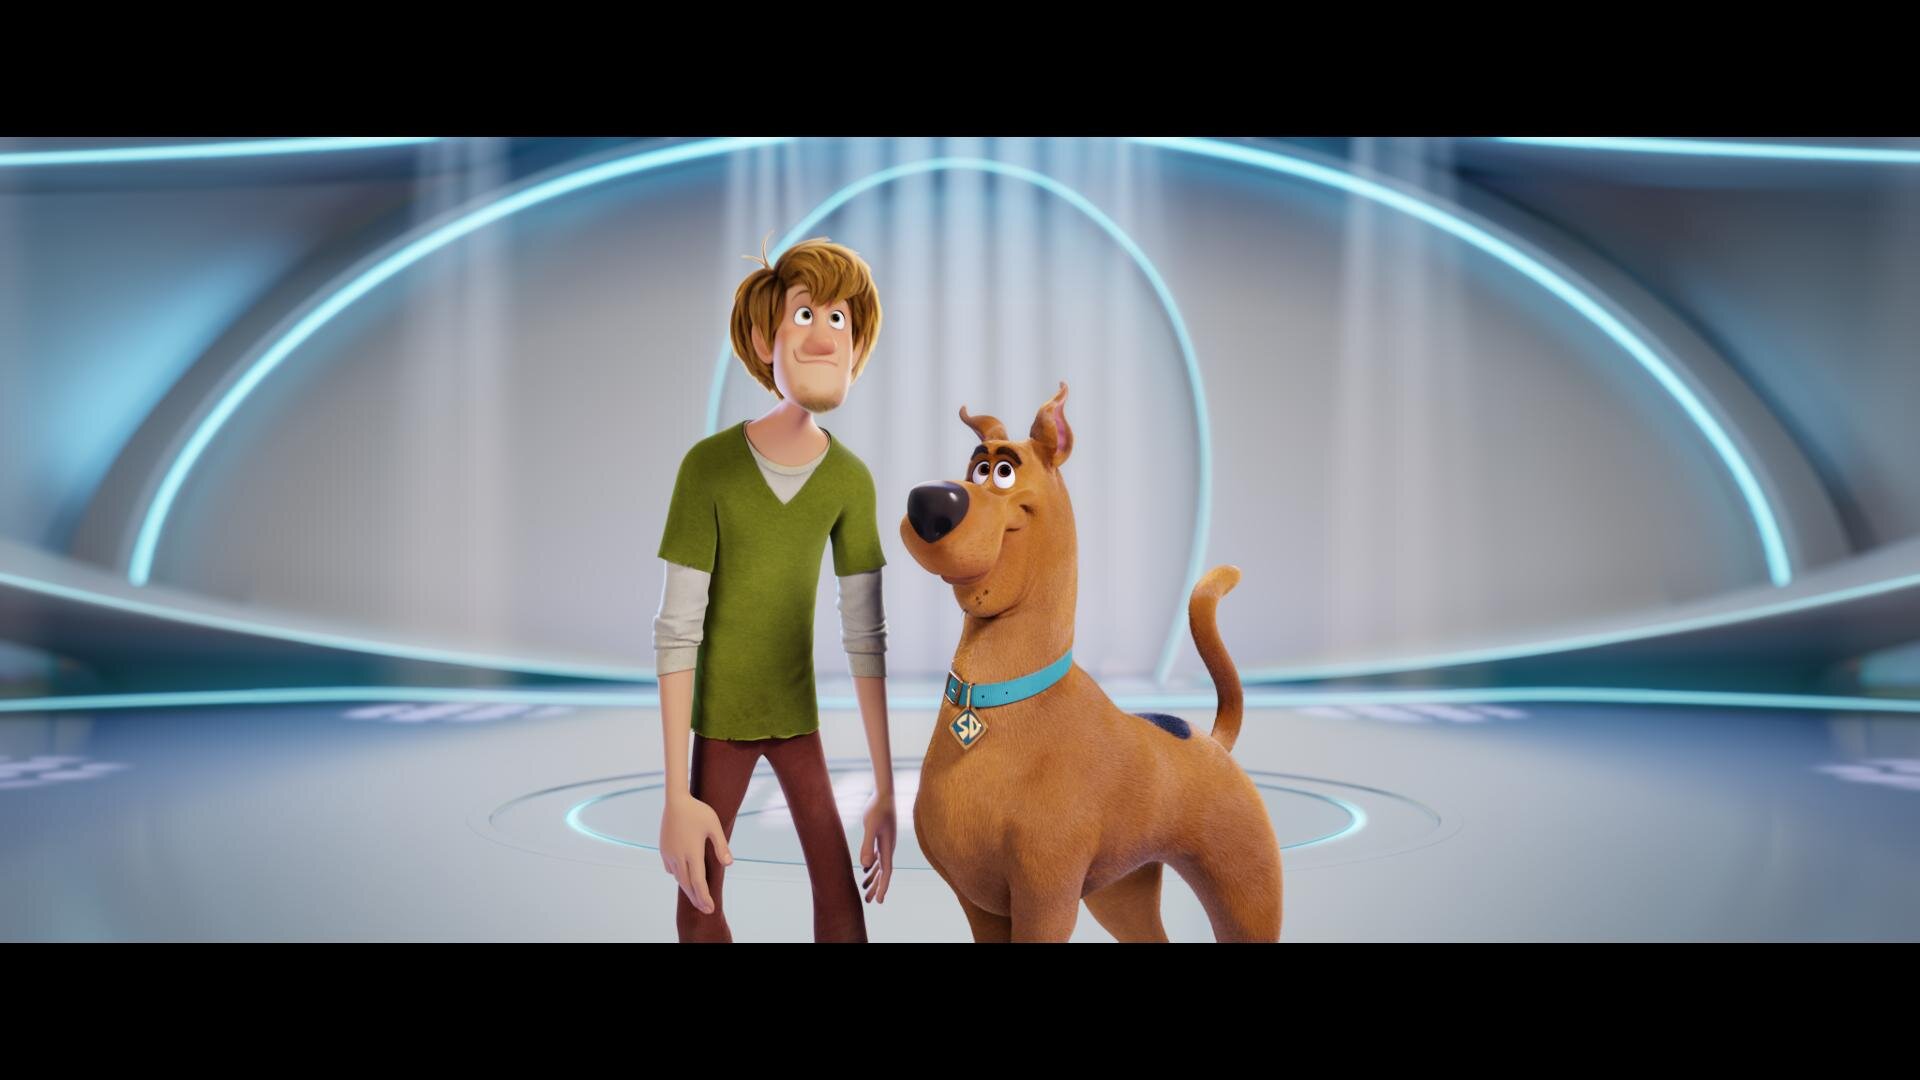
“Scoob!” is out today. Check out my work on the latest Warner Animation title. Here are some highlights and examples of how we pushed the envelope of what is possible in color today.

Building the Look
ReelFX was the animation house tasked with bringing “Scoob!” from the boards to the screen. I had previously worked with them on “Rock Dog” so there was a bit of a shorthand already in place. I already had a working understanding of their pipeline and the capabilities of their team. When I came on-board, production was quite far along with the show look. Michael Kurinsky (Production Designer) had already been iterating through versions addressing lighting notes from Tony Cervone (Director) through a LUT that ReelFX had created. This was different from “Smallfoot” where I had been brought on during lighting and helped in the general look creation from a much earlier stage. The color pipeline for “Scoob!” was Linear Arri Wide Gamut EXR files -> Log C Wide Gamut working space ->Show LUT -> sRGB/709. Luckily for me, I would have recommended something very similar. One challenge was the LUT was only a forward transform with no inverse and only built for rec.709 primaries. We needed to recreate this look targeting P3 2.6 and ultimately rec.2020 PQ.
Transform Generation
Those of you that know me, know that I kind of hate LUTs. My preference is to use curves and functional math whenever possible. This is heavier on the GPUs but with today’s crop of ultra-fast processing cards, it hardly matters. So, my first step was to take ReelFX’s LUT and match the transform using curves. I went back and forth with Mike Fortner from ReelFX until we had an acceptable match.
My next task was to take our new functional forward transform and build an inverse. This is achieved by finding the delta from a 1.0 slope and multiplying that value by a -1. Inverse transforms are very necessary for today’s deliverable climate. For starters, you will often receive graphics, logos, and titles in display referred spaces such as P3 2.6 or rec.709. The inverse show LUT allows you to place these into your working space.

Curve and it’s inverse function
After the Inverse was built, I started to work on the additional color spaces I would be asked to deliver. This included the various forward transforms to p3 2.6 for theatrical, rec.2020 limited to P3 with a PQ curve for HDR, and rec.709 for web/marketing needs. I took all of these transforms and baked them into a family DRT. This is a feature in Baselight where the software will automatically use the correct transform based on your output. A lot of work up front, but a huge time saver on the back end; plus less margin for error since it is set programmatically.
Trailers First
The first piece that I colored with the team were the trailers. This was great since it afforded us the opportunity to start developing workflows that we would use on the feature.
My friend in the creative marketing world once said to me “I always feel like the trailer is used as the test.” That’s probably because the trailer is the first picture that anybody will see. You need to make sure it’s right before it’s released to the world.
Conform
Conform is one aspect of the project where we blazed new paths. It’s common to have 50 to 60 versions of a shot as it gets ever more refined and polished through the process. This doesn’t just happen in animation. Live-action shows with lots of VFX (read: photo-real animation) go through this same process.
We worked with Filmlight to develop a workflow where the version tracking was automated. In the past, you would need an editor to be re-conforming or hand dropping in shots as new versions came in. On “Scoob!”, a database was queried and the correct shot if available was automatically placed in the timeline. Otherwise, if not available, the machine would use the latest version delivered to keep us grading until the final arrives. This saves a huge amount of time (read: money).
Grading
Coloring for animation
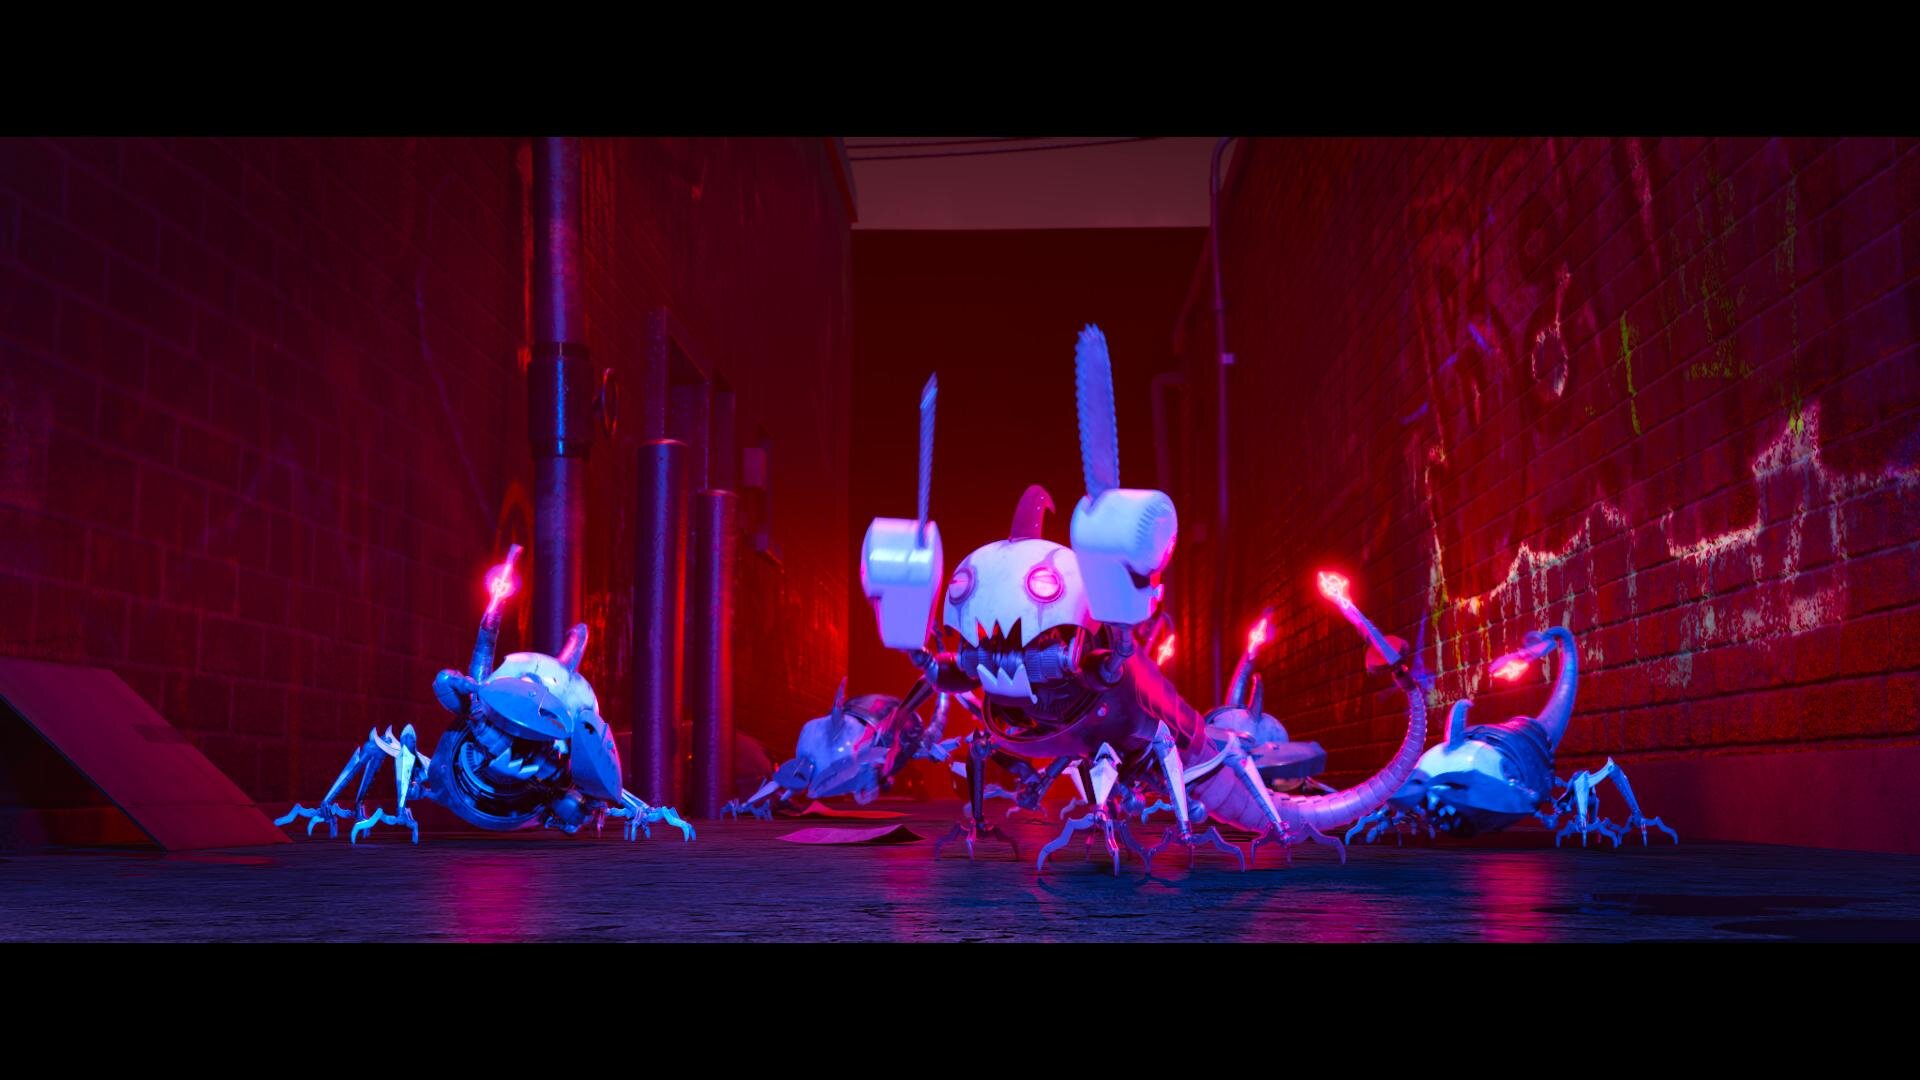
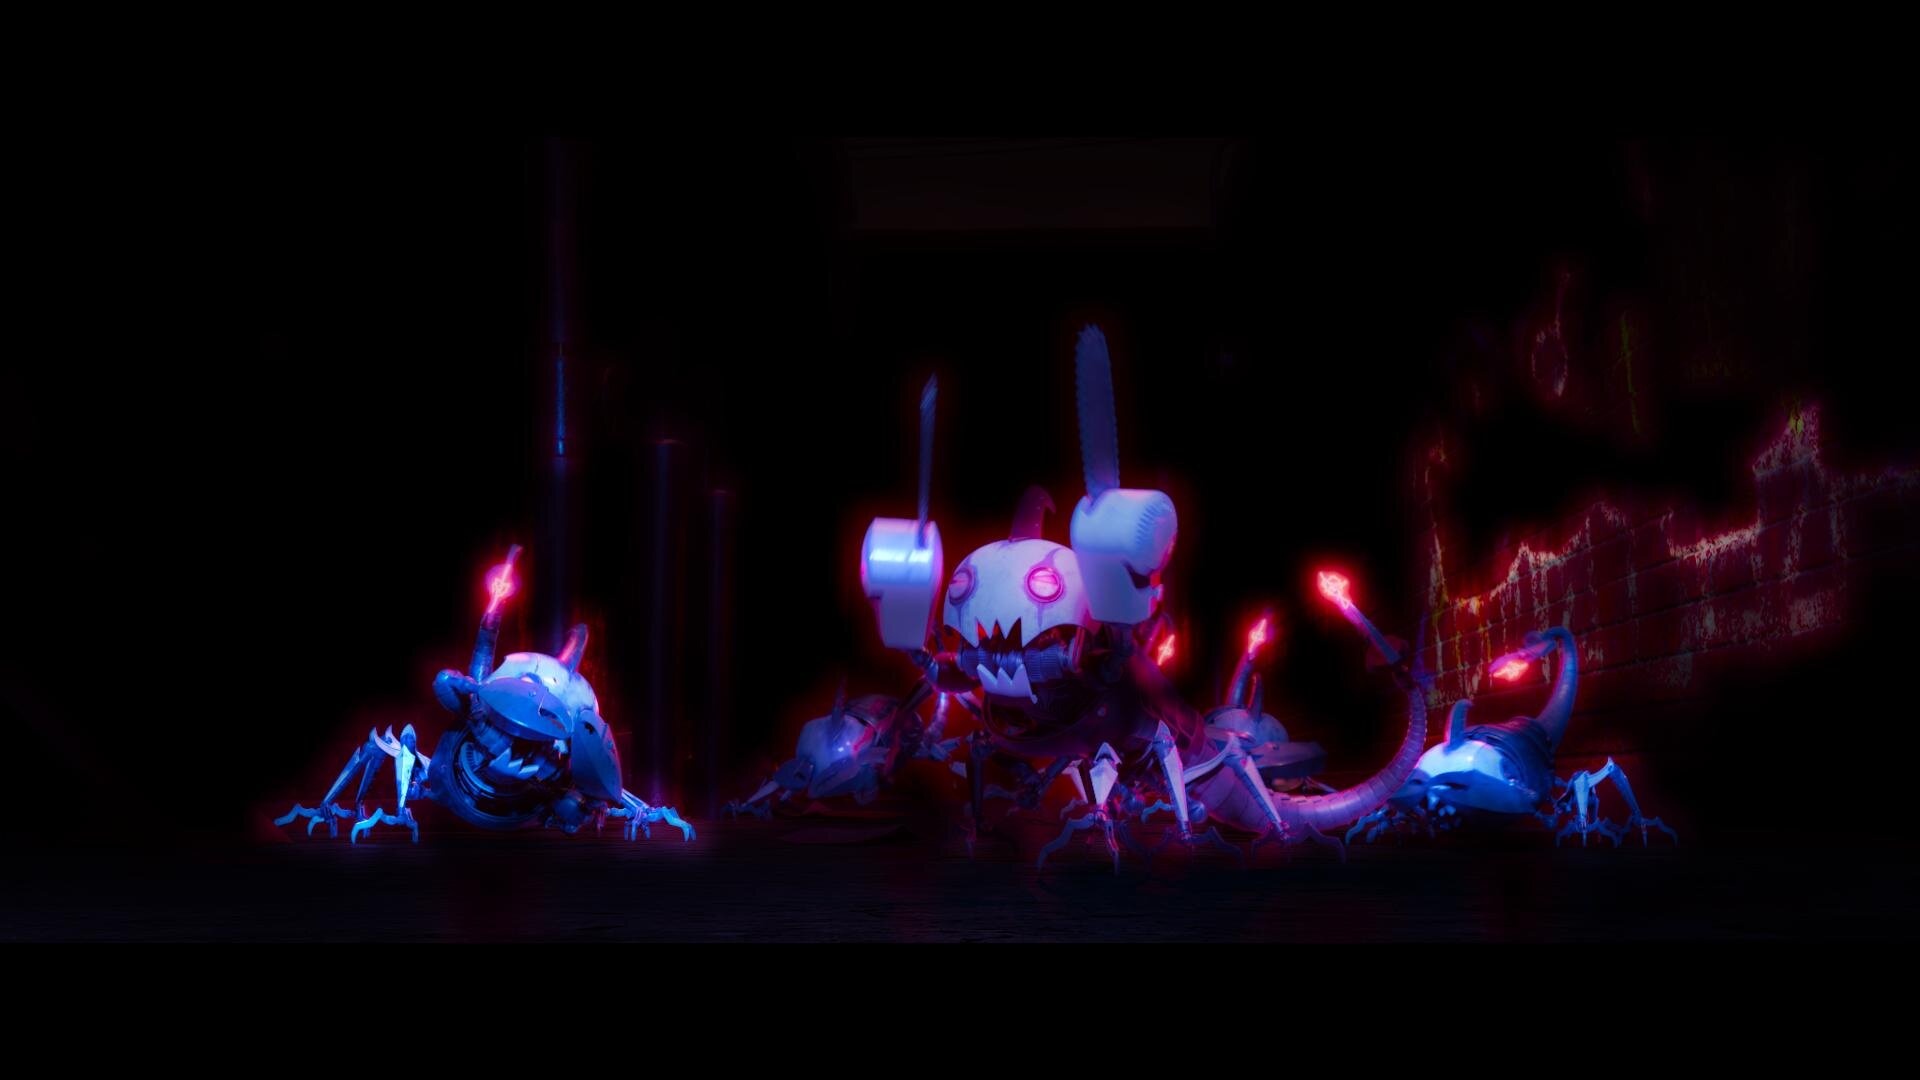
I often hear, “It’s animation… doesn’t it come to you already correct?” Well, yes and no. What we do in the bay for animation shows is color enhancement; not color correction. Often, we are taking what was rendered and getting it that last mile to where the Director, Production Designer, and Art Director envisioned the image to be.
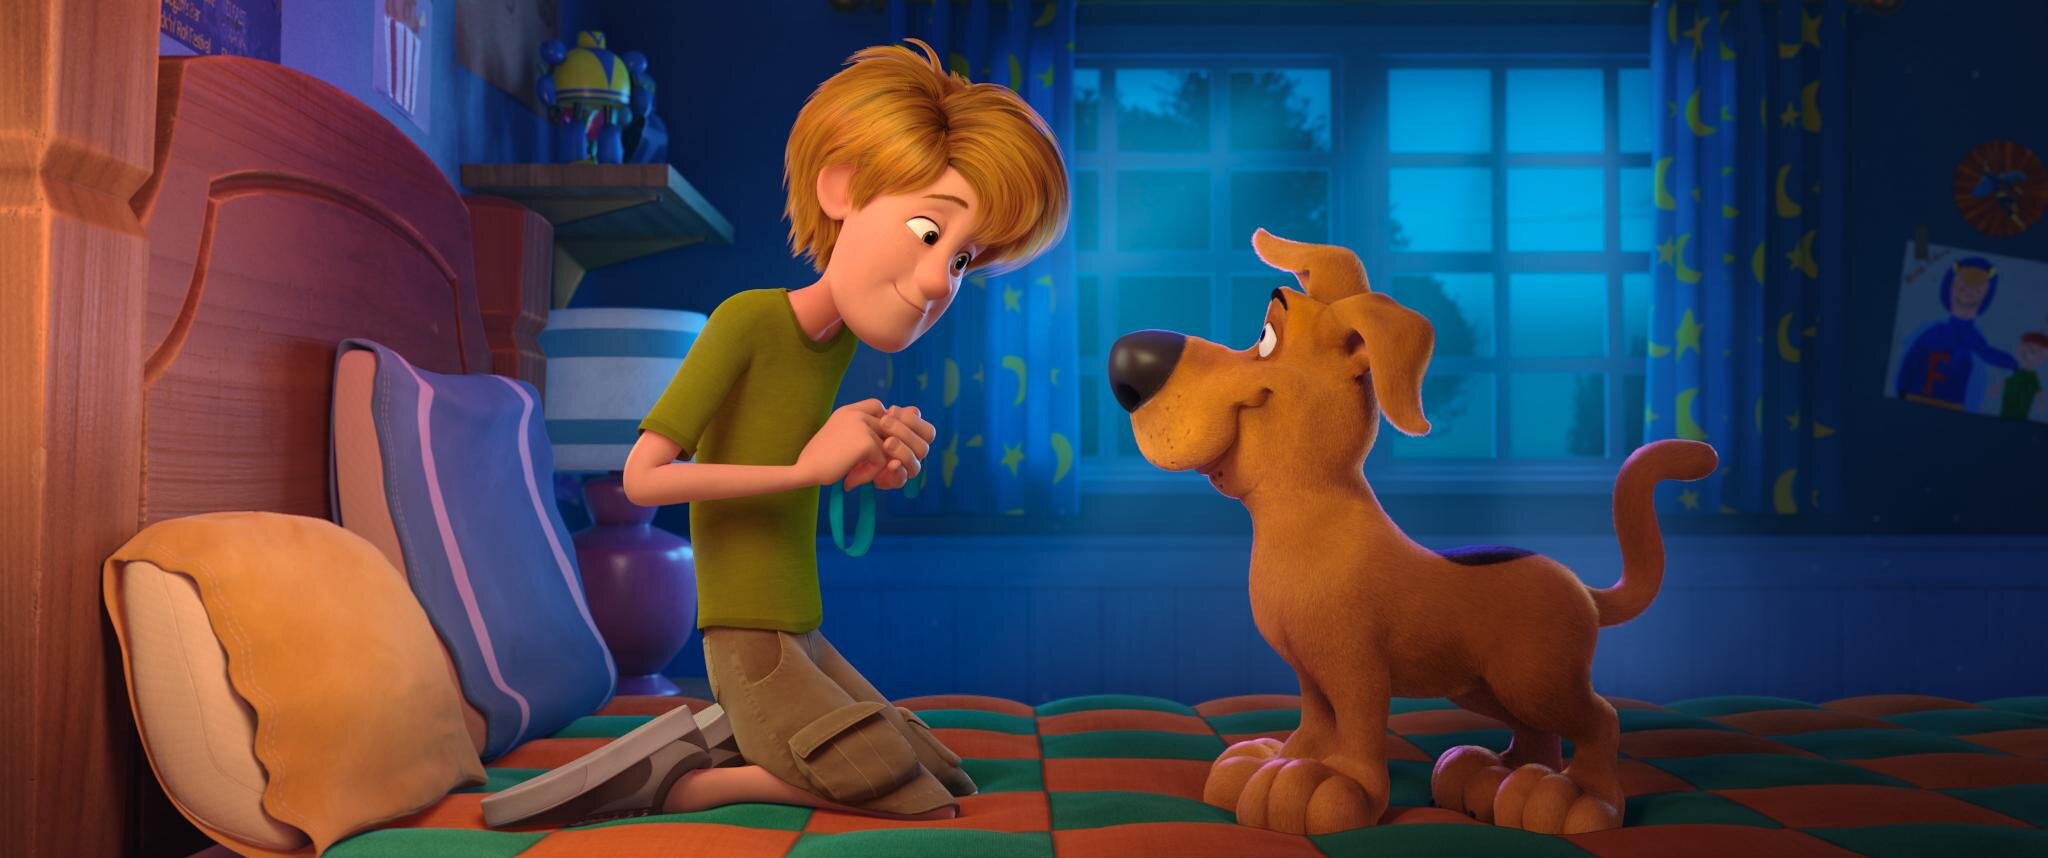
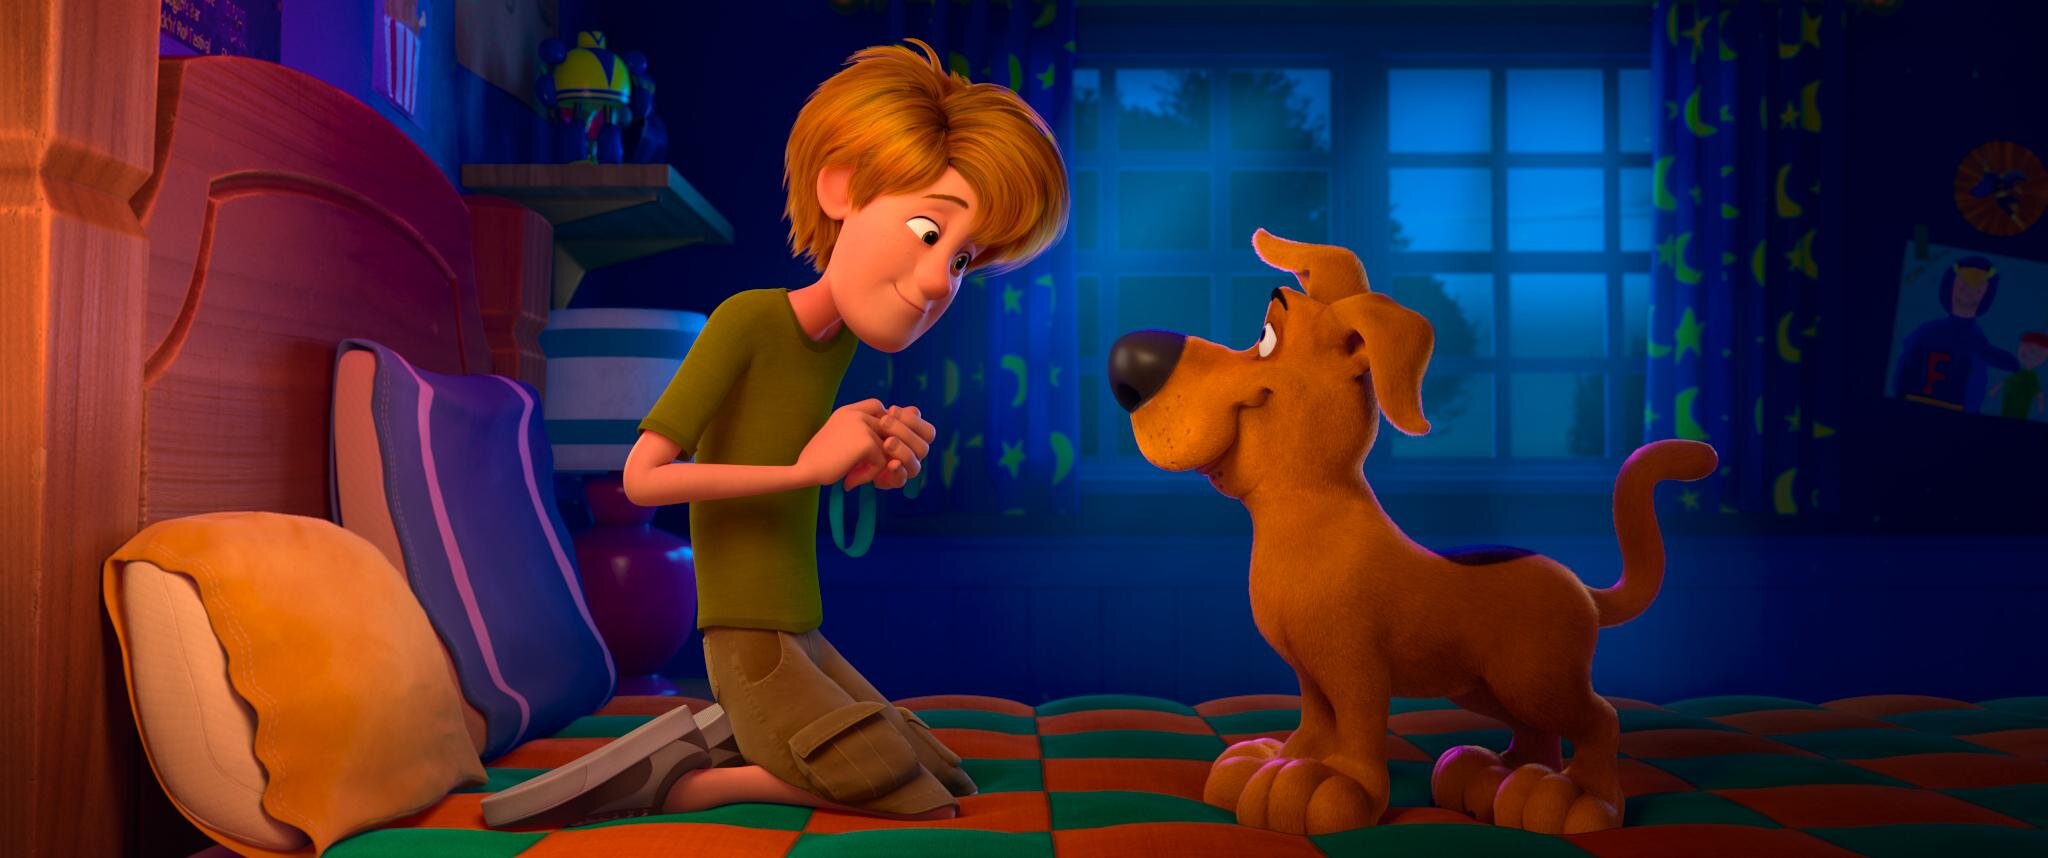
This includes windows and lighting tricks to direct the eye and enhance the story. Also, the use of secondaries to further stretch the distance between two complementary colors, effectively adding more color contrast. Speaking of contrast, it was very important to Tony, that we never were too crunchy. He always wanted to see into the blacks.
These were the primary considerations when coloring “Scoob!” Take what is there and make it work the best it can to promote the story the director is telling. Which takes me to my next tool and technique that was used extensively.
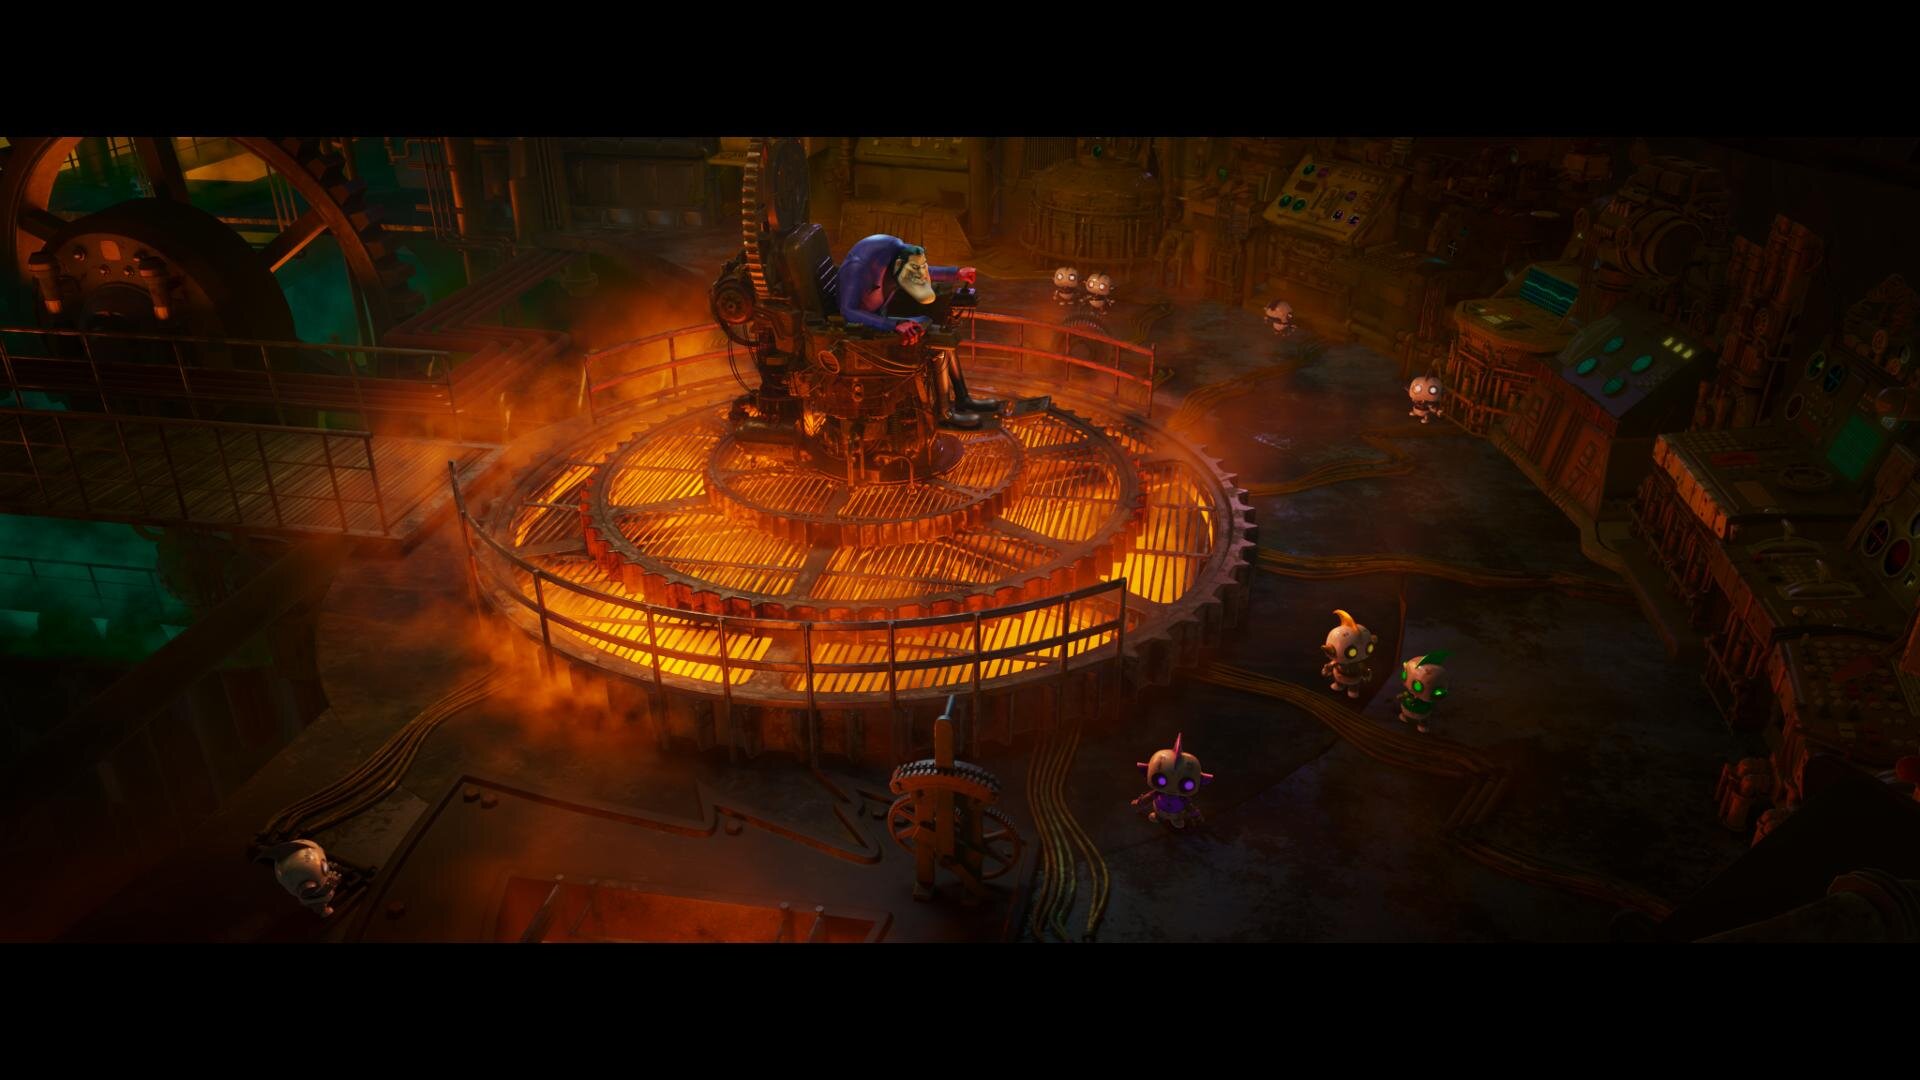
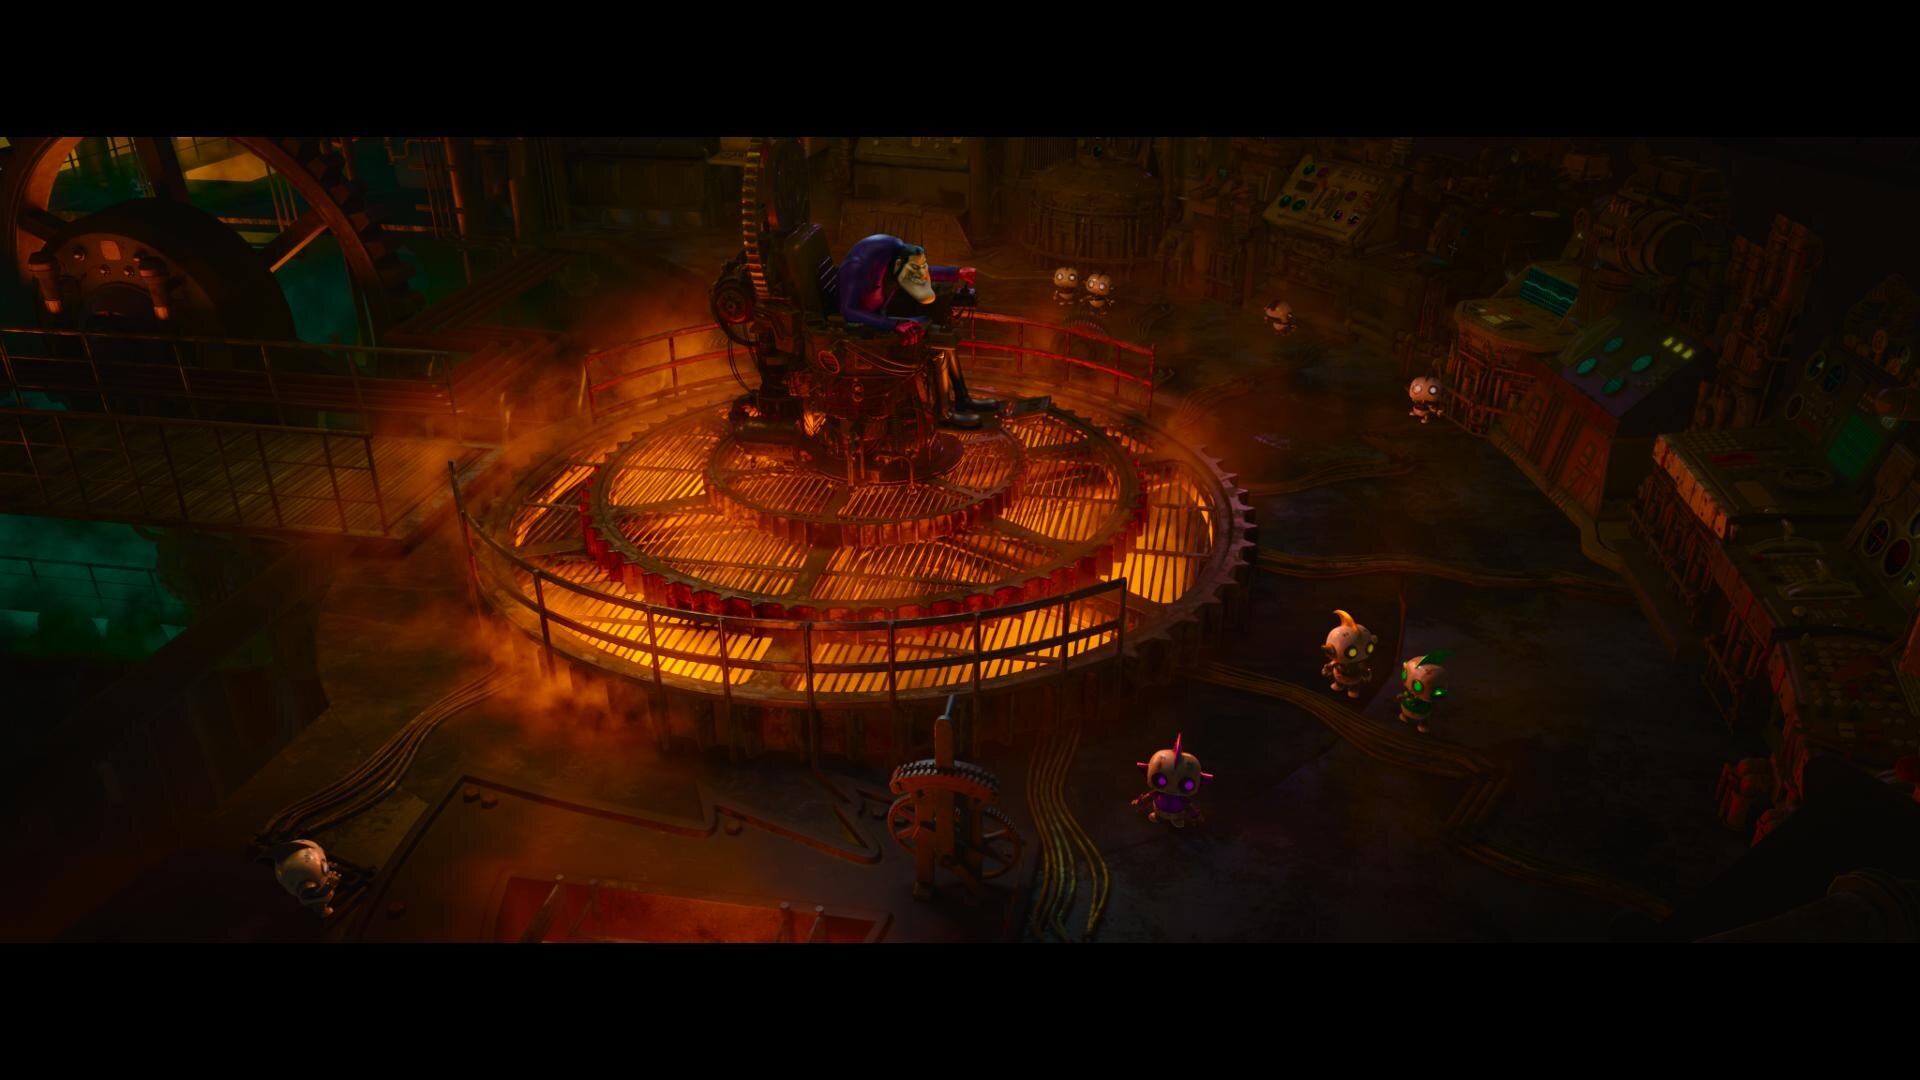
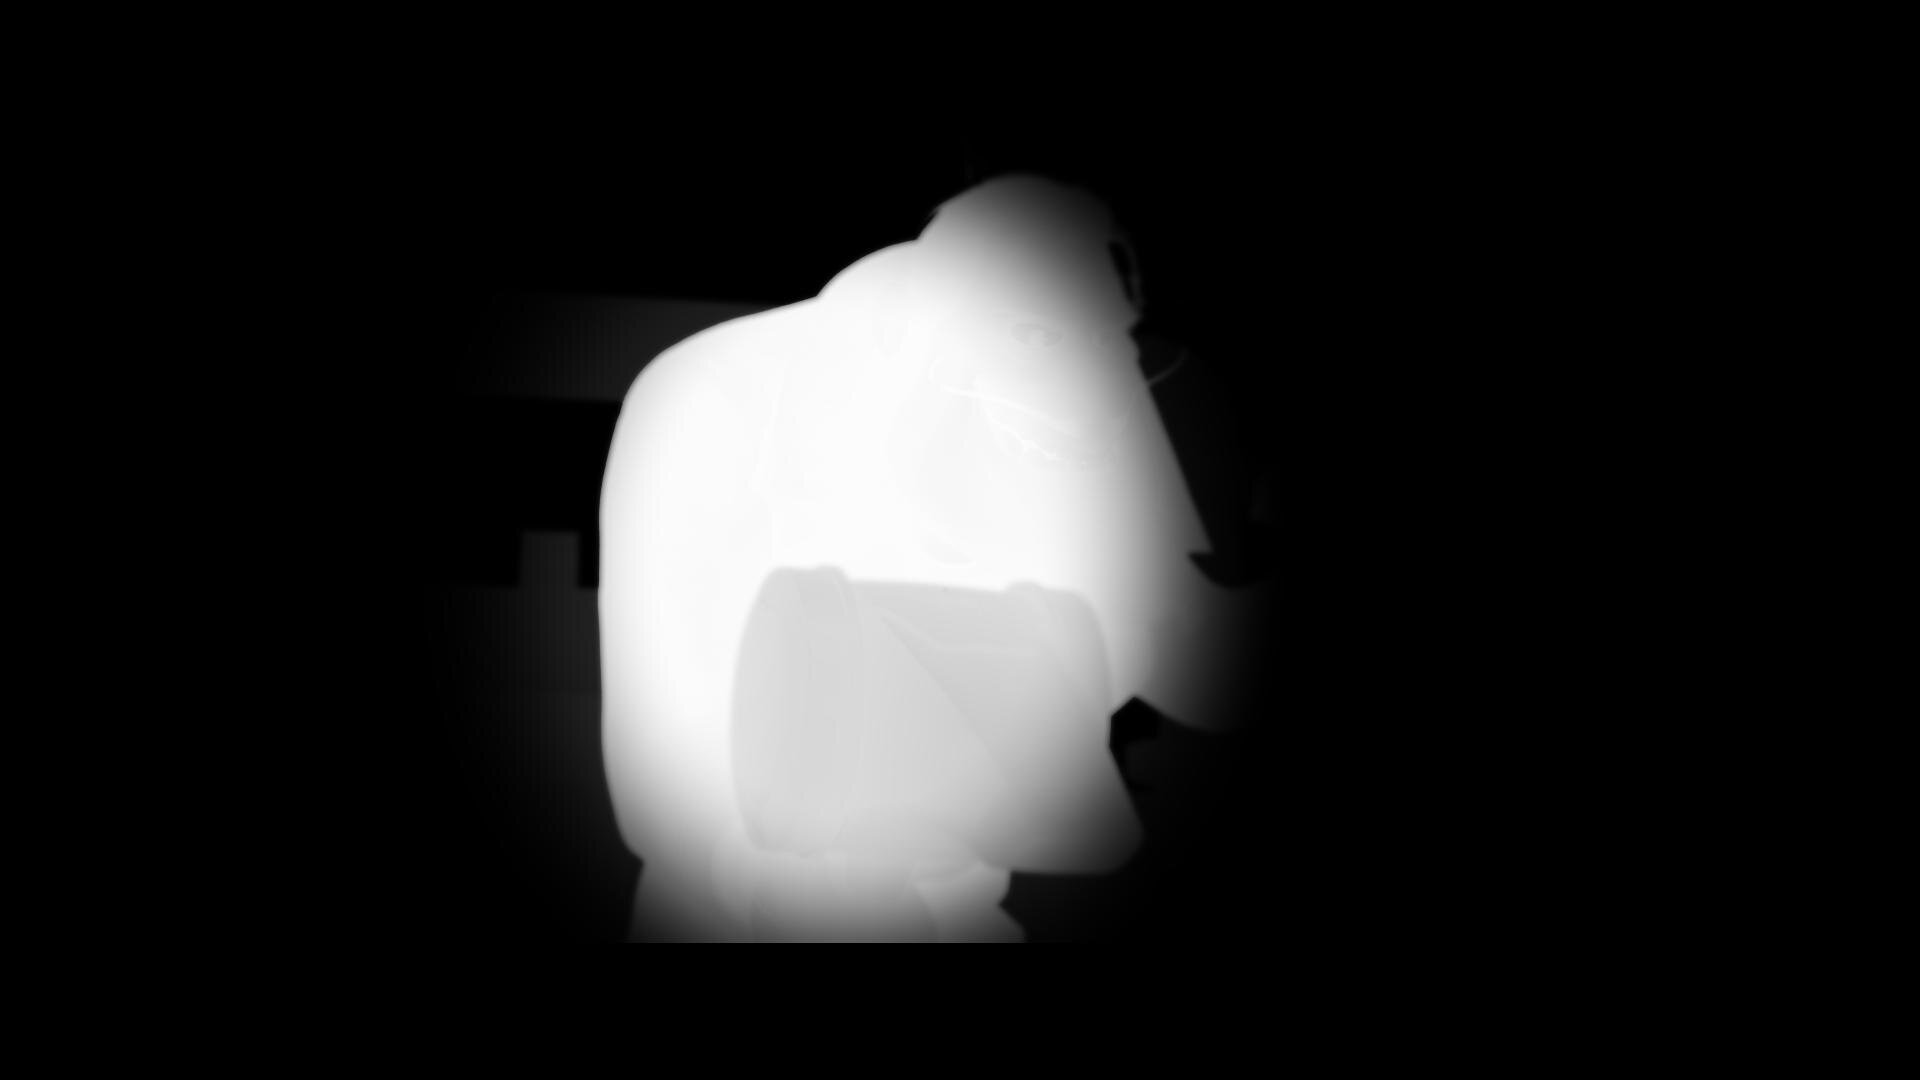
Deep Pixels and Depth Mattes
I’ve always said, if you want to know what we will be doing in color five years from now, look at what VFX is doing today. Five years ago in VFX deep pixels or voxels as they are sometimes referred, was all the rage. Today they are a standard part of any VFX or Animation pipeline. Often they are thrown away because color correctors either couldn’t use them or it was too cumbersome. Filmlight has recently developed tools that allow me to take color grading to a whole other dimension.
A standard pixel has 5 values R,G,B and XY. A Voxel has 6 values RGB and XYZ. Basically for each pixel in a frame, there is another value that describes where it is in space. This allows me to “select” a slice of the image to change or enhance.

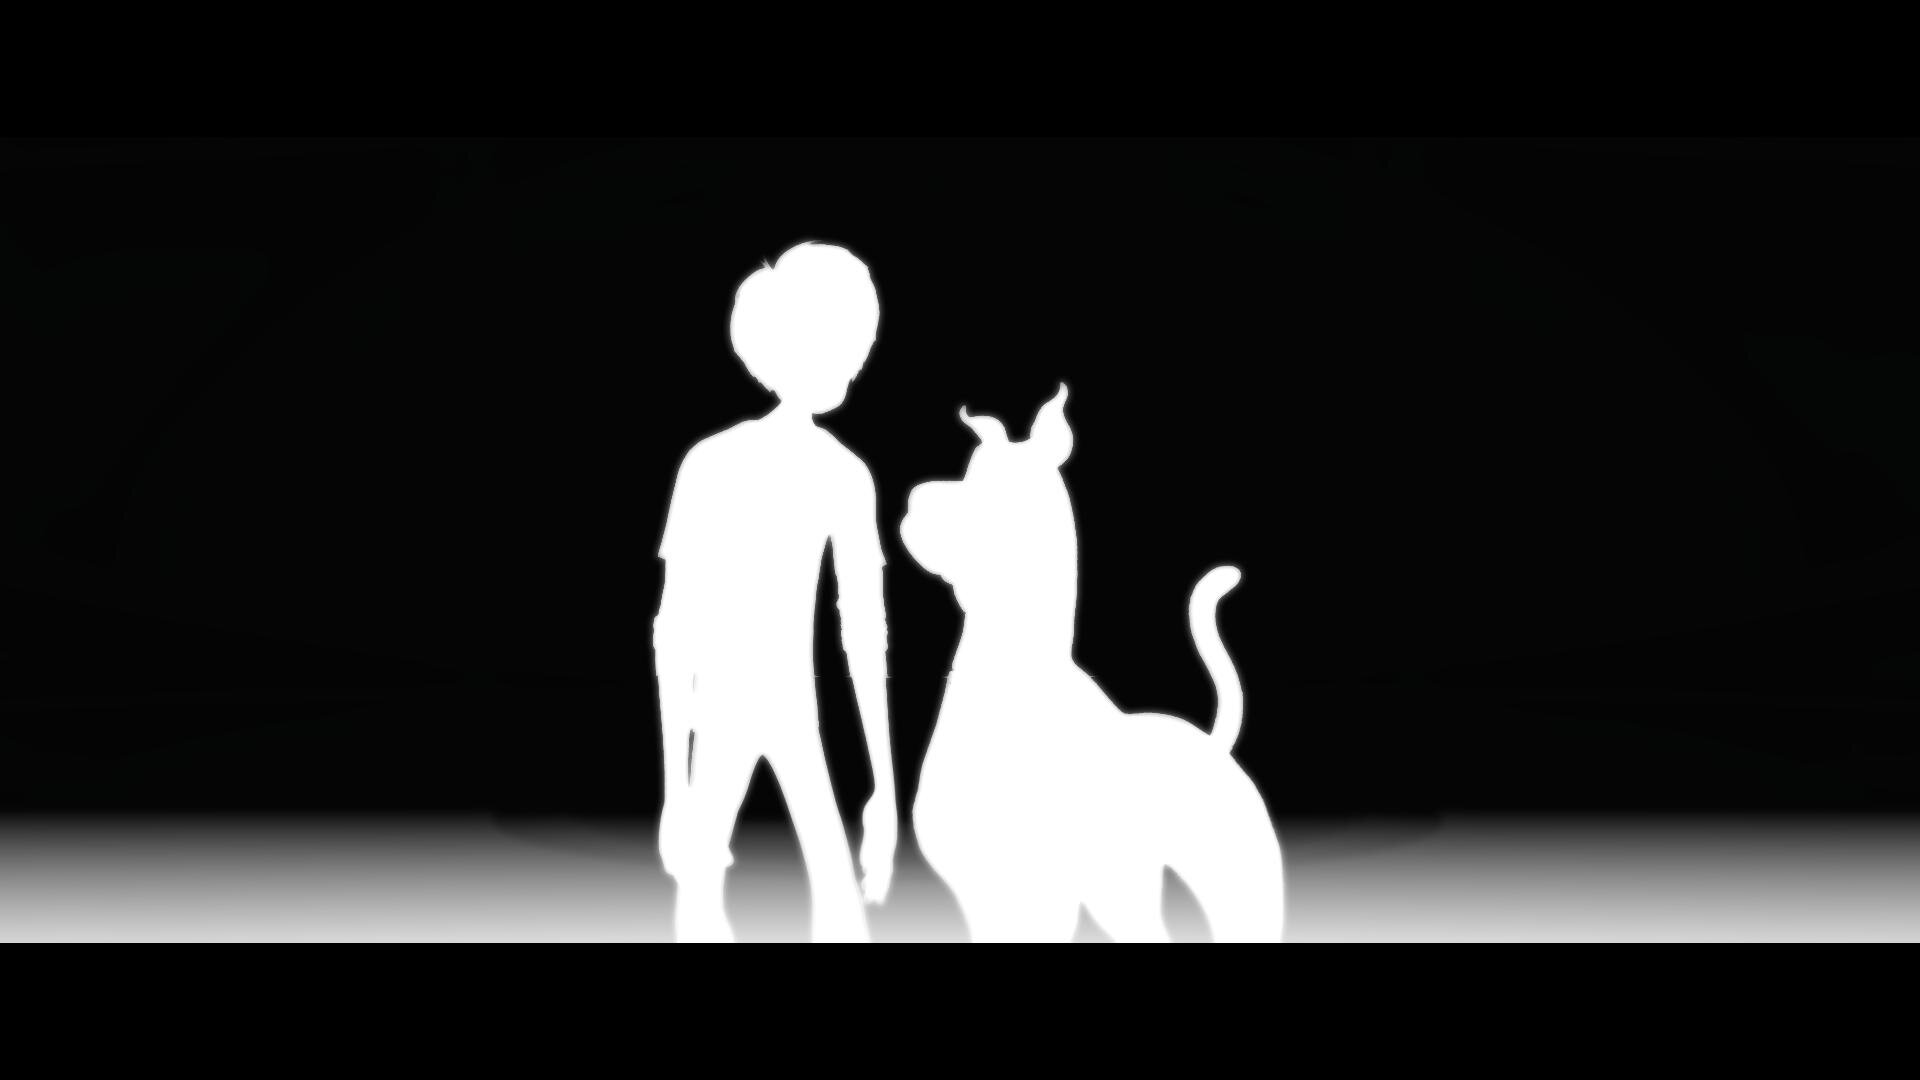

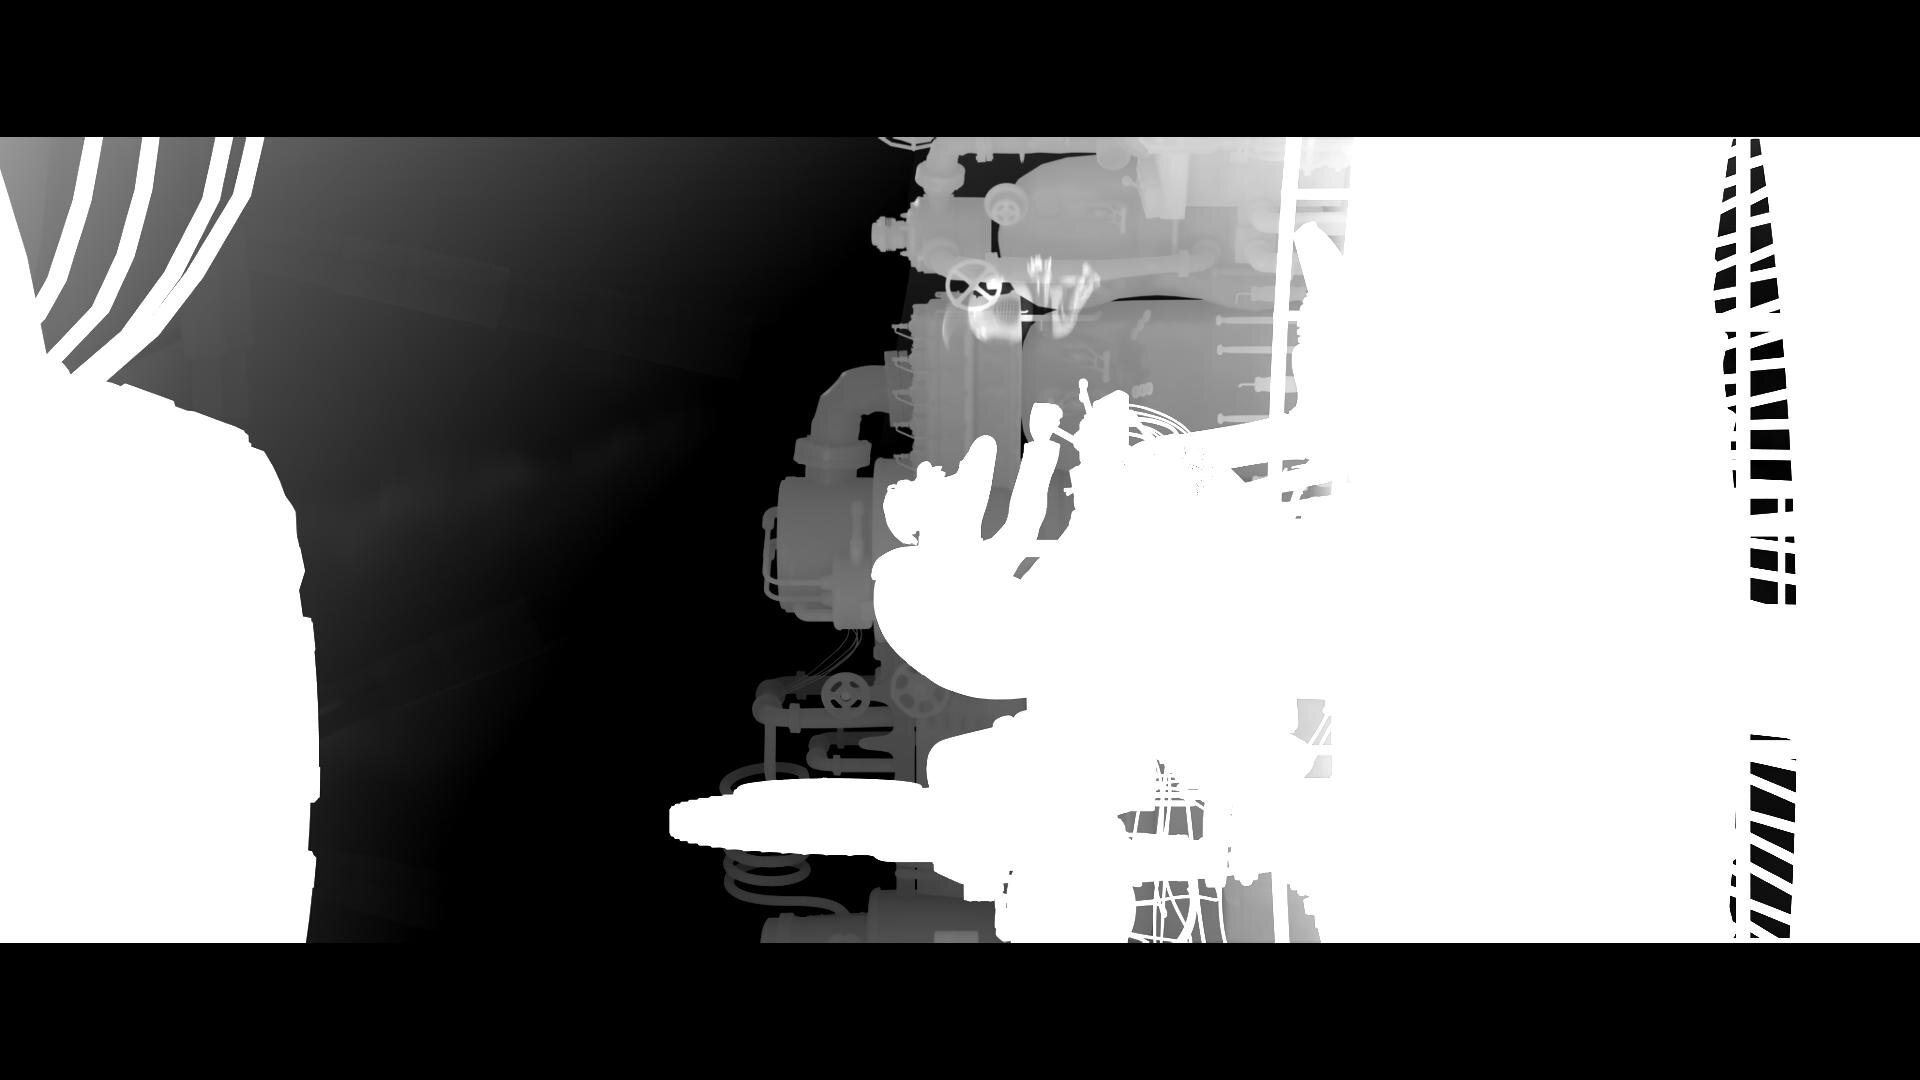
This matte also works with my other 2D qualifiers turning my circles and squares into spheres and cubes. This allows for corrections like “more contrast but only to the foreground” or desaturate the character behind Scooby, but in front of Velma.
Using the depth mattes along with my other traditional qualifiers all but eliminated the need for standard alpha style mattes. This not only saves a ton of time in color since I’m only dealing with one matte but also generates savings in other departments. For example with fewer mattes, your EXR file size is substantially smaller, saving on data management costs. Additionally, on the vendor side, ReelFX only had to render one additional pass for color instead of a matte per character. Again, a huge saving of resources.

I’m super proud of what we were able to accomplish on “Scoob!” using this technique and I can’t wait to see what comes next as this becomes standard for VFX deliveries. A big thank you to ReelFX for being so accommodating to my mad scientist requests.
Corona Time
Luckily, we were done with the theatrical grade before the pandemic hit. Unfortunately, we were far from finished. We were still owed the last stragglers from ReelFX and had yet to start the HDR grade.
Remote Work
We proceeded to set up a series of remote options. First, we set up a calibrated display at Kurinsky’s house. Next, I upgraded my connection to my home color system to allow for faster upload speeds. A streaming session would have been best but we felt that would put too many folks in close contact since it does take a bit of setup. Instead, I rendered out high-quality Prores XQ files. Kurinsky would then give notes on the reels over Zoom or email. I would make changes, rinse and repeat. For HDR, Kurinsky and I worked off a pair of x300s. One monitor was set for 1000nit rec.2020 PQ and the other for the 100nit 709 Dolby trim pass. I also made H.265 files that would play off a thumb drive once plugged into an LG E-series OLED. Finally, Tony approved the 1.78 pan and scan in the same way.
I’m very impressed with how the whole team managed to not only complete this film but finish it to the highest standards under incredibly trying times. An extra big thank you to my right-hand man Leo Ferrini who was nothing but exceptional during this whole project. Also, my partner in crime, Paul Lavoie, whom I have worked with for over 20 years. Even though he was at home, it felt like he was right there with me. Another big thanks.
Check Out the Work
Check out the movie at the link below and tell me what you think.

https://www.scoob.movie/
Thanks for reading!
-John Daro