Here is a Q&A I was recently included in. Check out the full article here at postperspective.com
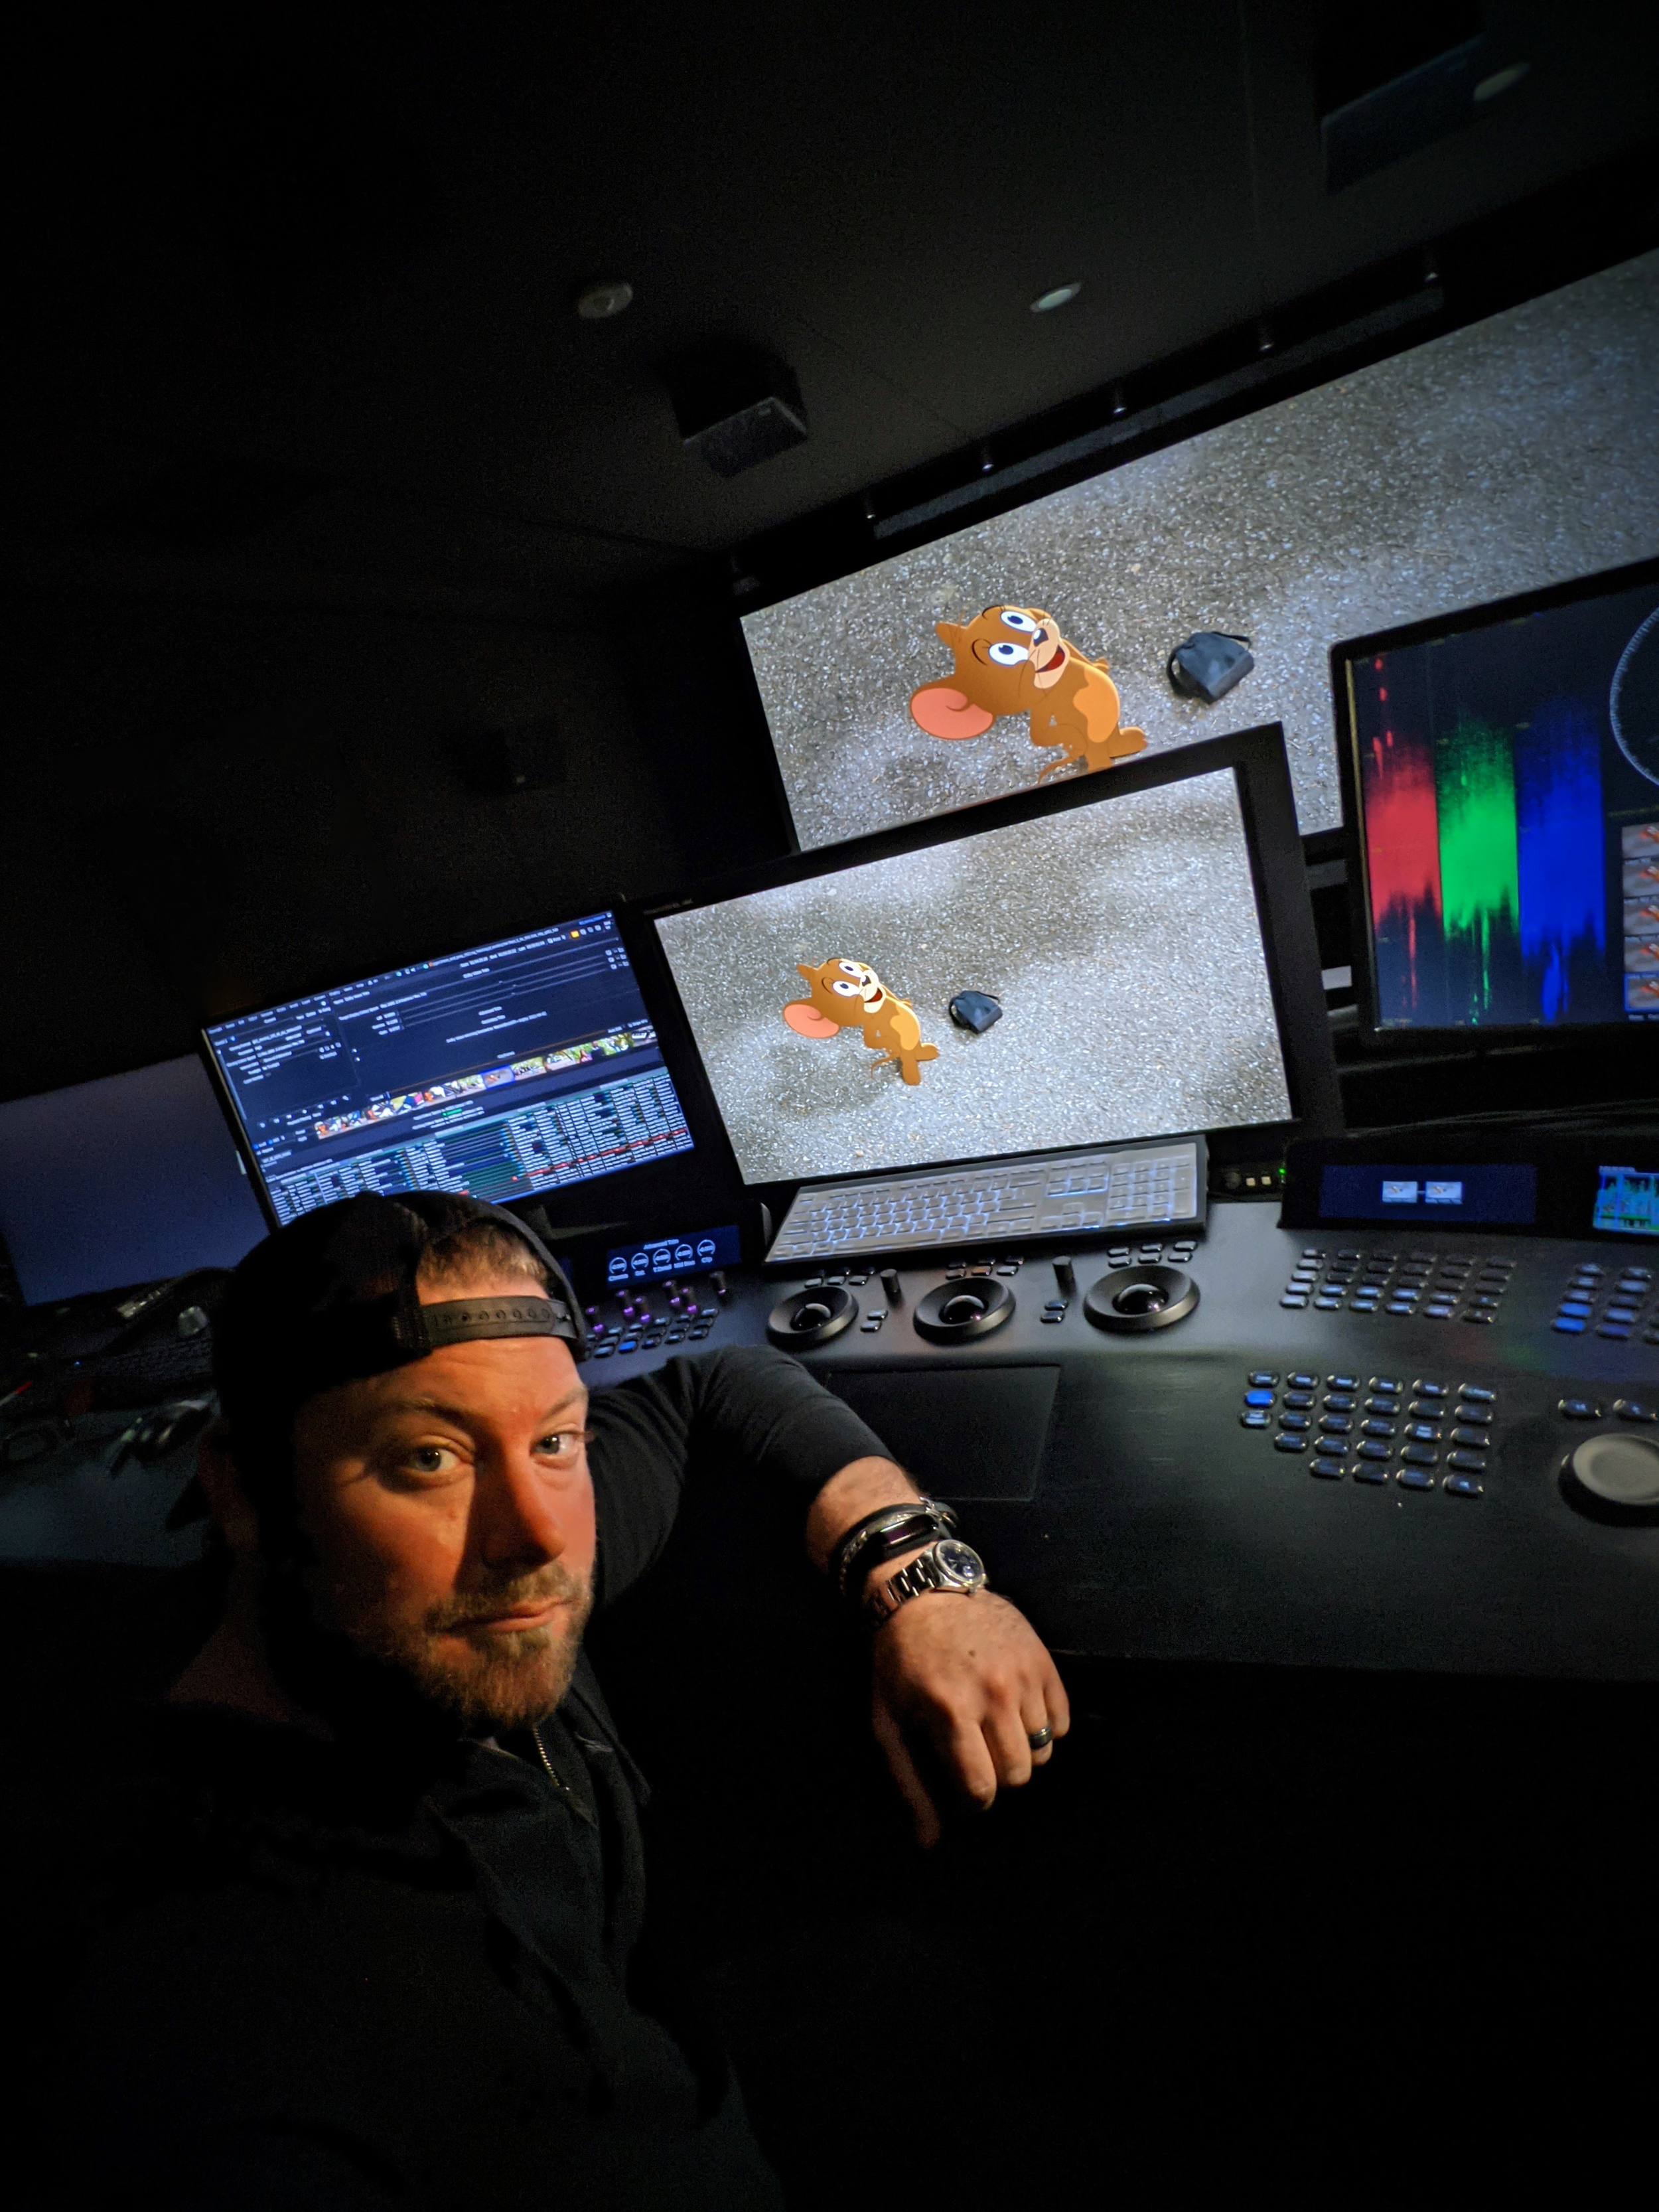
Warner Bros. Post Creative Services Colorist John Daro
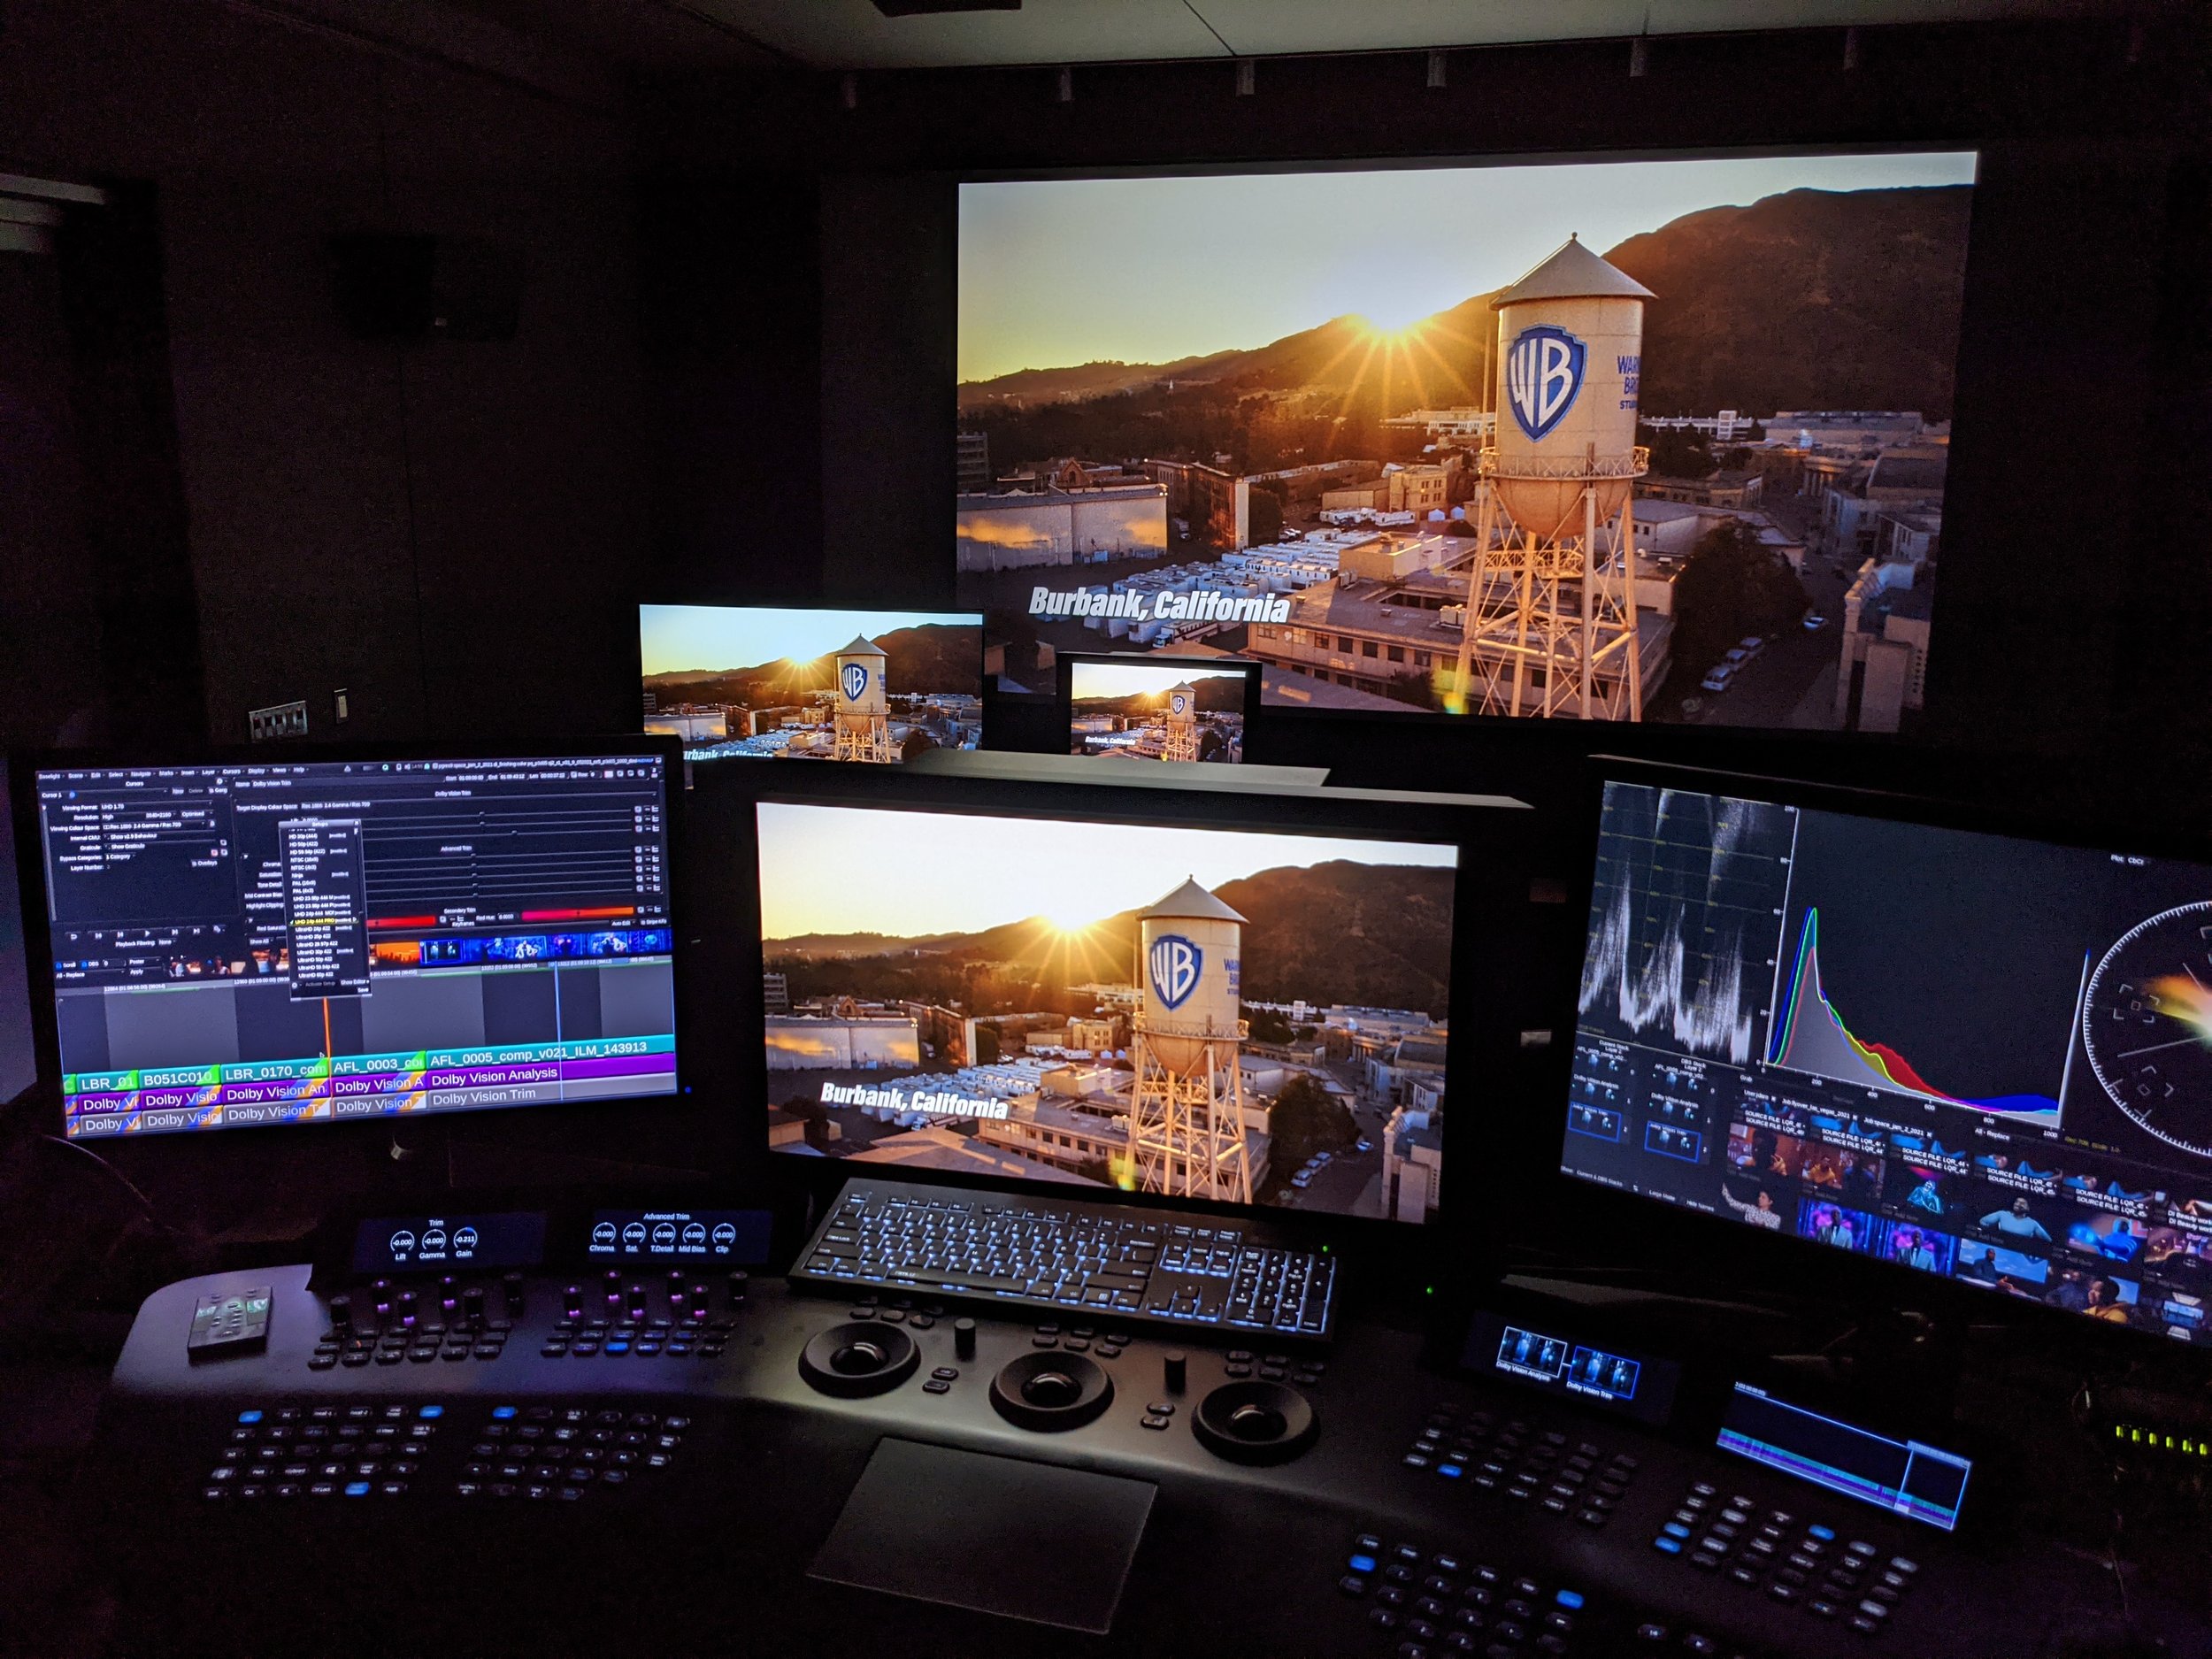
My mission control station at HQ
Warner Bros. Post Production Creative Services is a post house on the Warner Bros. lot in Burbank. “We specialize in feature films and high-end episodic projects, with picture and sound finishing under one roof. We also have editorial space and visual effects offices just one building over, so we truly are a one-stop shop for post.”
What does your setup look like tools-wise?
I have been a devotee of FilmLight’s Baselight for the past five years. It is the beating heart of my DI theater, where I project images onto a 4K Christie projector and monitor them on two Sony X300s. For that “at-home” consumer experience, I also have a Sony A95K.
Although I spend 90% of my time on Baselight, there are a few other post-software necessities for my craft. I call my machine the “Swiss army box,” a Supermicro chassis with four Nvidia A6000s. I use this machine to run Resolve, Mistika, Photoshop, and Nuke. It also makes a fine dev box for my custom Python tools.
I always say, “It’s not the sword; it’s the samurai.” Use the right tool for the right job, but if you don’t have the right tool, then use what you’ve got.
Do you work in the cloud? If so, can you describe that workflow and the benefits?
Not really. For security reasons, our workstations are air-gapped and disconnected from the outside world. All media flows through our IO department. However, one cloud tool I do use is Frame.io, especially for the exchange of notes back and forth. I really like how everything is integrated into the timeline. It’s a super-efficient way to collaborate. In addition to those media uploads, the IO team also archives finished projects and raw scans to the cloud.

I do think cloud workflows are gaining steam, and I definitely have my eye on the space. I can envision a future where we send a calibrated Sony X3110 to a client and then use Baselight in the cloud to send JPEG XS straight to the display for remote approvals. It’s a pretty slick workflow, and it also gets us away from needing the big iron to live on-prem.
Working this way takes geography out of the equation too. I would love to work from anywhere on the planet. Bring on the Tiki drinks with the little umbrellas somewhere in the tropics with a laptop and a Mini Panel. All joking aside, it does open the talent pool to the entire world. You will be able to get the best artists regardless of their location. That’s an exciting prospect, and I can’t wait to see what the future holds for this new way of looking at post.
Do you often create LUTs for a project? How does that help?
I mostly work with curves and functions to do my transforms, but when on-set or editorial needs a preview of what the look will be in the room, I do bake LUTs out. They are especially critical for visual effects reviews and dailies creation.
There’s a film project that I’m working on right now. We’re doing a scan-once workflow on that show to avoid overly handling the negative. Once scanned, there is light CDL grading, and a show LUT is applied to the raw scans to make editorial media. The best looks are the ones that have been developed early and help to maintain consistency throughout the entire workflow. That way, you don’t get any surprises when you get into the final grade. Temp love is a thing… LUTs help you avoid loving the wrong thing.
Do you use AI as part of your daily job? In what way?

Superman II Restoration
I do use a bit of AI in my daily tasks, but it’s the AI that I’ve written myself. Originally, I started trying to make an automated dust-buster for film restoration. I failed miserably at that, but I did learn how to train a neural net, and that led to my first helpful tool.
I used an open-source image library to train an AI up-rezer. Although this is commonplace now, back then, it was scratching an itch that hadn’t been scratched yet. To this day, I do think my up-rezer is truer to the image and less “AI”-feeling than what’s available off the shelf.
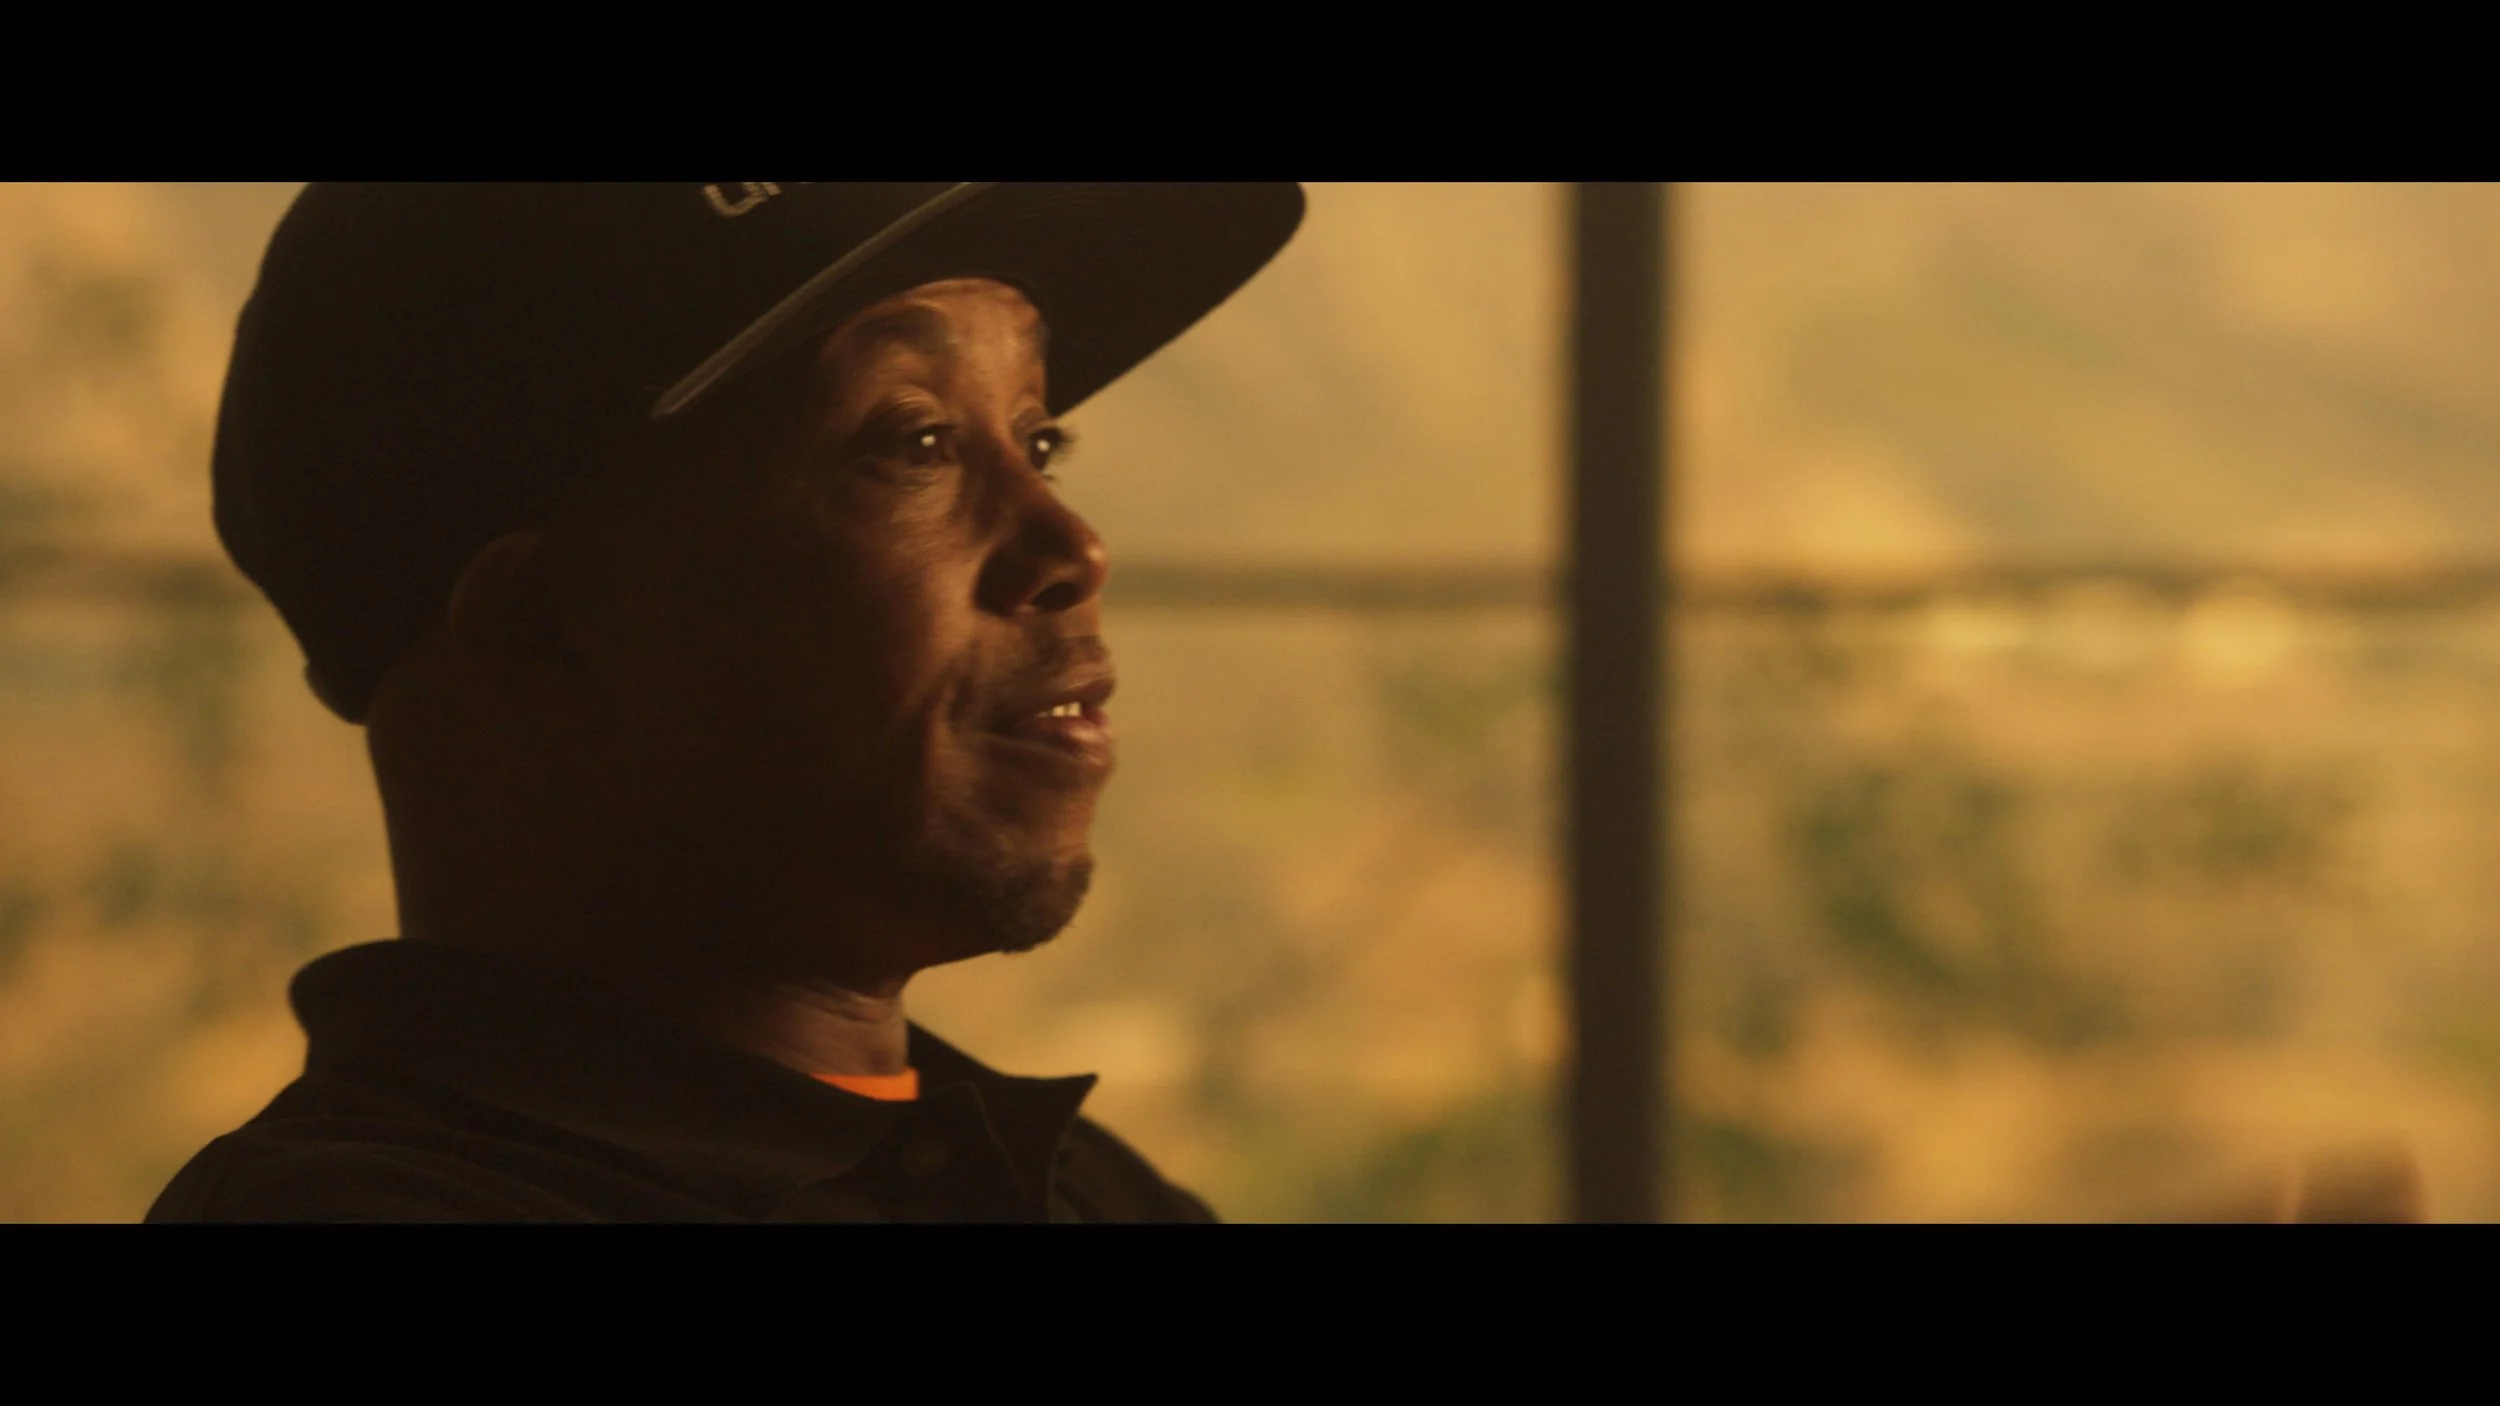
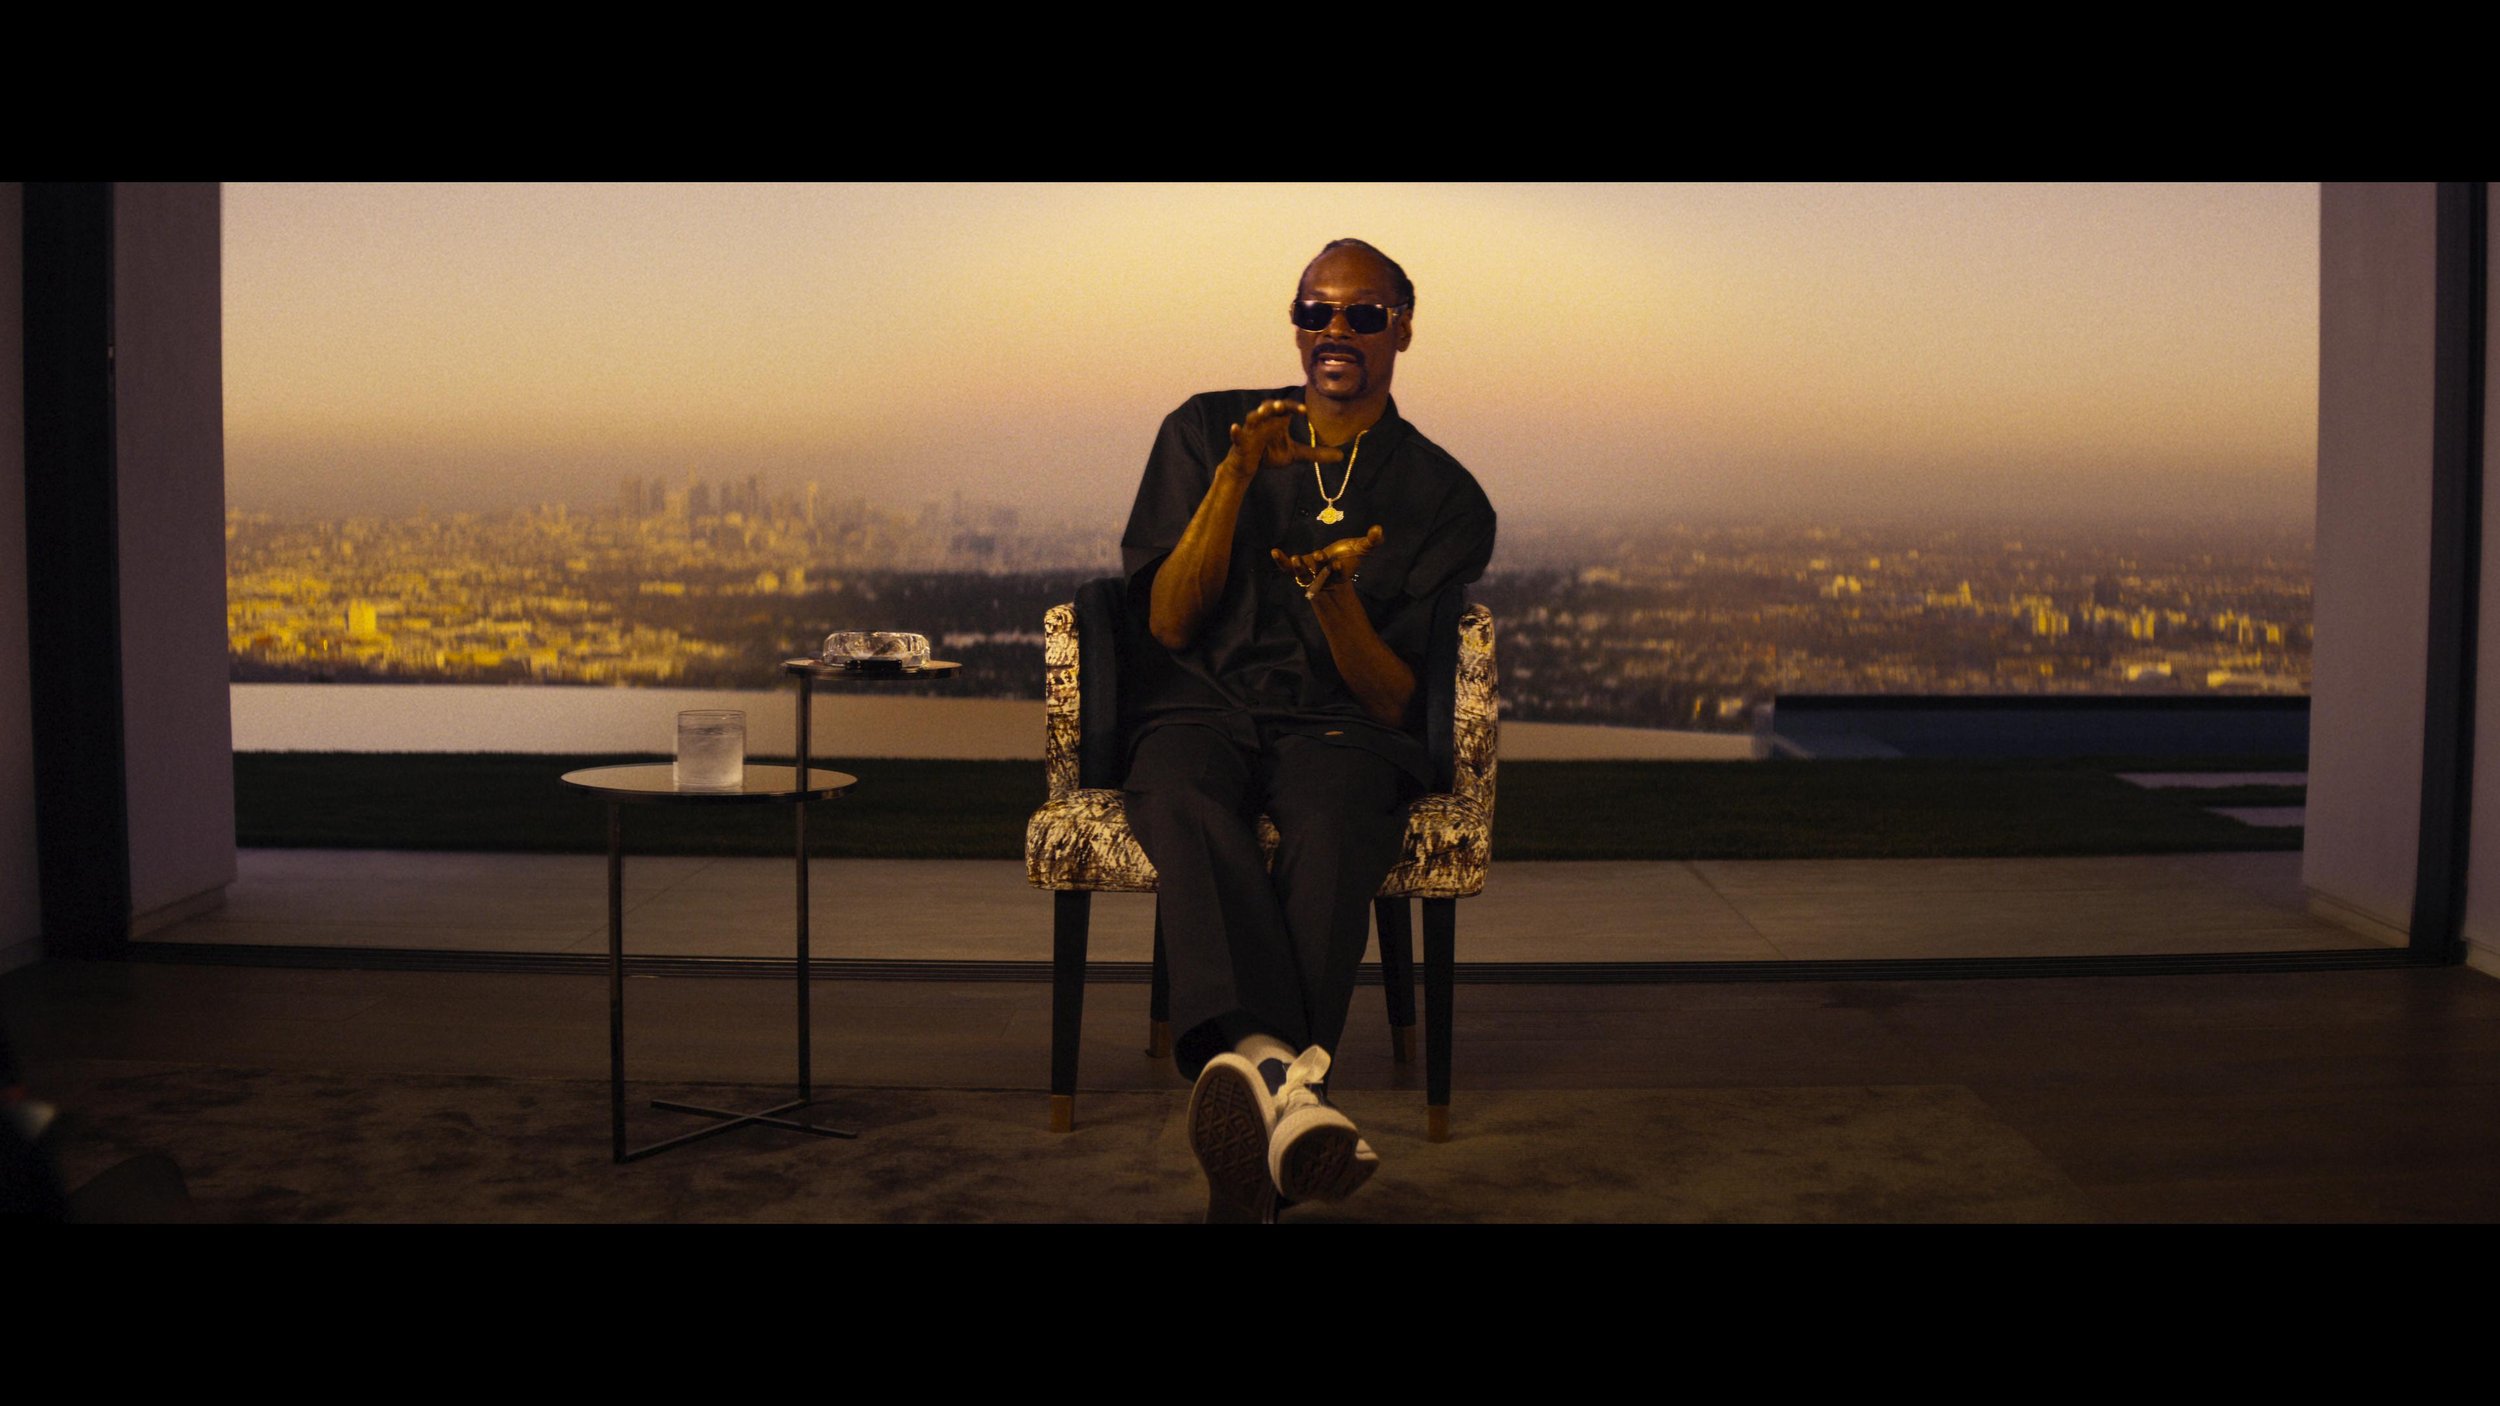
After the up-rezer, I wrote Match Grader in 2020, which essentially takes the look and vibe from one shot and applies it to another. I don’t use it for final grading, but it can be very useful in the look-dev process.

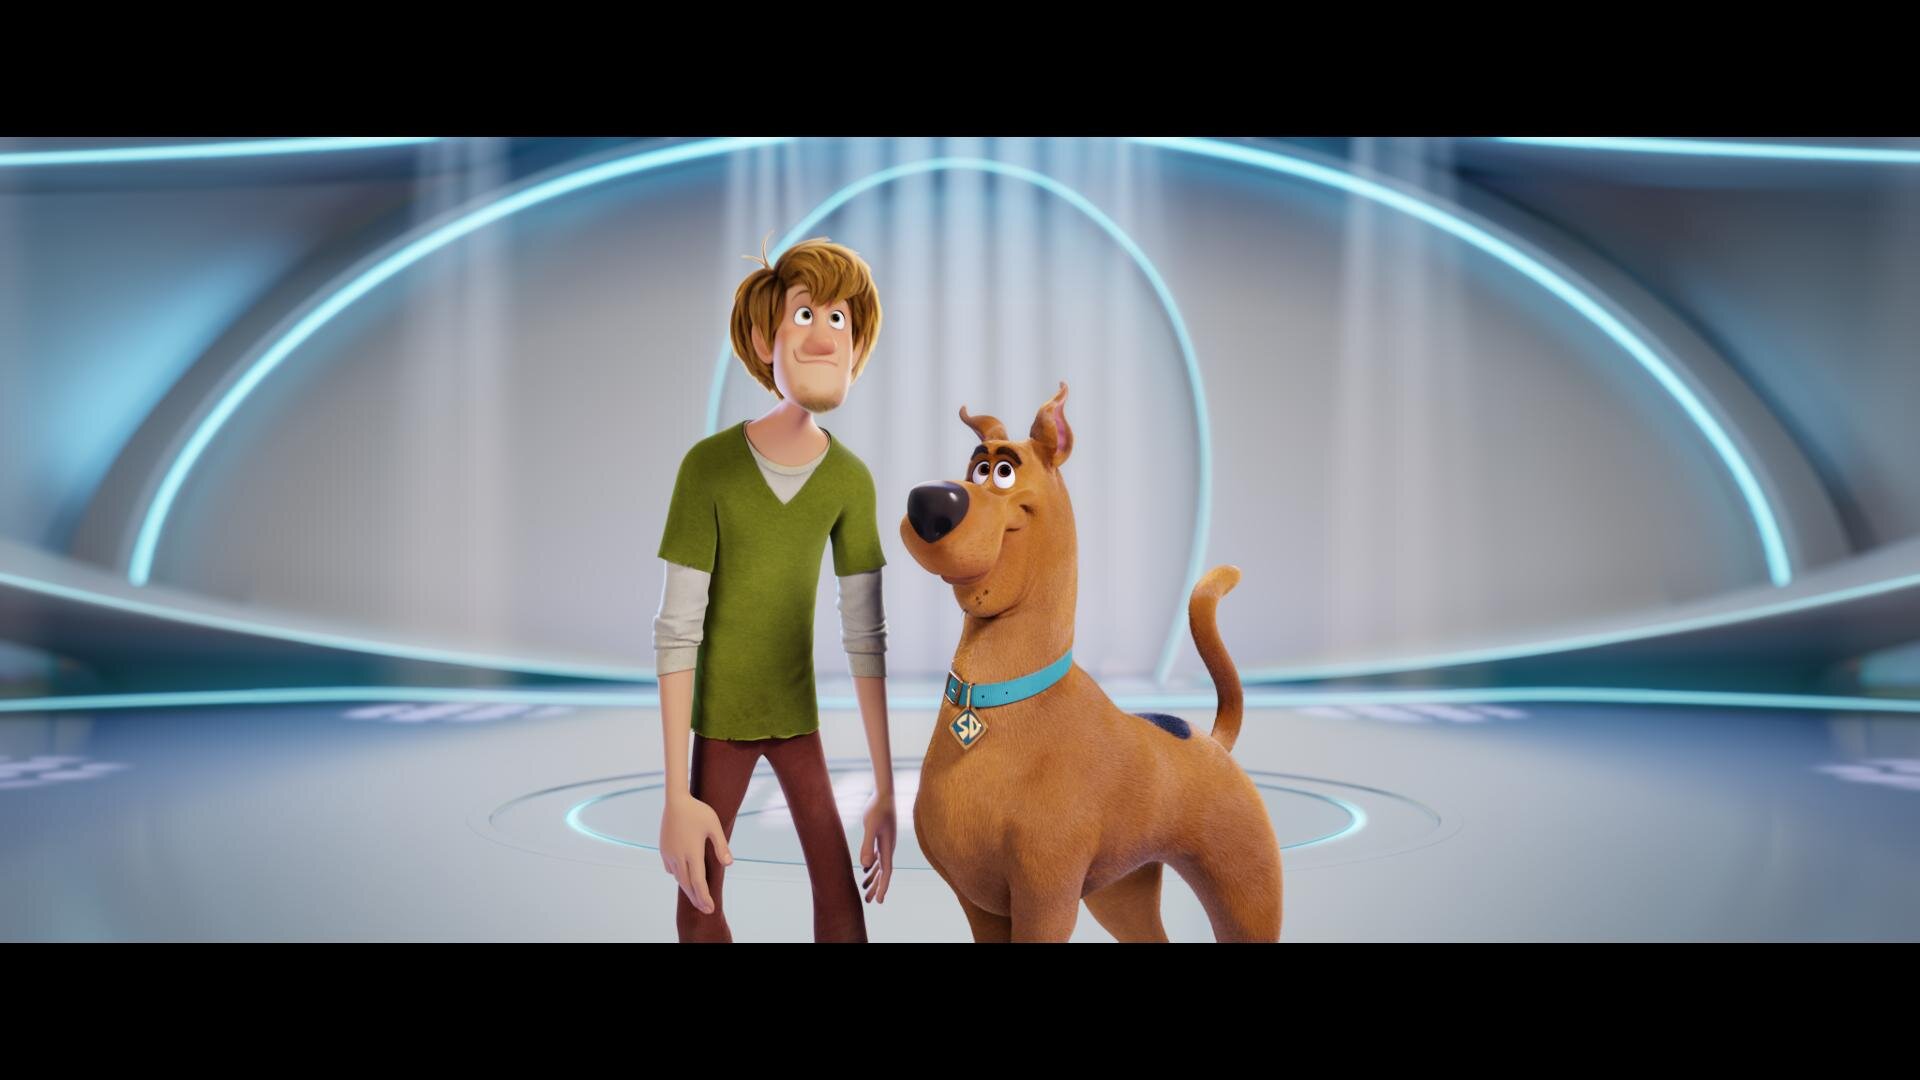
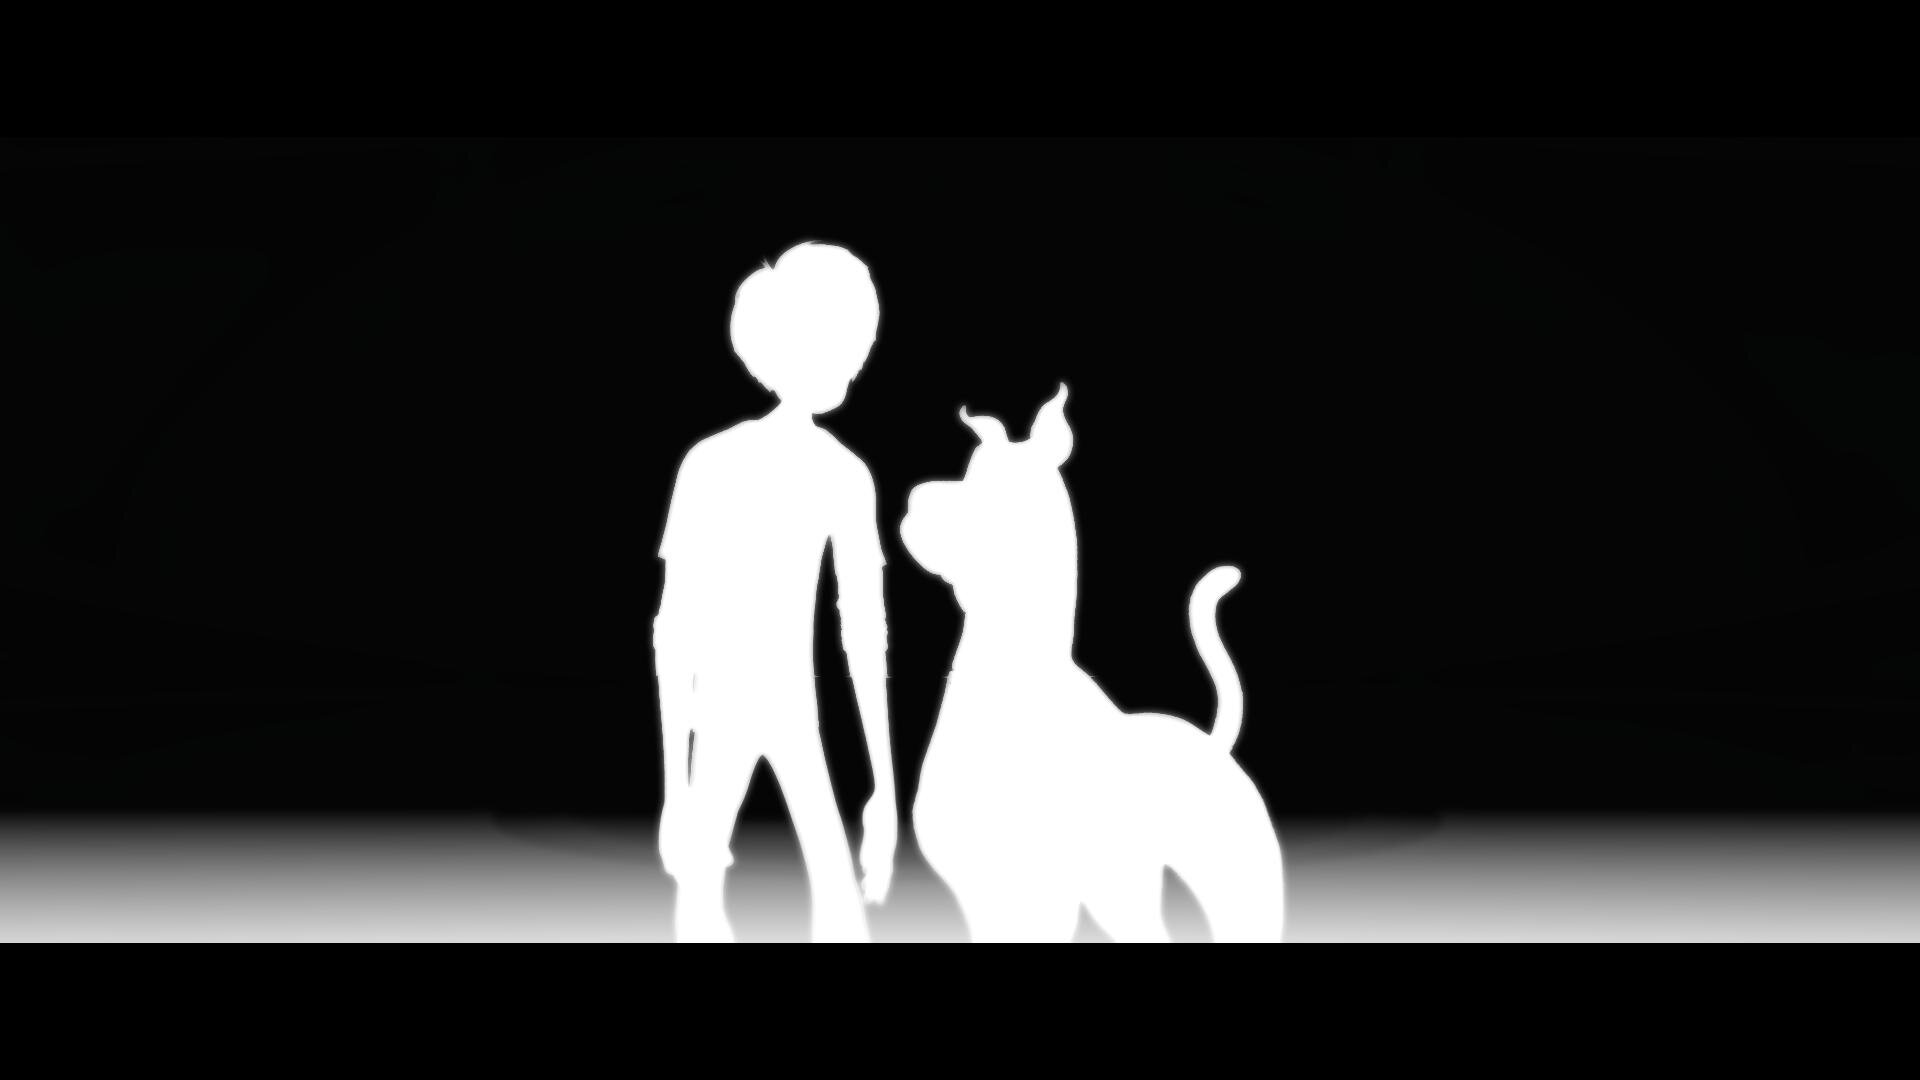
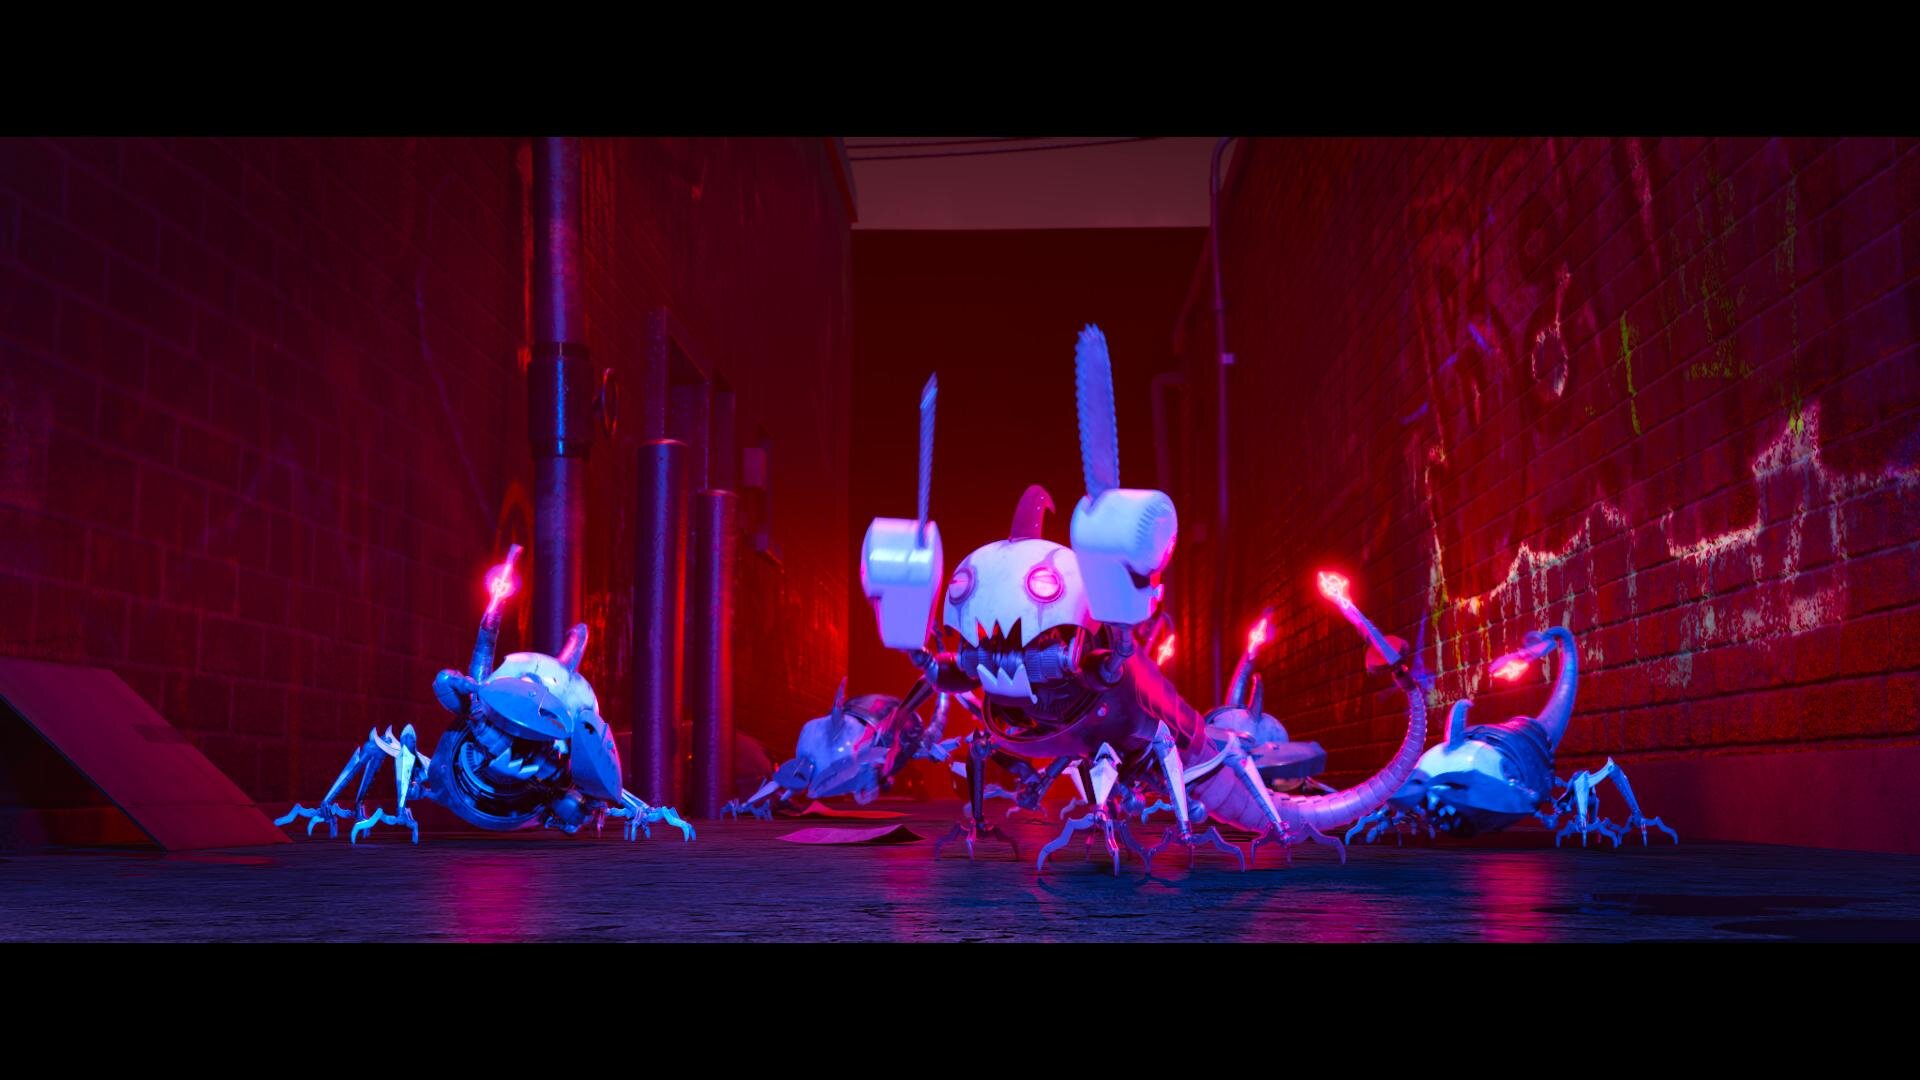
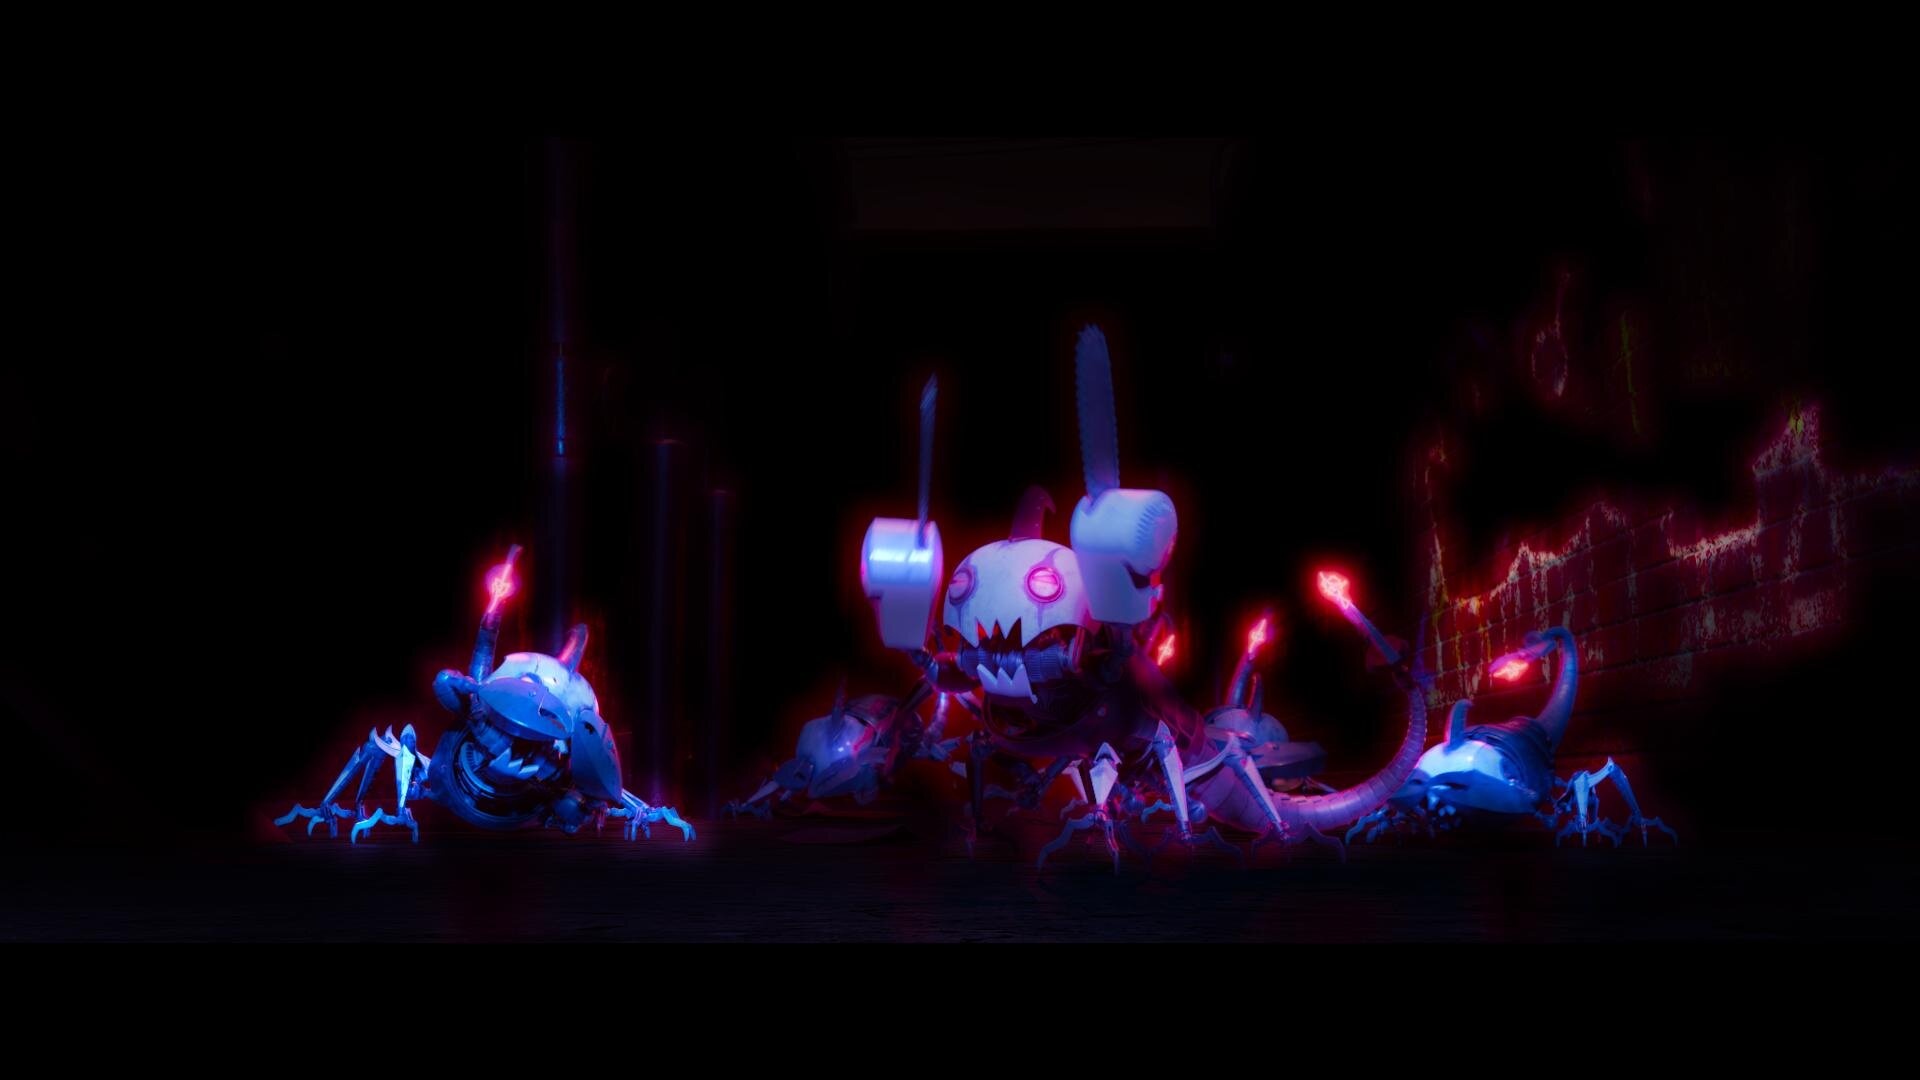
Building on what I had learned coding Match Grader, I subsequently developed a process to use machine vision to create a depth channel. This turns your Power Windows from circles and squares into spheres and cubes. It is a very powerful tool for adding atmosphere to images. When these channels are available to me, one of my favorite moves is to desaturate the background while increasing the contrast in the foreground. This adds dimension to your image and helps to draw your eye to the characters where it was intended.
These channels can also aid in stereo compositing, but it’s been a minute since I have had a 3D job cross my desk that wasn’t for VR.

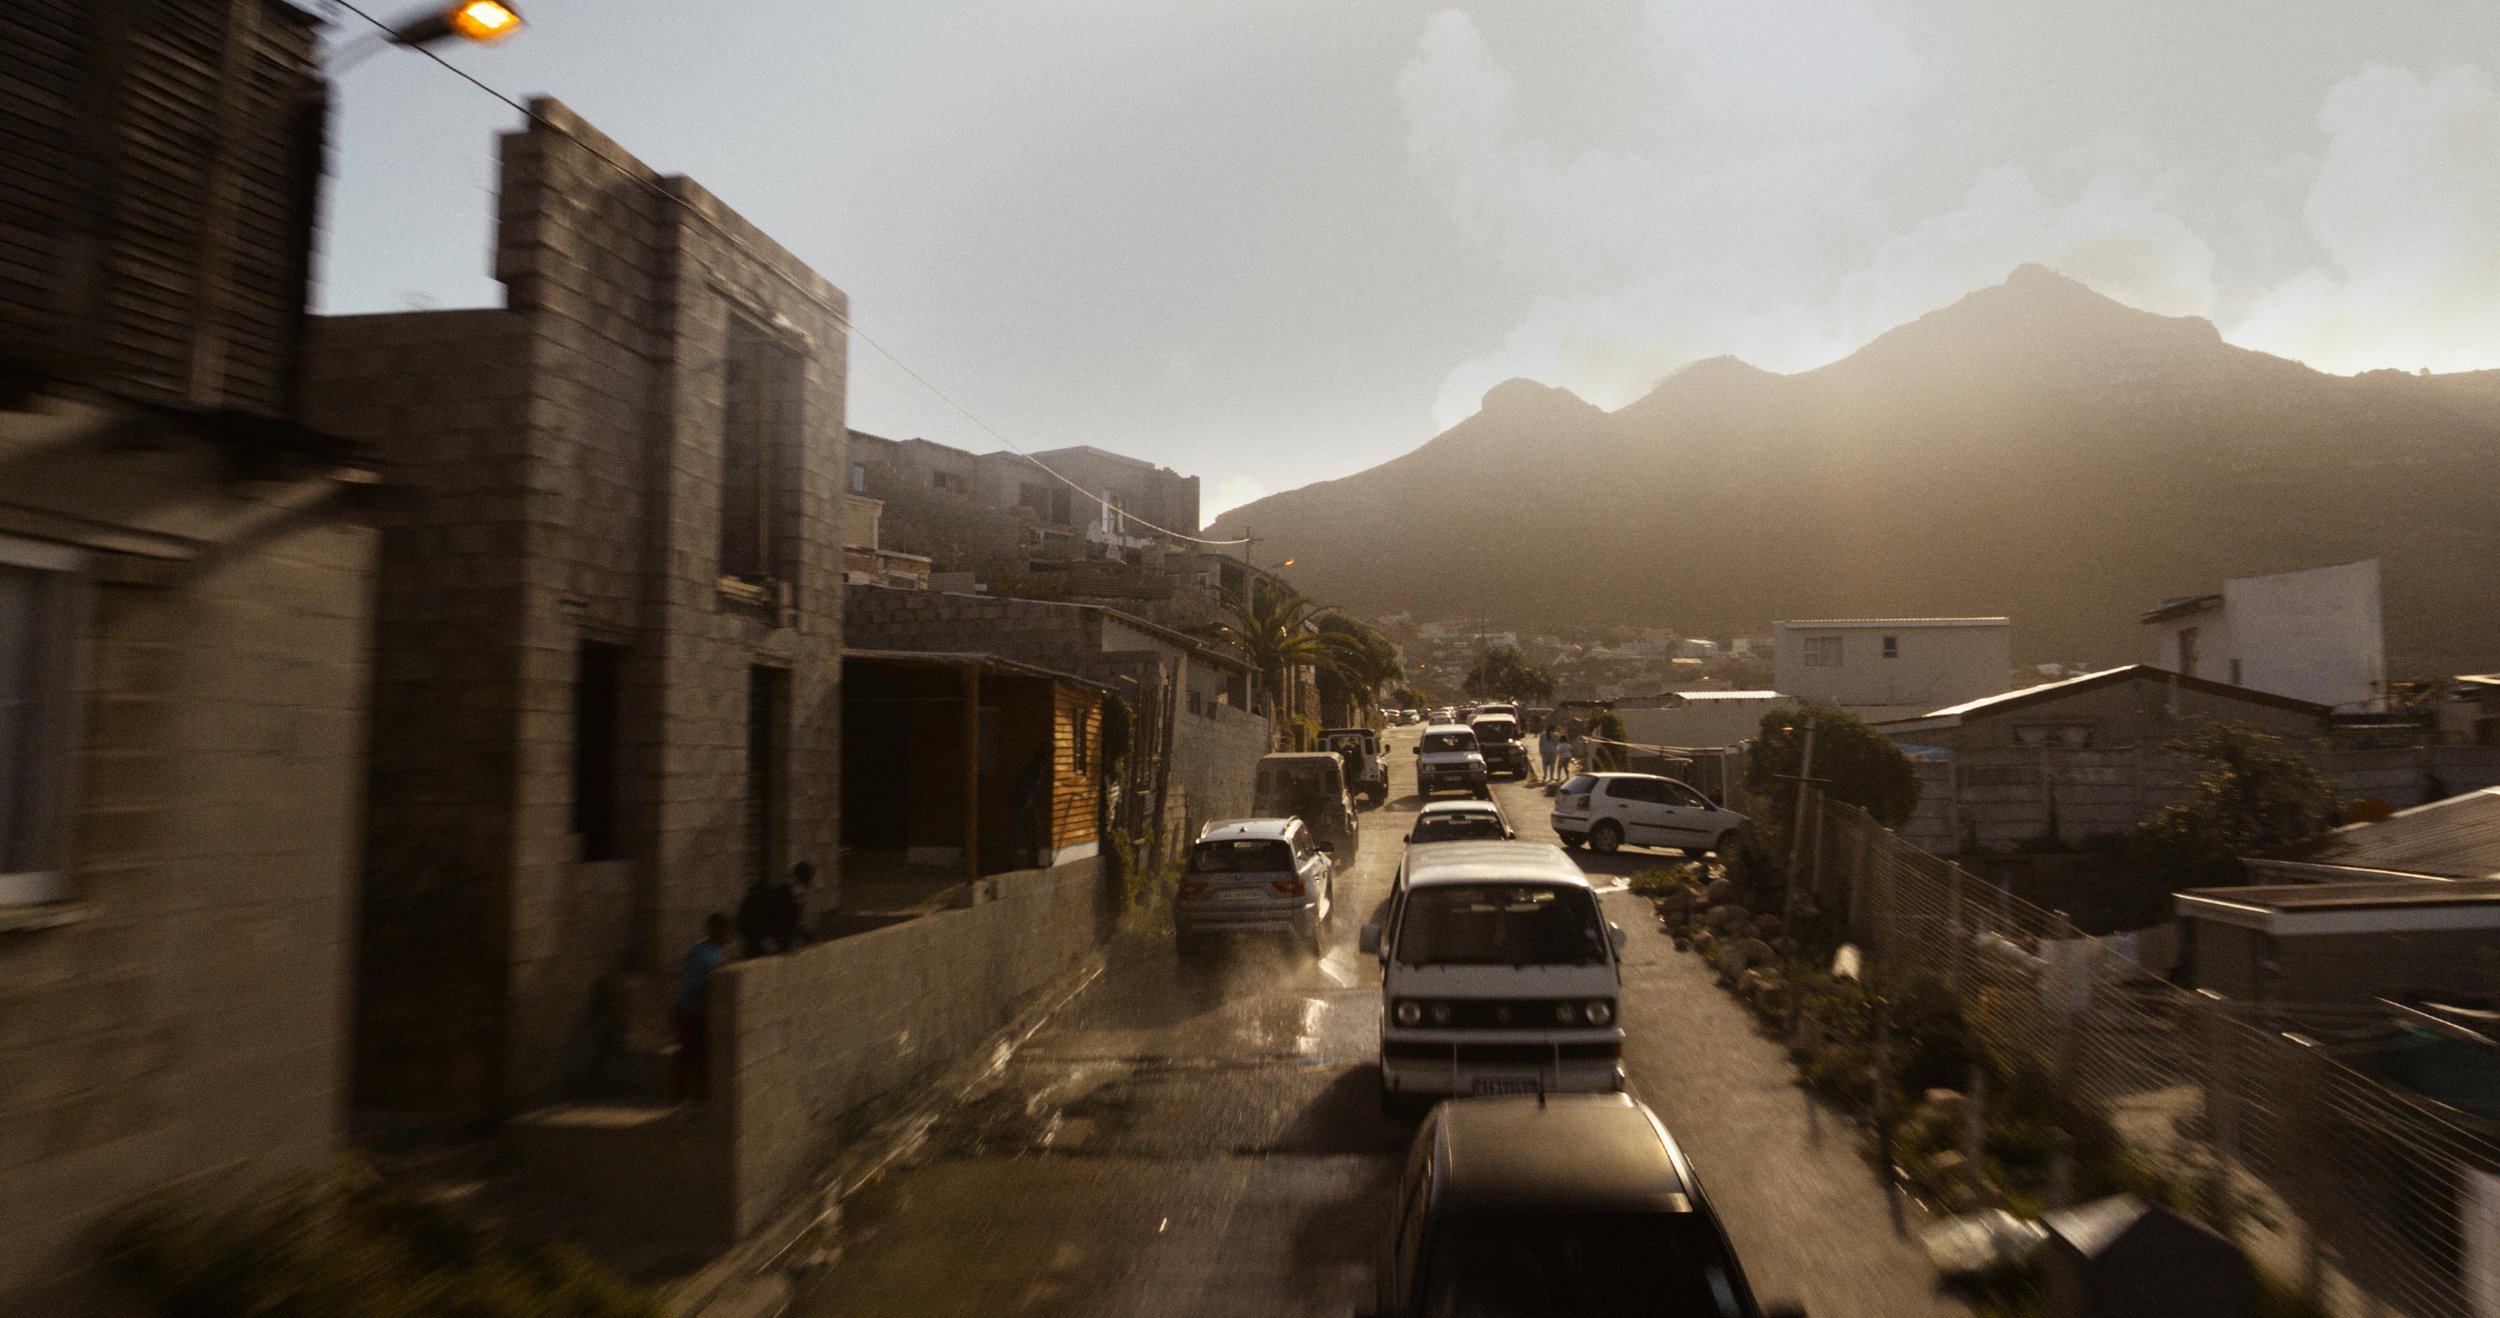
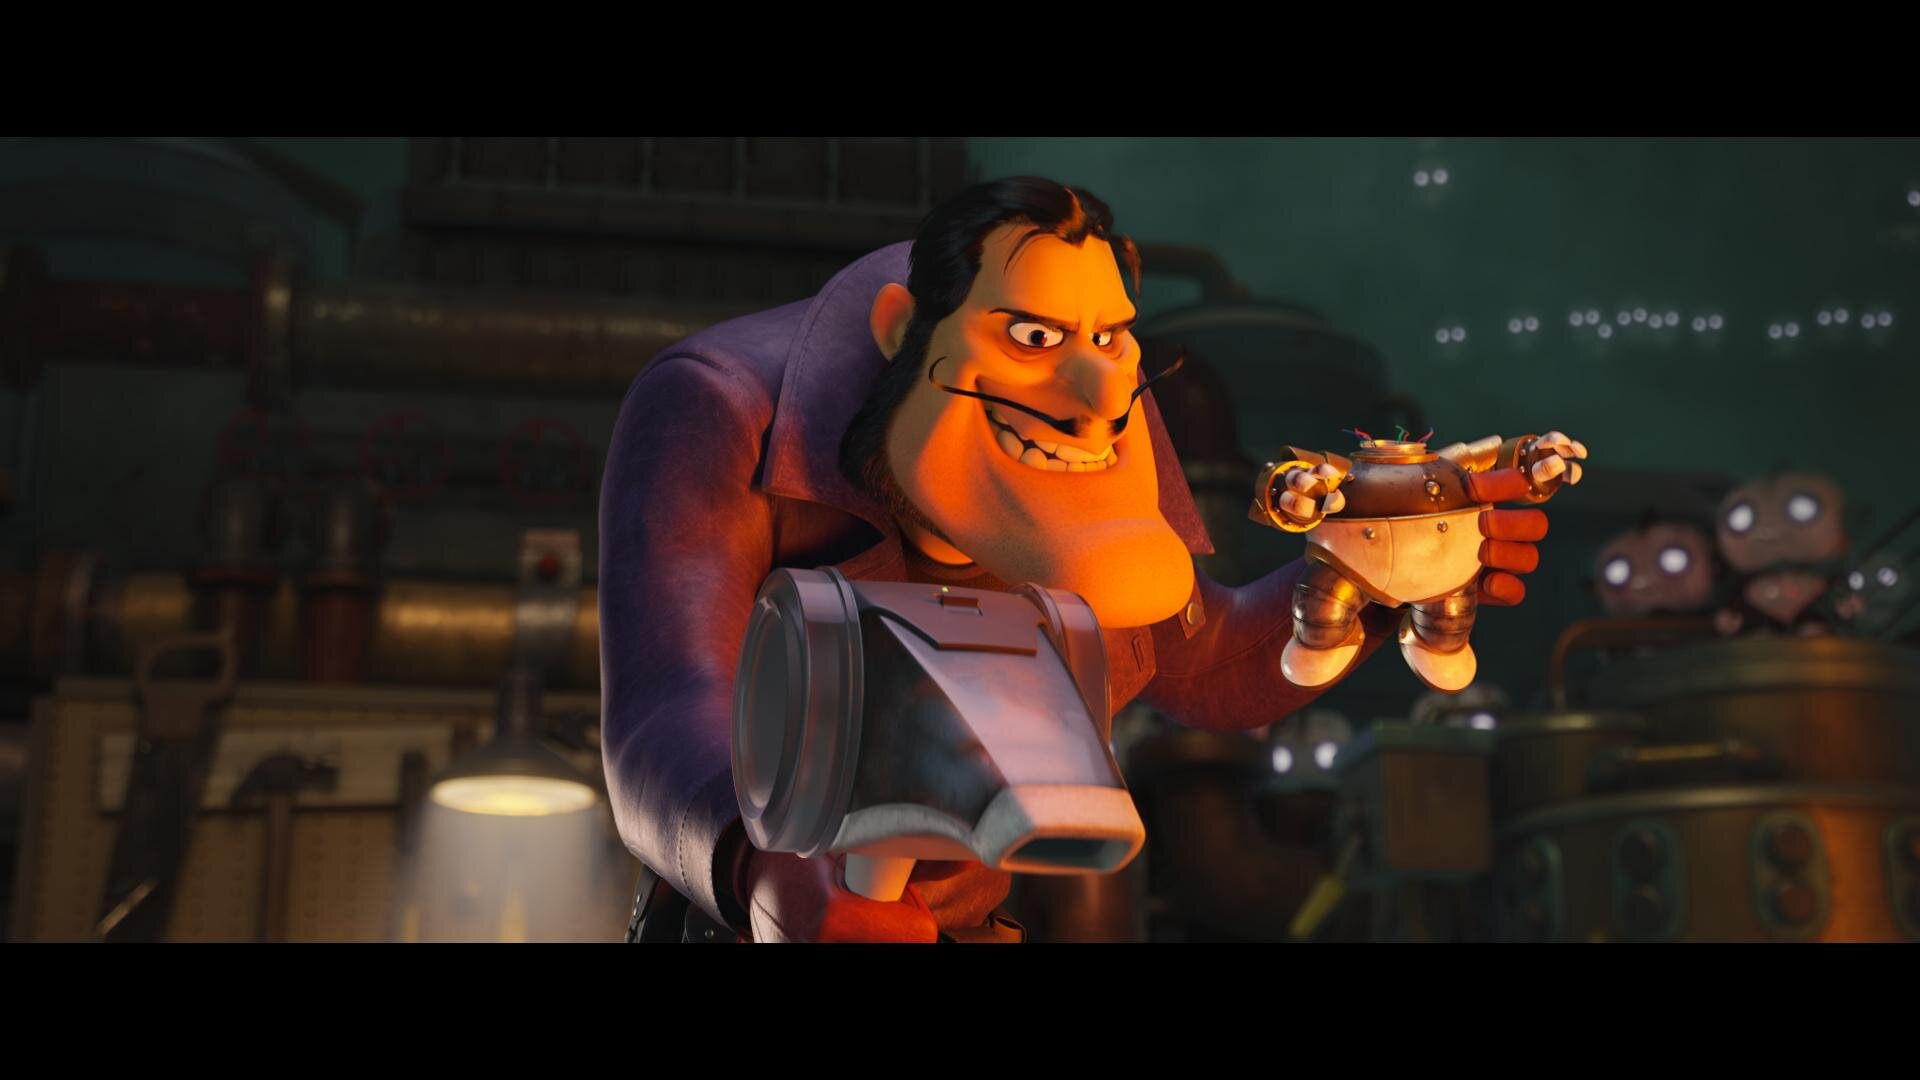
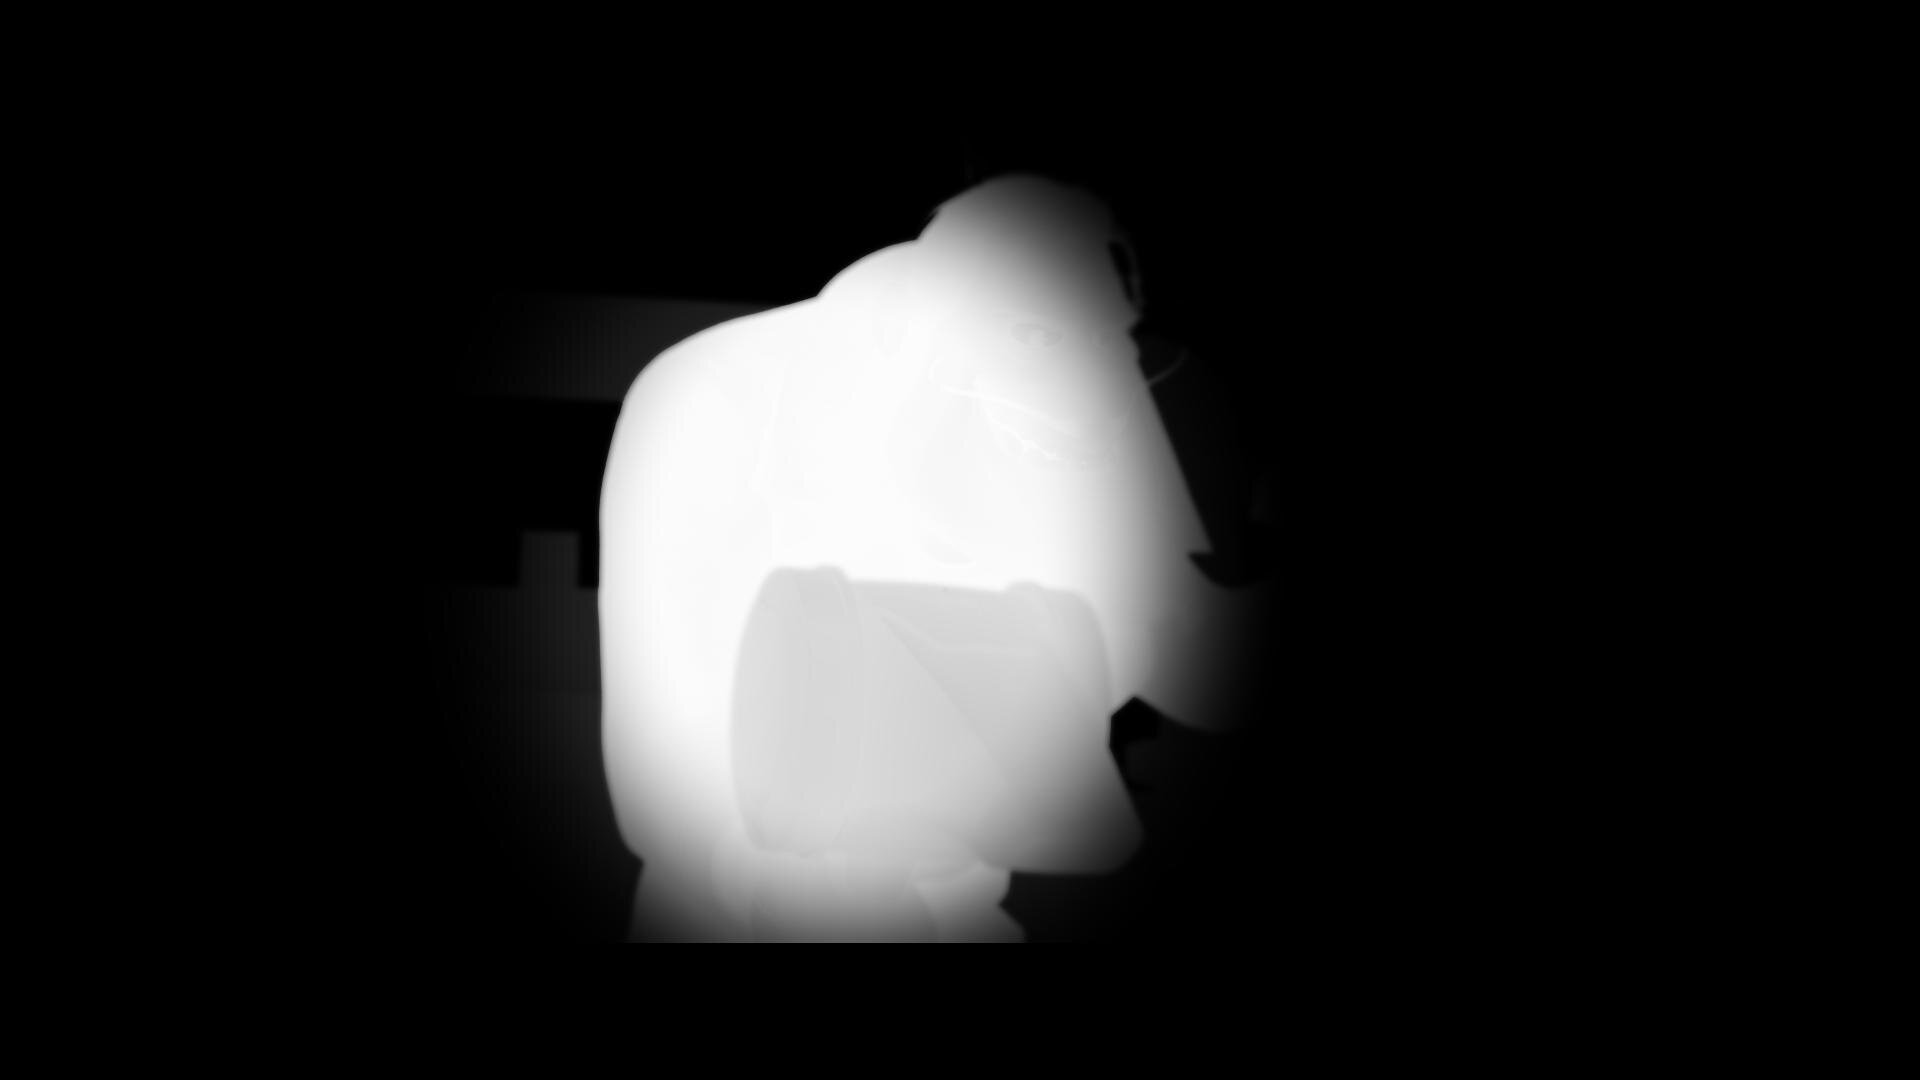
Machine vision segmentation with YOLO. 16fps @4k
Lately, I have been tinkering with an open-source library called YOLO (You Only Look Once.) This software was originally developed for autonomous driving, but I found it useful for what we do in color. Basically, it’s a very fast image segmenter. It returns a track and a matte for what it identifies in the frame. It doesn’t get everything right all the time, but it is very good with people, thankfully. You wouldn’t use these mattes for compositing, but they are great for color, especially when used as a garbage matte to key into.
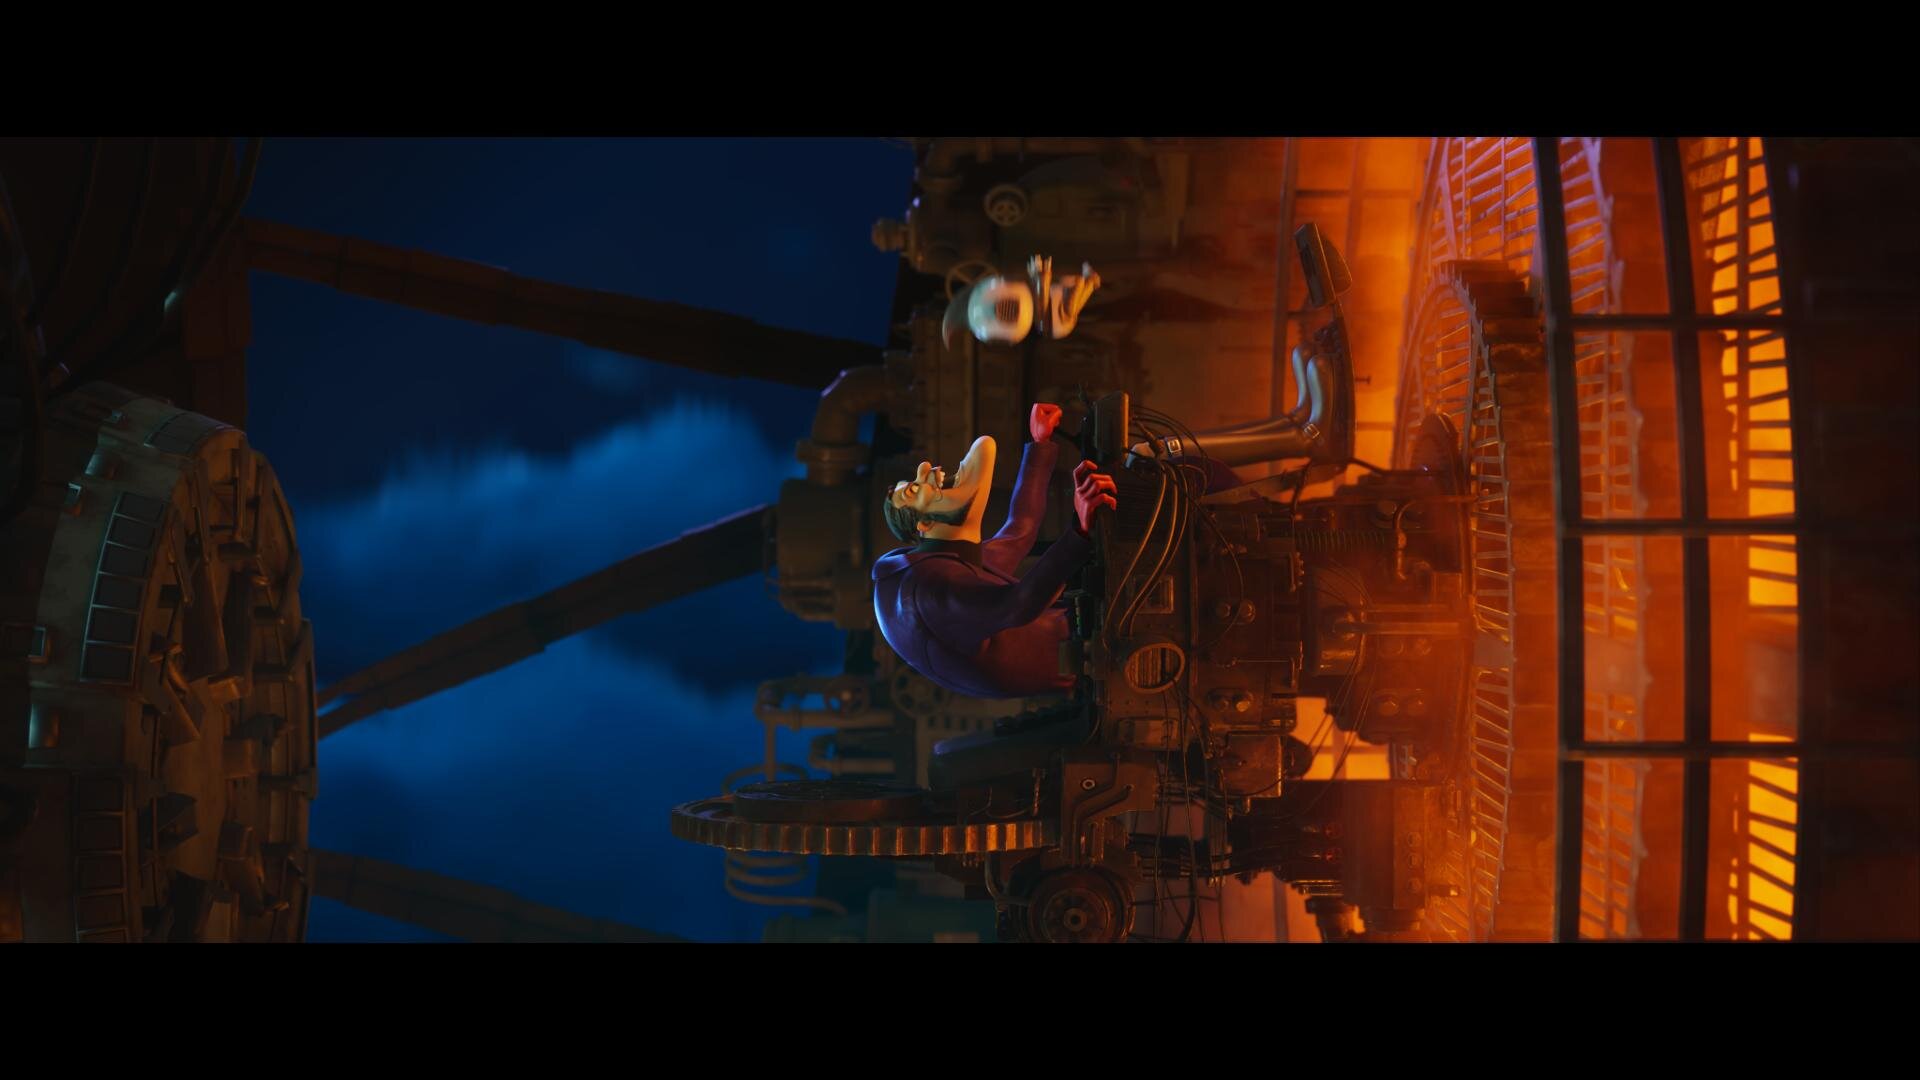
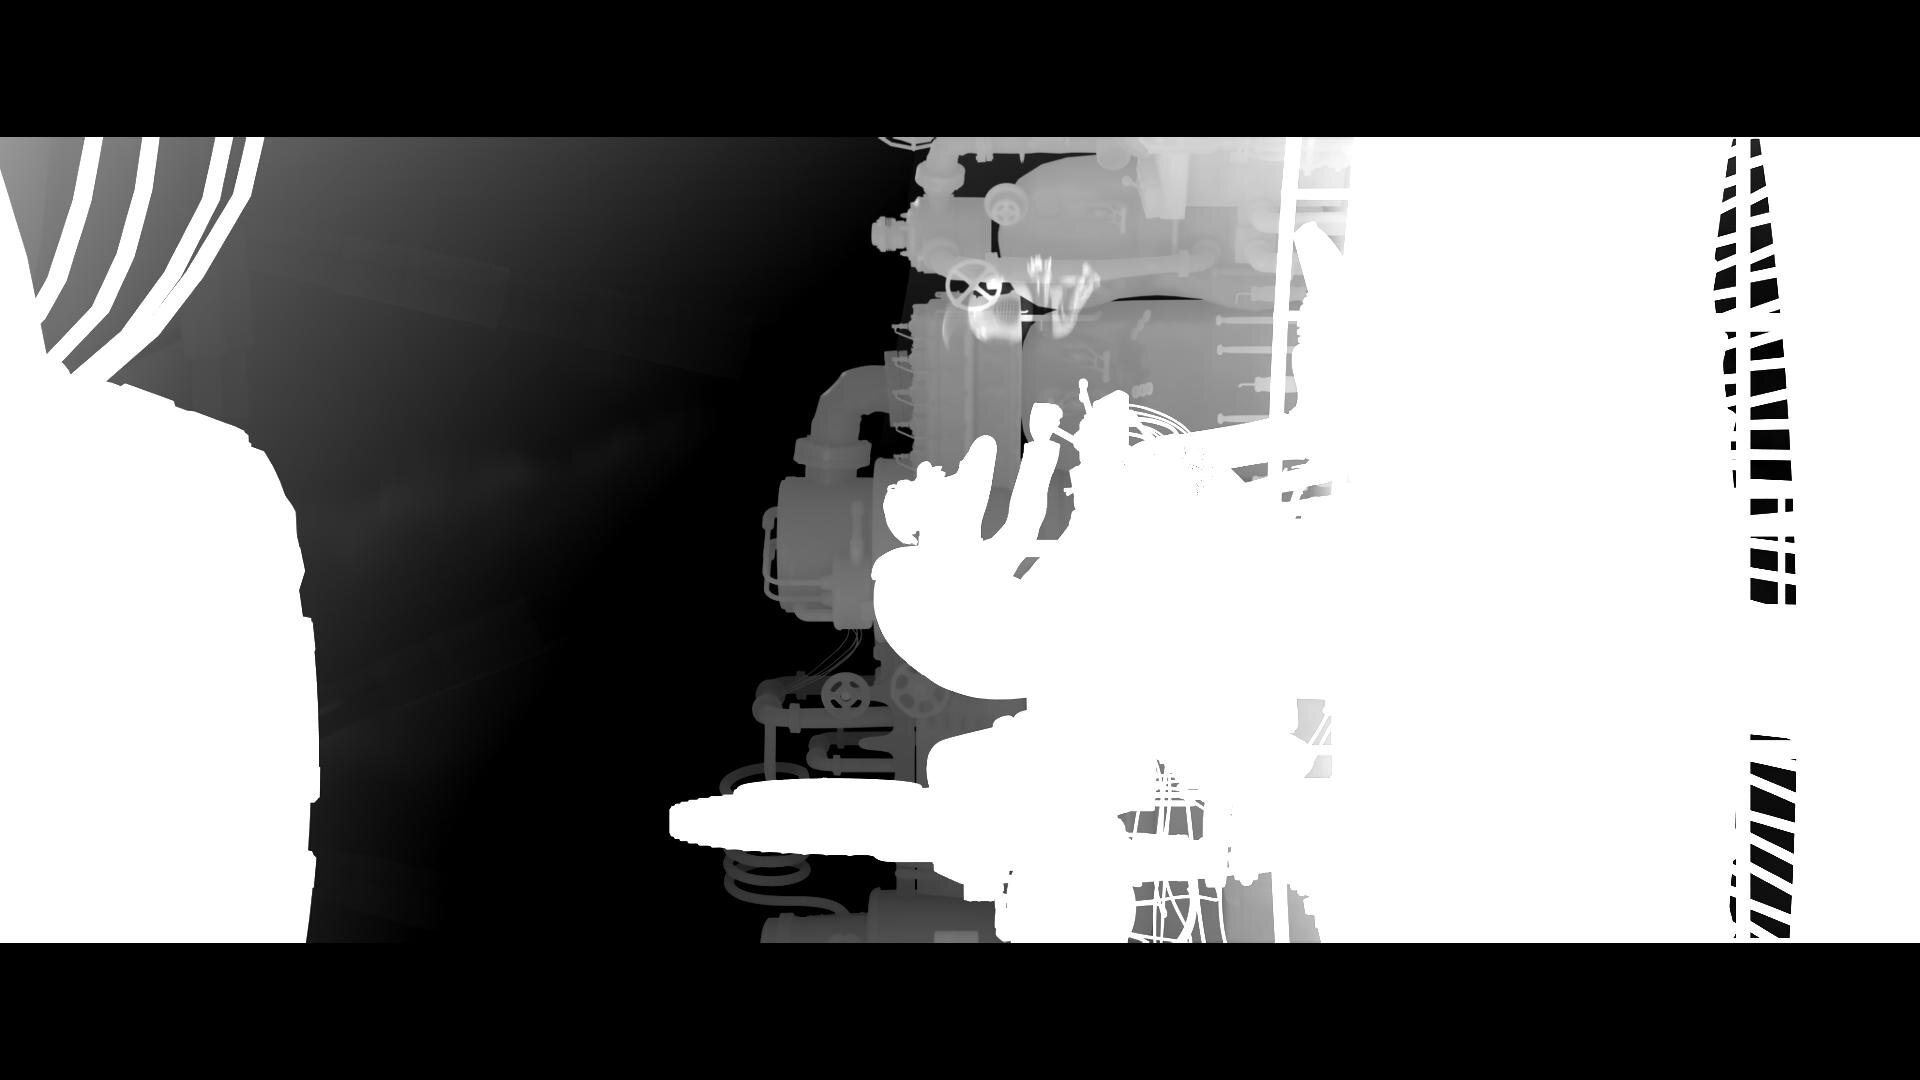
I have also recently refreshed my AI uprezer. I built in some logic that is somewhat “intelligent” about the source coming in. This way the process is not a one size fits-all operation.

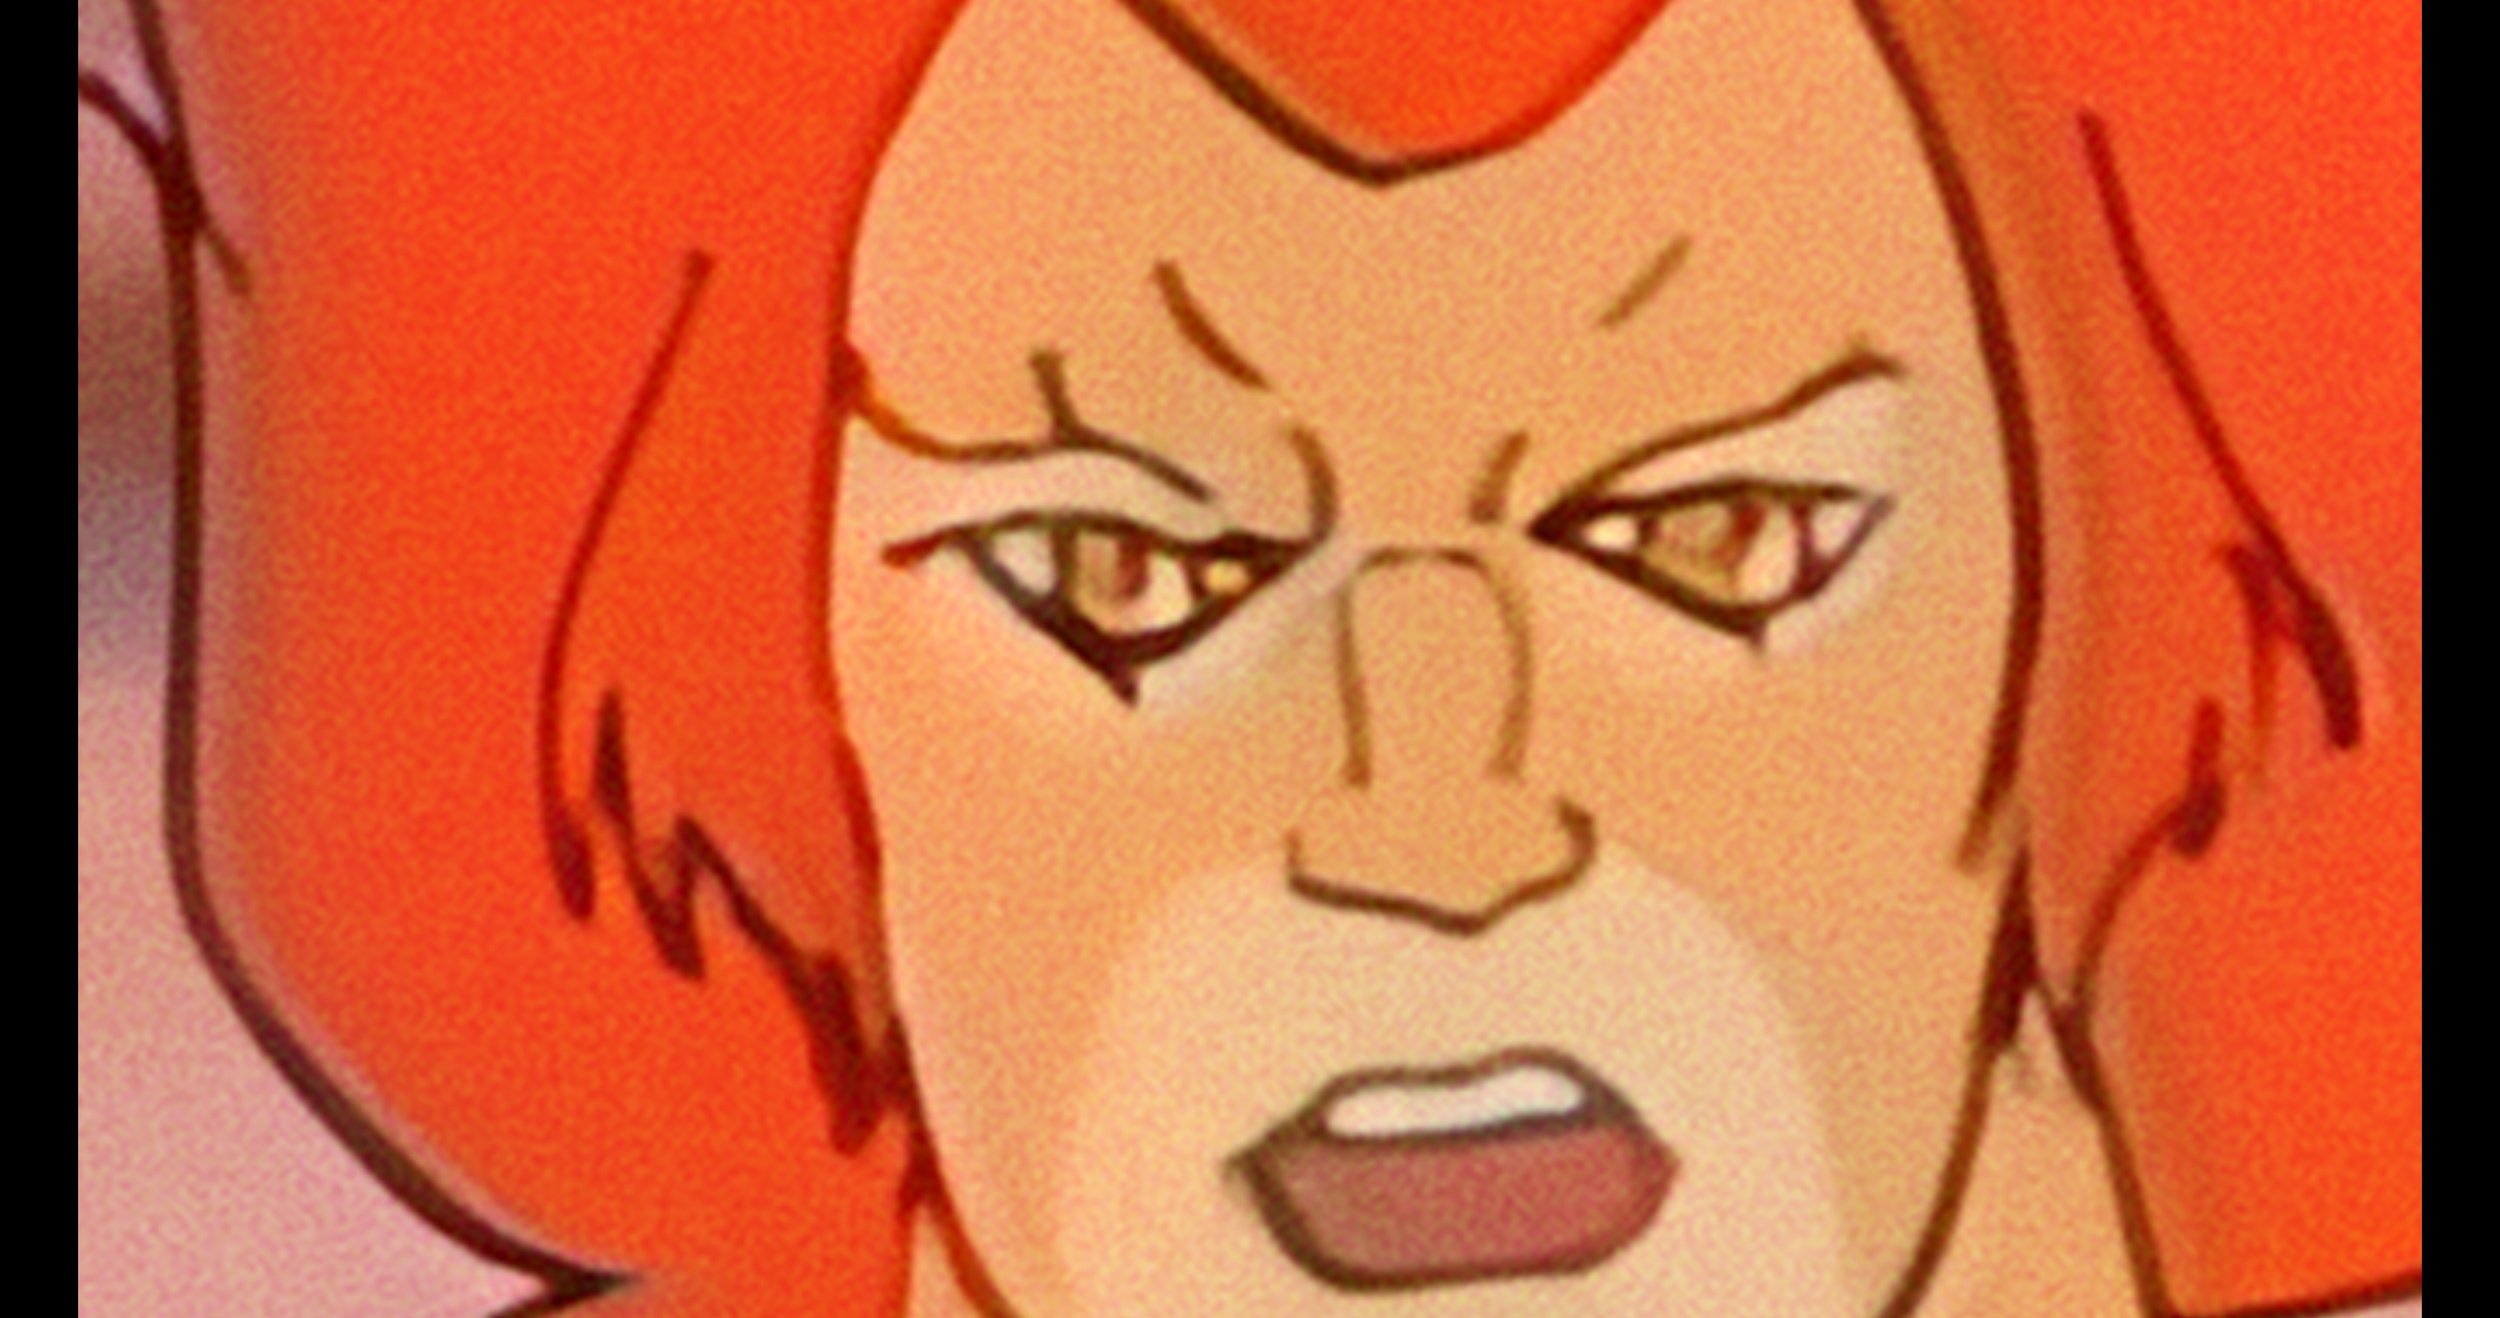
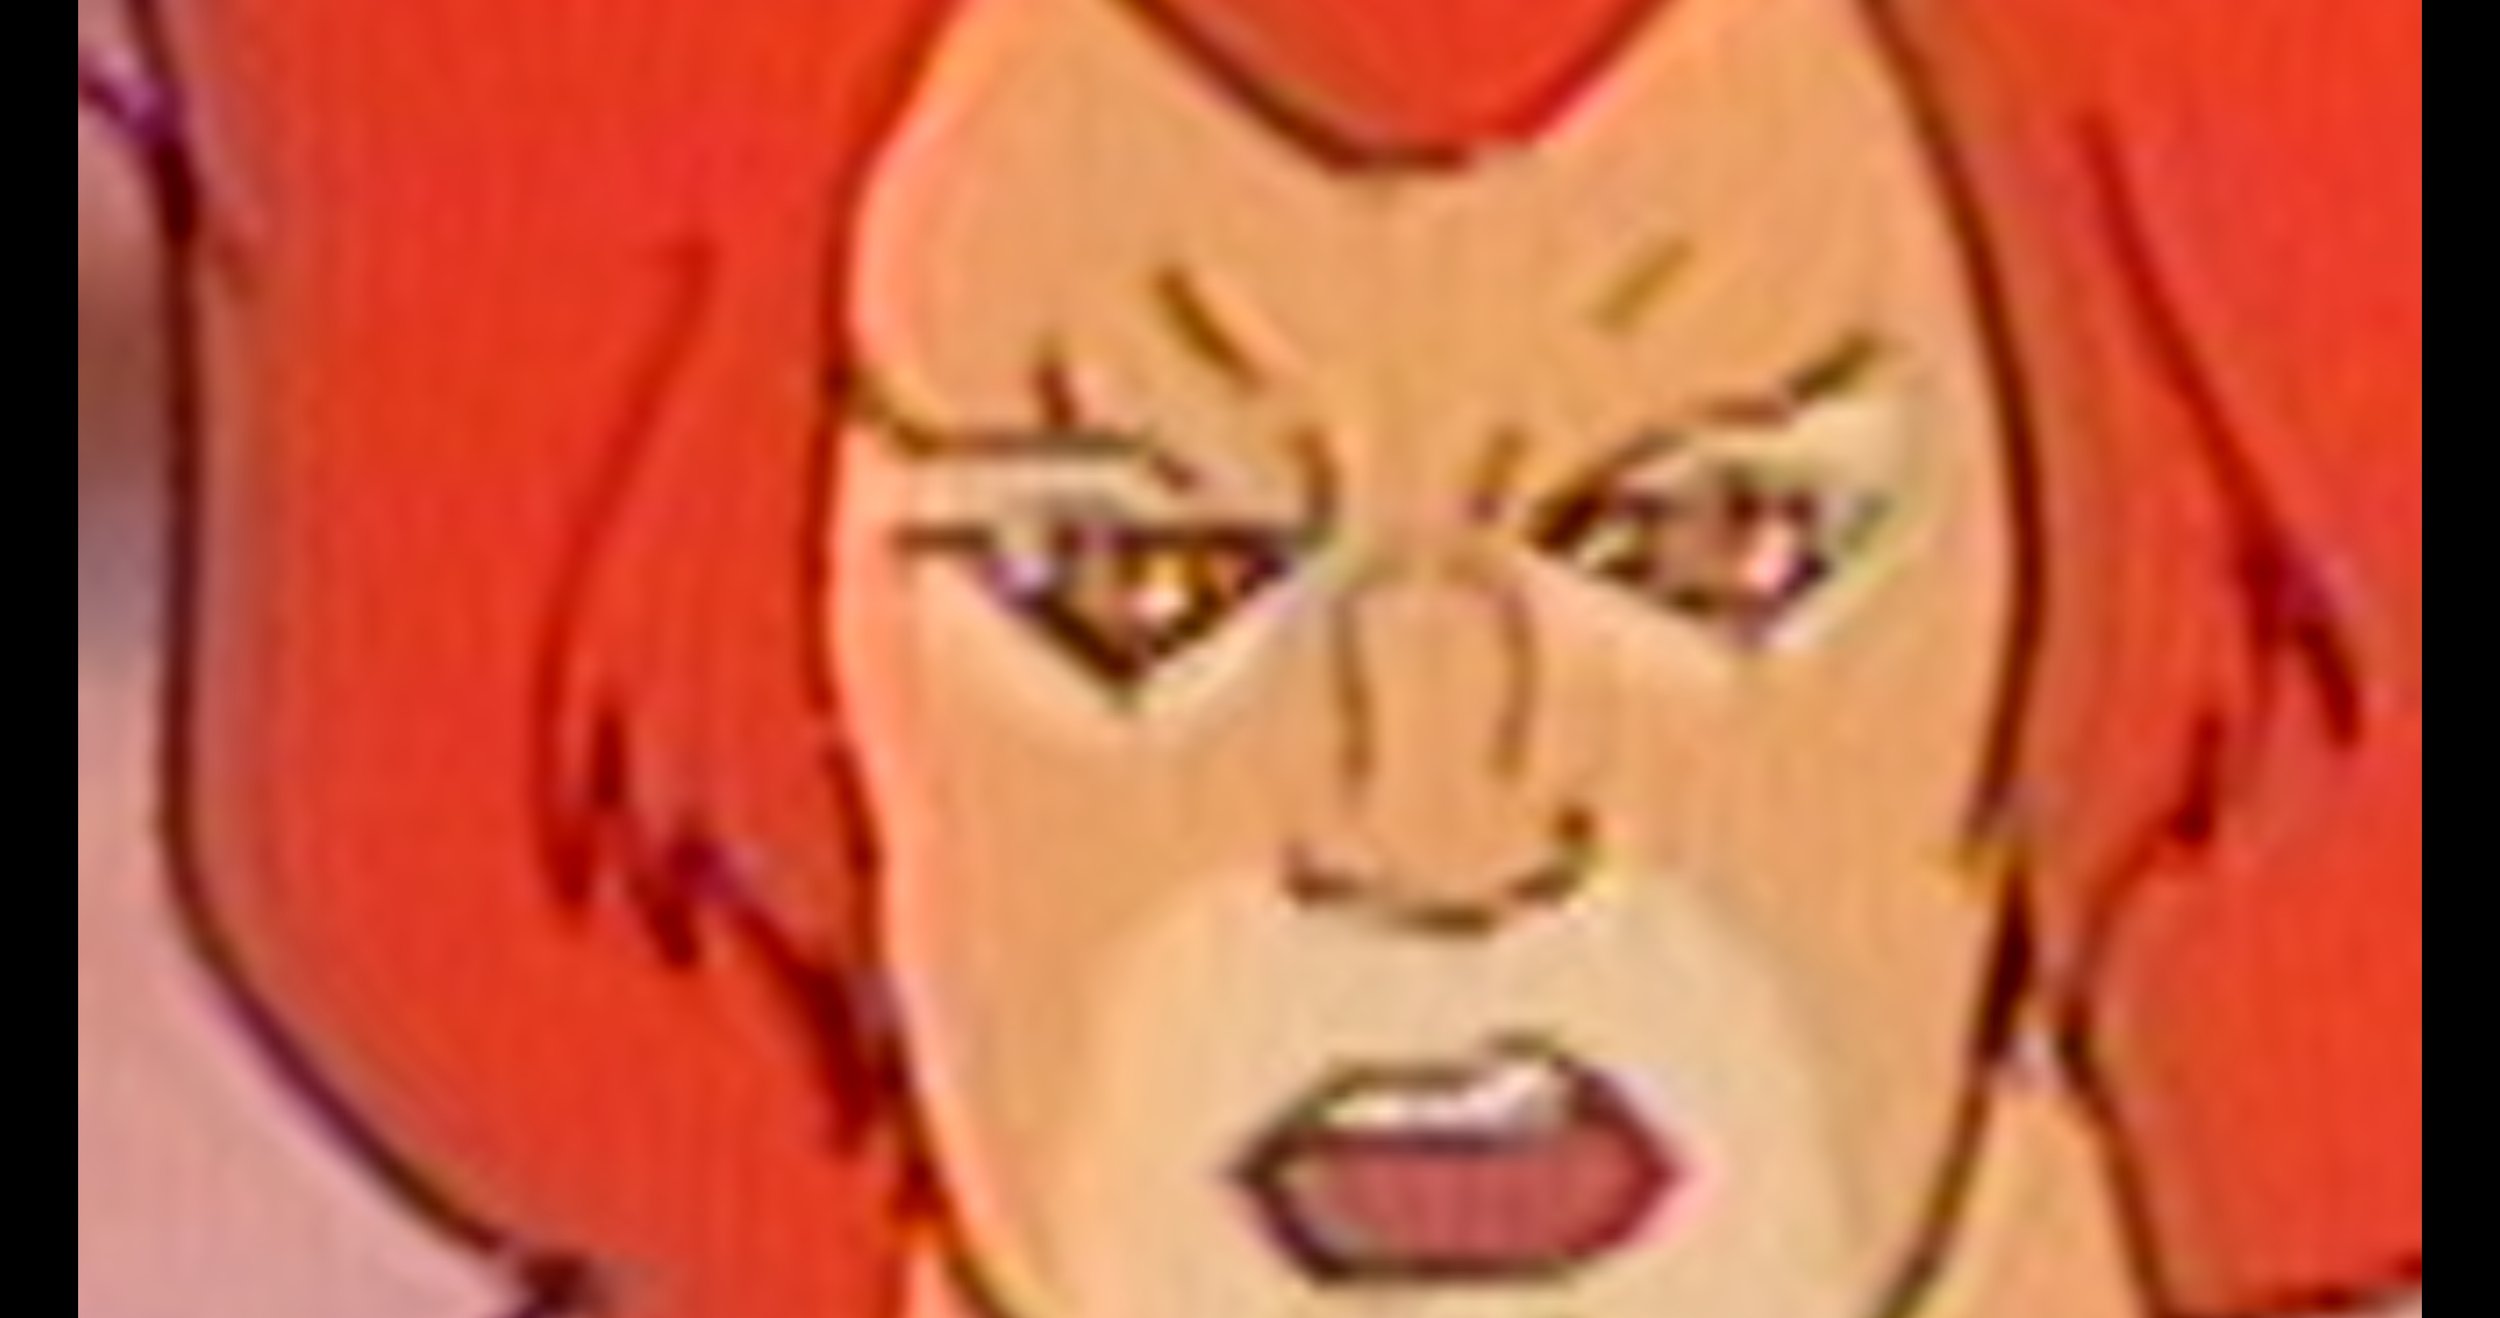
SamurAI Image Restoration
It can auto-detect interlace and cadence now and can perform a general analysis of the quality of the picture. This allowed me to throttle the strength and end up with the perfect amount of enhancement on a case-by-case basis. The new tool is named SamurAI.
If given an example from another show or work of art, what is the best way to emulate that?
It’s good to be inspired, but you never want to be derivative. Often, we take many examples that all have a common theme or feeling and amalgamate them into something new.
That said, sometimes there are projects that do need a literal match. Think film emulation for a period effect. People can approach it in two ways. First — the easiest way, while also being more complicated — is to get a hold of some of the stock you are emulating. Next, you expose it with color and density patches and then develop and measure the strip. If you read enough points, then you can start to interpolate curves from the data.

FilmLight can help with this, and back in my lab days, that is exactly whose software we used. Truelight was essential back in the early days of DI, when the “I” was truly the intermediate digital step between two analog worlds.
The second way I approach this task would be to use my Match Grader software. I can push the look of our references to some of the production footage. Match Grader is a bit of a black box in that it returns a completed graded image but not the recipe for getting there. This means the next step would be to bring it into the color corrector and match it using curves, keys, and scopes. The advantage of doing it this way instead of just matching it to the references is that you are working with the same picture, which makes it easier to align all the values perfectly.
Oh, or you can just use your eyeballs. 😉
Do your workflows include remote monitoring?
Not only do they include it, but there was a time in the not-too-distant past when that was the only option. We use all the top solutions for remote sessions, including Streambox, Sohonet ClearView, Colorfront and T-VIPS. The choice really comes down to what the facility on the catching side has and the location of the client. At the moment, my preference is Streambox. It checks all the boxes, from 4K to HDR. For quick approvals, ClearView is great because all we need on the client side is a calibrated iPad Pro.
What film or show or spot resonates with you from a color perspective?
Going back to my formative years, I have always been drawn to the austere beauty of Gattaca. The film’s use of color is simply flawless. Cinematographer Sławomir Idziak is one of my favorites, and he has profoundly influenced my work. I love Gattaca’s early flashbacks, in particular. I have been gravitating in that direction ever since I saw the picture.

Gattaca

Magic Mike

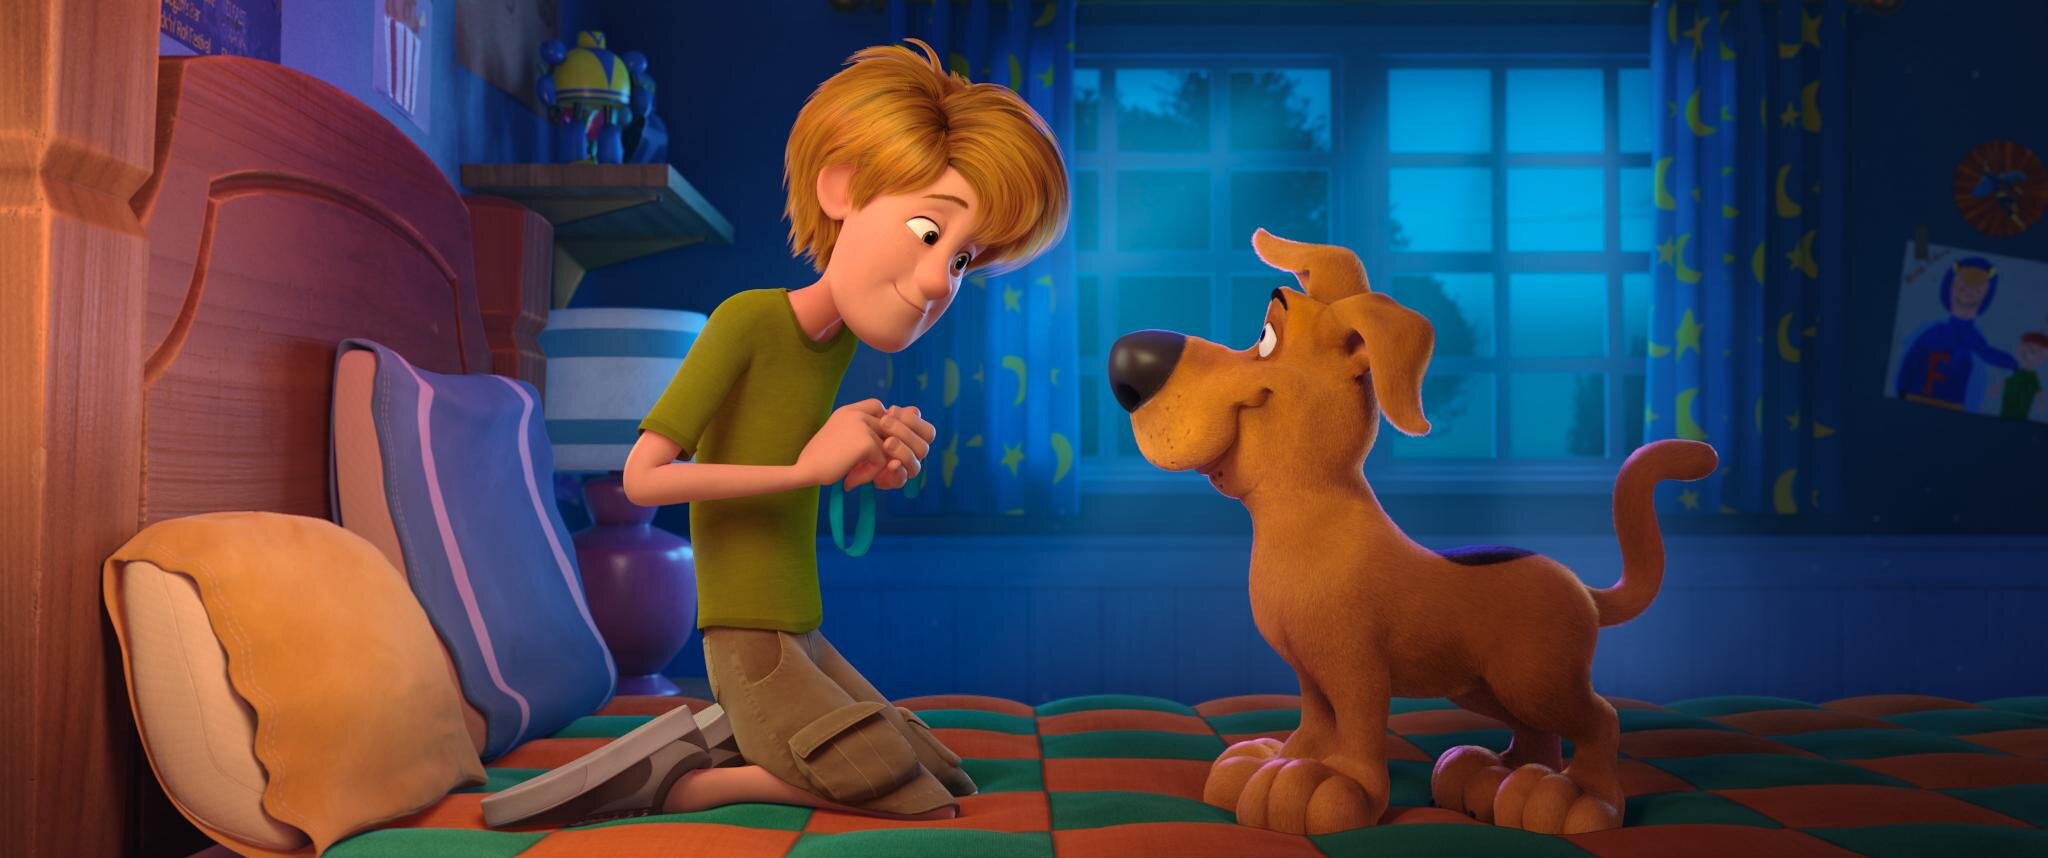
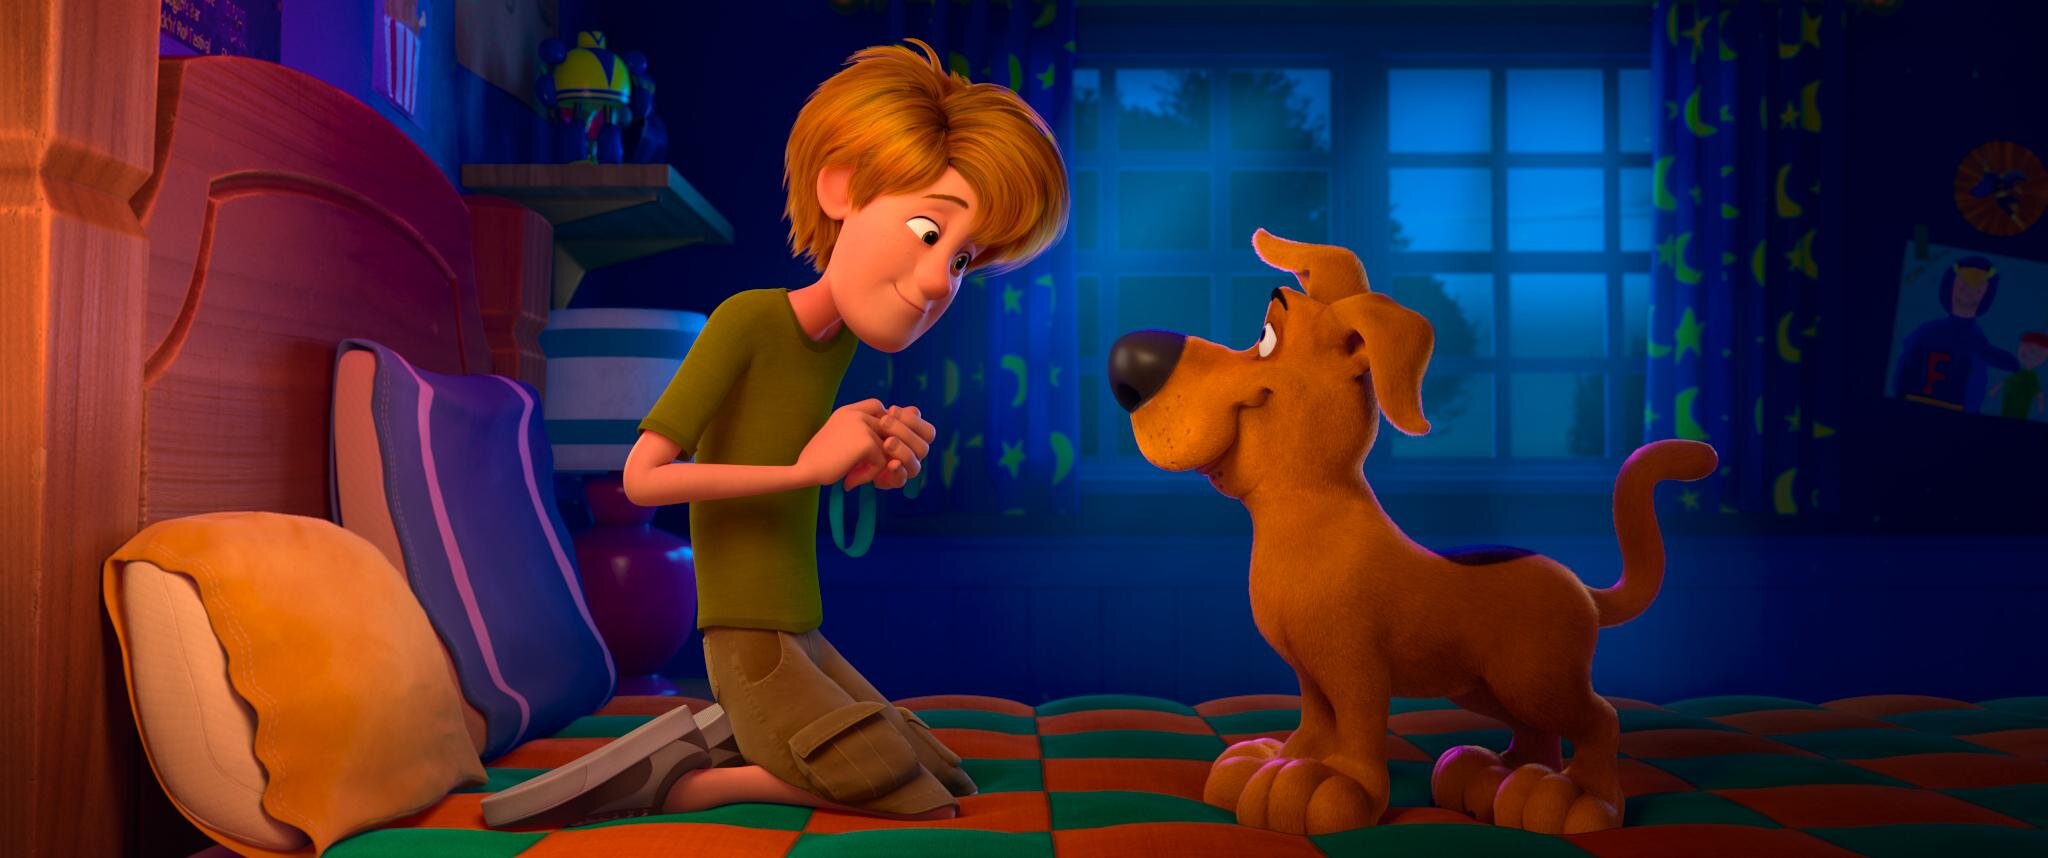
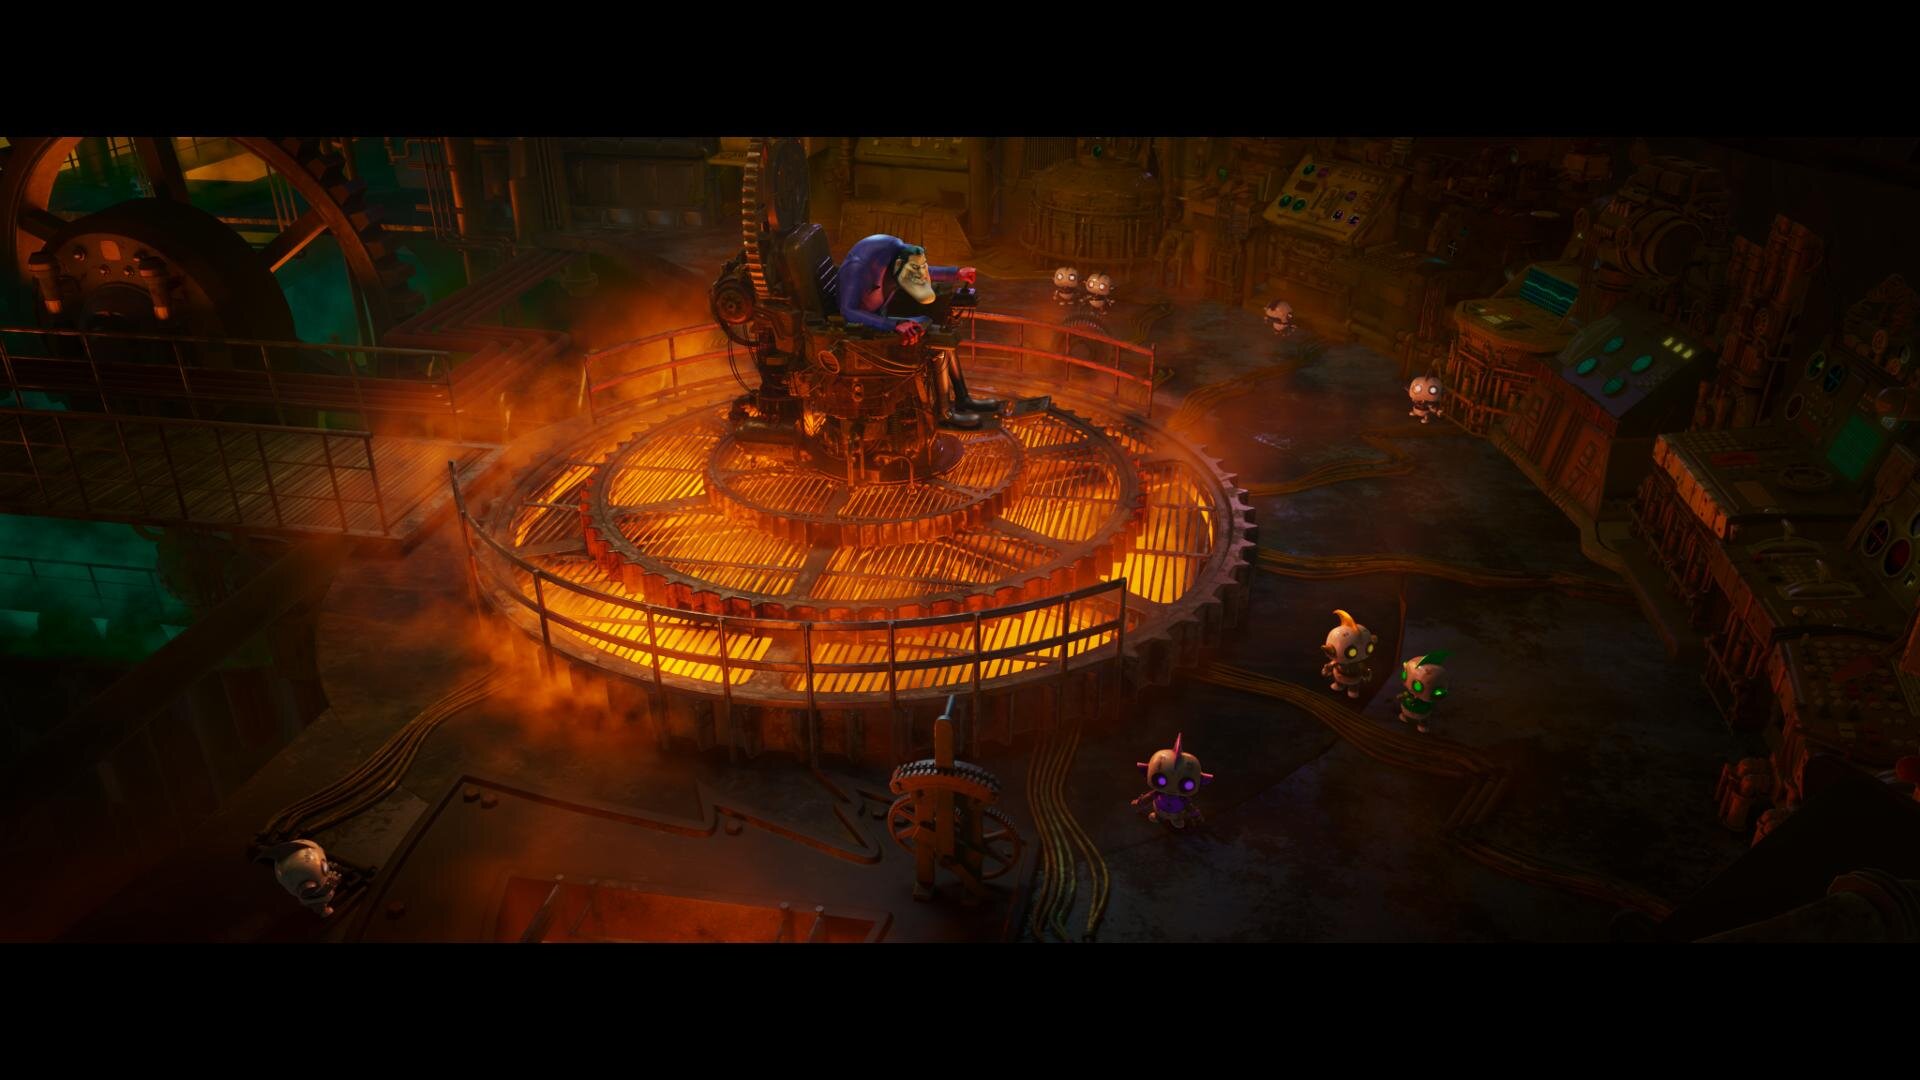
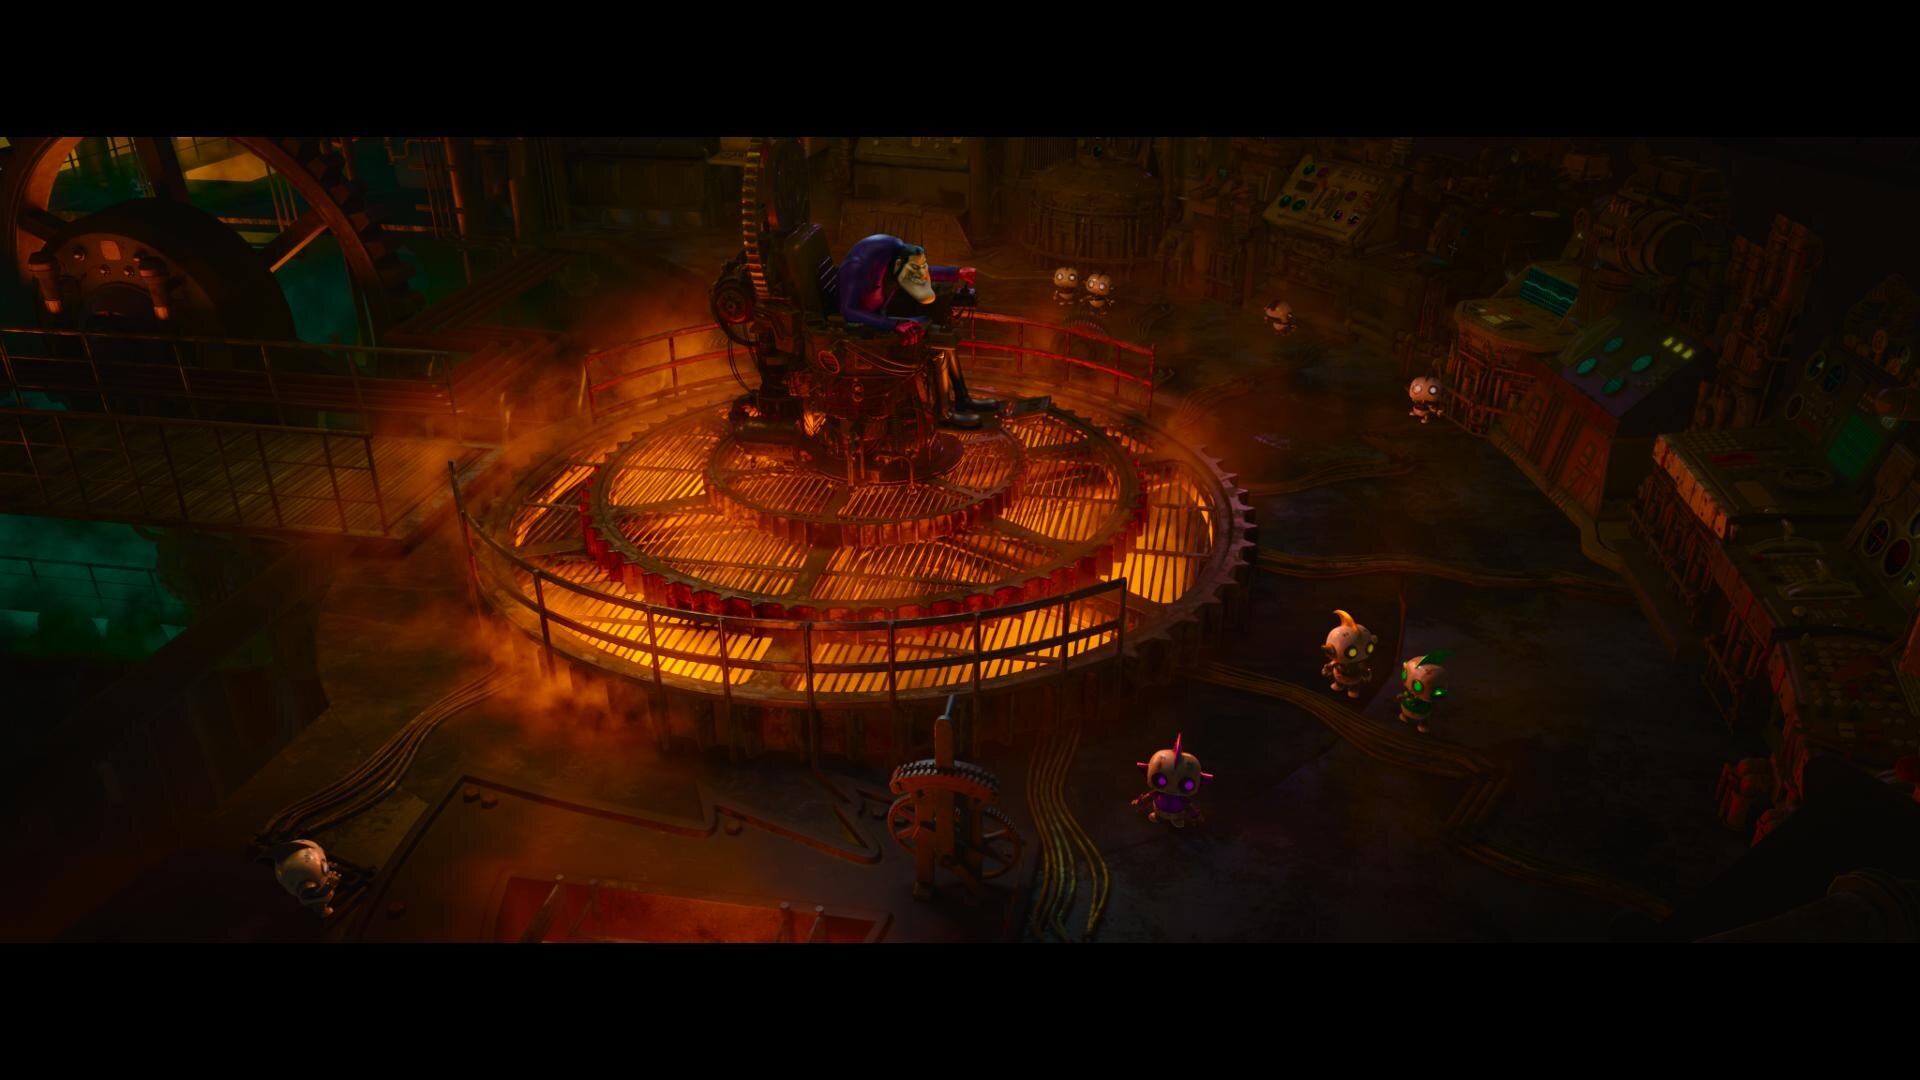
The Sea Beast
You can see a bit of Gattaca‘s influence in my own work on Steven Soderbergh’s Magic Mike and even a little bit on the animated film The Sea Beast, directed by Chris Williams.

Gattaca

The Sea Beast
I am always looking for new ways to push the boundaries of visual storytelling, and there are a ton of other films that have inspired me, but perhaps that’s a conversation for another time. I am grateful for the opportunity to have worked on projects that I have, and I hope that my work will continue to evolve, inspire and be inspired in the years to come.