I’m excited to share the latest film from Steven Soderbergh which we finished color on last year. Let me know what y’all think.
How to - VR 180 Video Files
Recently a few VR jobs came across my desk. I had done some equirectangular grading in the past, but it was always for VFX plates, Dome Theaters, or virtual production sets. These recent projects were different because they were purposely shot for 180 VR. Sorry, no looking back over your shoulder. The beauty of this format is that it brings back some of the narrative language that we have cultivated over 100+ years of cinema. We can direct your eye through shadow and light or pull your attention with a sound effect and sudden action. All while not having to worry if you are looking in the right direction.
I thought it would be a good idea to share what I have learned working with this type of immersive content. It’s all out there on the web but hopefully, this pulls it all together in one place and saves all of you a bunch of googling.
It all starts with a stitch
First, you will need to choose a rig. There are many off-the-shelf kits you can buy or you can go the homebrew route and cobble together a few cameras. There are also some interesting standalone devices that save you from having to use/manage multiple cameras. In all cases, there will be some post-processing needed. You will need stitching software like Mistika VR or Cara VR for multiple camera rigs.
Stitching is the process of combining multiple cameras together, color balancing them, and then feathering the overlapping pixels to create one seamless equirectangular image. There are a lot of tutorials on stitching and this post is not that.

6 cameras stitched
The red lines are the edges. The green lines are where the feather starts for the overlap.

Equidistant Fisheye
Extremely wide fisheye setups will need to be converted from equidistant fisheye to equirectangular
Want to avoid stitching all together? Use a very wide-angle lens. There are extremely wide fisheye setups that can capture more than 180 degree field of view. These will need to be converted from equidistant fisheye to equirectangular, but other than that, no stitching or post-processing is needed. Canon has just recently released a fantastic dual fisheye product that further simplifies capture. No matter the setup the end result of the post process will be a 2:1 canvas with each eye being a 1:1 equirectangular image placed side by side. This is probably a good time to talk about what an equirectangular image is.
Equirectangular Projection

This type of spherical visualization is basically the map of the globe that you had in school. It’s what happens when you take a sphere, map that to a cylinder, and unroll the cylinder to a flat projection. That is a gross oversimplification, but a good way to visualize what is going on nonetheless. Please see the equations below if you are coding something or if you are just a maths fan.

Spherical to Planar Transform
This is the concept of 360 video. We work with it in a flat plane during post. Same idea for 180 VR video, but just one hemisphere instead. Click to see higher quality.
Ok Cool, I have VR Videos… Now what?
At this point, your videos are ready for post. I would consider everything up to this point dailies. Now it’s time to edit. All the usual editors we use daily can cut together these video files, but some are better suited than others. Premiere would be my first choice, with Mistika Boutique being a close second. In my workflow, I use both since the two tools have different strengths and weaknesses. Premiere has a clever feature that uses Steam VR and feeds your timeline to a headset. This is indispensable, in my opinion, for that instant feedback one needs while cutting and grading. VR is a different beast. Straight cuts, unless carefully planned out, can be very jarring if not nausea-inducing. Fades work well but are sort of the VR equivalent of “if you can’t solve it dissolve it.” Having all of these transitions live for evaluation and audition in the headset is what separates Premiere from the rest of the pack. SGO has recently released the ability for HMD review similar to Premiere, but I have yet to use the new feature. I will update this post once I take it out for a spin.
9/7/2023 Mistika update
So, I finally took Mistika’s HMD monitoring for a spin. It was super easy to set up. First, you download DEO VR player to your headset. Next, you click the HMD icon in Mistika. This will give an HTTP address with the ip of your machine. Type that into the address bar in DEO VR and ta-da. You end up with super steppy streaming VR video of your current environment.
It was OK to check geometry and color, but It would be hard to use for review. There are a couple of advantages to working this way, though. Multiple headsets are able to connect to the same stream. This is great when you have a room full of folks and everybody in their own headset. With Premiere, we pass the HMD around while everyone else views on the projector or stares at whoever is in the headset, patiently waiting for their turn. Another benefit is remote monitoring. You can technically serve out the ip of your local machine (this will probably need some port forwarding on your router and some VPN shenanigans) to the world. This means someone remote can connect, provided they are on the same network.
Pros
Easy setup
Multiple viewers at once
Remote viewing
Instant HMD feedback
Cons
Steppy playback
Needs a network-attached machine
Low resolution to maintain interactivity
Setting up your project
Premiere has a couple of dependencies to enable VR viewing. First, you need to install Steam VR. This is all you need if you are using a Windows Mixed Reality headset. You will need to install the Oculus software if you plan on using the Facebook offerings via Occulus link.
Now that your HMD is set up. Check out this blog post for step-by-step settings to get Premiere ready to edit VR. The settings are the same for 180VR. Just change the Horizontal Capture settings from 360 to 180.

Change “360” to 180 for VR180 editing.
Who’s Daniel and why do I care?
One downside about Premiere is the dreadfully slow rendering of HEVC files. Not to mention the 60mbps limitation. The Adobe dev team knows my feelings on the matter so hopefully, this will be fixed in a future update, but until then here is a crafty workaround. Cinegy is a company that makes a codec called daniel2. They have their own renderer. We don’t really care about their codec but we do like that their Cinegy HEVC render is way faster than Premiere’s native one. Here’s how to install it.
download and install
go to email and copy the license (it’s free but still needs to be licensed)
open the Cinegy license manager and paste the number
open a Premiere timeline and, press ctrl m for export, and check to see if Cinegy comes up as an export option.
set your bitrate and hit go. I would recommend a bitrate around 130mbps. This allows enough headroom for audio and will not have any issue playing back on the Oculus Quest 2.
The compromise of all this speed is what’s missing from the header of the video file. The file will be missing the flag that lets players know that it is a VR180 file. You can also use Resolve or Mistika for fast HEVC renders as an alternative to Daniel2. No matter how you get your HEVC file you will need to ensure the header is correct. More on this after we sync the audio.
Audio is not my world
I’m a picture guy. Some would even say a big picture guy ;) The one thing I know for sure is that when it comes to audio, I know when it sounds good, but I haven’t a clue on what it takes to get it there. But no more excuses! This is the year that I want to dig deeper. Check back in a few and I hope to update this section with the FB 360 Protools integration information. Until then, the audio is best left to the pros.

Spatial sound can come in different orders with better immersion the higher you go. First-order ambisonics has 4 channels. Second-order has 9, while Third-order files contain 16 tracks. Now it may seem that third order is the way to go, but in my experience, the difference between second-order and third-order isn’t that noticeable on the built-in headset speakers. Then again, I’m, a picture guy. Whatever sound you receive from your mix, you will need to sync it to your HEVC file.
We use the FaceBook 360 app to marry the picture to the spatial sound. The app has some dependencies to install before you can use it.
Python - if you are like me you may have already had this one!
FFMPEG - this link has a tutorial for installing on a Windows machine. Click “code” then “Download Zip.” Uncompress and copy to the FB360 directory
GPAC - make sure you use the legacy 0.8.1 version. This stumped me for a bit the first time.
Now we can run FB360 The first step is to point to your video file. Then choose the right order of ambisonic audio and point to the wav file from the mix. There is also an option to load a standard “head locked” stereo audio track. This can be good for narration, music, or other types of audio that do not need to be assigned a spatial location.
Finally, we hit “Encode.”
It’s not a vaccine but it is an injection
Google VR 180 Creator can be downloaded here. You can’t even find this anymore but it’s super important. There are other options including the original source code for this app, but this little gizmo is by far the easiest way to inject the proper metadata into the header of your HEVC file. This lets players know it’s a side-by-side 180 VR file.
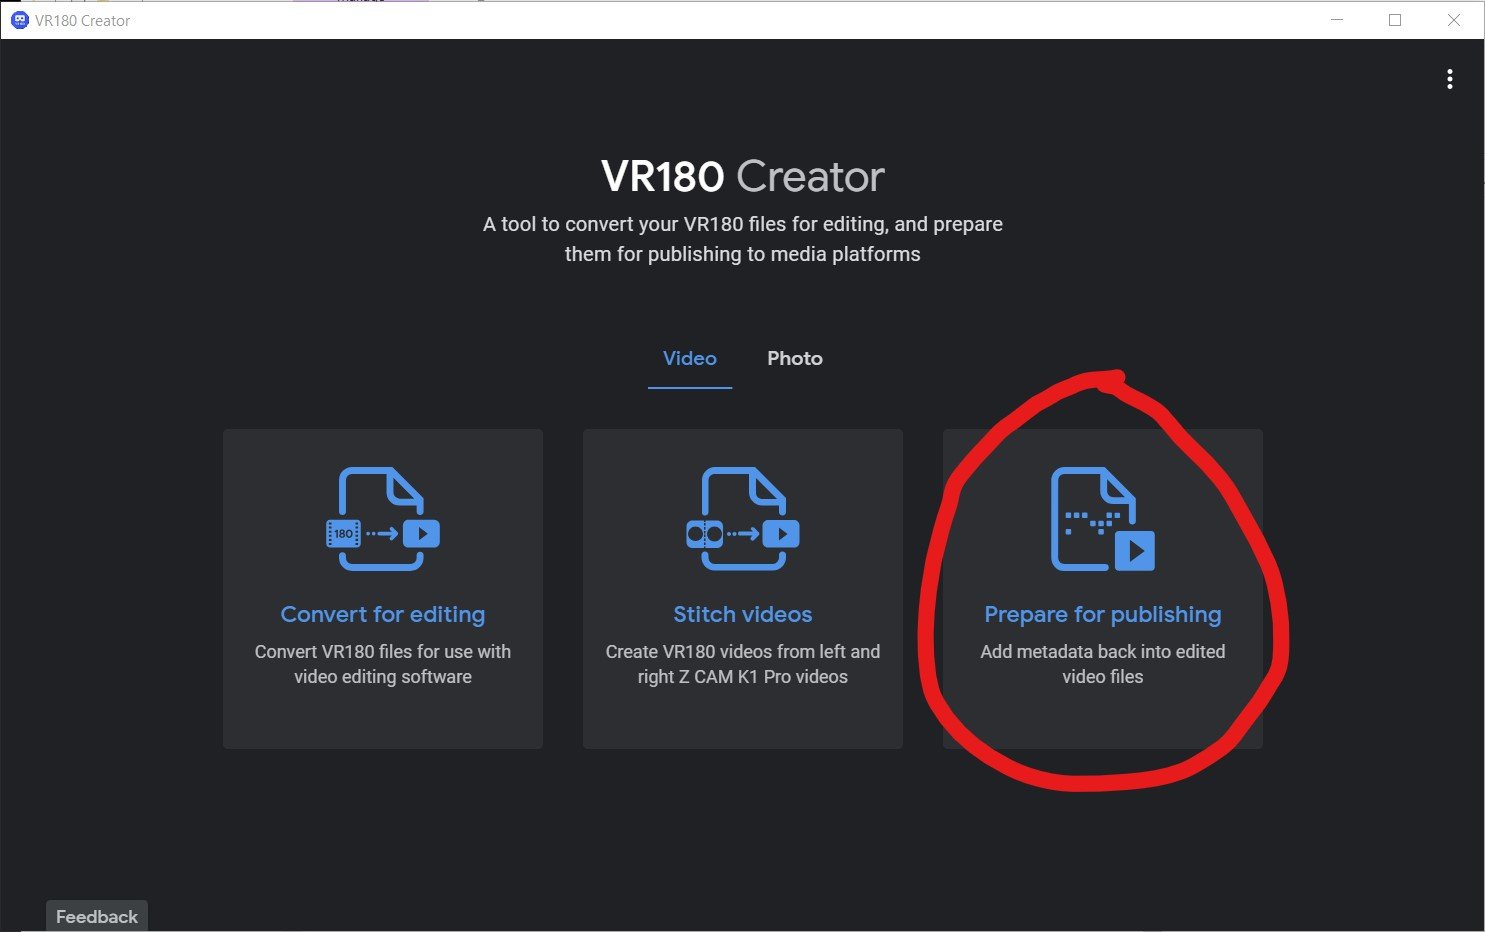
VR180 Creator
Click “Prepare for Publishing. Drag your video in. Set it to side by side and hit export. You will have a new video that has been “injected” with the correct metadata.
How do I view the final product?

Plugin your Oculus Quest into your computer and put it on. Click allow file transfer. Now take off the headset and go to your computer. It will show up as a USB drive. Navigate to the movies directory and simply drag your files across. Now you can unplug your Oculus. Go to Oculus TV/ my media and click your video. If everything was done correctly you are now in a stereo 180 world!
You can also upload to Facebook or Youtube for streaming distribution. Here are two links that contain the specs for both. As with all tech, I’m sure these will change as better headsets are released.
Thank you to the experts that have helped me along the way.
Hopefully, this helps navigate the murky waters of VR just a bit. I’m excited to see what you all create. A big thanks to Hugh Hou for making a ton of really informative videos. A tip of the cap to Tom Peligrini for bringing us all together and leading the charge. I also owe a debt of gratitude to David Raines, for not only introducing Hugh to me but also making sure our VR pictures have all the emotion and immersive sound one could ask for. There’s a pretty great team here at Warner PPCS.
As always, thanks for reading.
JD
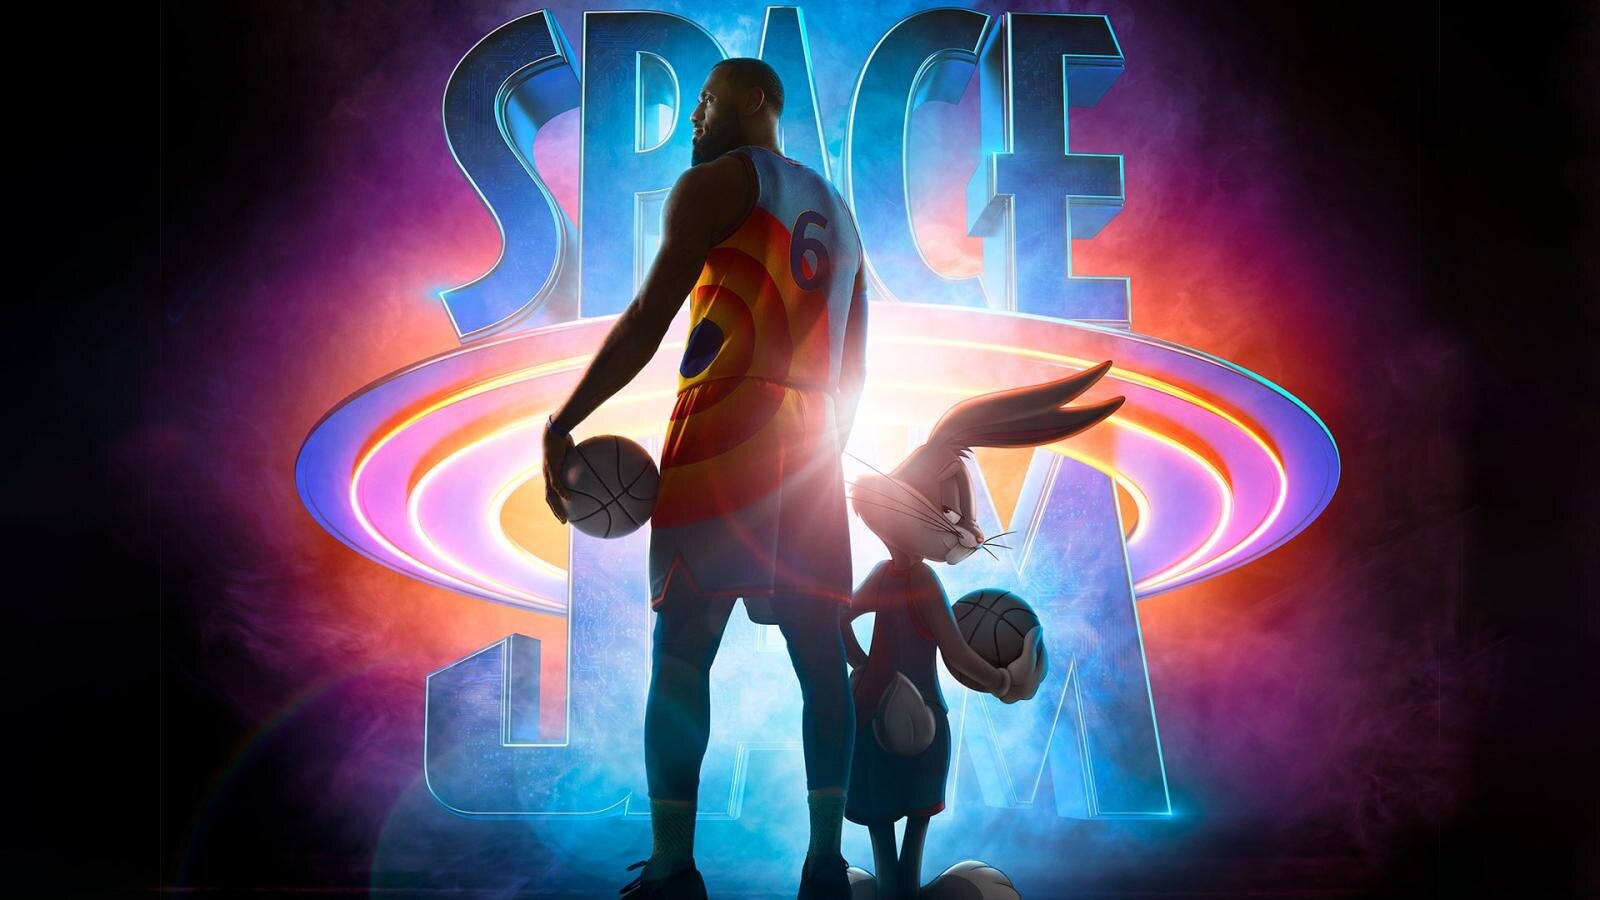
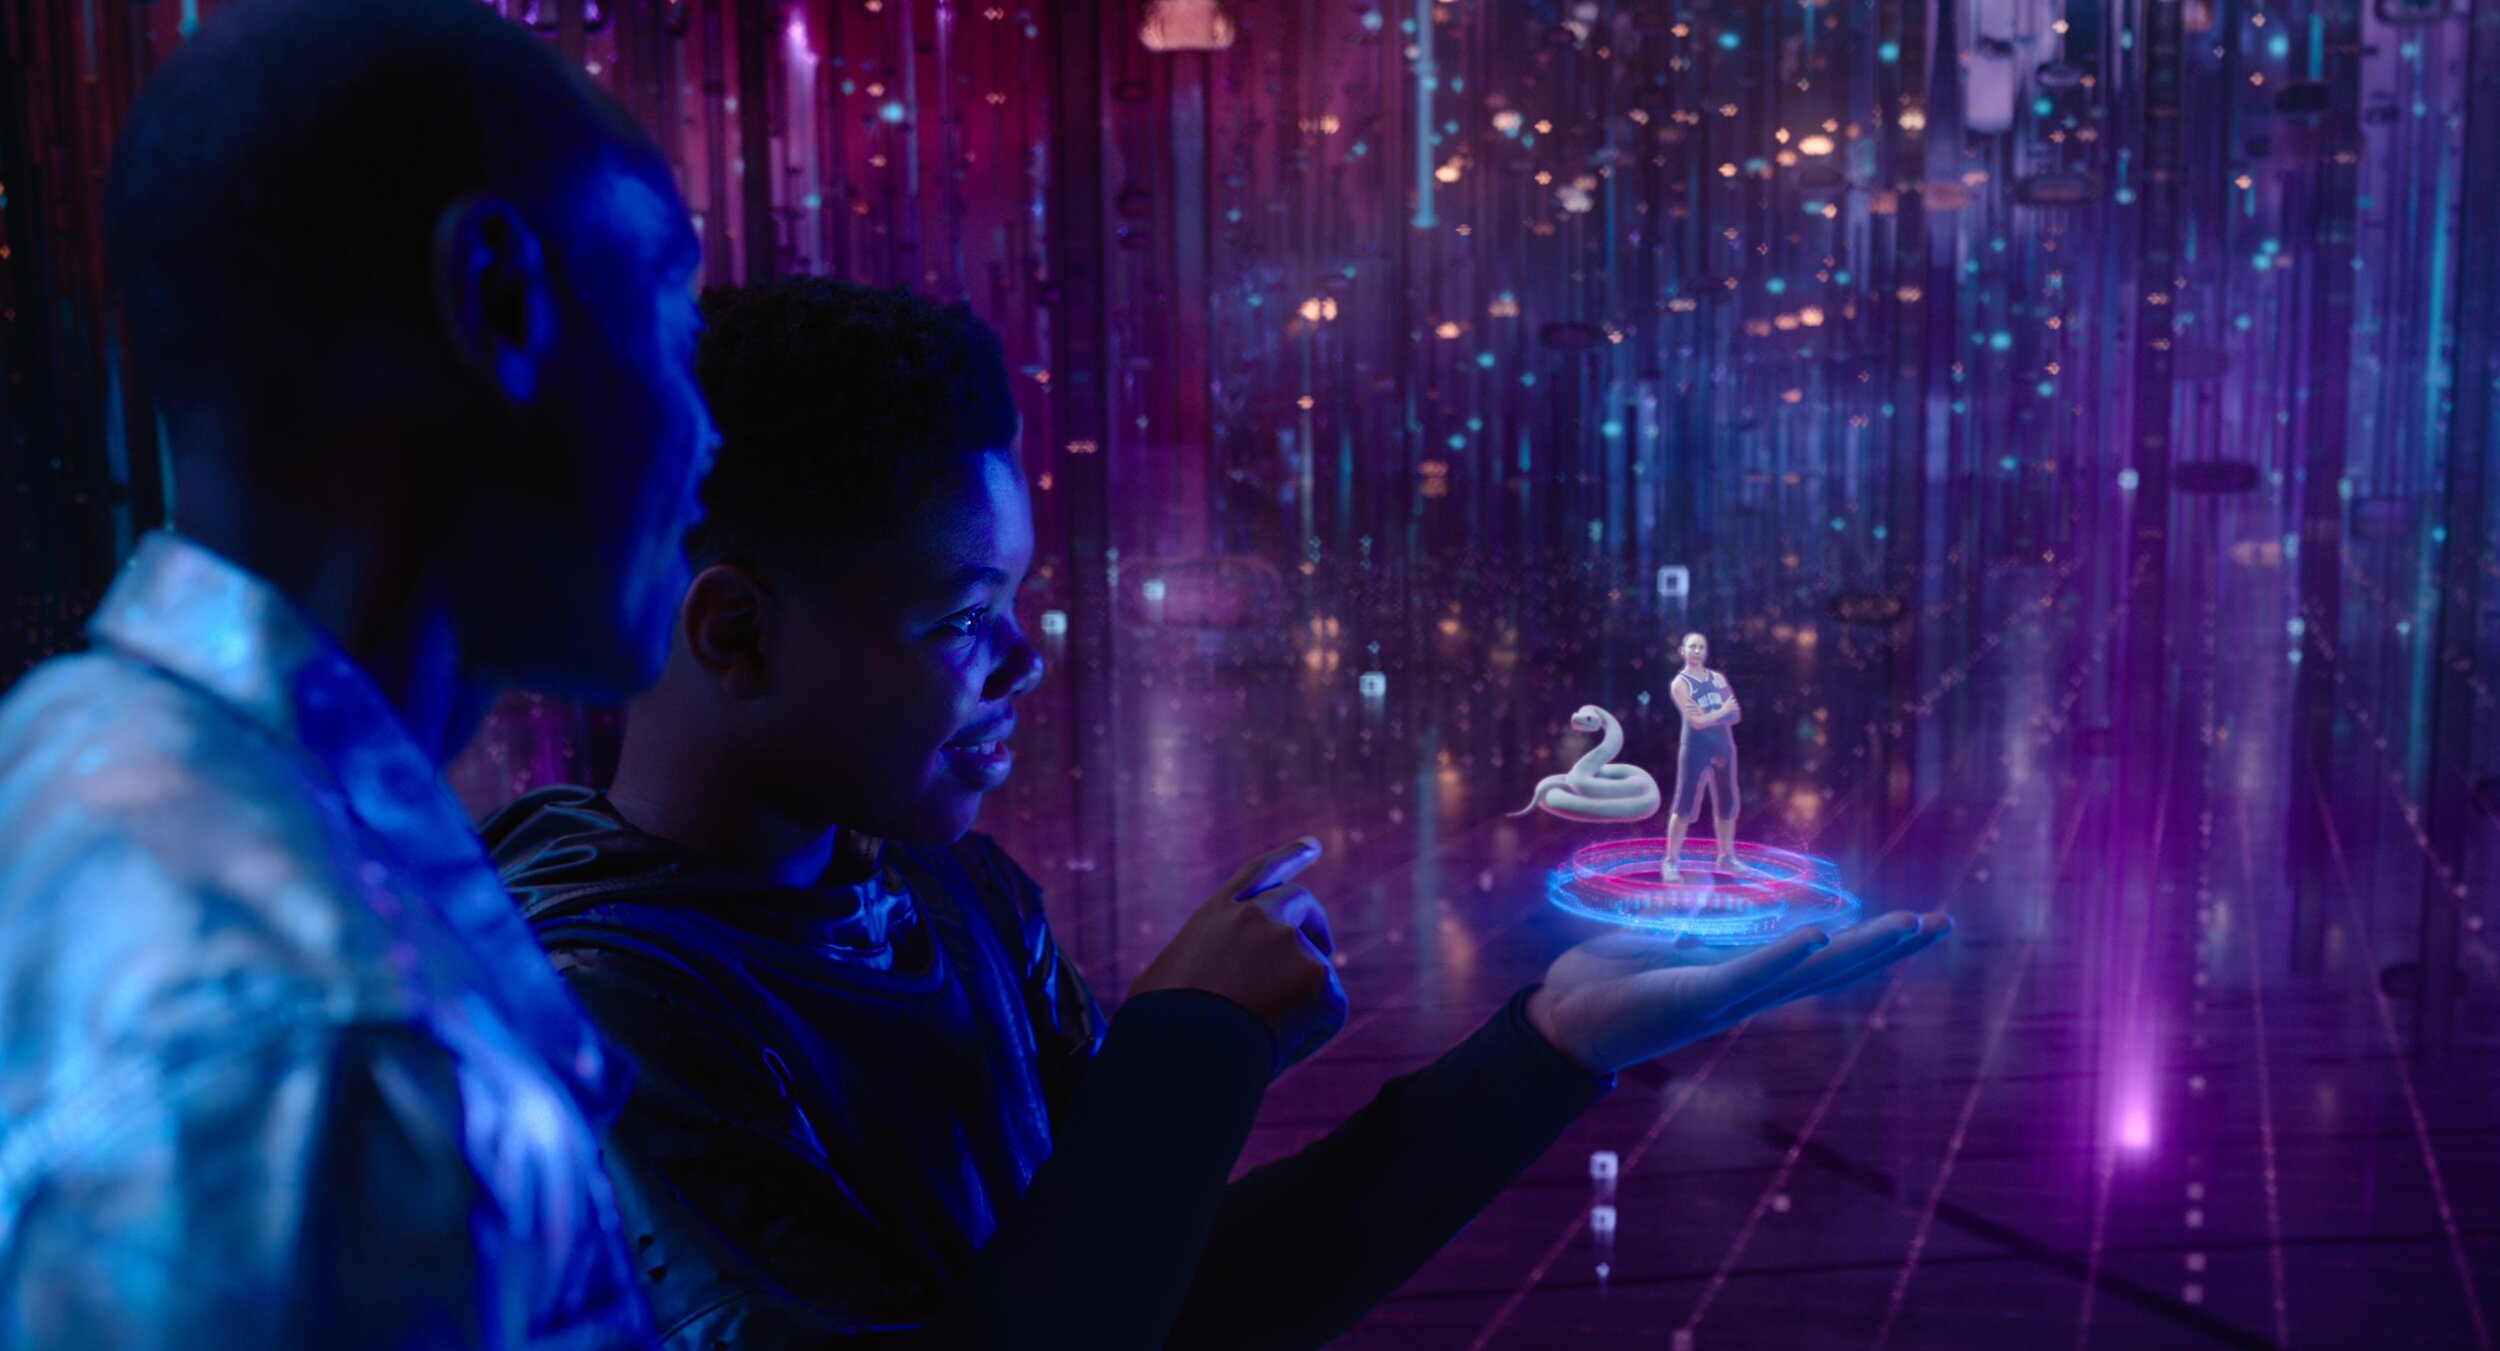
Space Jam: A New Legacy - Multiple Worlds, Multiple Deliveries.
Hey Everybody! Space Jam: A New Legacy directed by Malcolm D. Lee is out today. I wanted to take a second to highlight the super slick color workflow which allowed us to work on multiple versions concurrently.
Capture
Space Jam: A New Legacy was masterfully lensed by Salvatore Totino. The two primary capture mediums were 35mm Kodak film and the entire lineup of Arri cameras, mainly the LF. The glass used was Zeiss Supremes and Master Primes. There were also a handful of scans from archival films which were used as plates for animation.

VFX
ILM was running point for the VFXs on this show. Grady Cofer and his team were a dream to work with. There is a reason ILM continues to be the best in class. The knowledge and expertise ILM employs is second to none. Early on Grady connected me with their head of color science, Matthias Scharfenberg. I thought I knew what I was doing when it comes to color science until I saw what Matthias had going on with CTL and Nuke. I learned a lot from our chats. He was super gracious in sending over his Nuke scripts which allowed me to build a Baselight transform that matched ILM’s pipeline. This insured a one-to-one representation of their stellar work.
Two Worlds, One Grade
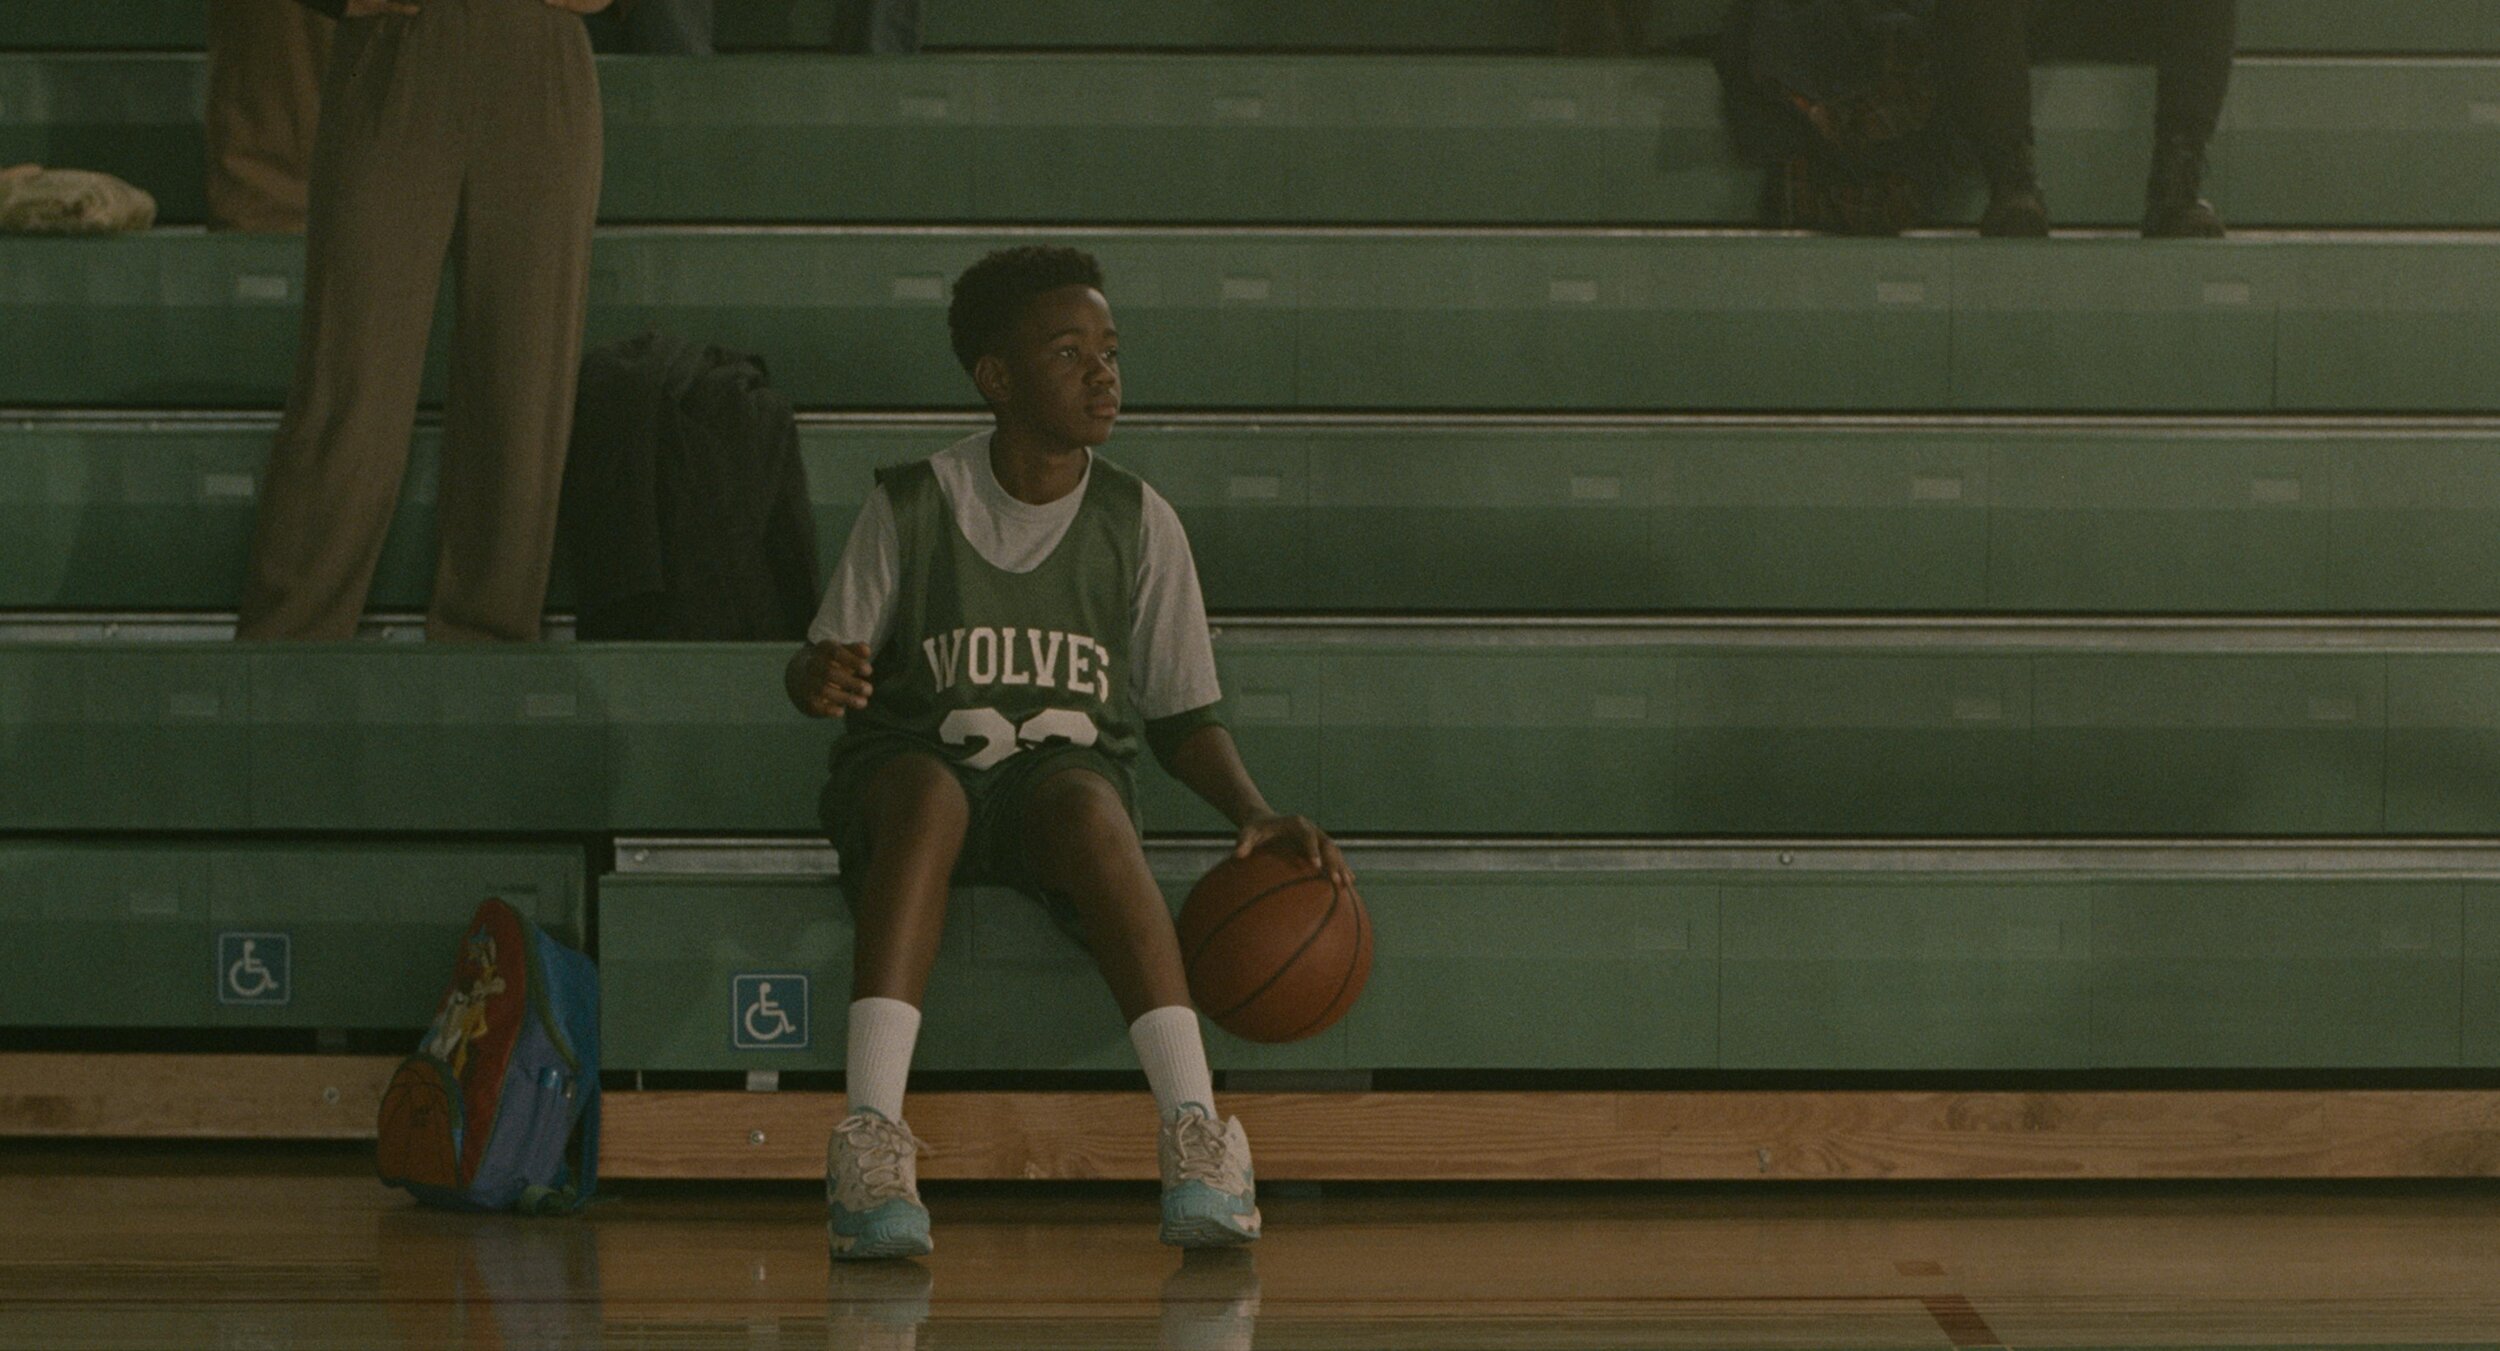
The show can basically be broken down into two looks. In “Space Jam: A New Legacy” there is the real-world and the Warner Bros Serververse.
We chose an analog celluloid vibe for the real world. The Serververse has a super clean, very 1s and 0s look to it. Most of the real world is shot on film or is Arri Alexa utilizing film emulation curves paired with a grain treatment. Some sequences have a mix of the two. Let me know if you can tell which ones😉.
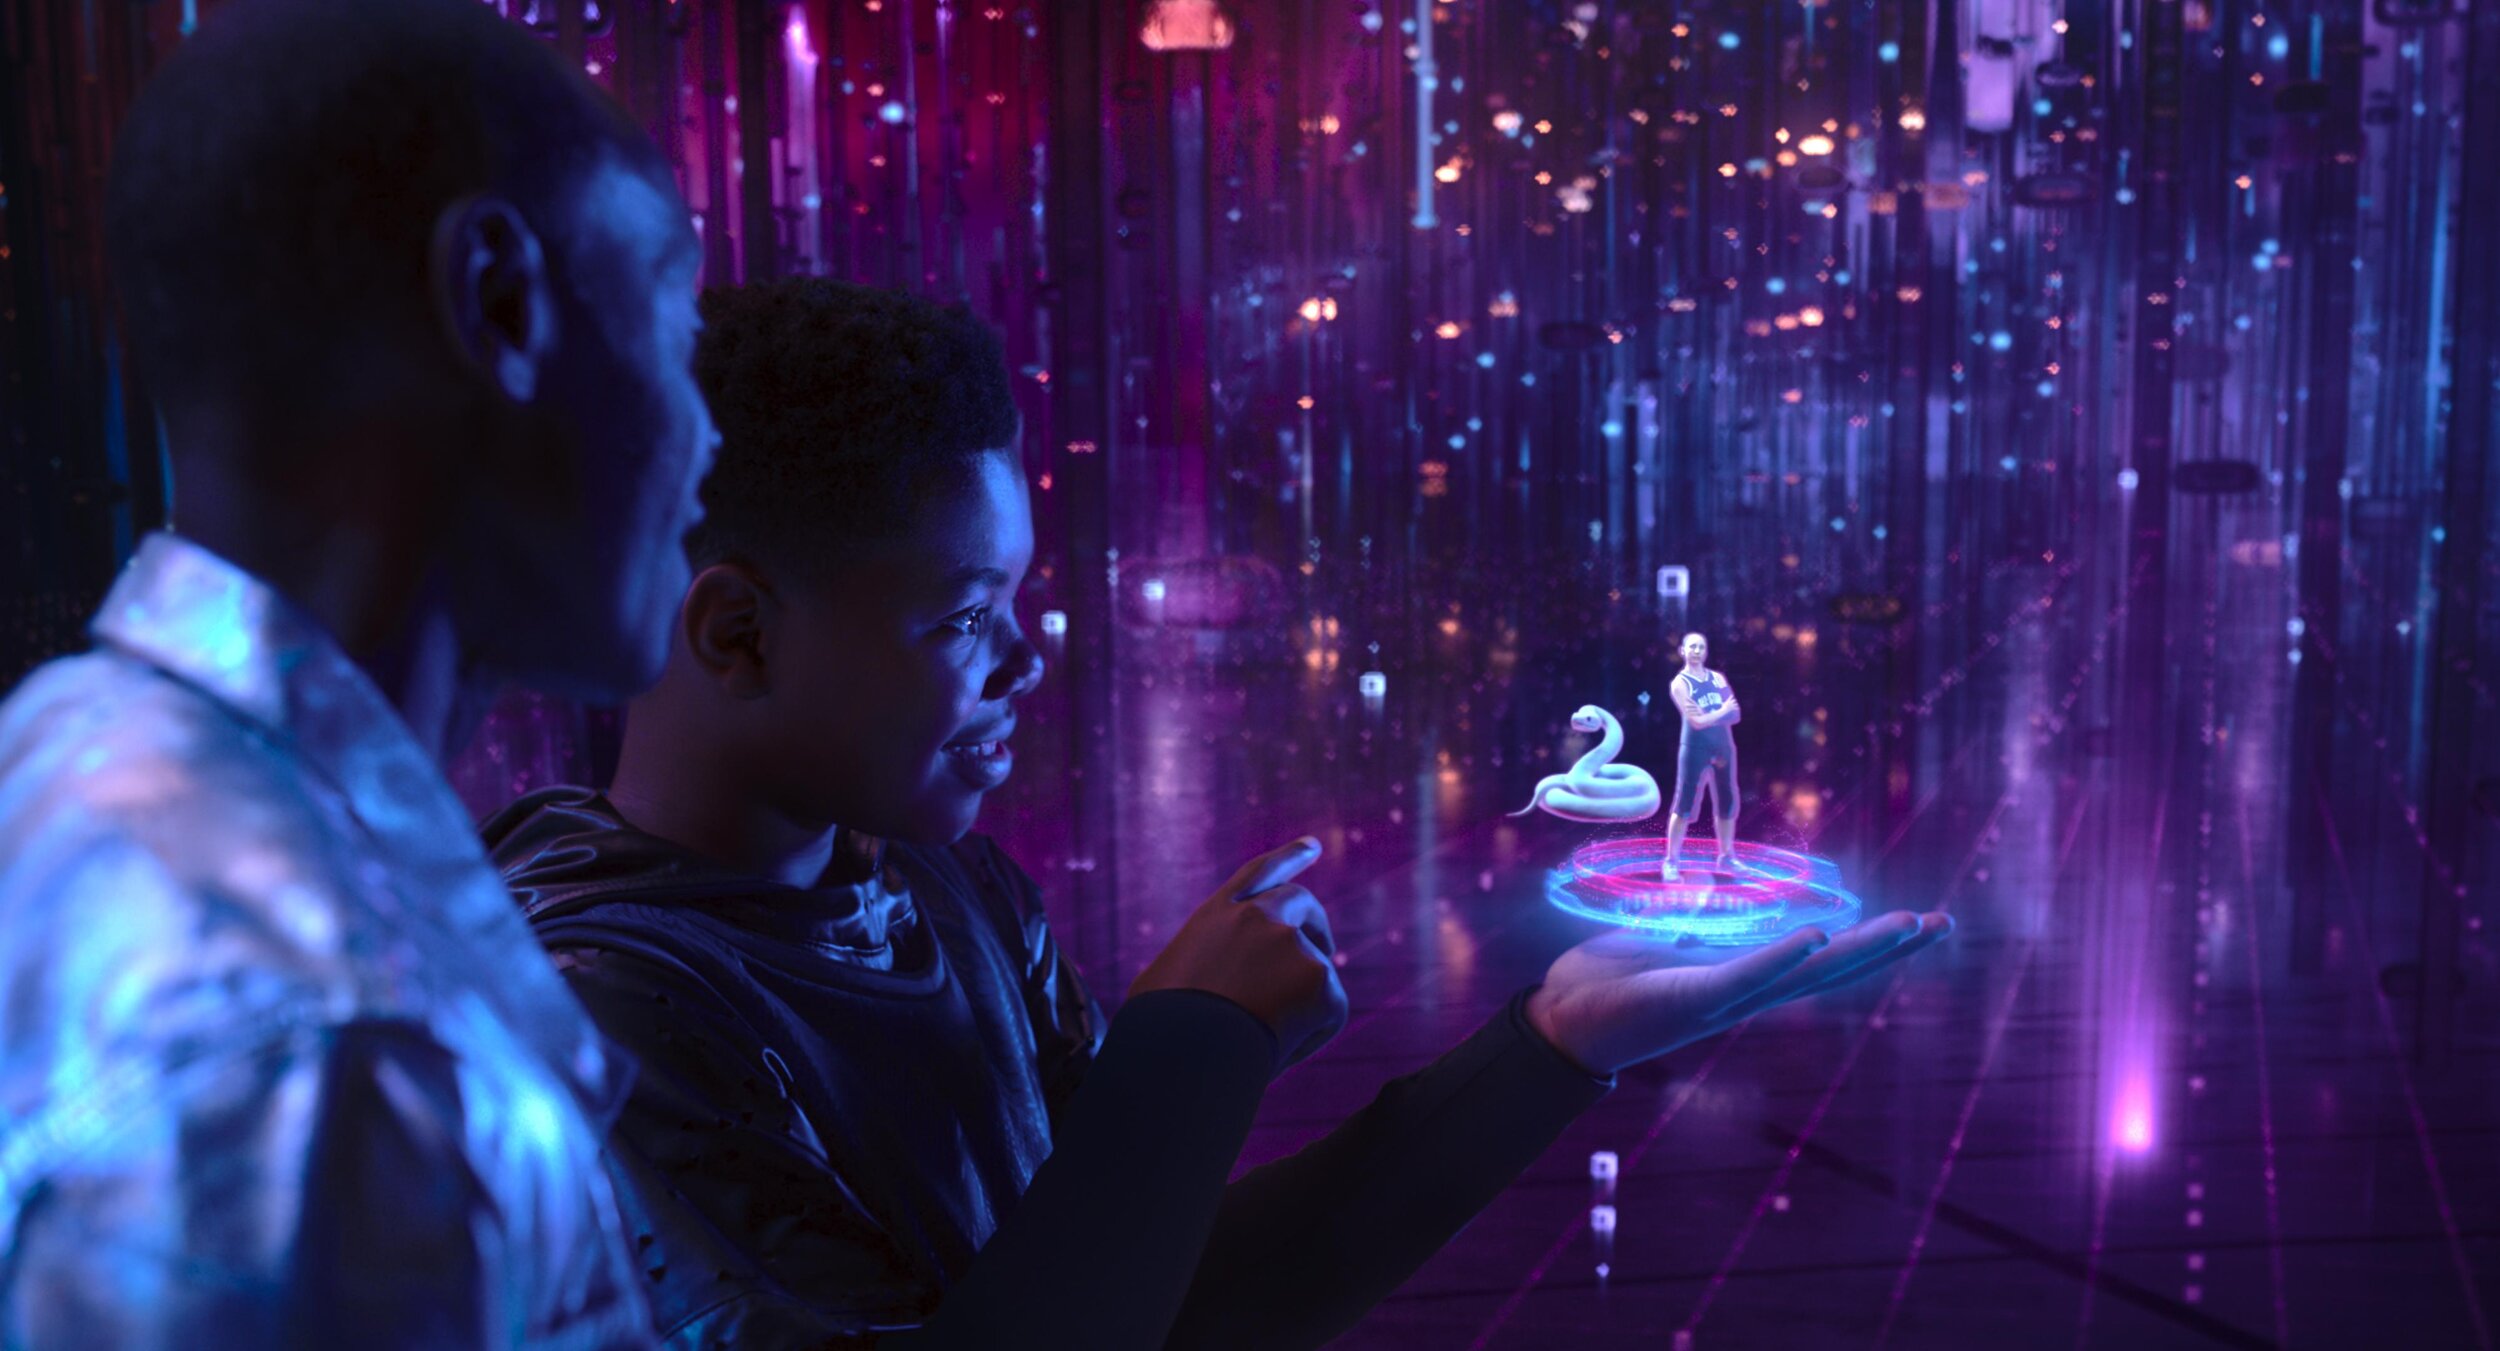
The look of the digital world changes depending on where the characters are in the Serververse. The base look of the Serververse is the vanilla ACES ODT with restricted primaries in the mid-tones complimented by exaggerating the saturation for highly saturated colors.
All the other looks are riffs off this base LMT with the exception of the library classics. These were graded to look like their existing masters and the new footage was matched in.
Multiple Deliverables, One Timeline
The challenge of this show, beyond the sheer number of VFX and moving parts, was the delivery schedule. The Post Supervisor Lisa Dennis asked to have the theatrical version and the HDR video versions delivered days apart. To hit the dates requested, I graded simultaneously in HDR and SDR. I did most of the heavy lifting in HDR PQ 1000nits. Then I trimmed at 14FL to ensure the reel was ready for filmmaker review. Poping back and forth between outputs was made possible by two great tools. Firstly, I used ACES 1.1 color management to normalize all the different sources into one grading space.
Secondly, I used Baselight’s “Bypass Categories” functionality to if/then the timeline. Basically, I had one timeline that would represent itself differently depending on the output selected. Different layers were toggled for different sources and outputs. The LMTs used often had SDR and HDR versions to further exacerbate the combinations. This was a critical hurdle to overcome and the Baselight gave me the tools to accomplish the organization of a very complicated timeline with ease.

Approvals
The Color sessions were supervised by Malcolm, Sal, and Bob Ducsay. We used Nevion and ClearView for remote sessions, but most of the work was done in-person on the lot here in Burbank. The Animated sequences were supervised by Spike Brandt and Devin Crane. These guys are animation heavyweights, so very cool to be in such good company for an animation nerd like me.

Most of the tweaking on the animation was for continuity fixing. A few of the shots we composited for final in the Baselight. This gave Devin and Spike a little extra creative freedom than a baked shot would have.
Reference for Tweety’s floor
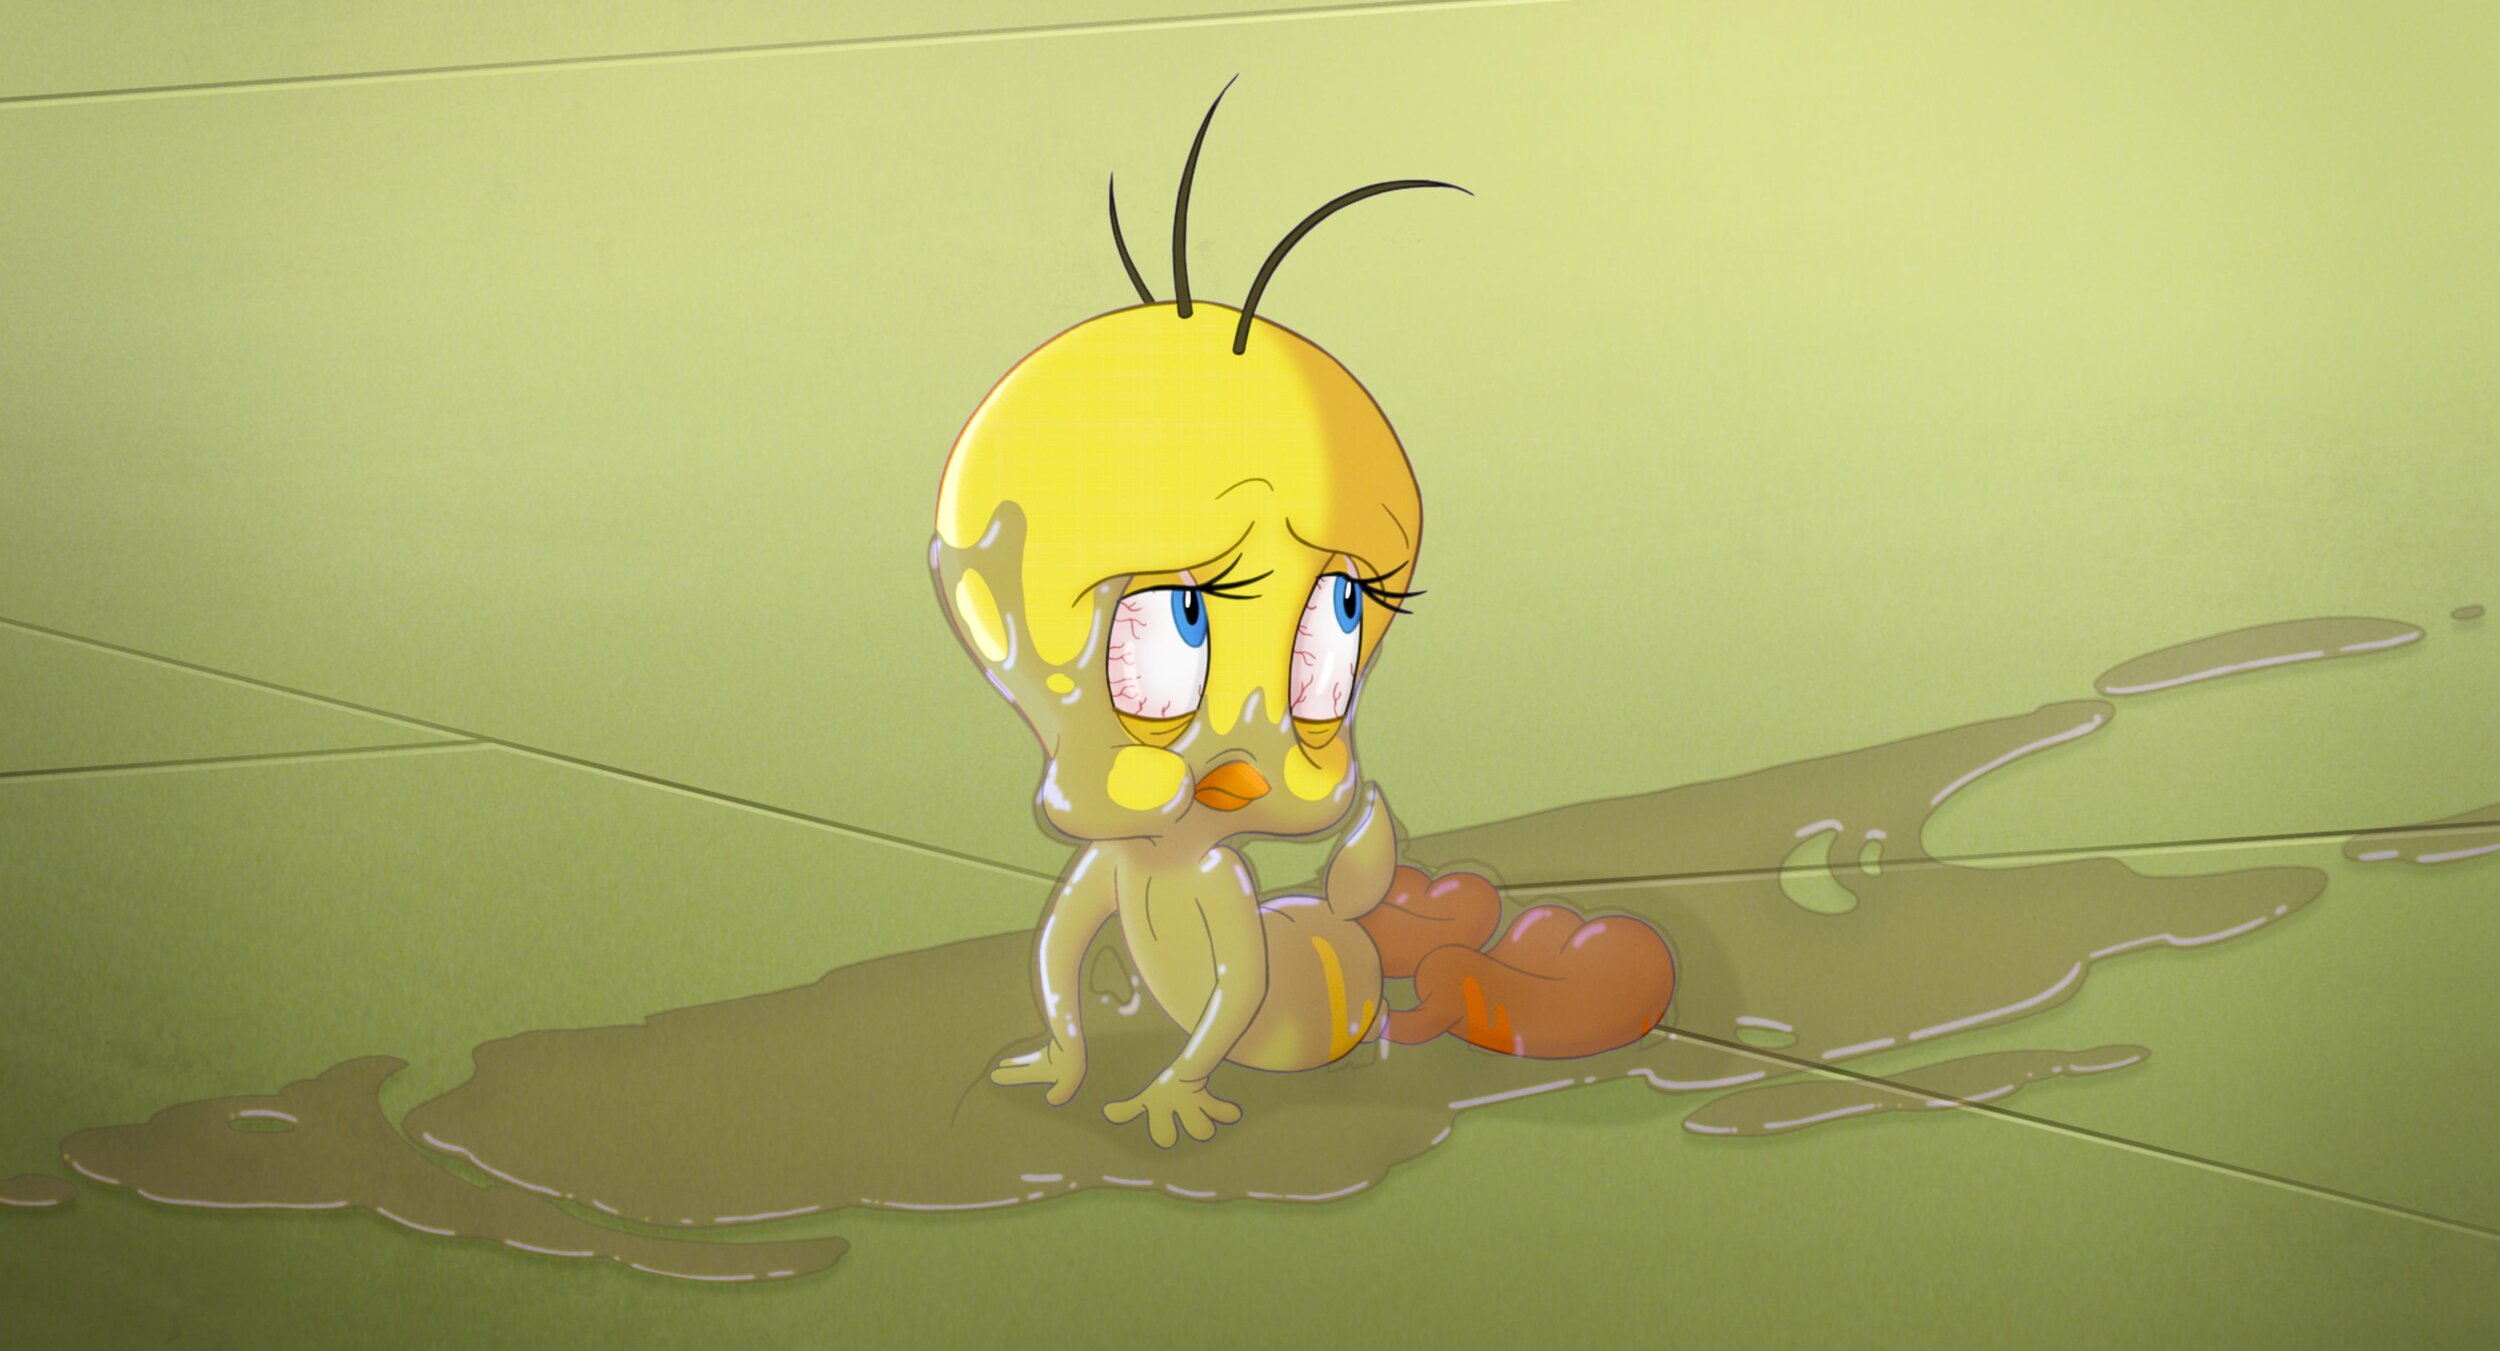
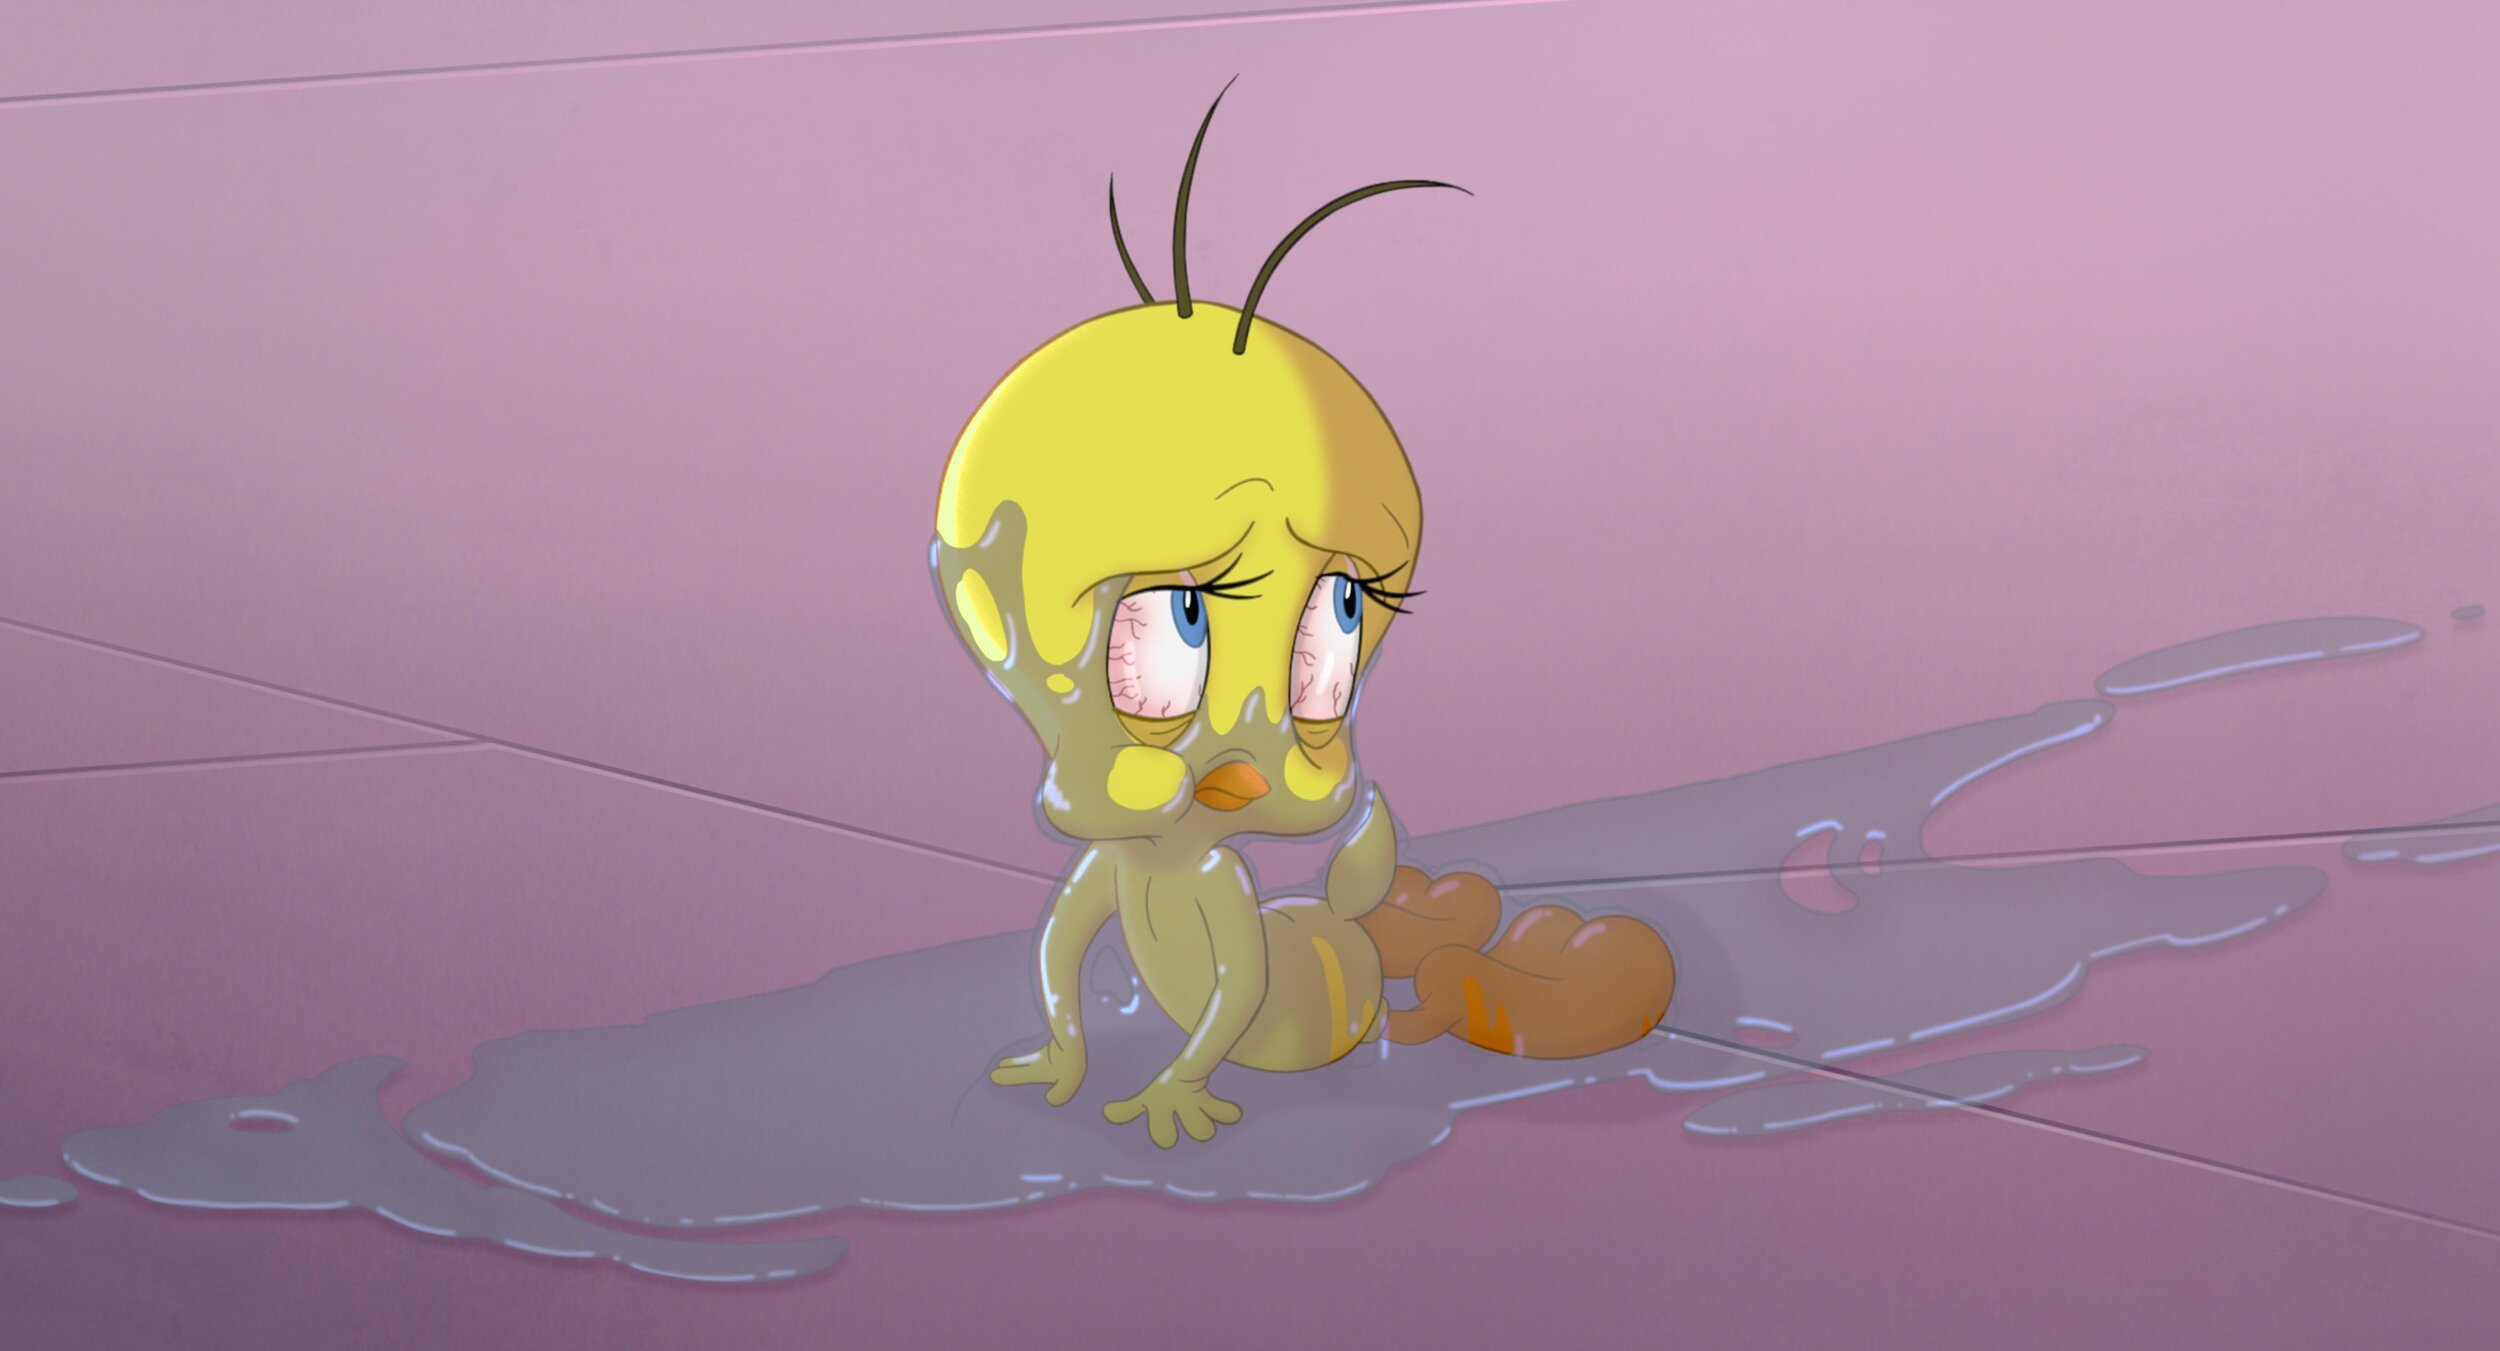
After all the color decisions were made, Malcolm had his final pass and the masters were created. All deliverables from that point were sub-masters from the hero PQ deliverable. These included deliverables such as the Dolby Vision Theatrical version and 709 SDR version derived from the Dolby XML metadata.


Go See It!
Thanks for reading how the look of this candy-colored revival came together. Working on Space Jam was a wild ride. I had to tap into my background in photochemical film processing and knowledge of the latest digital grading techniques to create unique looks for all the different cinematic worlds visited. The film is a nostalgic love letter to the rich history and legacy of the Warner Bros. Studio. I couldn't be more proud of the Warner Color team, especially Leo Ferrini and Paul Lavoie. A big thanks to you guys! Putting this film together was a monumental task and I am ecstatic with end result. Check it out in theaters and on HBO Max today!

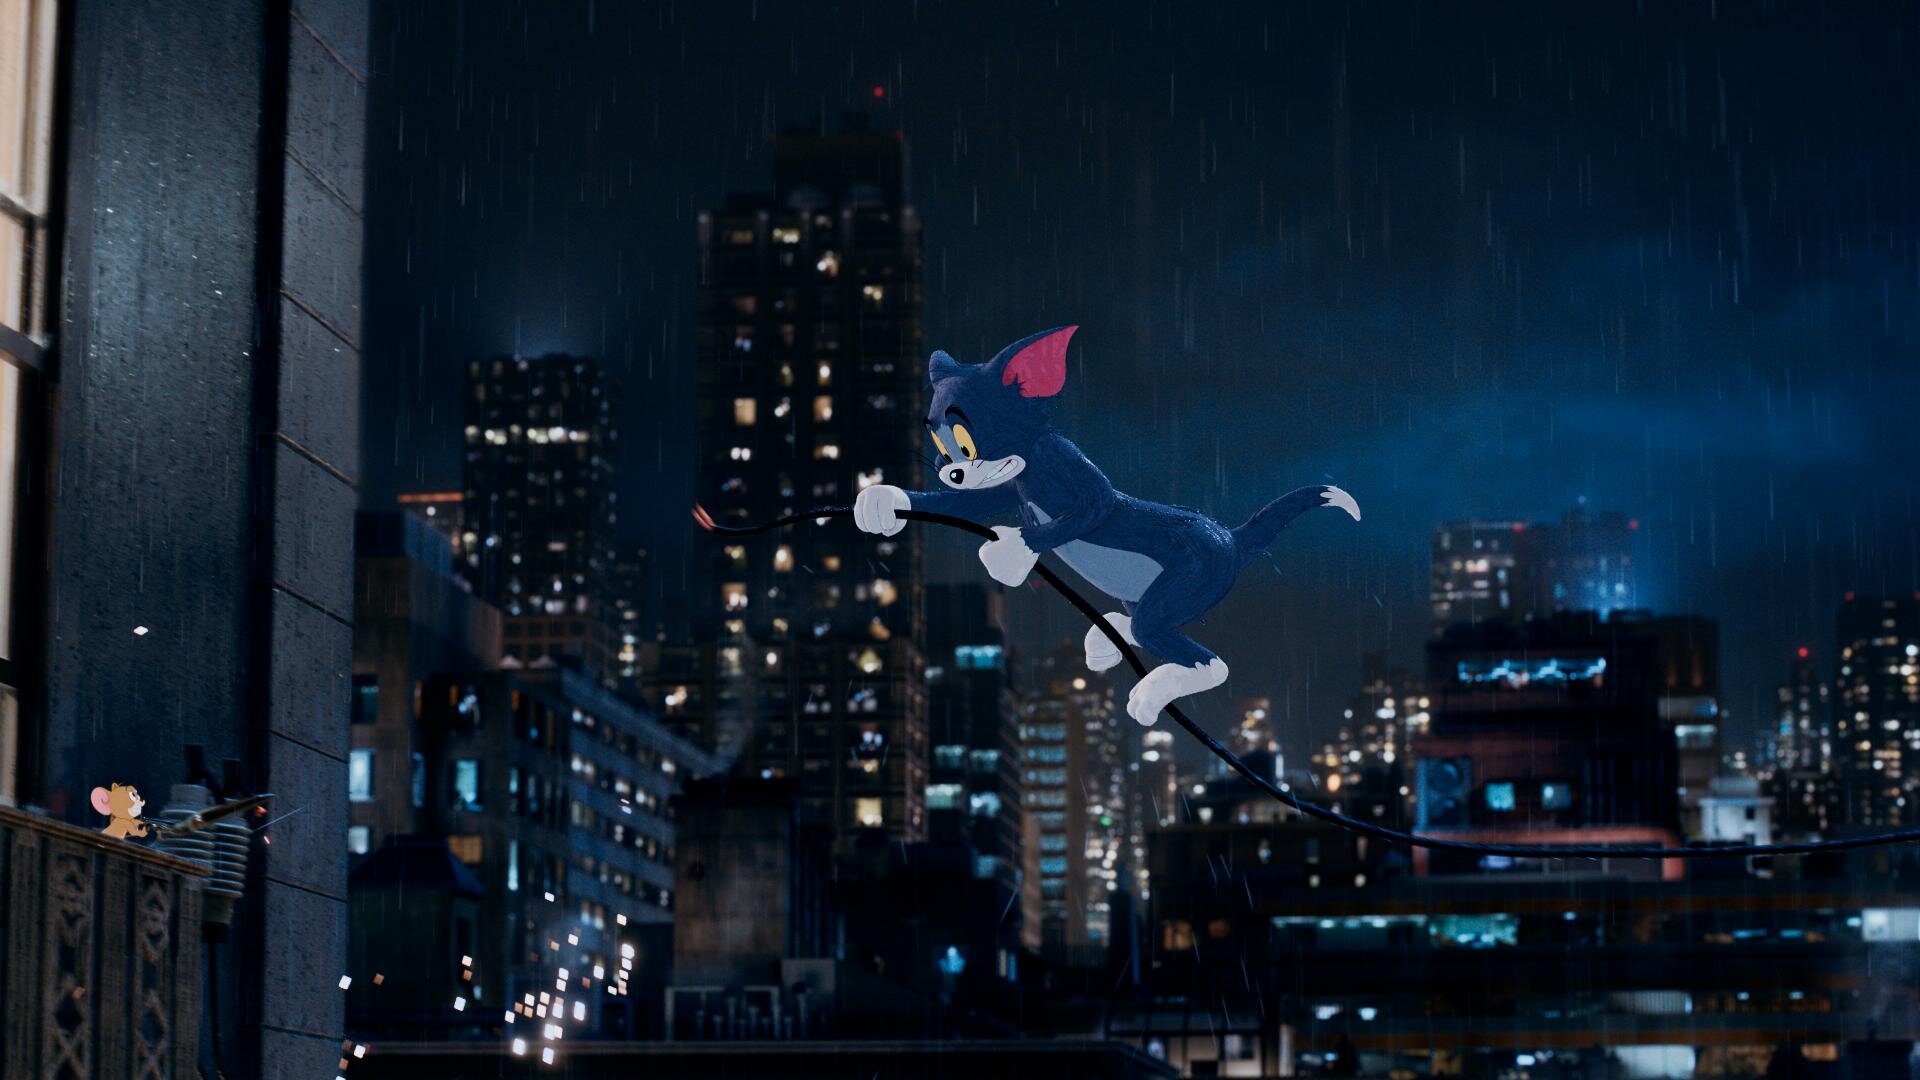
Tom and Jerry
Tom and Jerry: A global finish during a global pandemic.
“Tom and Jerry” is out today in theaters and on HBO Max! I’m excited to share how we built the color on two continents for these classic characters.
Communication
Arguably, the most crucial aspect of finishing this film is how Warner Bros Post Production Creative Services was able to support and complete this project during some of the most restrictive months of the pandemic. Key to the success of this was the communication between Burbank and London. Paul Lavoie(DI Manager), my long-time partner in crime, headed up the Burbank operations while Ann Lynch(Post Supervisor) and Alan Pritt(Post Production Manager DLL) kept everything moving along in London between editorial and VFX. All of this was over email, teams, and phone calls since travel was prohibited. The challenge here was keeping everyone on the same page between the two different timezones. Later on, we found out that would also be one of the project’s greatest strengths.
VFX
Framestore London did the VFX shots for the show. There were numerous versions of every shot, right up until delivery, and a couple after, you know… the usual. Framestore received ACES AP0 EXRs and returned the same back once work was complete with one key difference. Aside from the plates having beautiful animation when they returned they also acquired a number of matte channel layers in the EXR. Each character had mattes for their body, eyes, drybrush, and any props they were handling. This made for some extra prep prior to color, but it paid off big time when we started the grade.
Putting it Together
Conform and color prep was completed at DeLane Lea by Otto Rodd(DI Editor DLL). While we were sleeping in LA, Otto would cut in the night’s deliveries from VFX and connect all the mattes for use in the grade With the number of characters and the granularity of the mattes, I can’t begin to tell you what a herculean effort this was. At the end of his day, he would send the project files for the reels that were updated back to LA where Leo Ferrini(DI Editor) would then take over while Otto slept. Working in this way, we had a 24-hour work cycle with everyone working a normal day shift. There was a lot to do in those 24 hours. For starters, the organization that Otto and Leo imparted onto the timeline was second to none. Each character had its own layer. This layer stayed consistent throughout the whole film even if the character was not in the shot. Tom was on layer 100, jerry on 200, spike on 400, and so on. We didn’t necessarily use all the layers in between, but this kept the timeline nice and tidy. Simply put, we had a lot of layers with the number of characters and props in the film. In Protools sound speak, we used all 128 tracks.
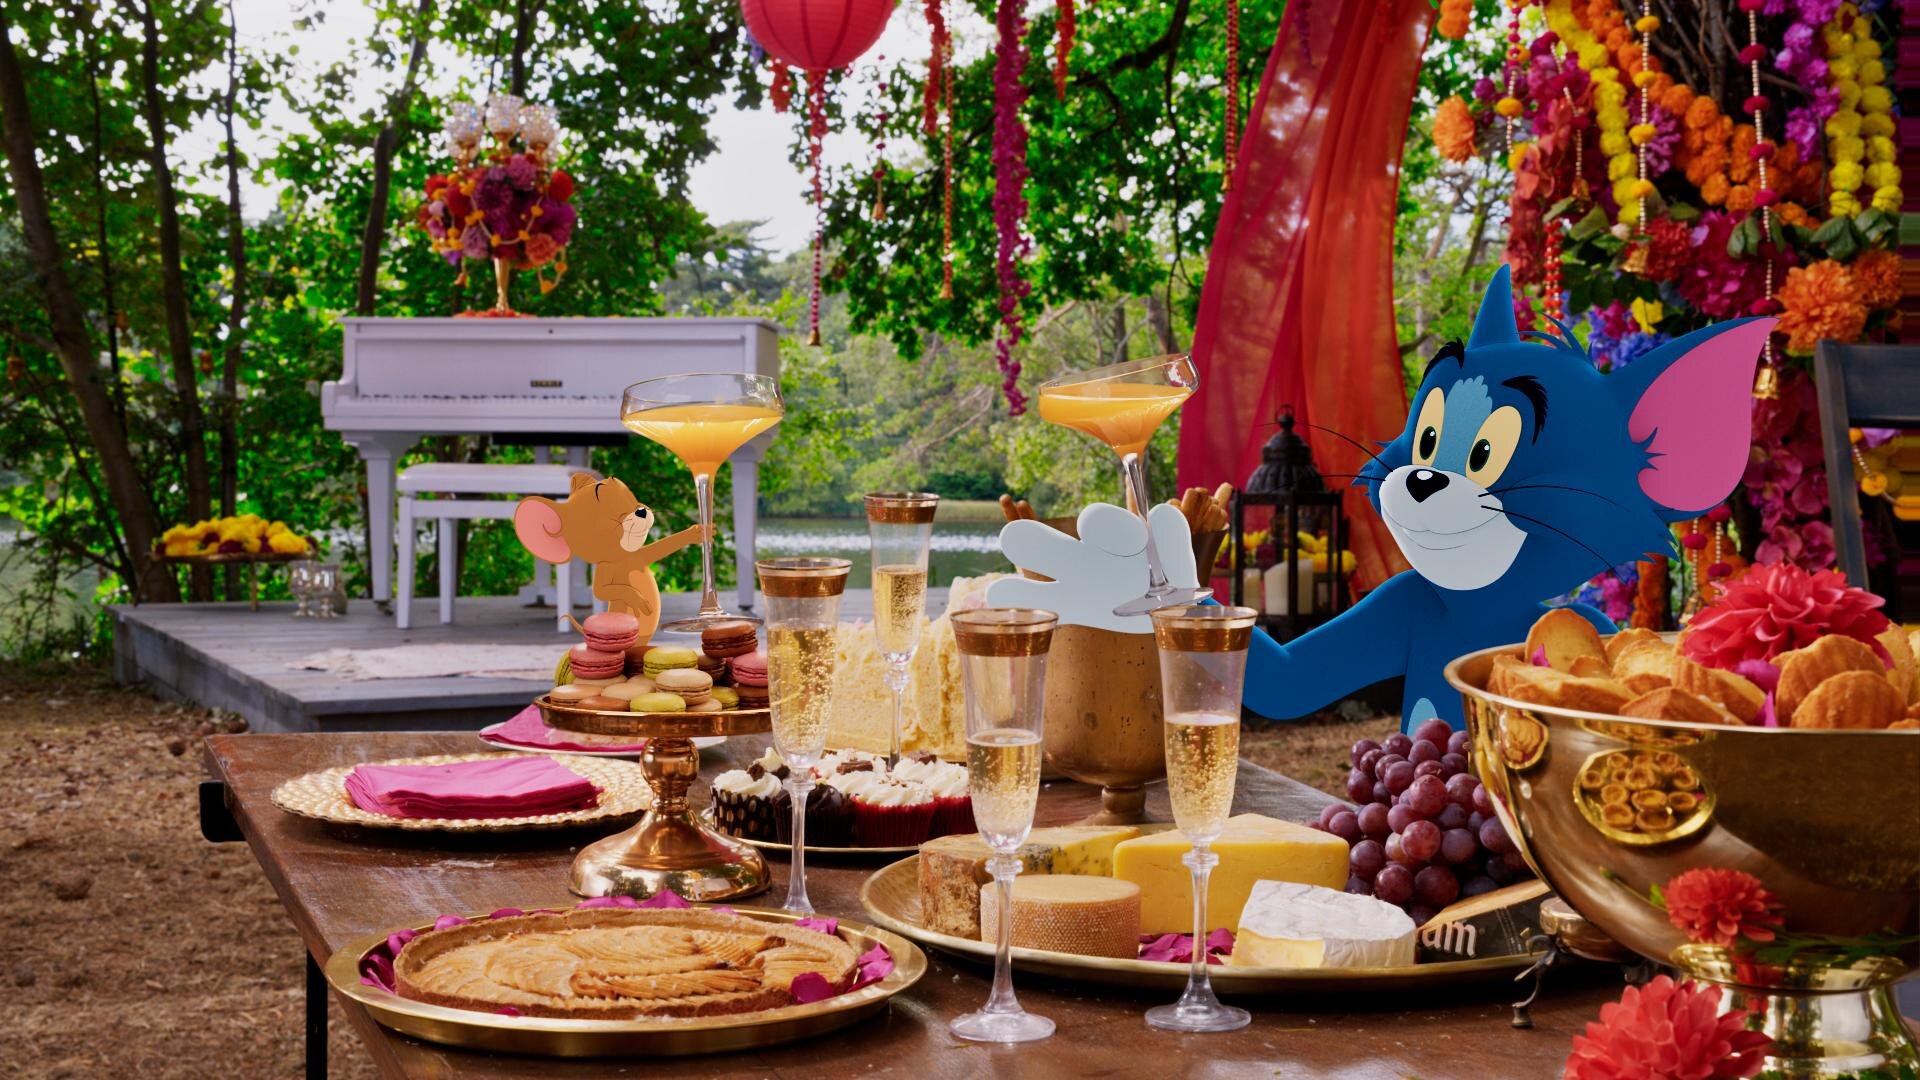
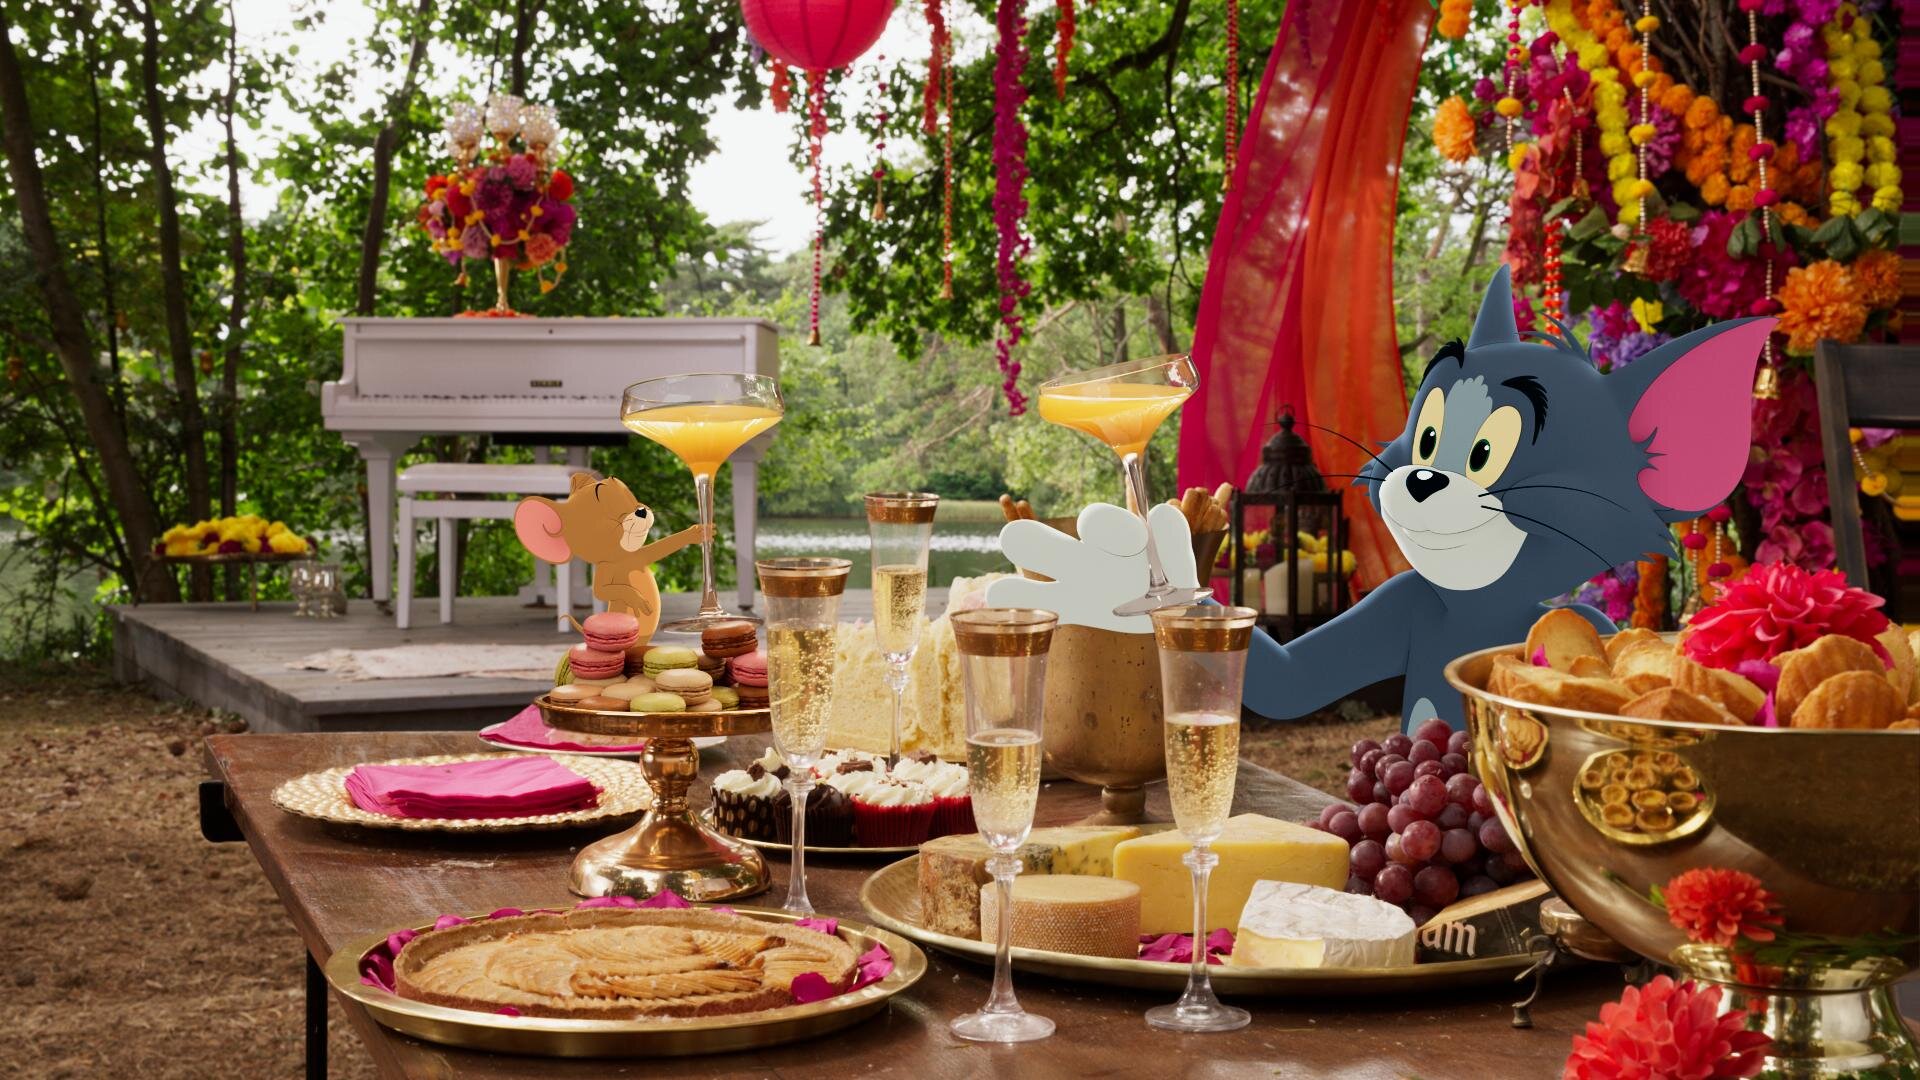
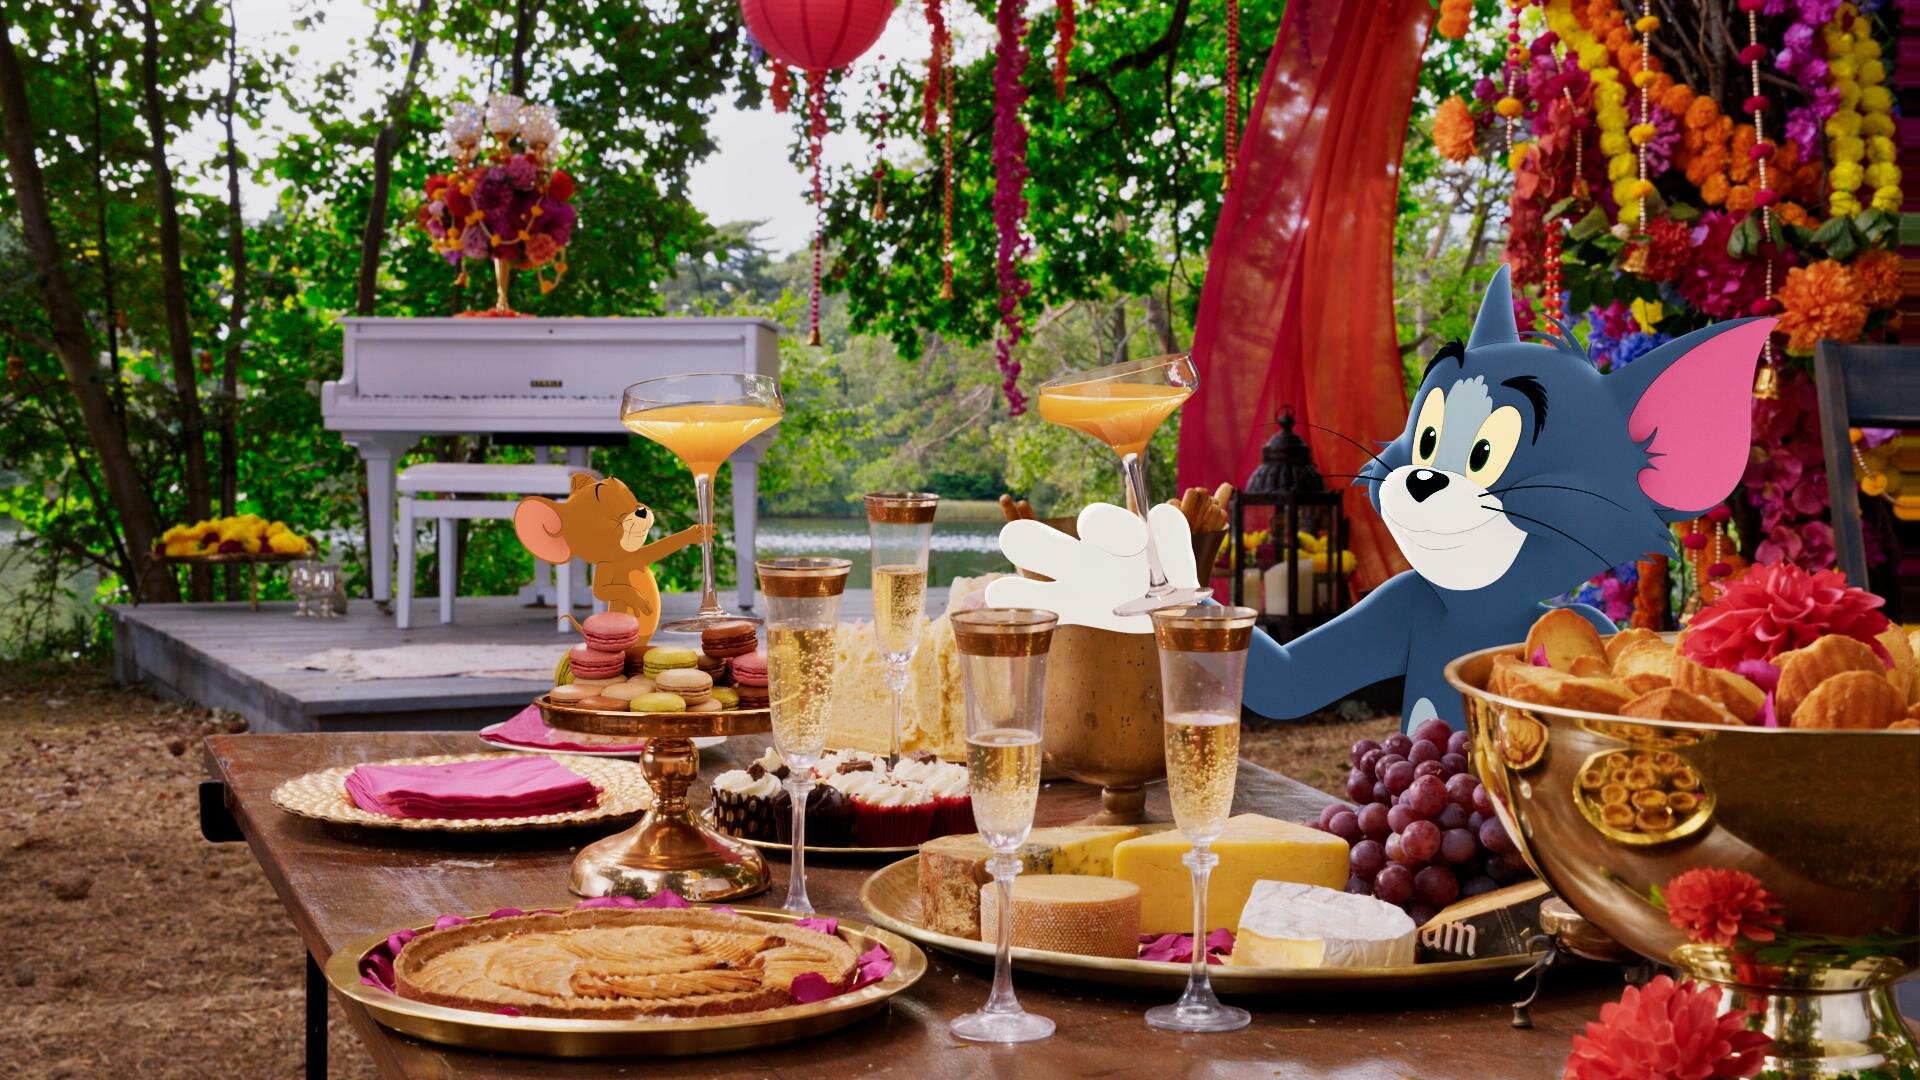
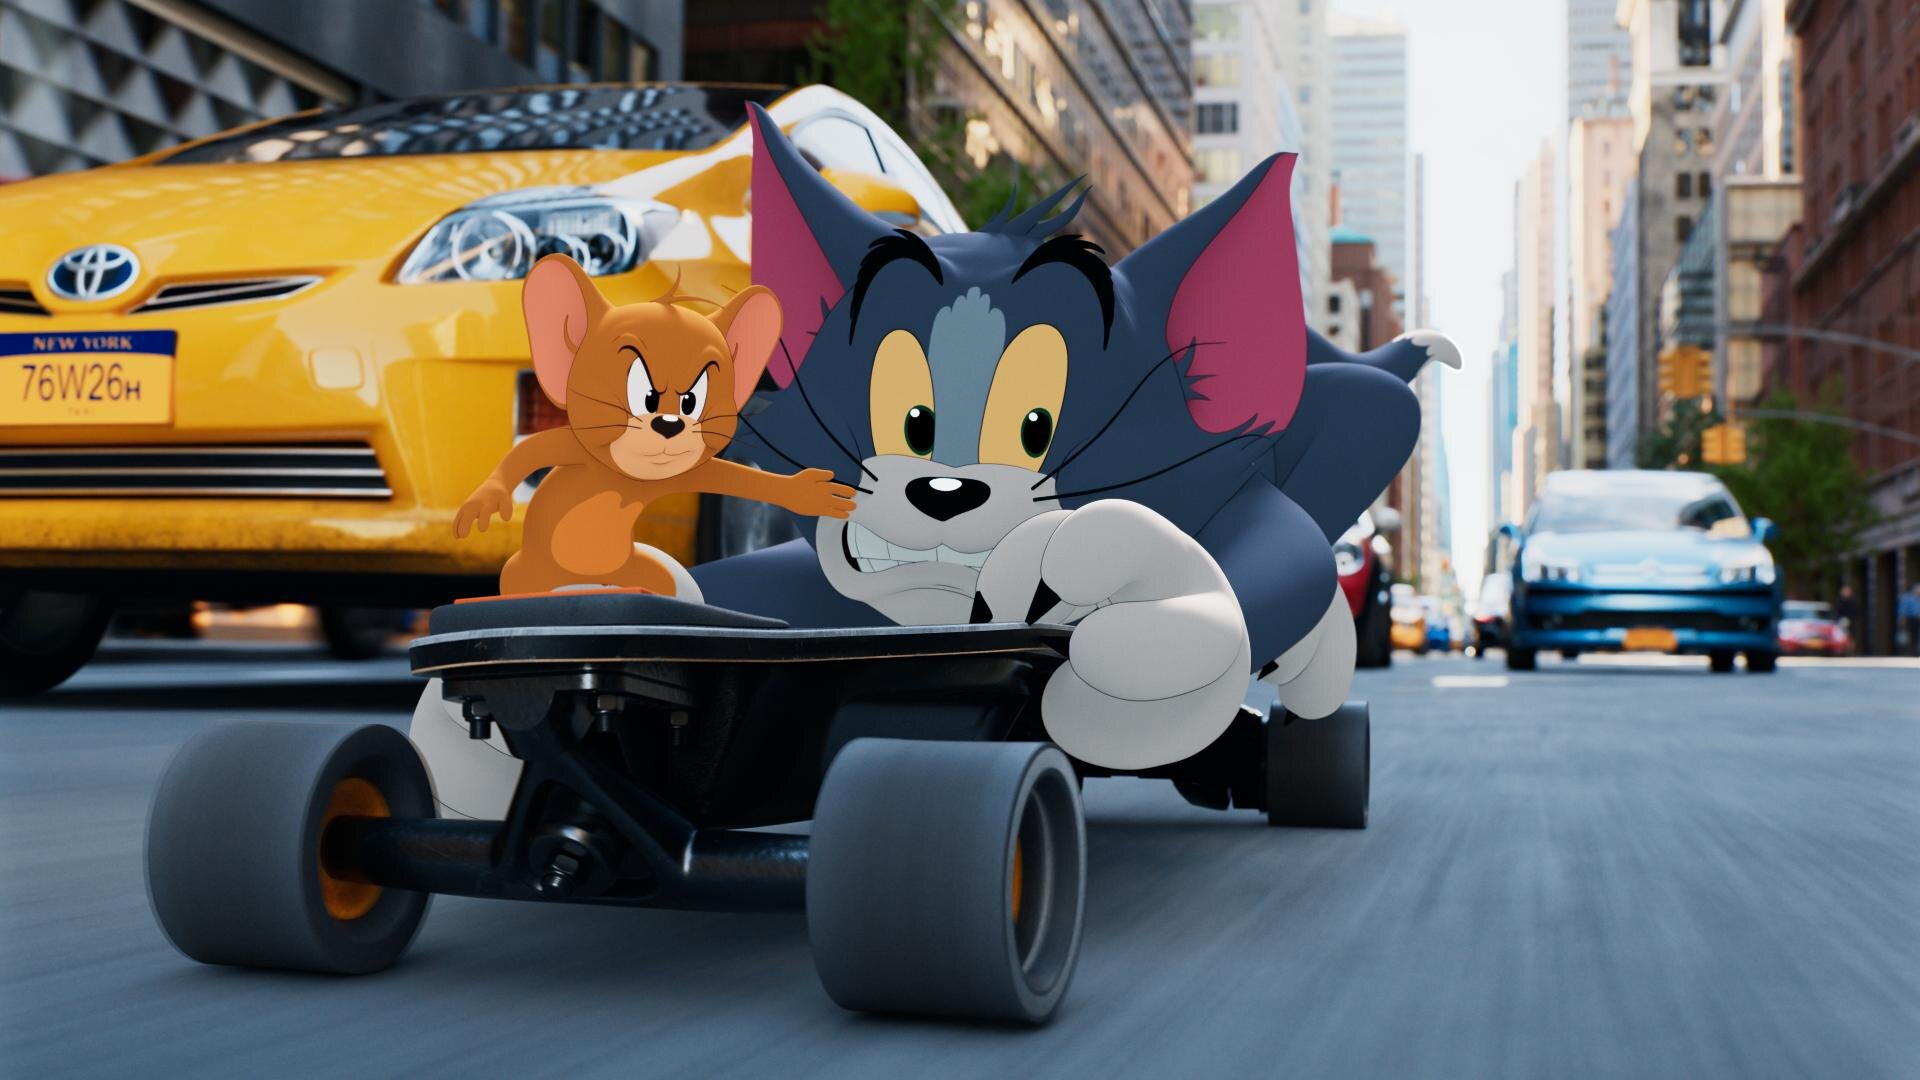
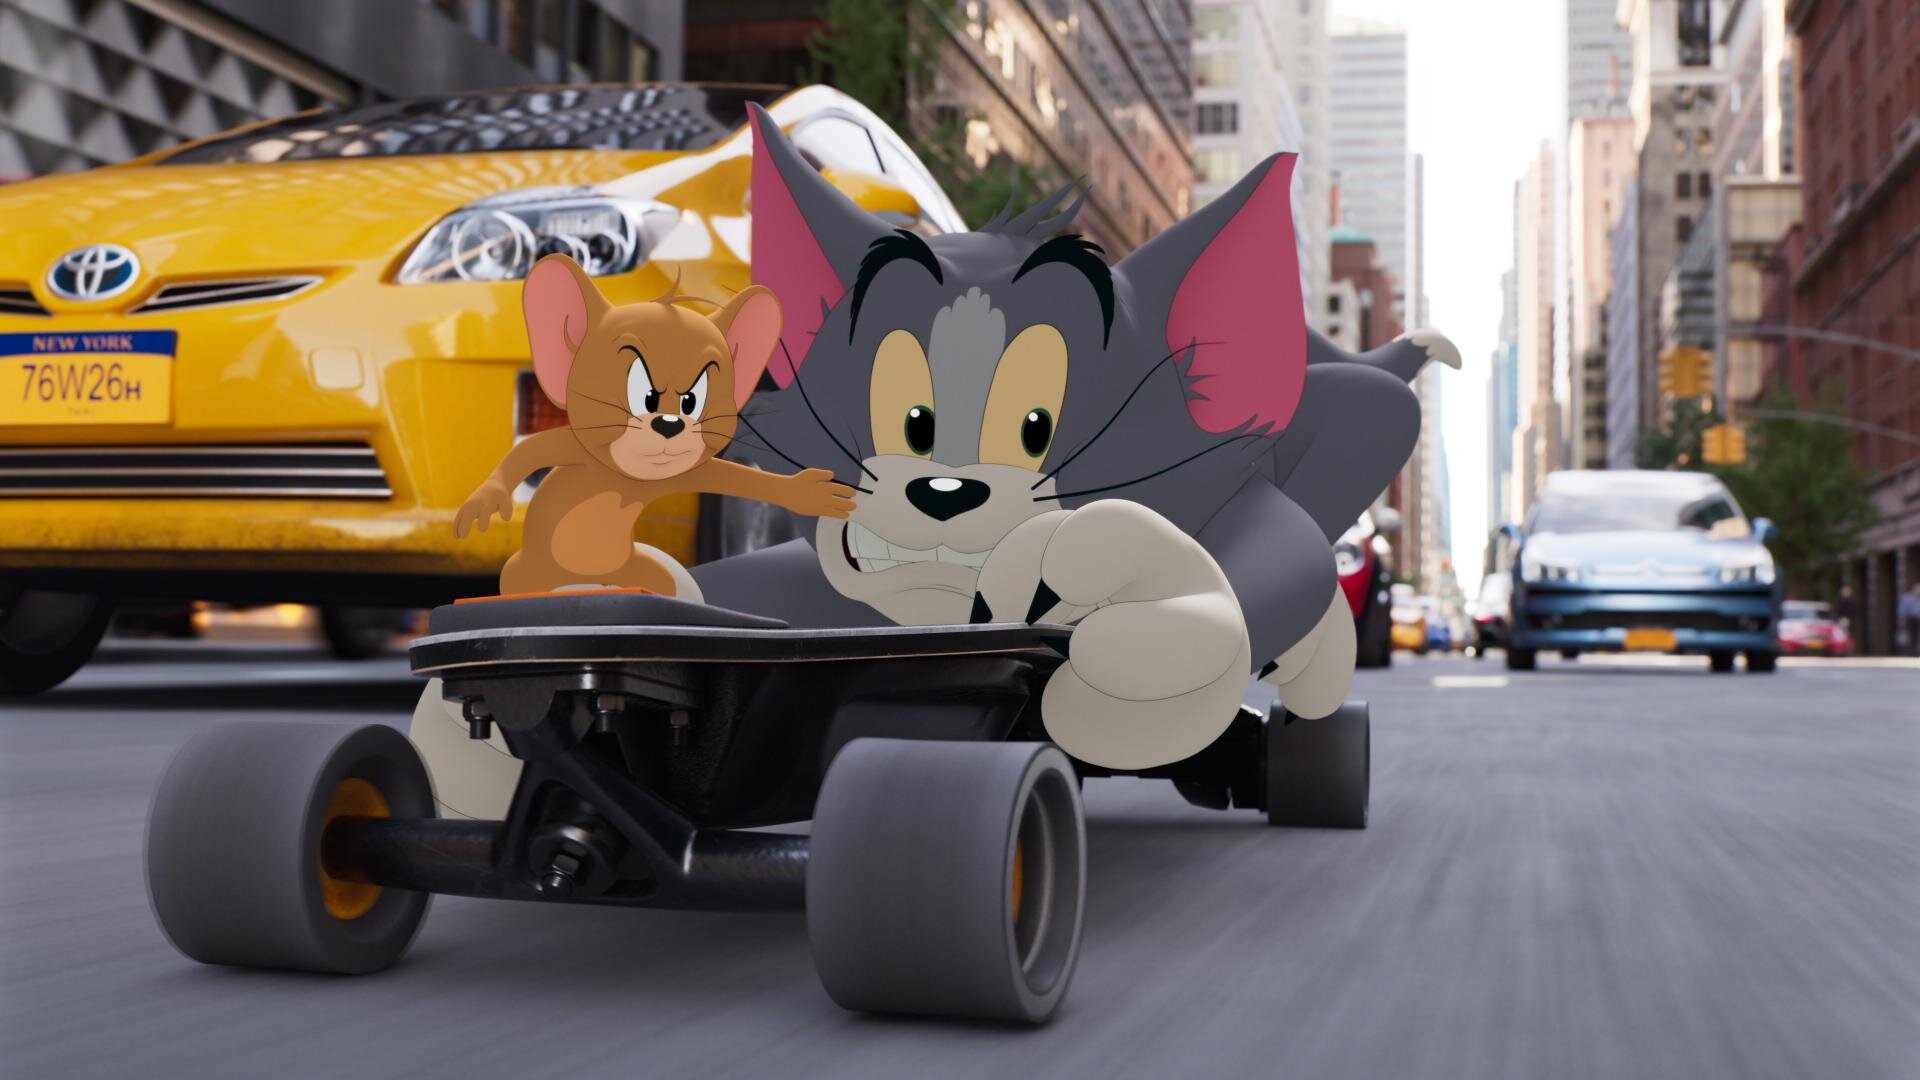
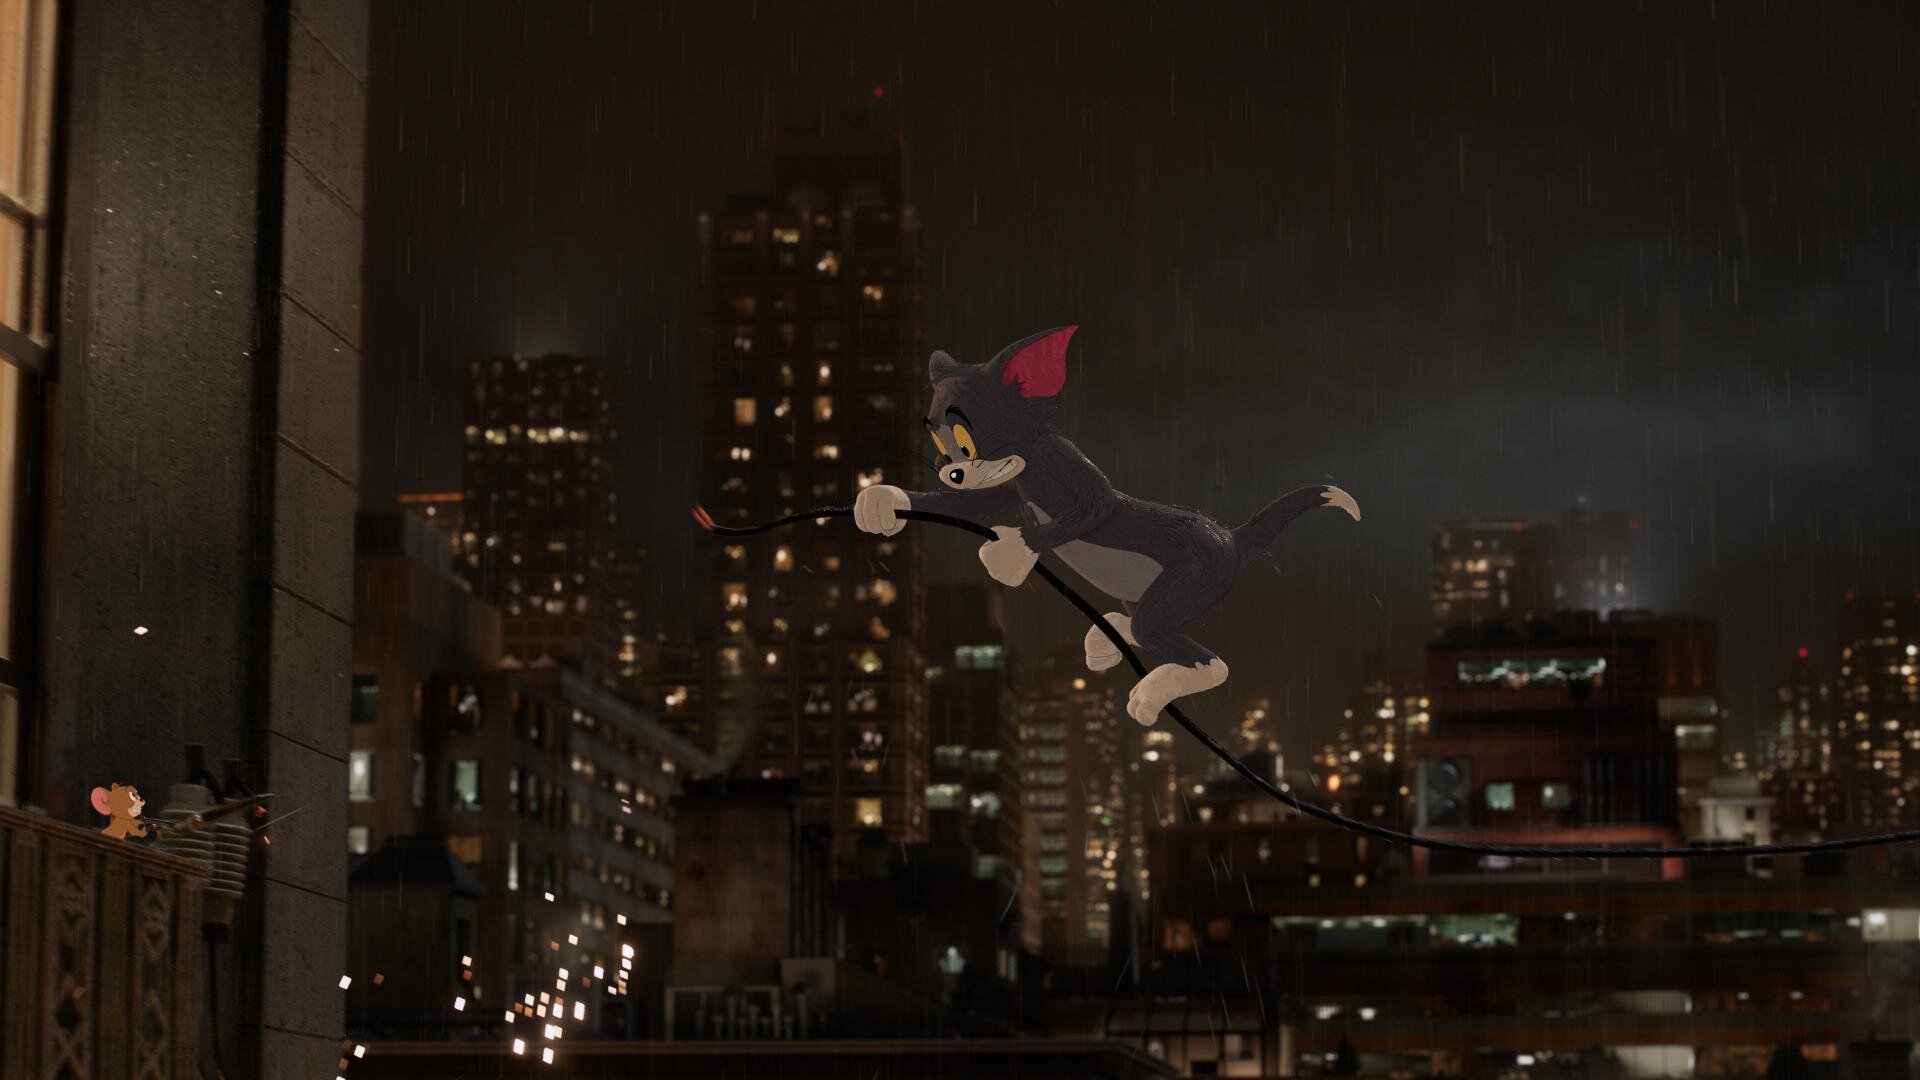
Plate Grade

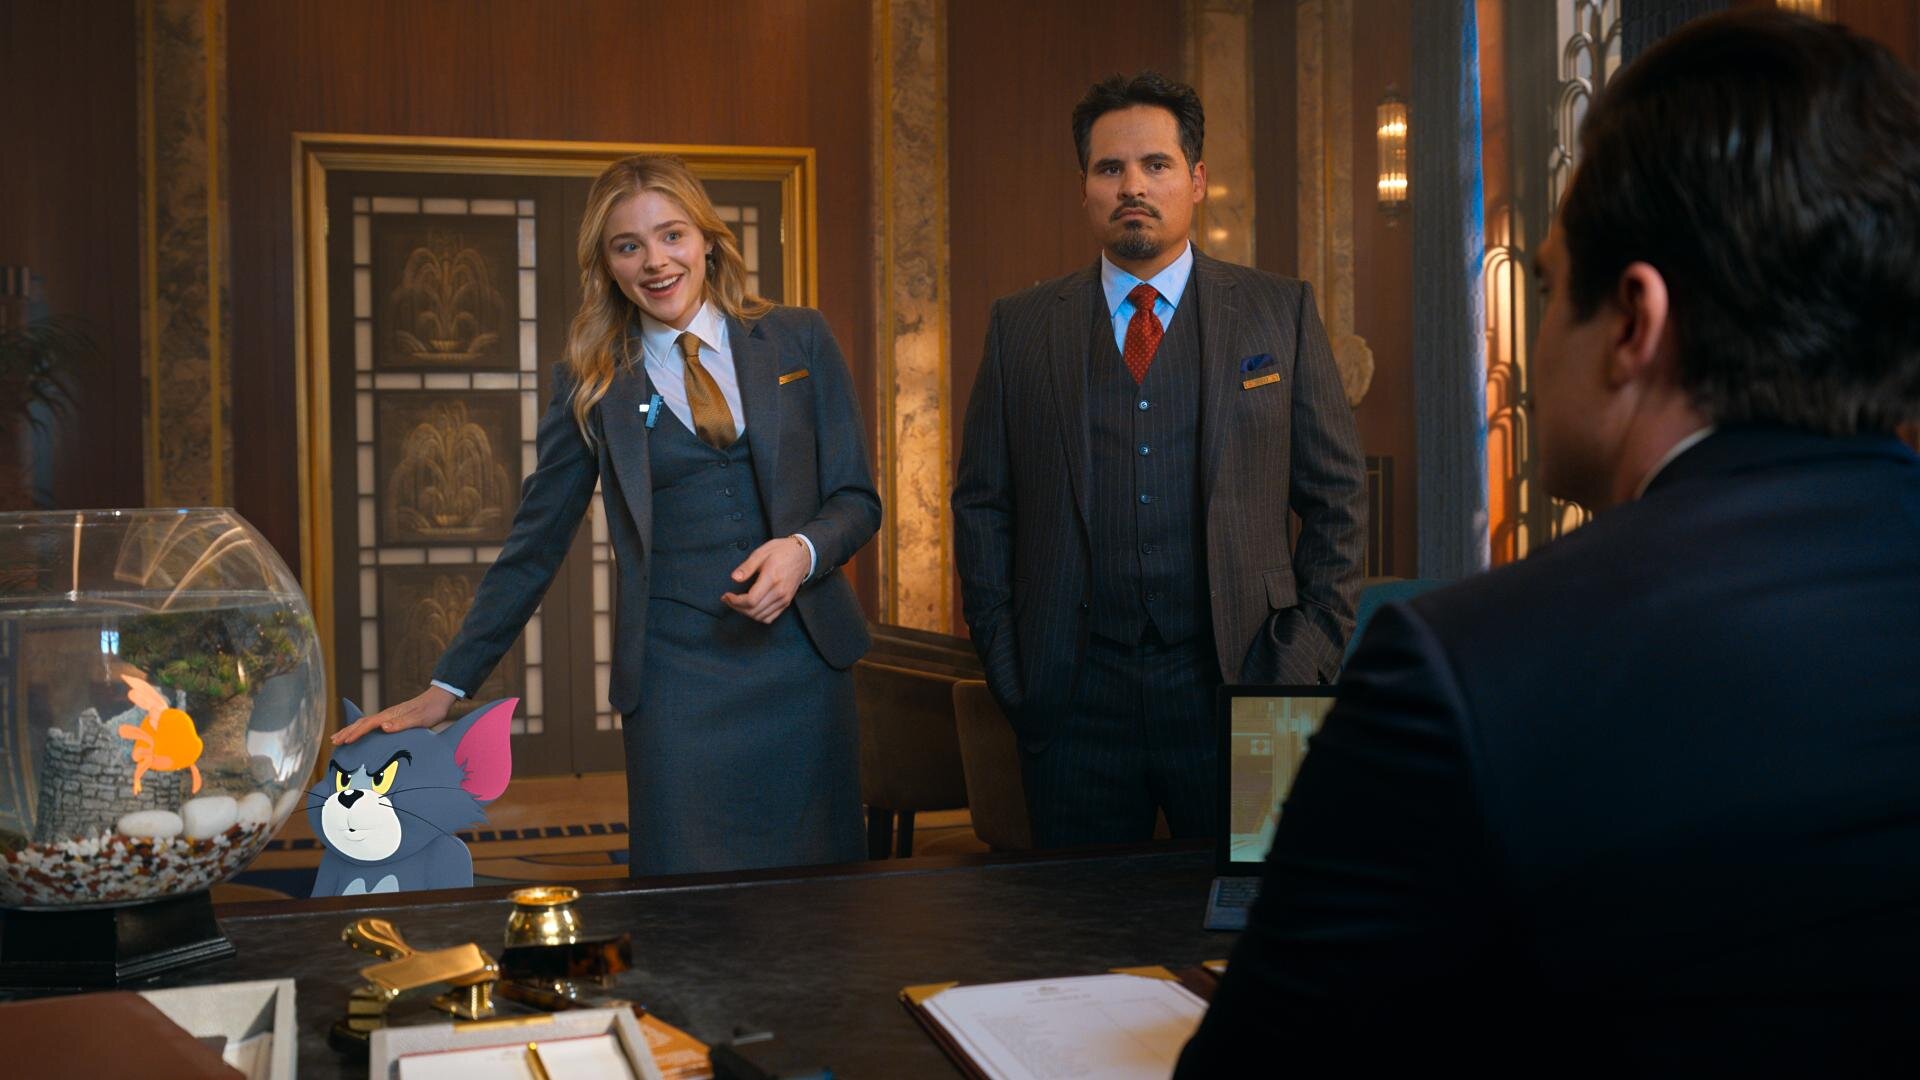
Character Grade
Covid Grading
Things were looking pretty bad on the covid front when we started the grade in early December. Numbers were spiking most likely due to thanksgiving gatherings and the situation was looking pretty bleak. Tim Story(Director), Chris DeFaria(Producer), and Peter Elliot(Editor) rotated supervising the grade since I was limited to only 2 creatives in the room at a time. We sent Baselight project files to DeLane Lea so that Alan Stewart(Cinematographer) and Frazer Churchill(VFX Supervisor) could review them in London. Working on hybrid animation is sort of like grading two separate films. We had the initial grade for the live-action plate. The direction for the show was bright, vibrant, and colorful. Next, each character got their pass. The characters had very specific targets. We treated them as if it was a cell animated cartoon. There was minimal interactive lighting on them. The idea was to keep the characters consistent throughout the whole film. To achieve this, I composited the VFX character back over my plate grade so that they were unaffected by the color of the live-action plate. Leo and Otto categorized each character's matte layer so that I could solo them out. In this way, it sort of works like a search in email. I could say “search” for all “Tom” shots and then the Baselight would return a reel of only shots that Tom was in. Then I would make corrections based on the character’s environment to ensure that they were perceived the same taking local color into account. This was a huge help in keeping the characters true to their looks throughout the film.
Theatrical Version
The color pipeline for the theatrical grade was ACES AP0 -> ACEScct (grading space) -> Show LMT -> P3D65. ACES 1.1 was used for the P3D65 ODT. We made a temp DCP once the final grade was approved to screen in a room large enough to have everyone together. The team chose to screen in the Ross theater on the WB lot, which was my first time back in a proper theater in ages. Now I know all theaters aren’t the Ross, but it did remind me how much I missed the theatrical experience. There really isn’t any substitute for best-in-class sound and picture exhibition. Hopefully, we can all be together at the cinema soon.
HDR Grading
HDR grading started immediately after the theatrical was locked. We had a tight turnaround since the picture would be available simultaneously in theaters and on HBO Max. The 1000nit p3D65 HDR grade was completed in three days. ACES helped in doing some of the heavy lifting regarding the basic tone mapping. I then came up with an additional HDR LMT to add a bit more contrast and rolled off the highlights softer than what the stock ACES curve was doing. The biggest challenge after that was correcting all the characters. Since the animated characters bypassed the show LMT, their values, especially in the eye whites, were very high for HDR. Again, being able to solo the characters was a huge help for this pass. Once completed, The filmmakers came in for trims and approval on two x300’s on opposite sides of the room to ensure proper social distancing. The Sony x300’s have a wide viewing angle, especially when compared to the newer x310s, but a color skew does appear when you sit too far off-axis. I wanted to make sure, that everyone had a straight shot at the display, even though we were spread apart. Having two was a nice luxury and I’m sure went a long way to making everyone feel safe, comfortable, and confident in the viewing setup.
SDR Trim
Next up was taking ten pounds of HDR and fitting it into the 8 pound rec709 bag. The Dolby trim was done with the same dual x300’s. One set up for 1000nit PQ p3D65 and the other setup for 100nit 709. Dolby analysis was calculated for every shot and then a base Dolby trim was applied as a starting point. I used the HDR and Theatrical passes as a reference and trimmed the SDR to best match given the limitations of a smaller gamut. Really the only bump I had here was the sky. In the theatrical P3 version, we had a very strong cyan sky that was meticulously worked on with shapes and keys to get as vibrant of a sky as possible. Once we put those values into 709 they landed out of gamut.


Blues twisting towards magenta as they reach the boundary of the 709 gamut.
Imagine a car headed straight for a brick wall. At some point, the driver needs to turn either left or right. I guess the other option would be to crash into the wall but in this analogy that would be clipping and we don’t want that. If the driver goes left he heads towards the magenta side of blue if he goes right he goes towards the cyan side of blue. Dolby in this case took our cyans and turned left. This resulted in a more magenta sky which didn’t look bad, it was just not as intended. To remedy this, I used the Dolby secondaries to swing the blue/cyan values away from magenta and back towards the original cyan. The trim took about a day and a half. Once completed we had one more approval session with only one note!

Correcting the blue values to twist towards cyan as they reach the boundary of the 709 gamut.
Deliverables
Next, it was time to create the masters. The Theatrical had a p3D65 2.6 gamma DSM created, along with an XYZ 2.6 gamma DCDM. We also archived an ACES master for future remastering, plus an un-graded ACES archival master for preservation. The HDR version was rendered out as 1000nit p3D65 PQ tiffs and then placed into a rec2020 gamut by Julio Meganes(color assistant) in MPI’s Media Ops department. A Dolby XML file containing the metadata recipe to get to the 709 color trims was exported from the Baselight. Julio imported that into the Transkoder and married it to the HDR picture. From there, the final audio was synced up and many sub-masters in various formats were created for servicing and distribution.
Thanks for Reading!
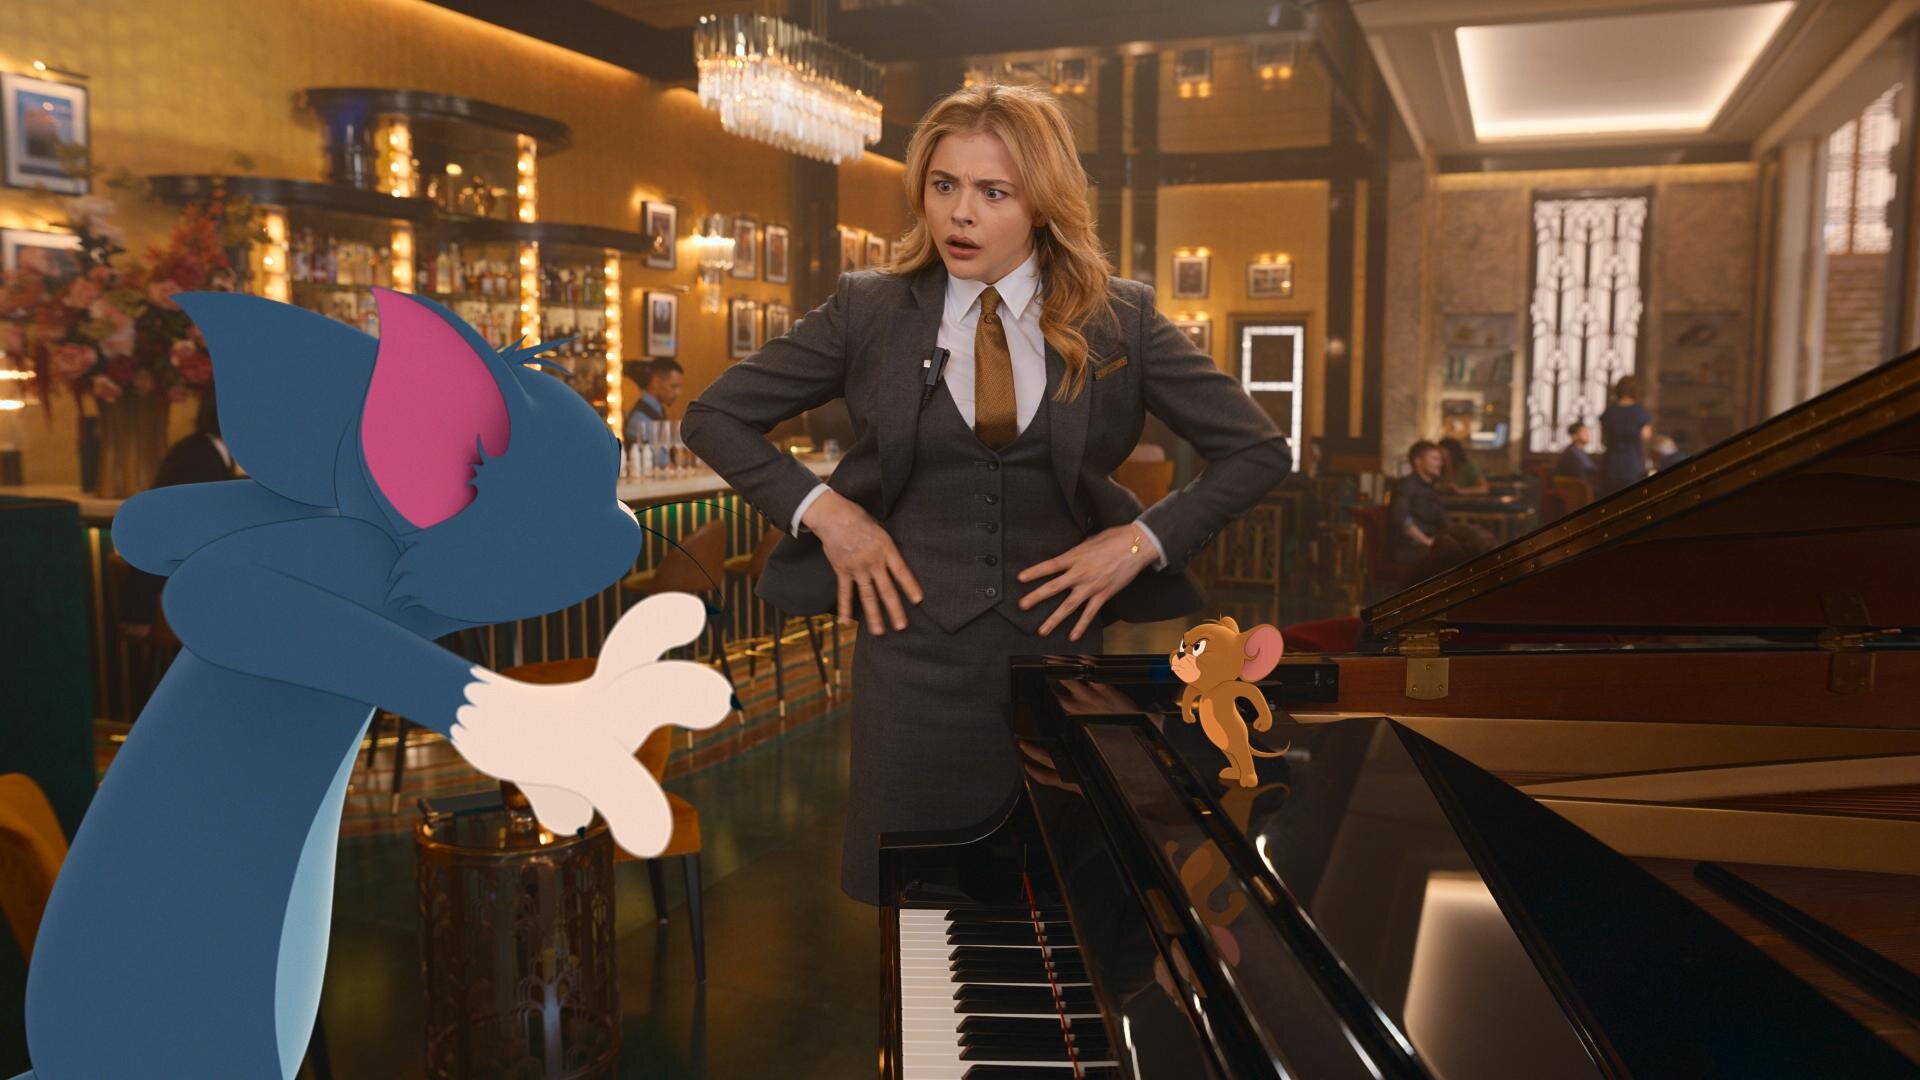
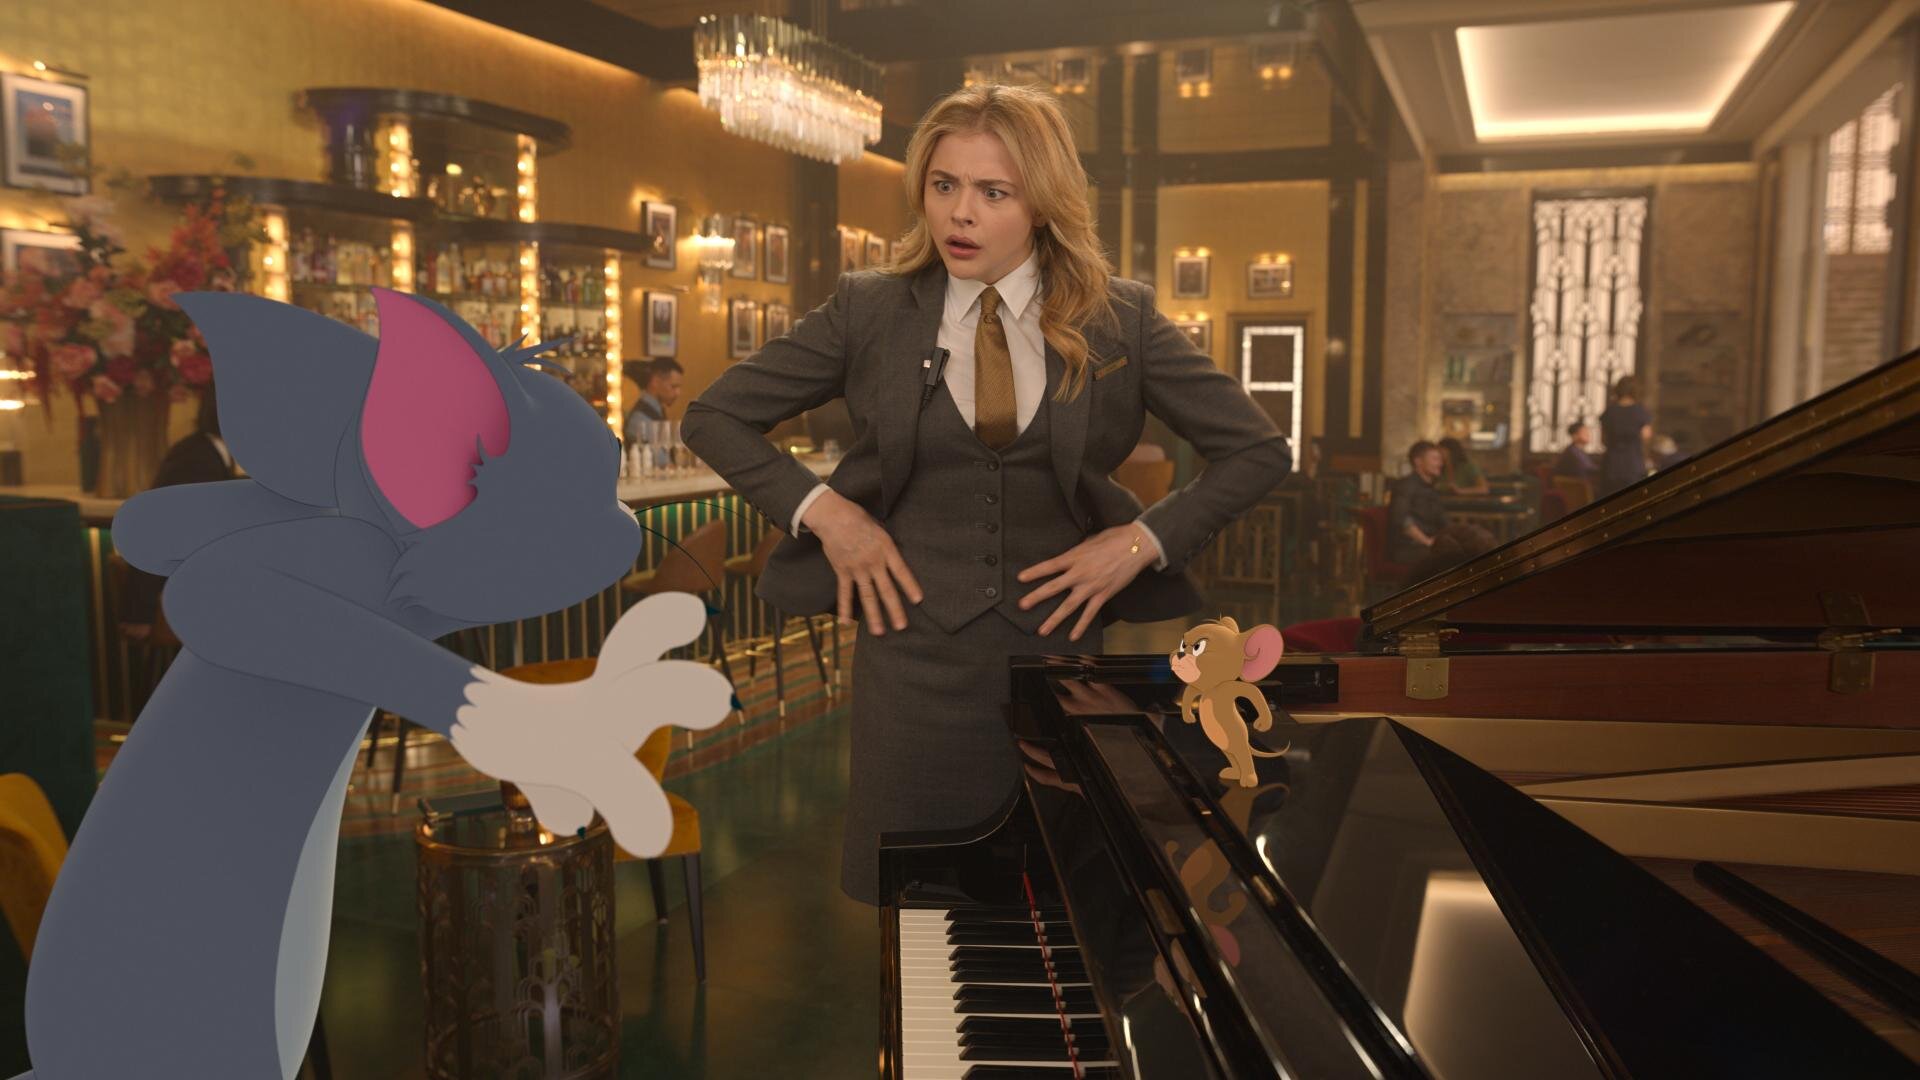
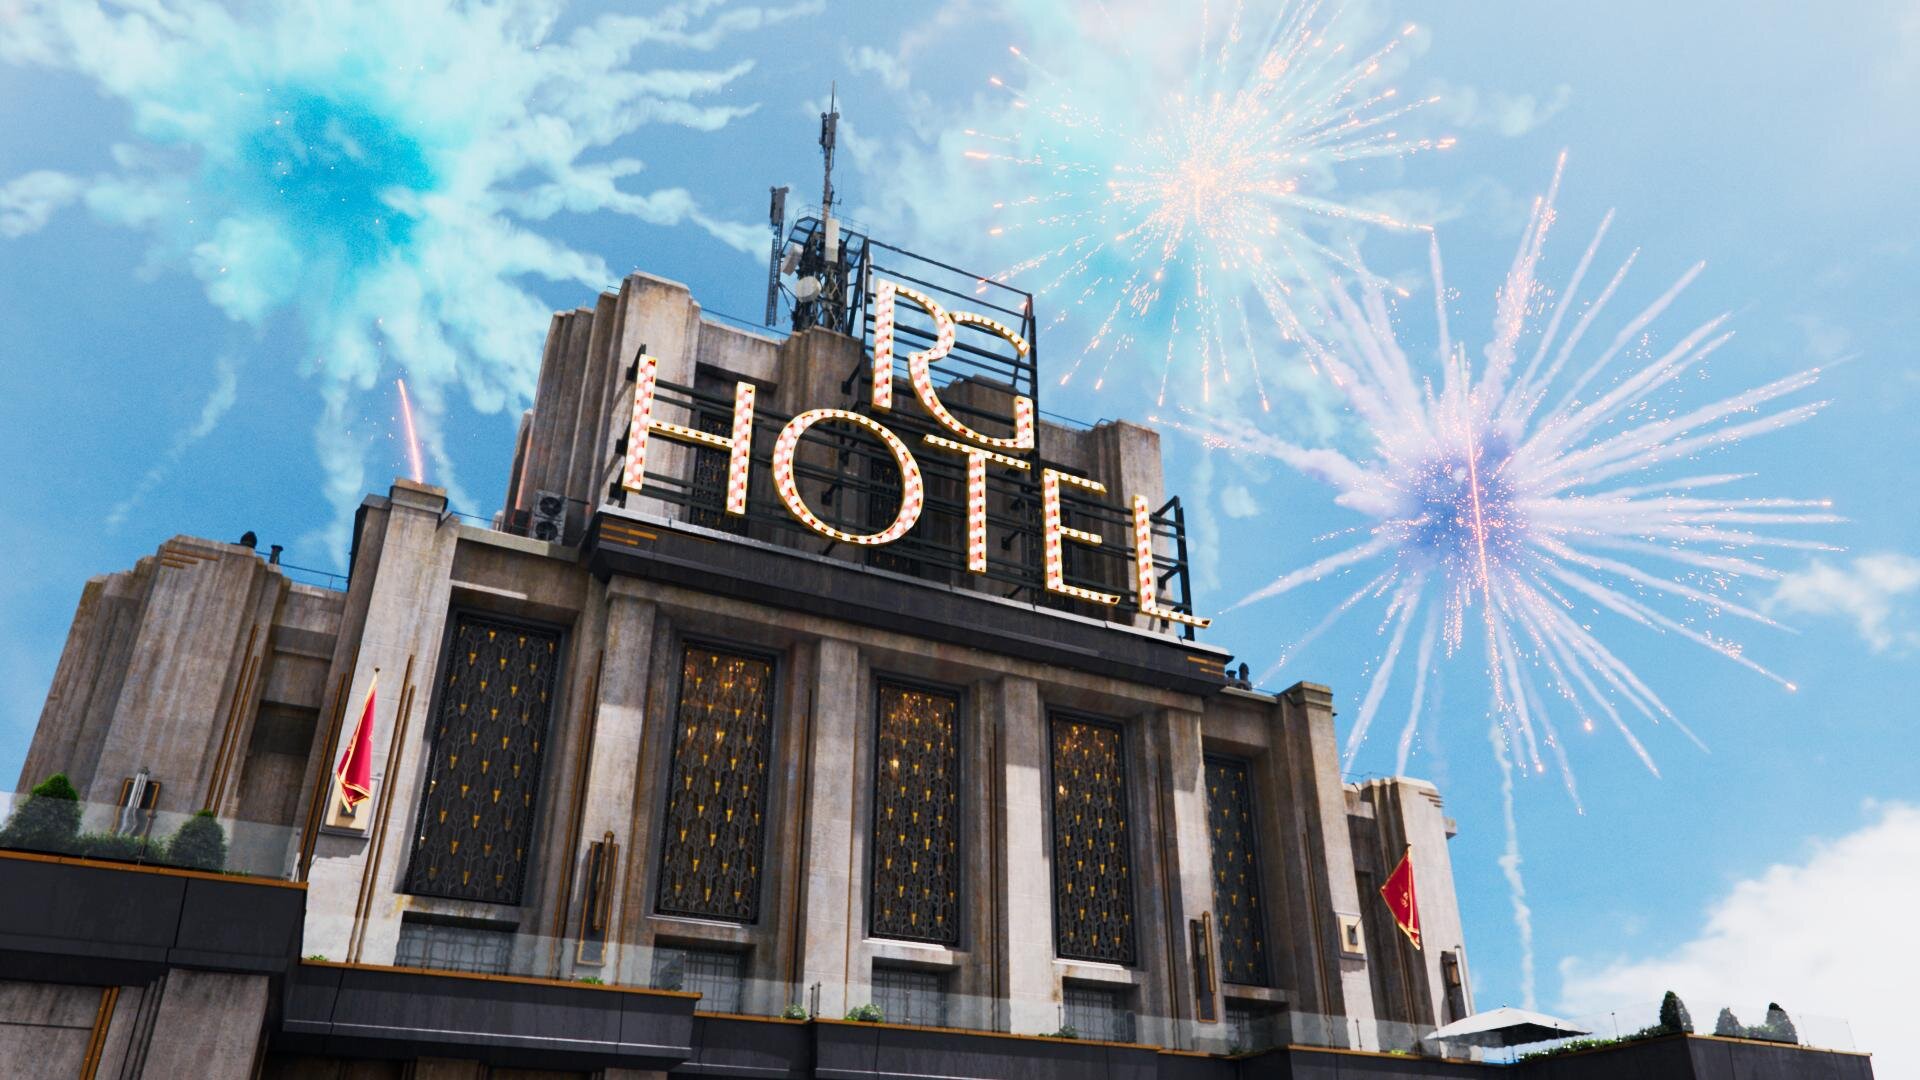
Thanks for taking the time to read about how the sausage was made. It was a truly collaborative effort leveraging the strengths of Warner Bros Post Production Creative Services’ global footprint. I couldn’t be happier with the way the project turned out and am excited to hear what y’all think in the comments below. Now grab the family, and some popcorn and go watch Tom and Jerry destroy the Royal Gate Hotel!.
Baselight Tips and Tricks
Hey everybody! Here is a video that Filmlight just released on their website. It’s a great series and I’m happy to have contributed my little bit. Let me know what you think.
VHS Shader
A show that I’m currently working on was asking about a VHS look. It made me think of a sequence I did a while ago for Keanu shot by Jas Shelton. In This sequence, we needed to add Keegan-Michael Key to the Faith music video by George Michael.
Often, as colorists, we are looking to make the image look the best it can. This was a fun sequence because stepping on an image to fit a creative mood or period is sometimes harder then making it shinny and beautiful. When done correctly (I’m looking at you Tim and Eric Awesome Show Great Job) it can be a very effective tool for storytelling.

We uprezed the Digibeta of the music video. I then used a custom shader to add the VHS distress to the Arri Alexa footage of Key. I mixed the shader in using opacity until it felt like it was a good match. Jas and I wanted to go farther, but we got some push back from the suits. I think in the end the sequence came out great and is one of my favorite parts of the film… and the gangster kitty of course! Please find the shader used below if you would like to play.
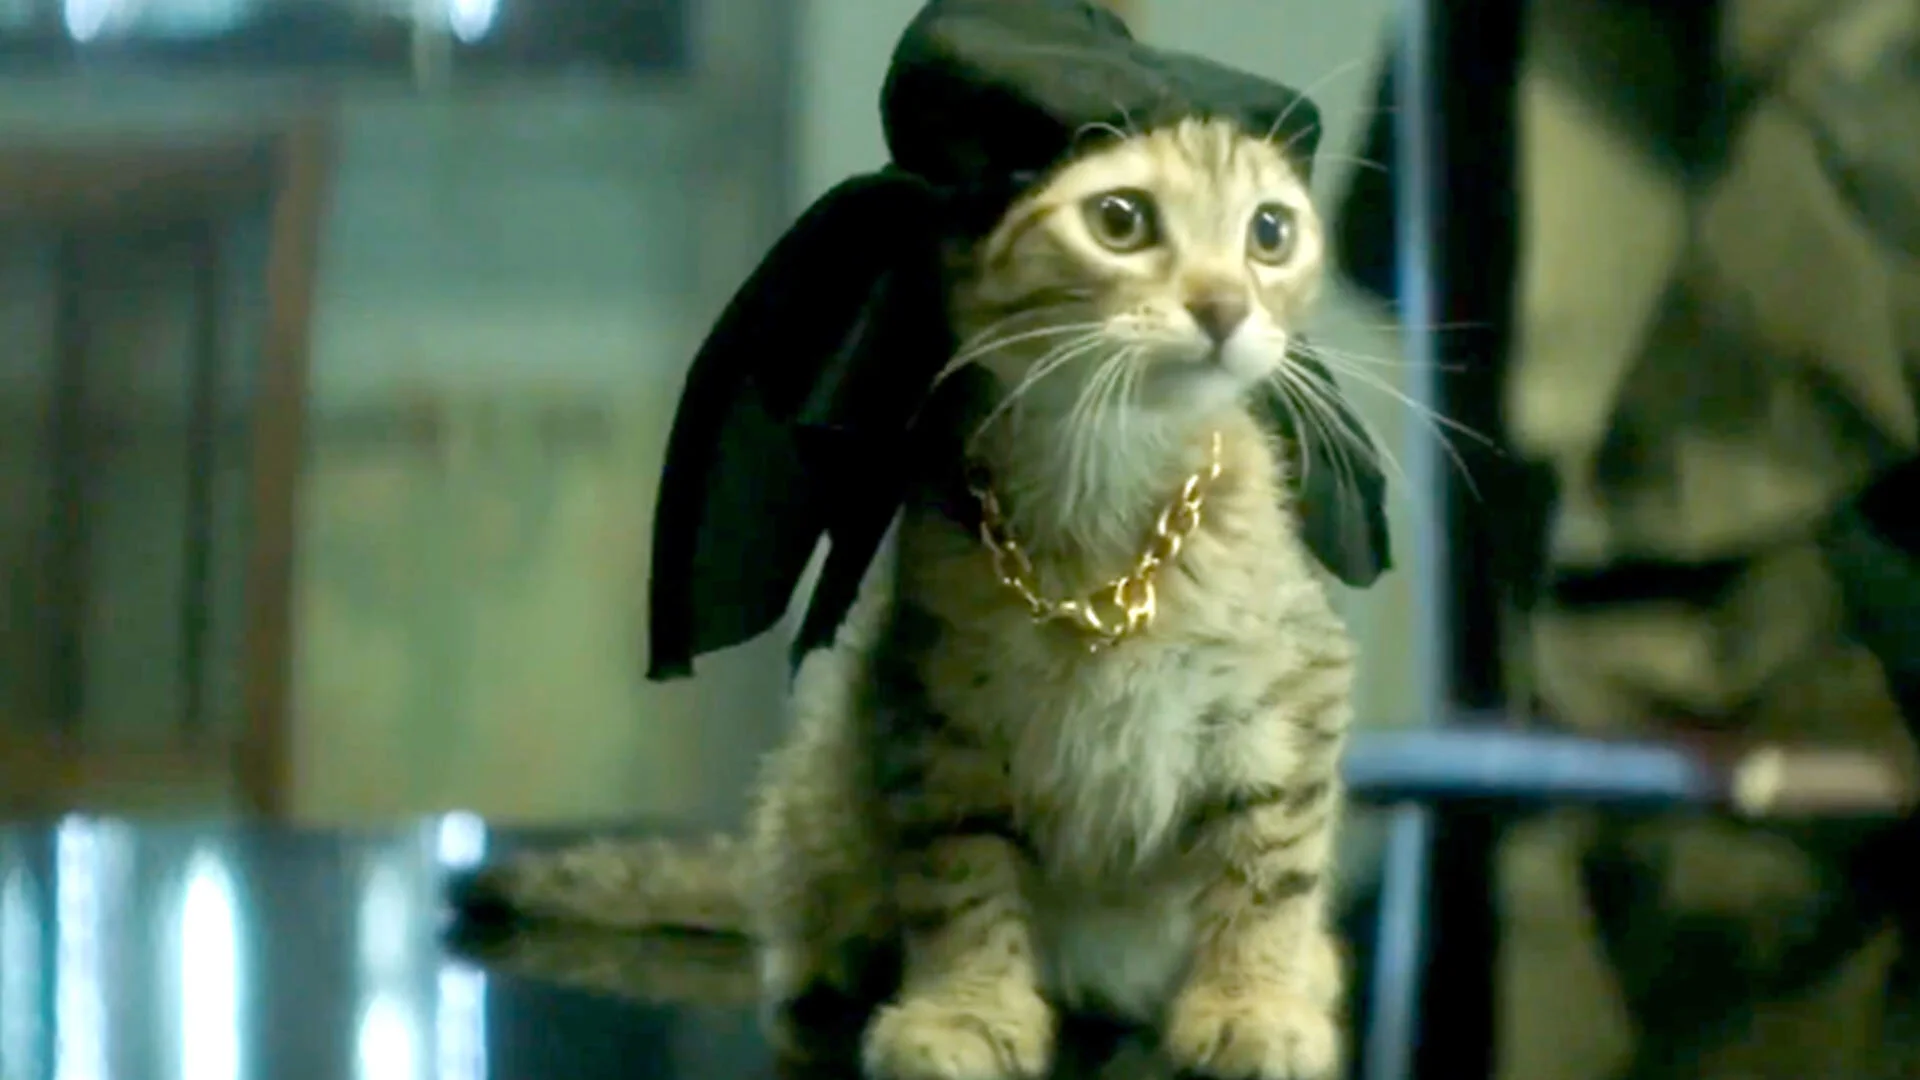
alllll awwwww Keanu!
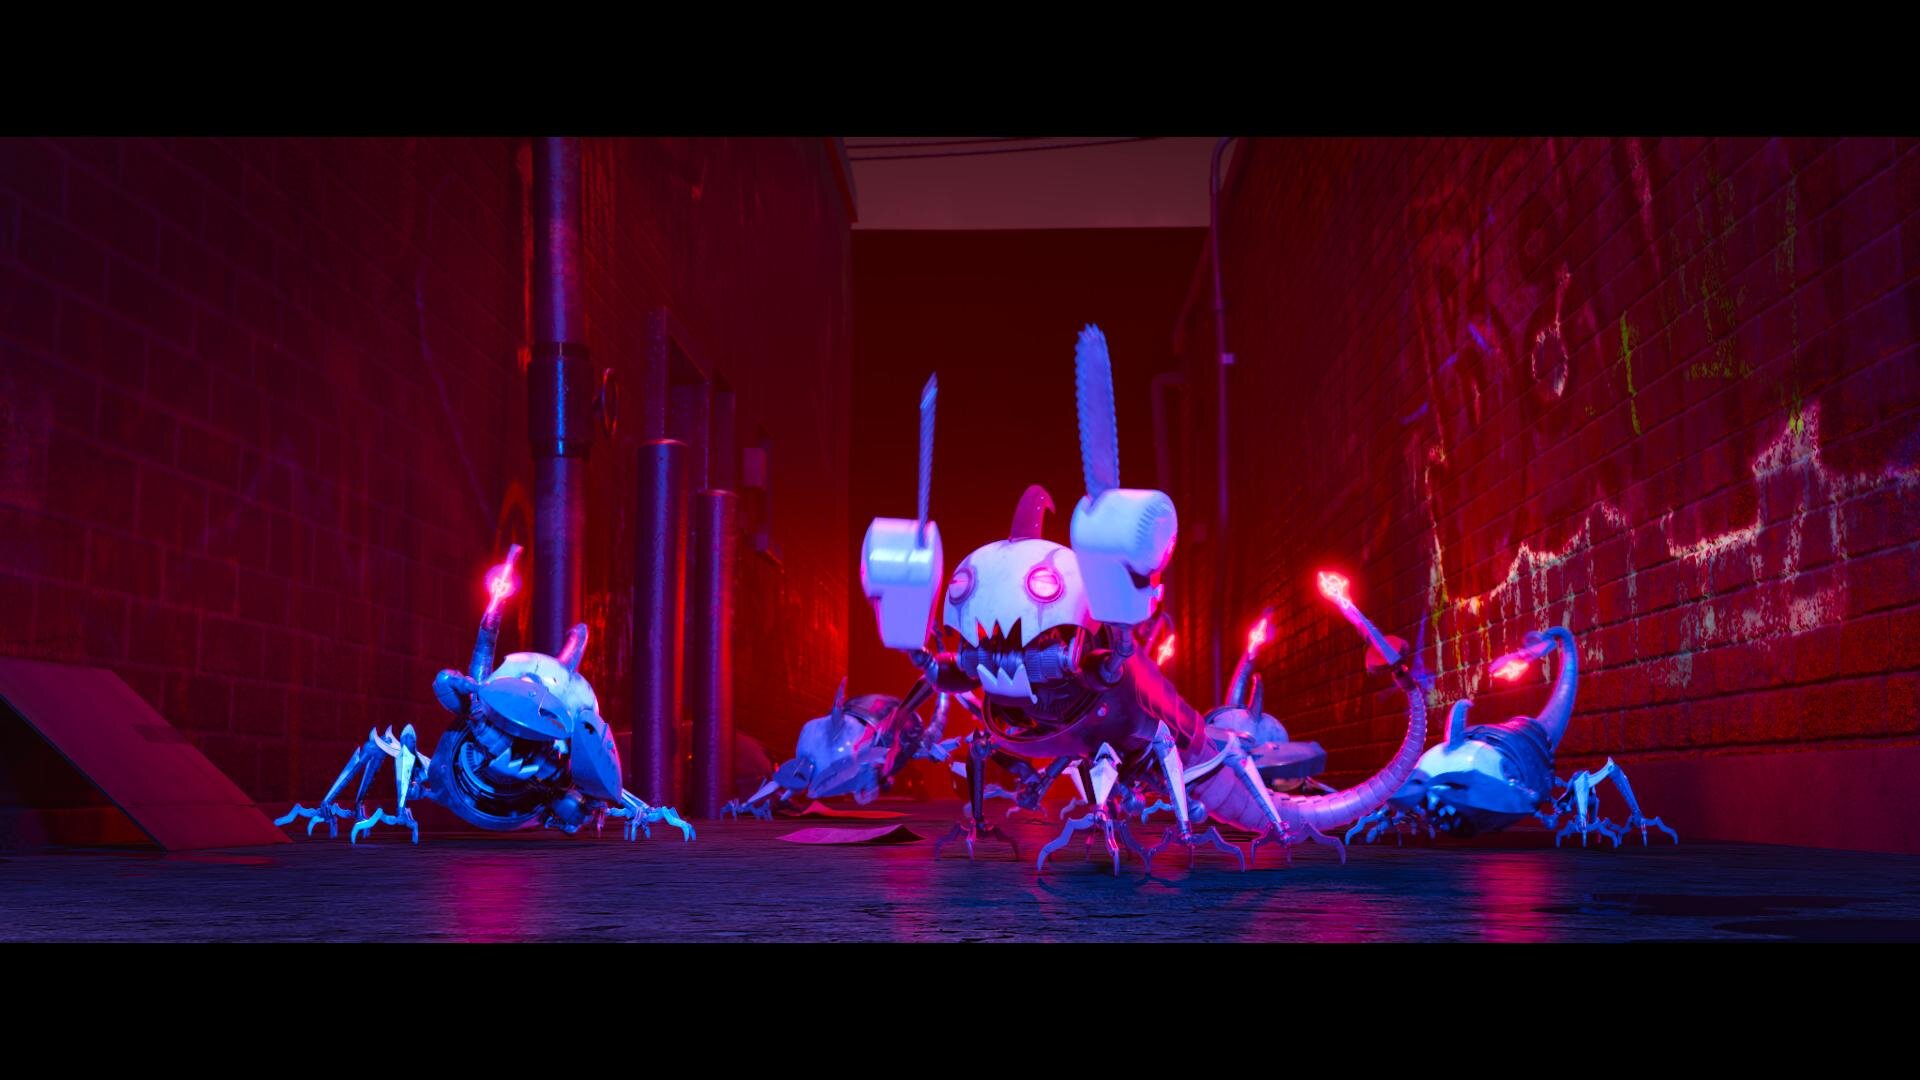
Finishing Scoob!
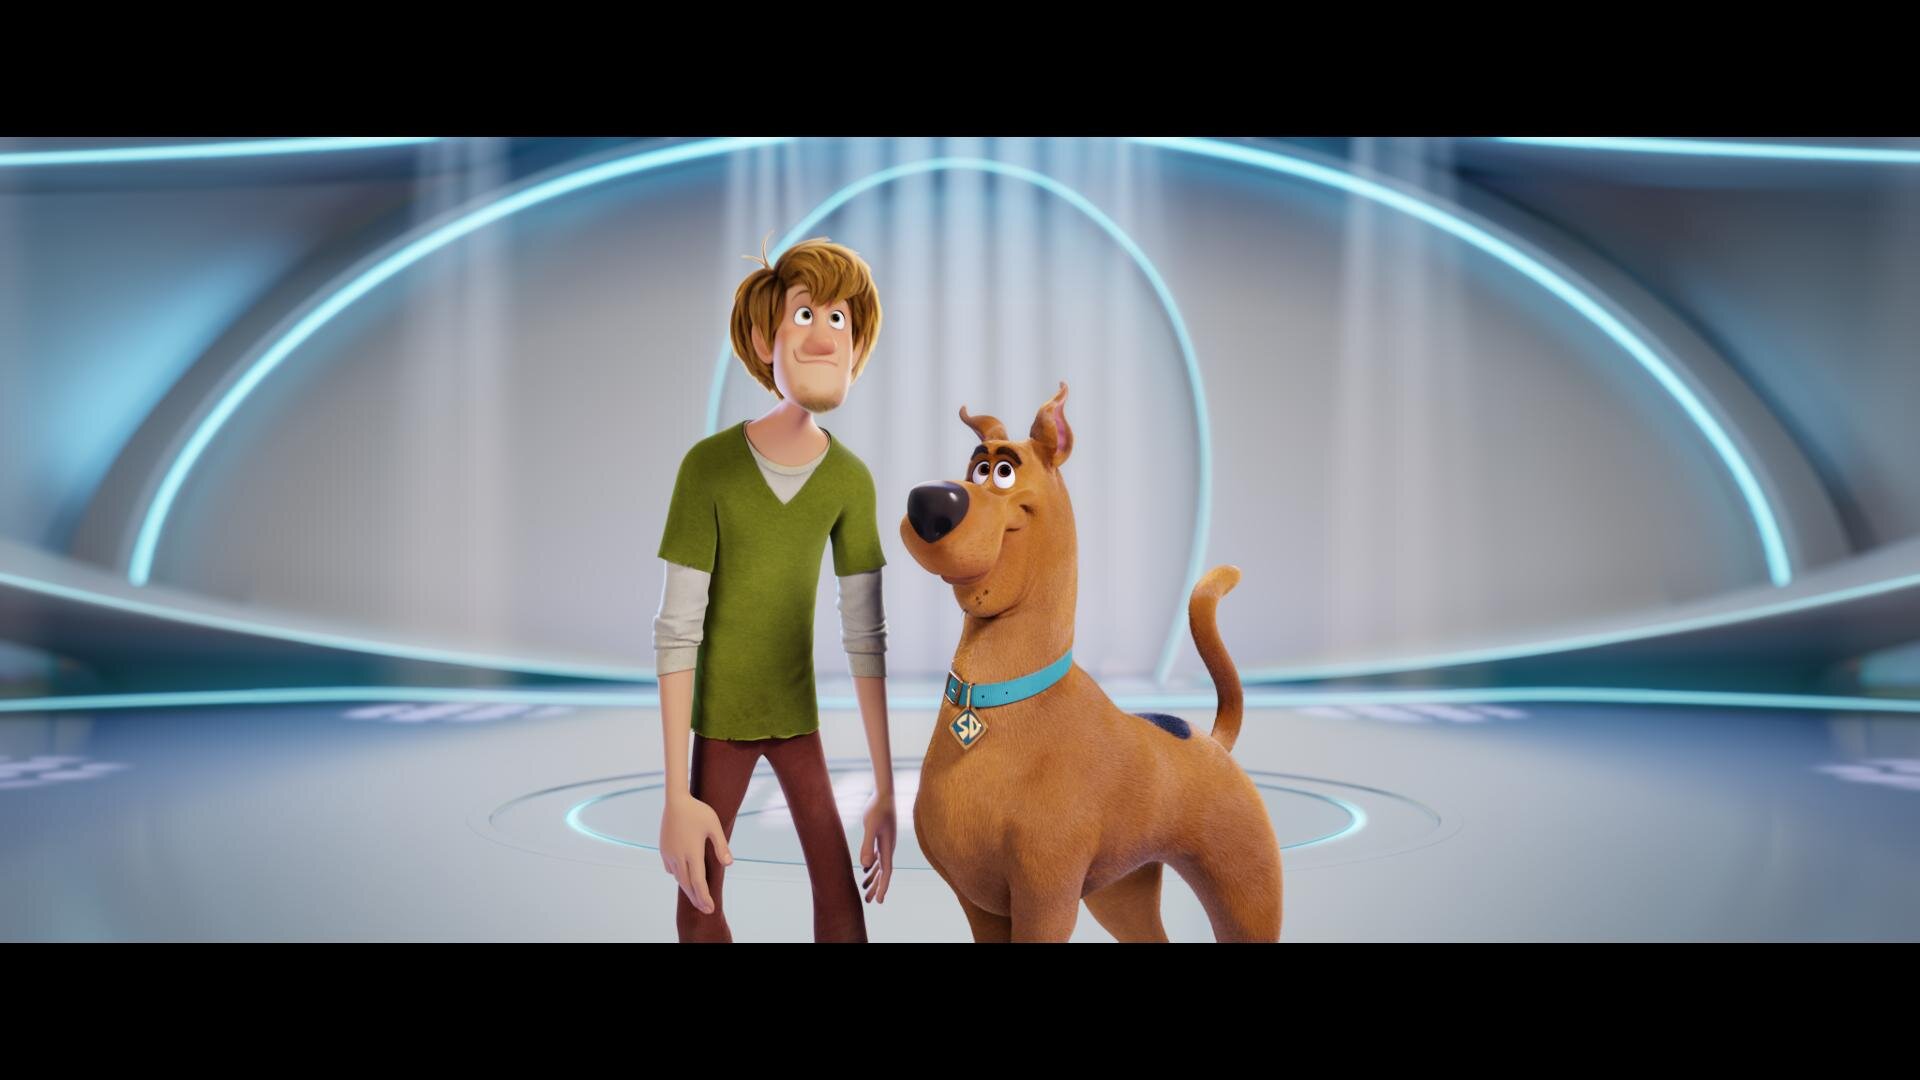
“Scoob!” is out today. Check out my work on the latest Warner Animation title. Here are some highlights and examples of how we pushed the envelope of what is possible in color today.

Building the Look
ReelFX was the animation house tasked with bringing “Scoob!” from the boards to the screen. I had previously worked with them on “Rock Dog” so there was a bit of a shorthand already in place. I already had a working understanding of their pipeline and the capabilities of their team. When I came on-board, production was quite far along with the show look. Michael Kurinsky (Production Designer) had already been iterating through versions addressing lighting notes from Tony Cervone (Director) through a LUT that ReelFX had created. This was different from “Smallfoot” where I had been brought on during lighting and helped in the general look creation from a much earlier stage. The color pipeline for “Scoob!” was Linear Arri Wide Gamut EXR files -> Log C Wide Gamut working space ->Show LUT -> sRGB/709. Luckily for me, I would have recommended something very similar. One challenge was the LUT was only a forward transform with no inverse and only built for rec.709 primaries. We needed to recreate this look targeting P3 2.6 and ultimately rec.2020 PQ.
Transform Generation
Those of you that know me, know that I kind of hate LUTs. My preference is to use curves and functional math whenever possible. This is heavier on the GPUs but with today’s crop of ultra-fast processing cards, it hardly matters. So, my first step was to take ReelFX’s LUT and match the transform using curves. I went back and forth with Mike Fortner from ReelFX until we had an acceptable match.
My next task was to take our new functional forward transform and build an inverse. This is achieved by finding the delta from a 1.0 slope and multiplying that value by a -1. Inverse transforms are very necessary for today’s deliverable climate. For starters, you will often receive graphics, logos, and titles in display referred spaces such as P3 2.6 or rec.709. The inverse show LUT allows you to place these into your working space.

Curve and it’s inverse function
After the Inverse was built, I started to work on the additional color spaces I would be asked to deliver. This included the various forward transforms to p3 2.6 for theatrical, rec.2020 limited to P3 with a PQ curve for HDR, and rec.709 for web/marketing needs. I took all of these transforms and baked them into a family DRT. This is a feature in Baselight where the software will automatically use the correct transform based on your output. A lot of work up front, but a huge time saver on the back end; plus less margin for error since it is set programmatically.
Trailers First
The first piece that I colored with the team were the trailers. This was great since it afforded us the opportunity to start developing workflows that we would use on the feature.
My friend in the creative marketing world once said to me “I always feel like the trailer is used as the test.” That’s probably because the trailer is the first picture that anybody will see. You need to make sure it’s right before it’s released to the world.
Conform
Conform is one aspect of the project where we blazed new paths. It’s common to have 50 to 60 versions of a shot as it gets ever more refined and polished through the process. This doesn’t just happen in animation. Live-action shows with lots of VFX (read: photo-real animation) go through this same process.
We worked with Filmlight to develop a workflow where the version tracking was automated. In the past, you would need an editor to be re-conforming or hand dropping in shots as new versions came in. On “Scoob!”, a database was queried and the correct shot if available was automatically placed in the timeline. Otherwise, if not available, the machine would use the latest version delivered to keep us grading until the final arrives. This saves a huge amount of time (read: money).
Grading
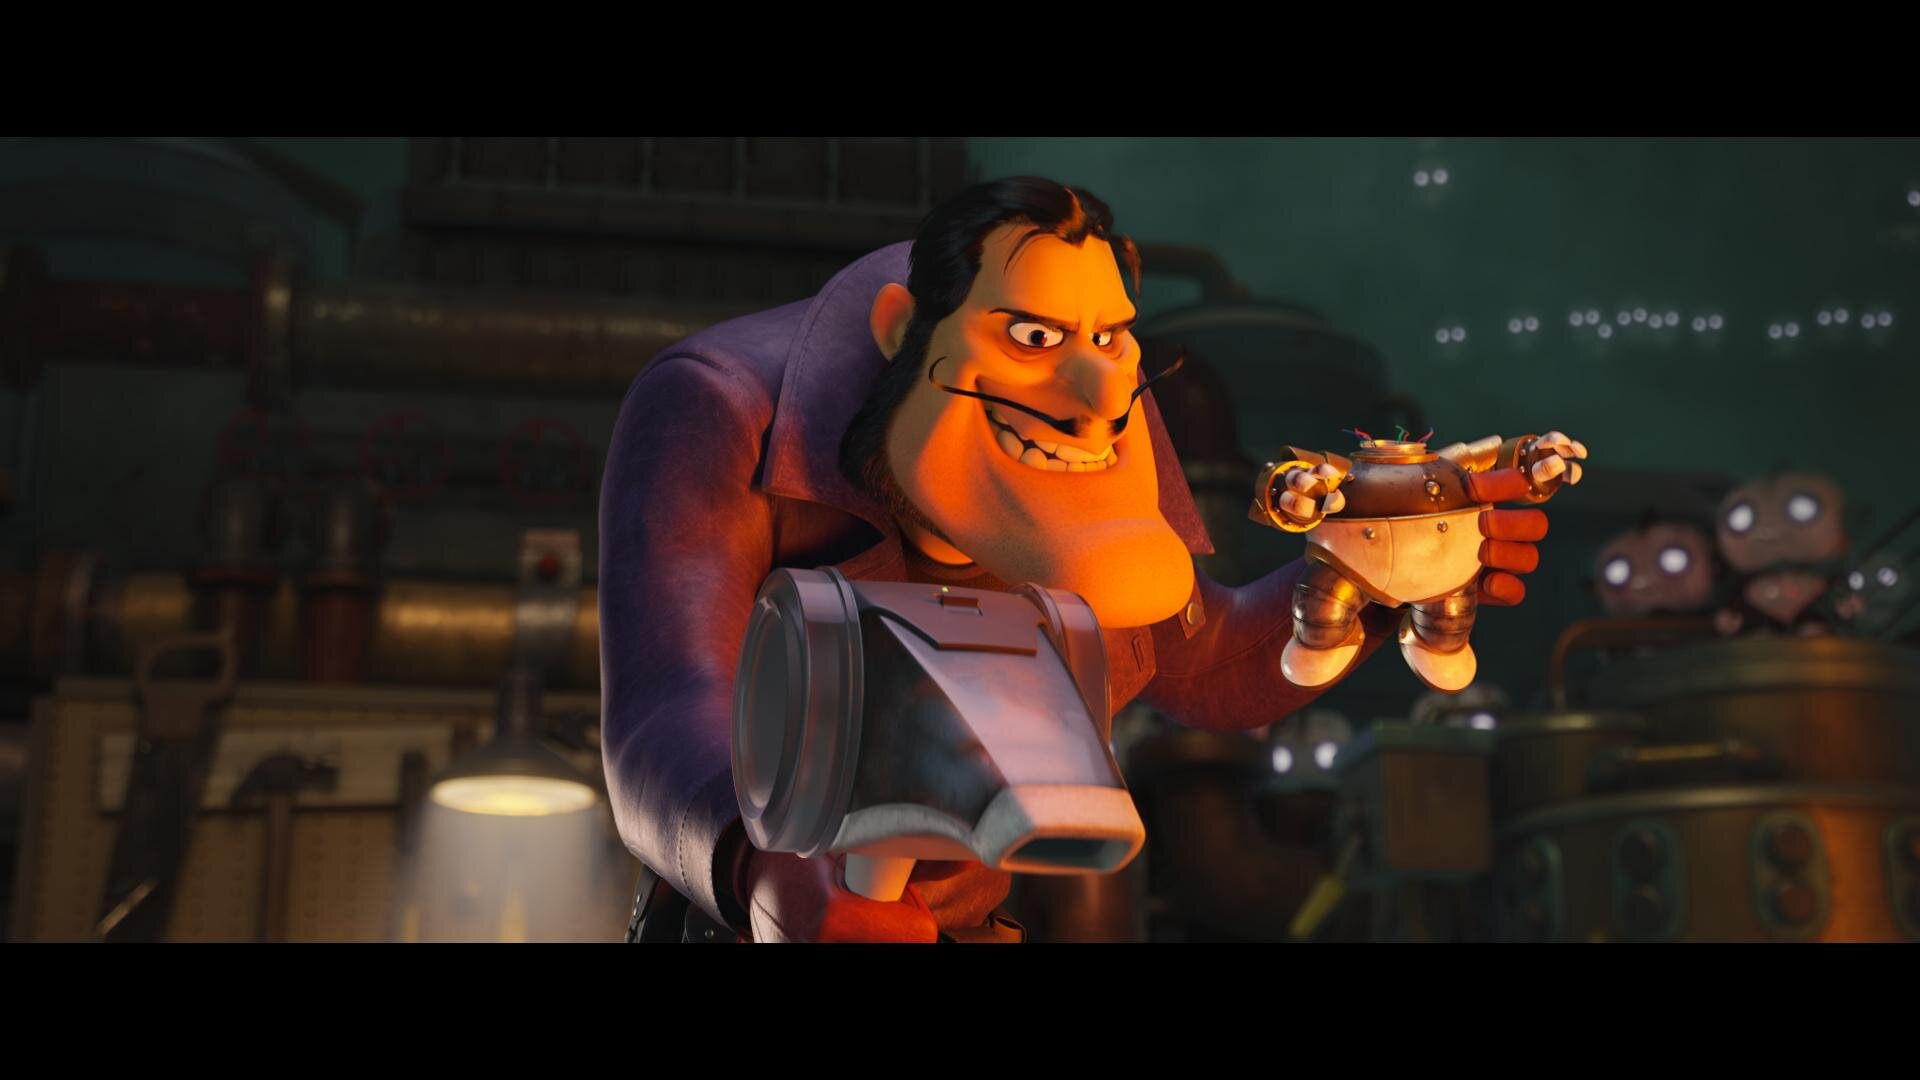
Coloring for animation
I often hear, “It’s animation… doesn’t it come to you already correct?” Well, yes and no. What we do in the bay for animation shows is color enhancement; not color correction. Often, we are taking what was rendered and getting it that last mile to where the Director, Production Designer, and Art Director envisioned the image to be.
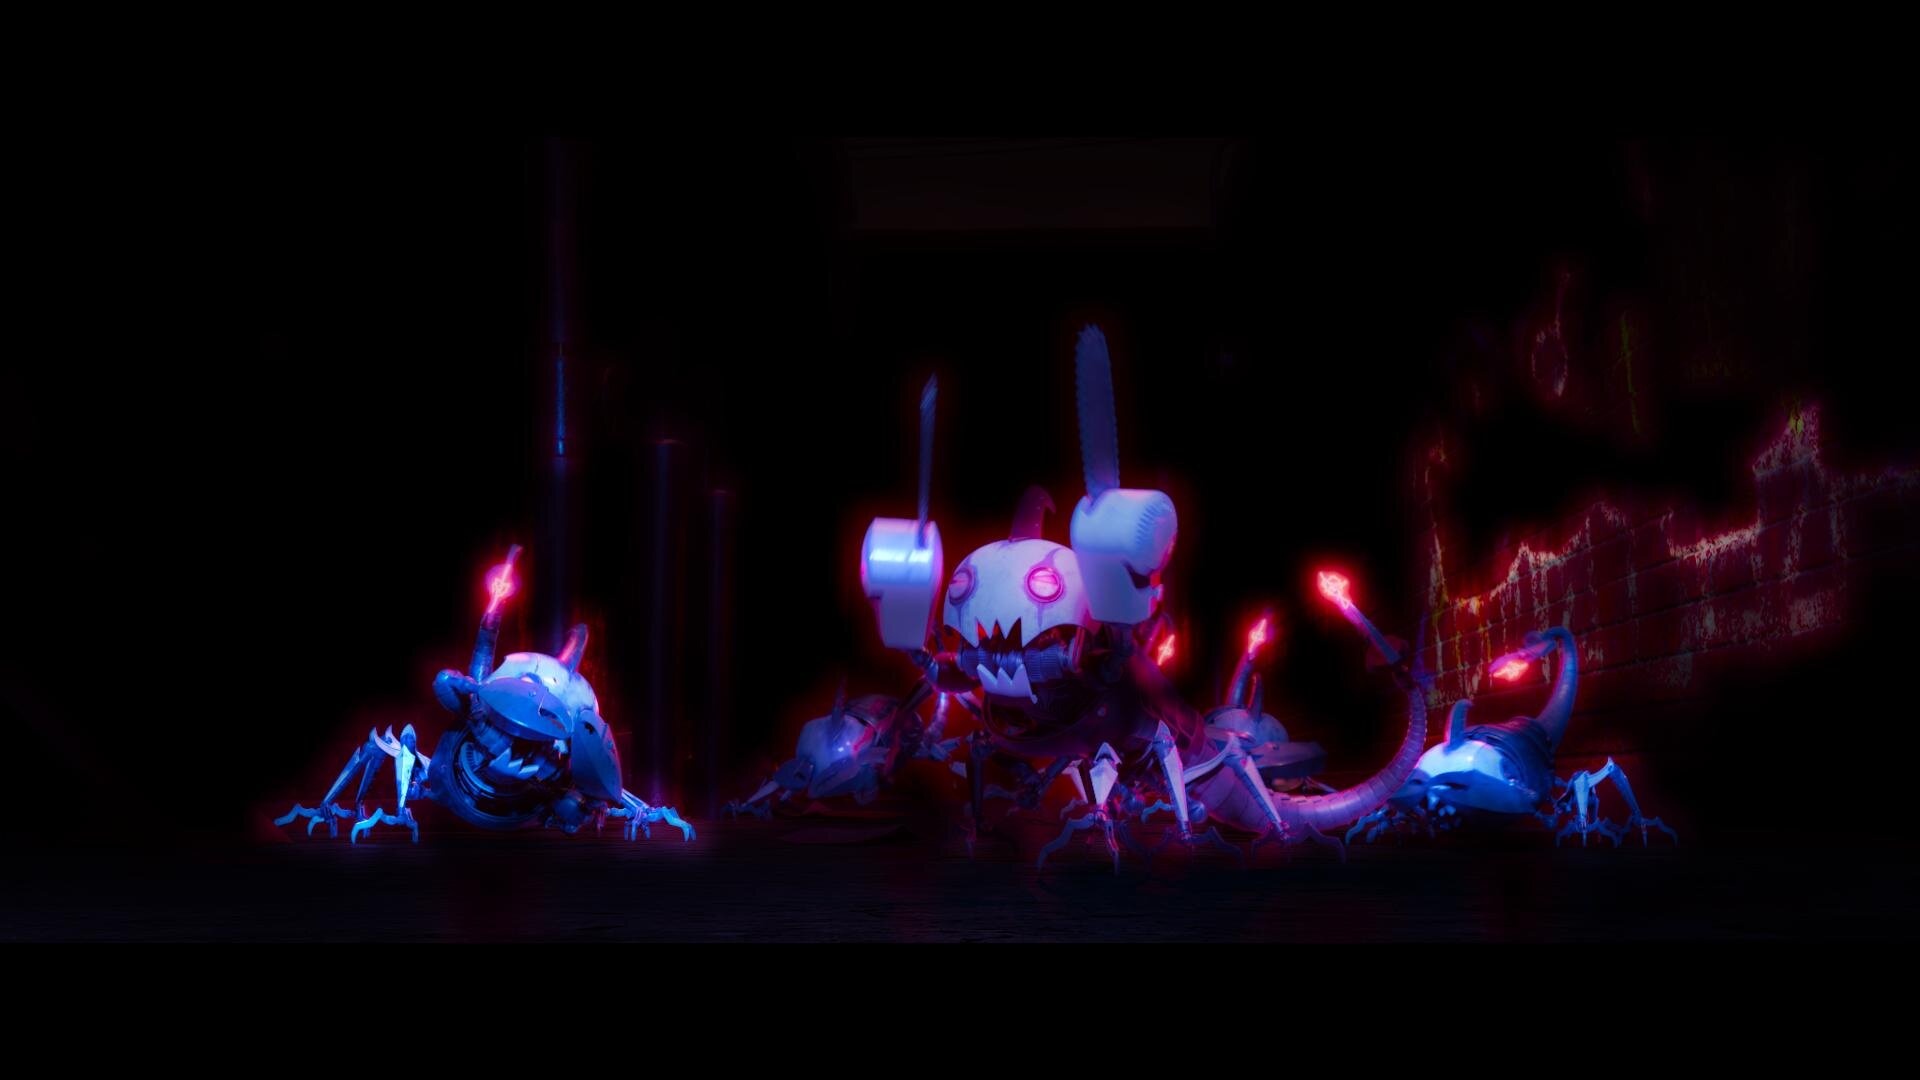
This includes windows and lighting tricks to direct the eye and enhance the story. Also, the use of secondaries to further stretch the distance between two complementary colors, effectively adding more color contrast. Speaking of contrast, it was very important to Tony, that we never were too crunchy. He always wanted to see into the blacks.
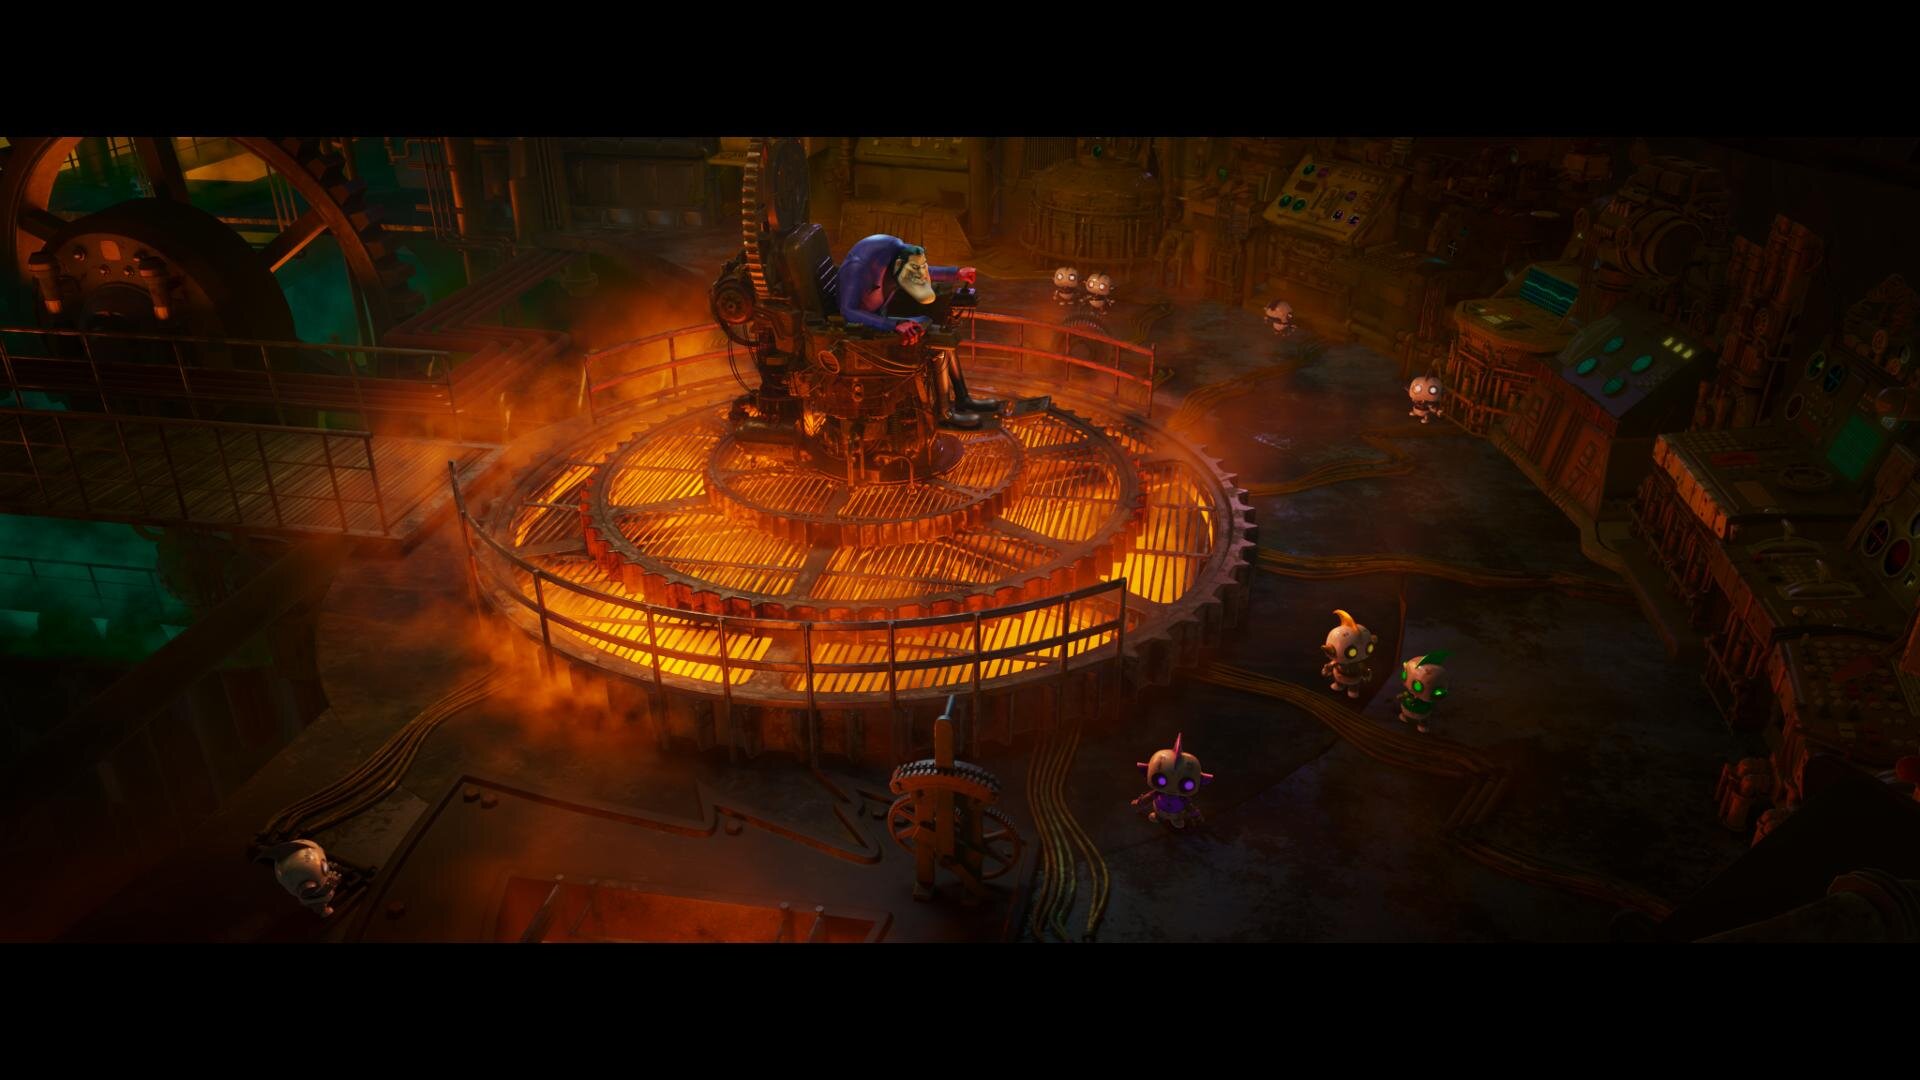
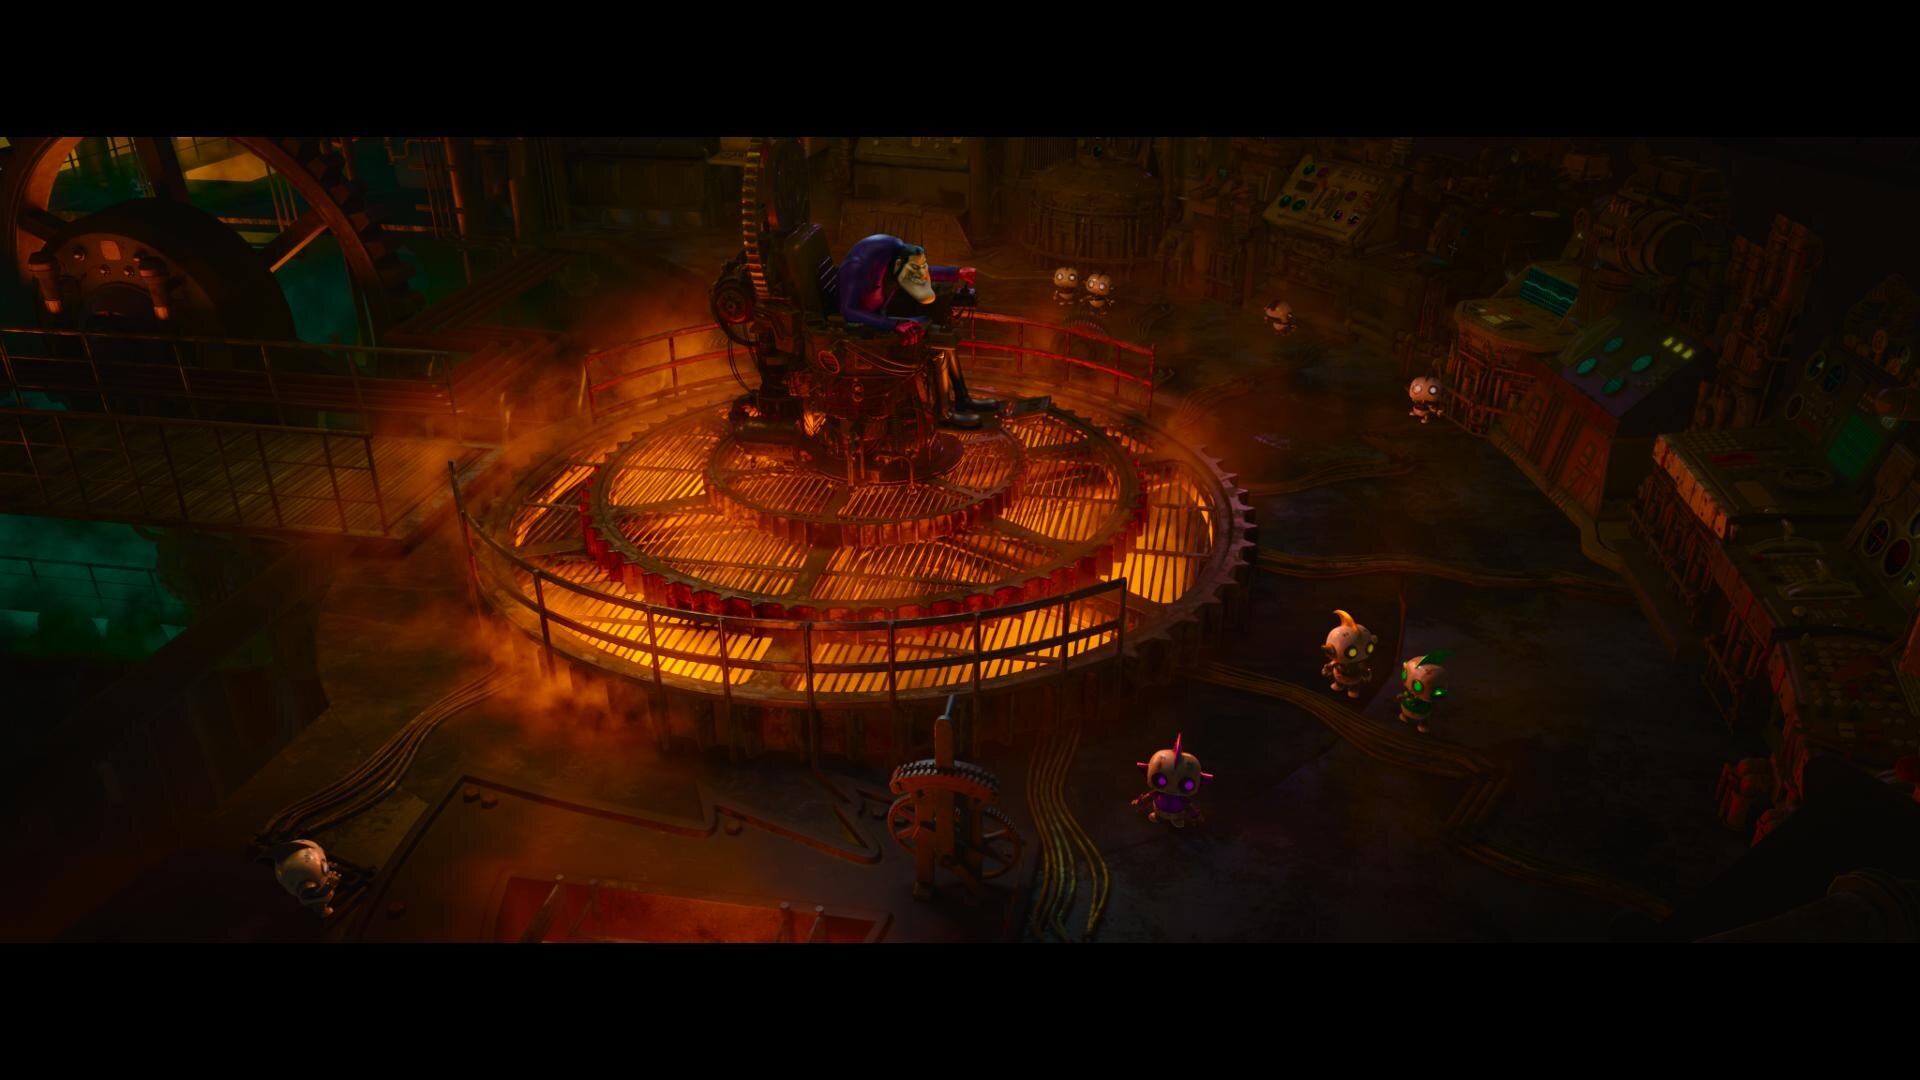
These were the primary considerations when coloring “Scoob!” Take what is there and make it work the best it can to promote the story the director is telling. Which takes me to my next tool and technique that was used extensively.
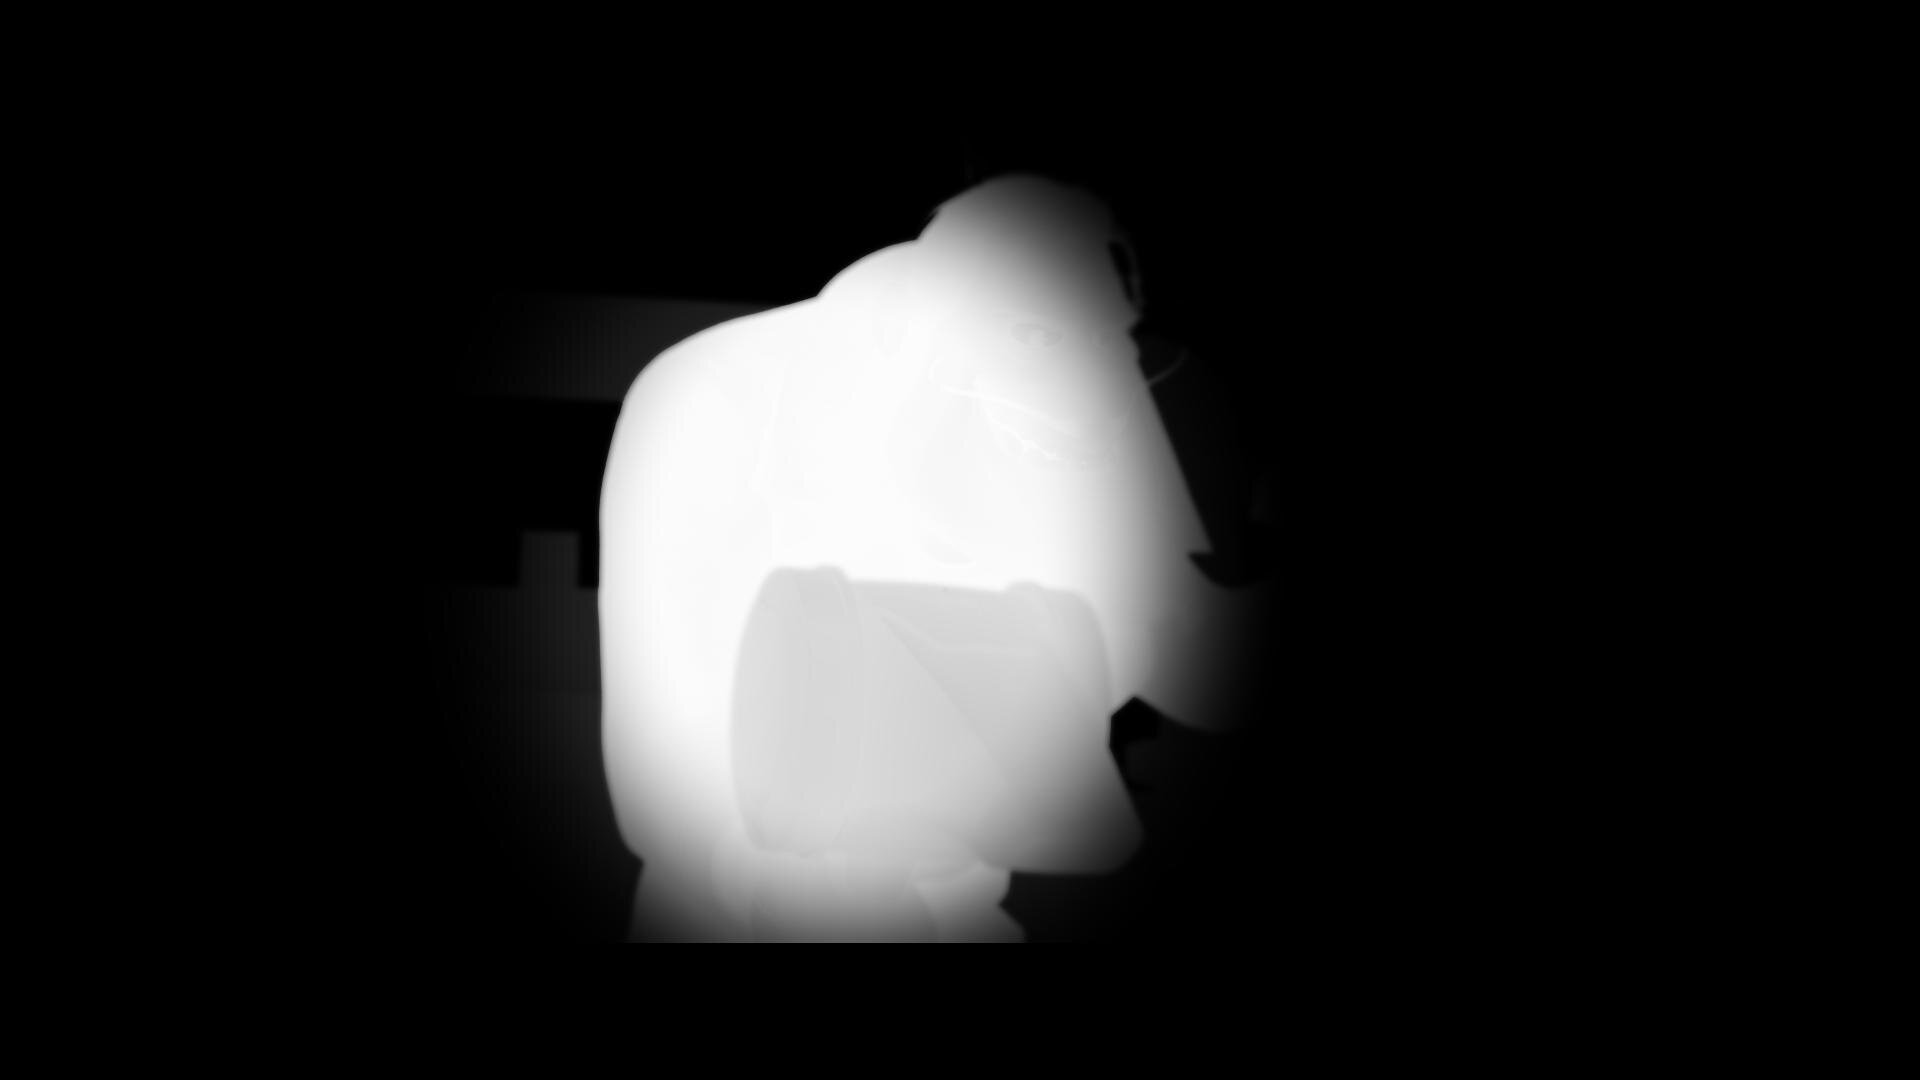
Deep Pixels and Depth Mattes
I’ve always said, if you want to know what we will be doing in color five years from now, look at what VFX is doing today. Five years ago in VFX deep pixels or voxels as they are sometimes referred, was all the rage. Today they are a standard part of any VFX or Animation pipeline. Often they are thrown away because color correctors either couldn’t use them or it was too cumbersome. Filmlight has recently developed tools that allow me to take color grading to a whole other dimension.
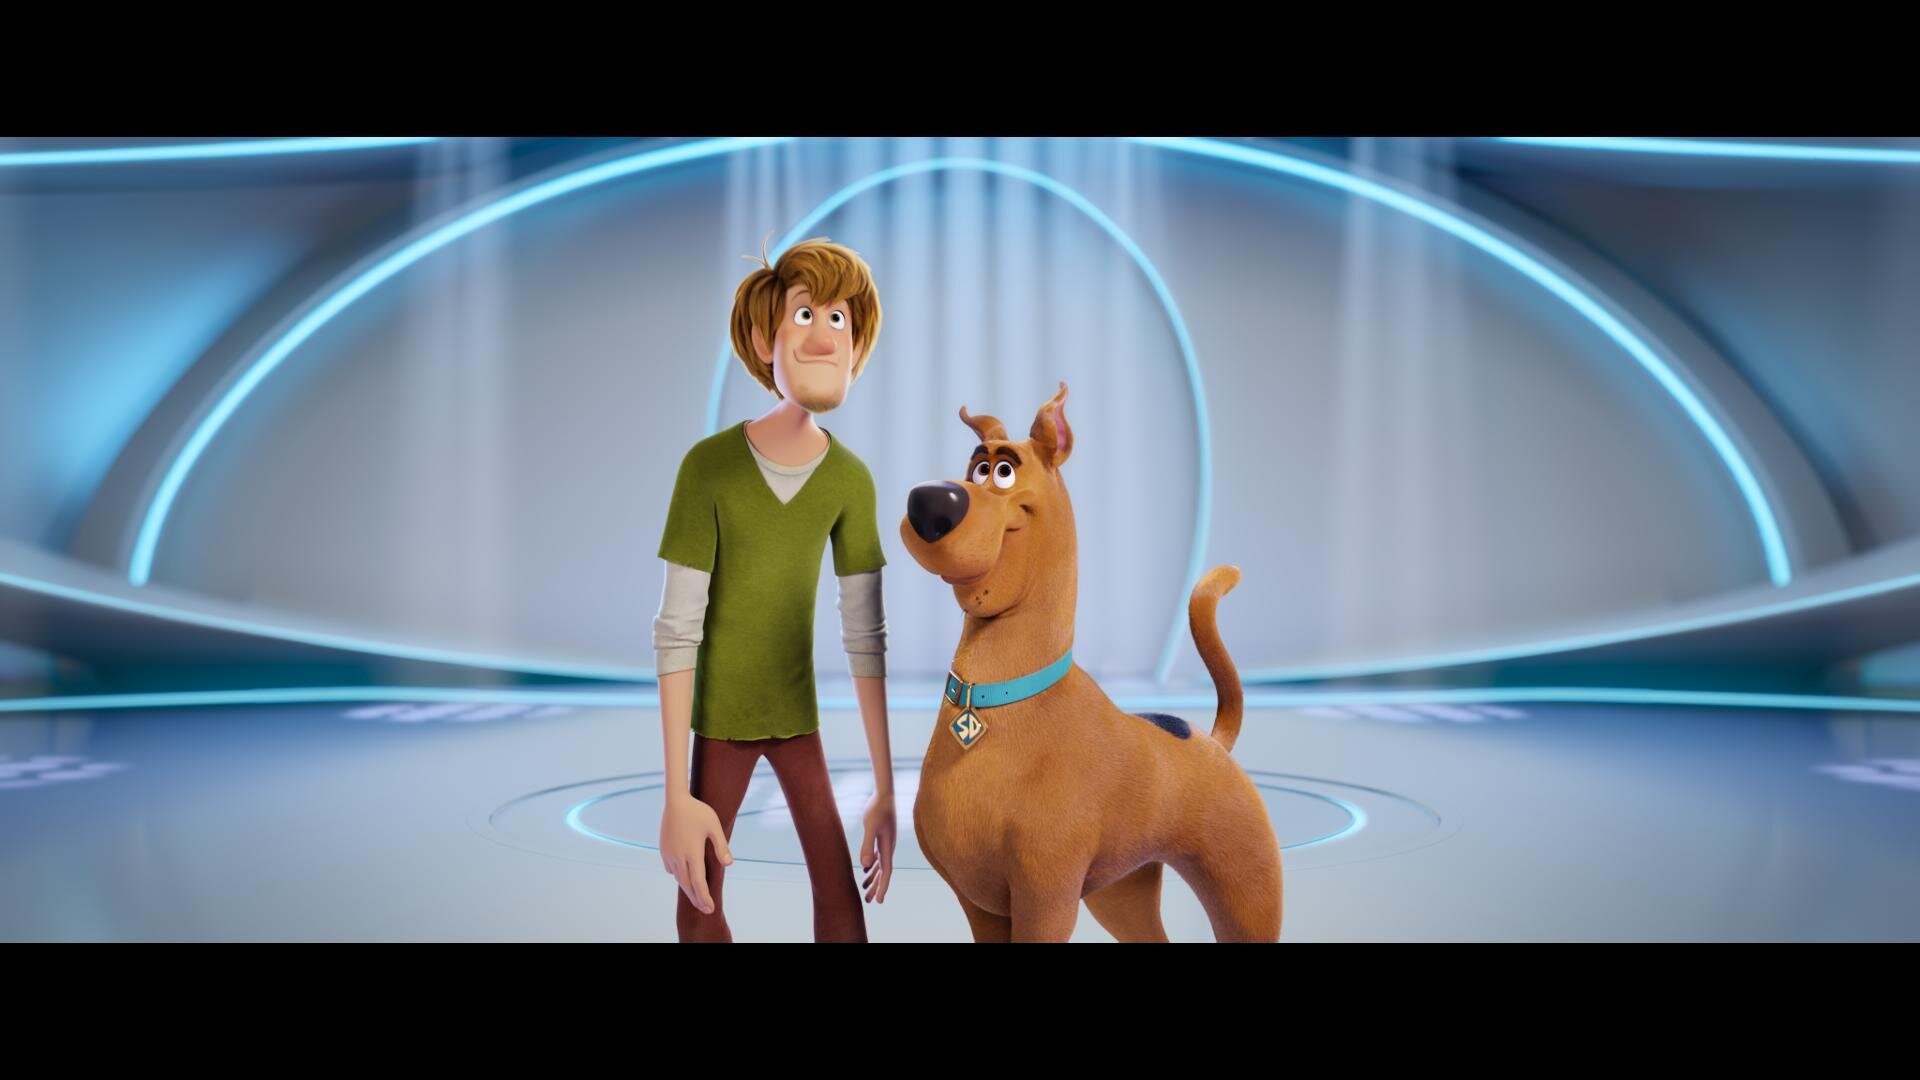
A standard pixel has 5 values R,G,B and XY. A Voxel has 6 values RGB and XYZ. Basically for each pixel in a frame, there is another value that describes where it is in space. This allows me to “select” a slice of the image to change or enhance.

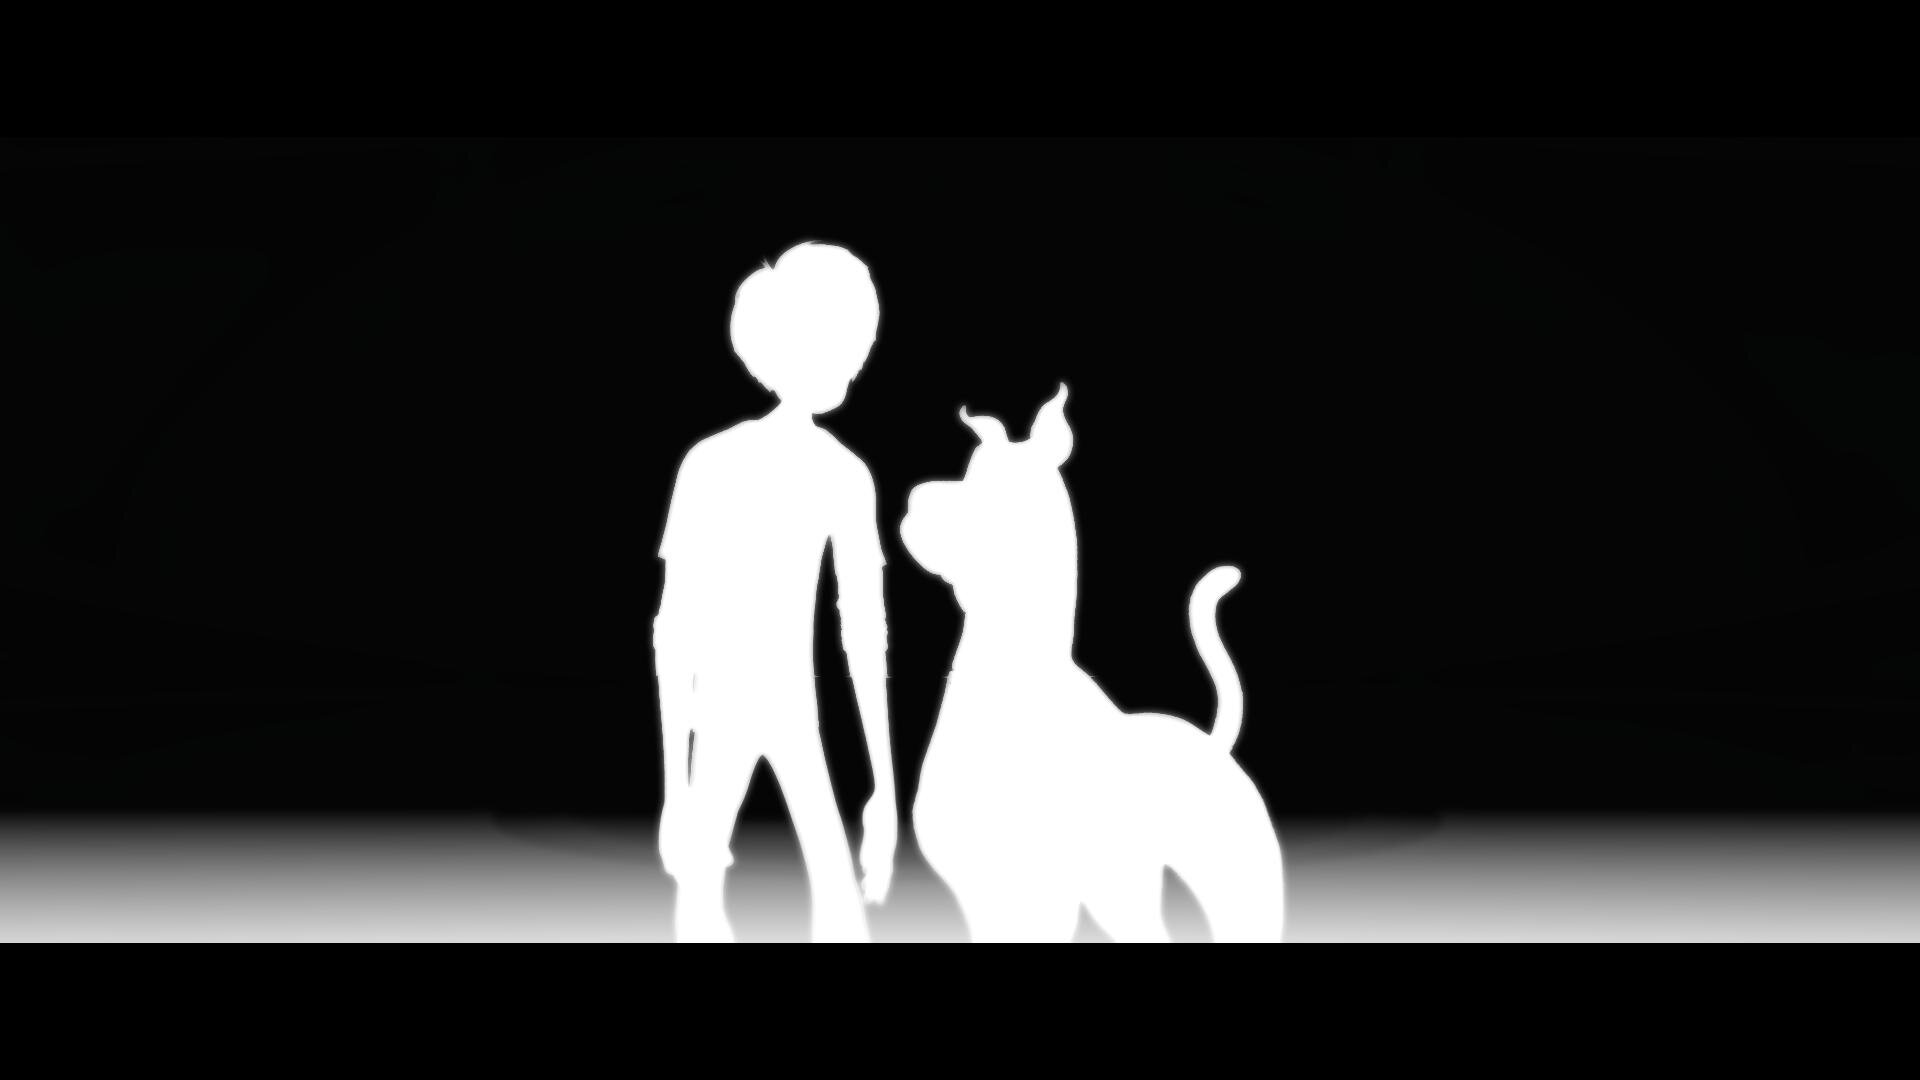
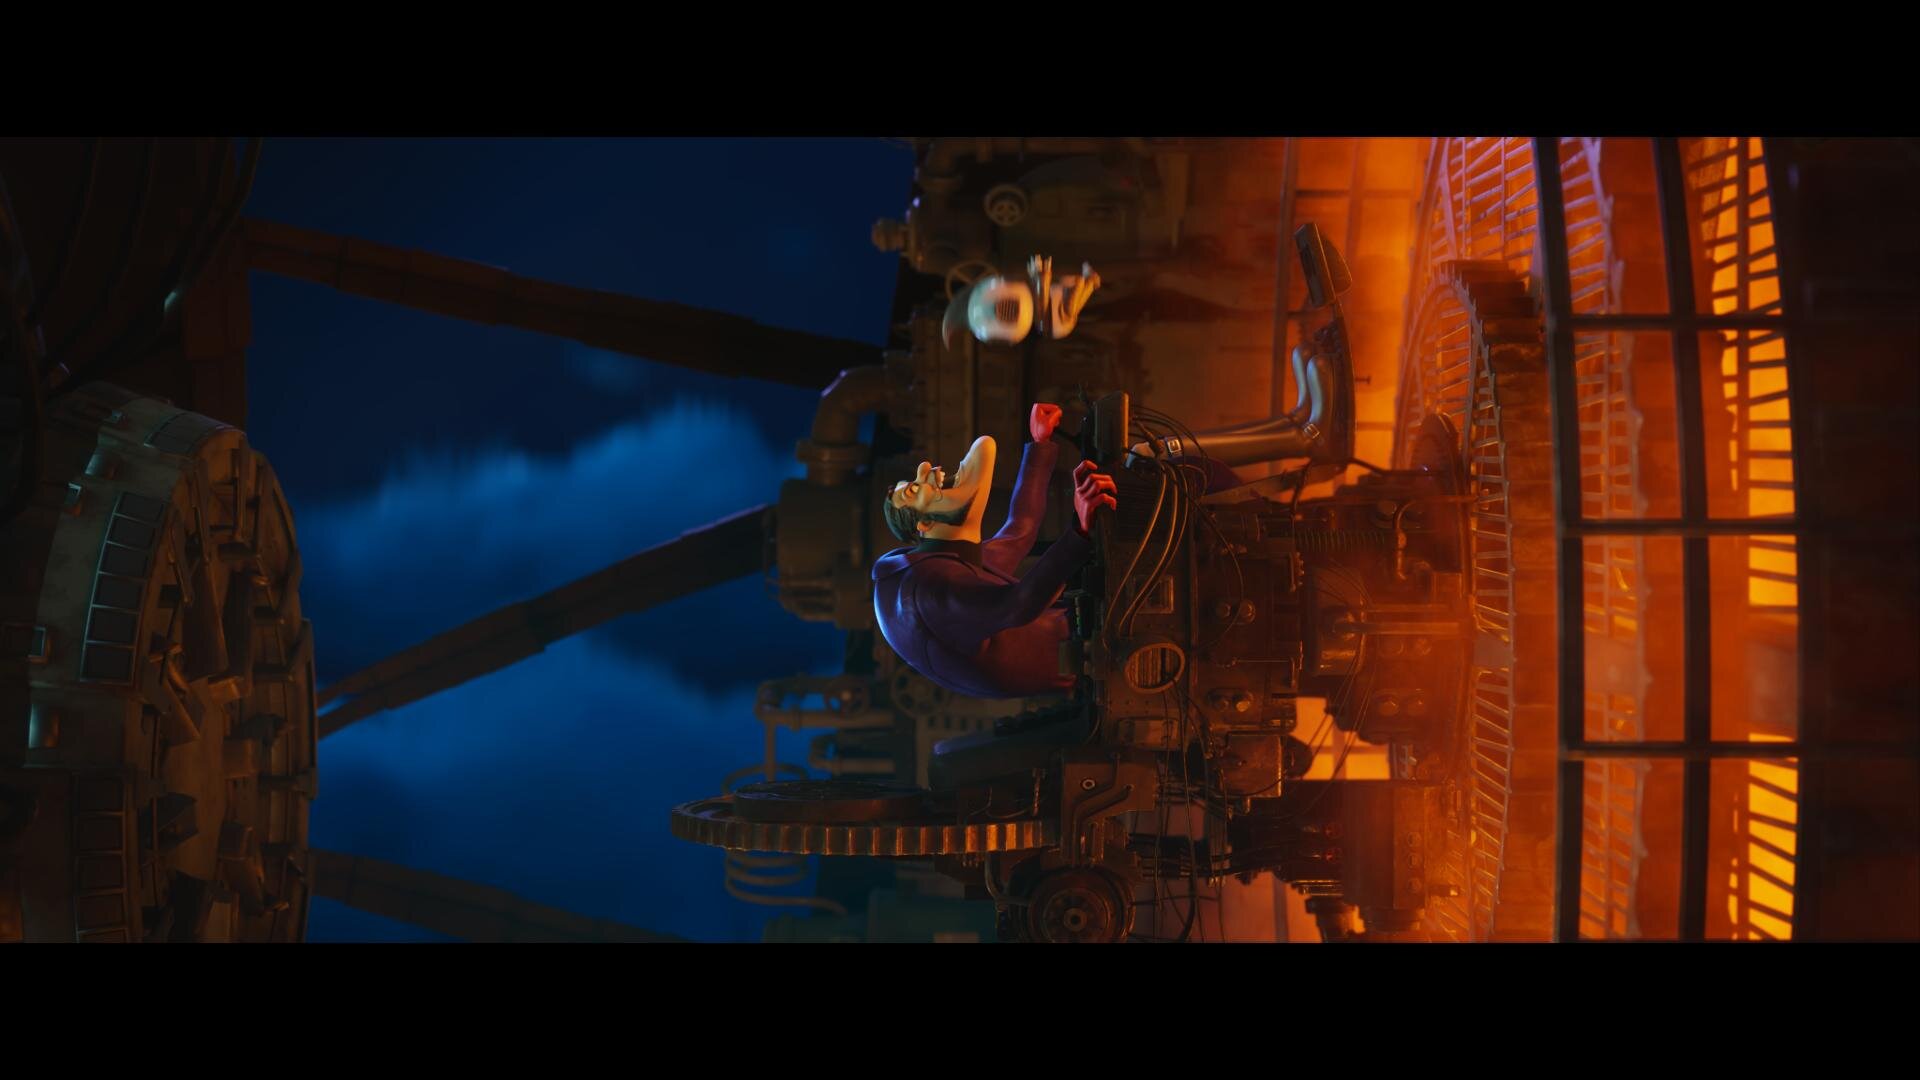
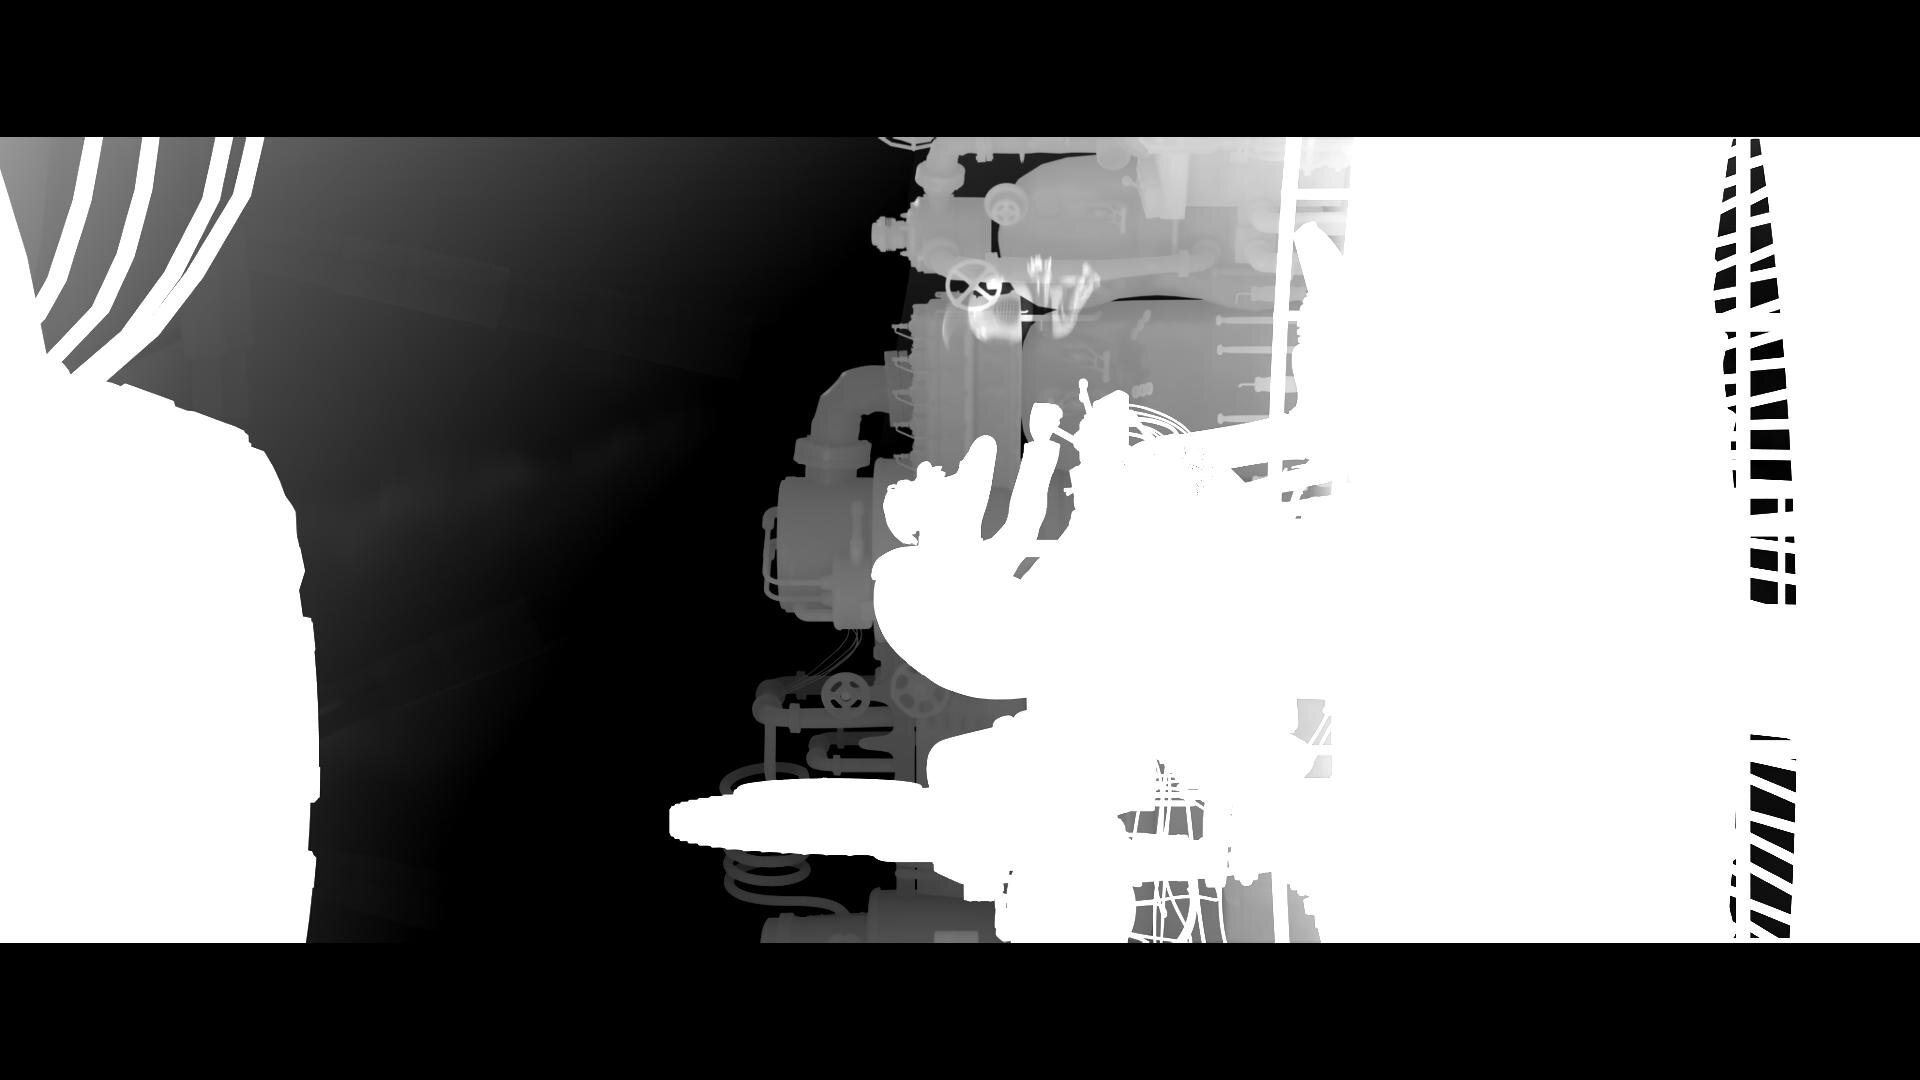
This matte also works with my other 2D qualifiers turning my circles and squares into spheres and cubes. This allows for corrections like “more contrast but only to the foreground” or desaturate the character behind Scooby, but in front of Velma.
Using the depth mattes along with my other traditional qualifiers all but eliminated the need for standard alpha style mattes. This not only saves a ton of time in color since I’m only dealing with one matte but also generates savings in other departments. For example with fewer mattes, your EXR file size is substantially smaller, saving on data management costs. Additionally, on the vendor side, ReelFX only had to render one additional pass for color instead of a matte per character. Again, a huge saving of resources.
I’m super proud of what we were able to accomplish on “Scoob!” using this technique and I can’t wait to see what comes next as this becomes standard for VFX deliveries. A big thank you to ReelFX for being so accommodating to my mad scientist requests.
Corona Time
Luckily, we were done with the theatrical grade before the pandemic hit. Unfortunately, we were far from finished. We were still owed the last stragglers from ReelFX and had yet to start the HDR grade.
Remote Work
We proceeded to set up a series of remote options. First, we set up a calibrated display at Kurinsky’s house. Next, I upgraded my connection to my home color system to allow for faster upload speeds. A streaming session would have been best but we felt that would put too many folks in close contact since it does take a bit of setup. Instead, I rendered out high-quality Prores XQ files. Kurinsky would then give notes on the reels over Zoom or email. I would make changes, rinse and repeat. For HDR, Kurinsky and I worked off a pair of x300s. One monitor was set for 1000nit rec.2020 PQ and the other for the 100nit 709 Dolby trim pass. I also made H.265 files that would play off a thumb drive once plugged into an LG E-series OLED. Finally, Tony approved the 1.78 pan and scan in the same way.
I’m very impressed with how the whole team managed to not only complete this film but finish it to the highest standards under incredibly trying times. An extra big thank you to my right-hand man Leo Ferrini who was nothing but exceptional during this whole project. Also, my partner in crime, Paul Lavoie, whom I have worked with for over 20 years. Even though he was at home, it felt like he was right there with me. Another big thanks.
Check Out the Work
Check out the movie at the link below and tell me what you think.

https://www.scoob.movie/
Thanks for reading!
-John Daro
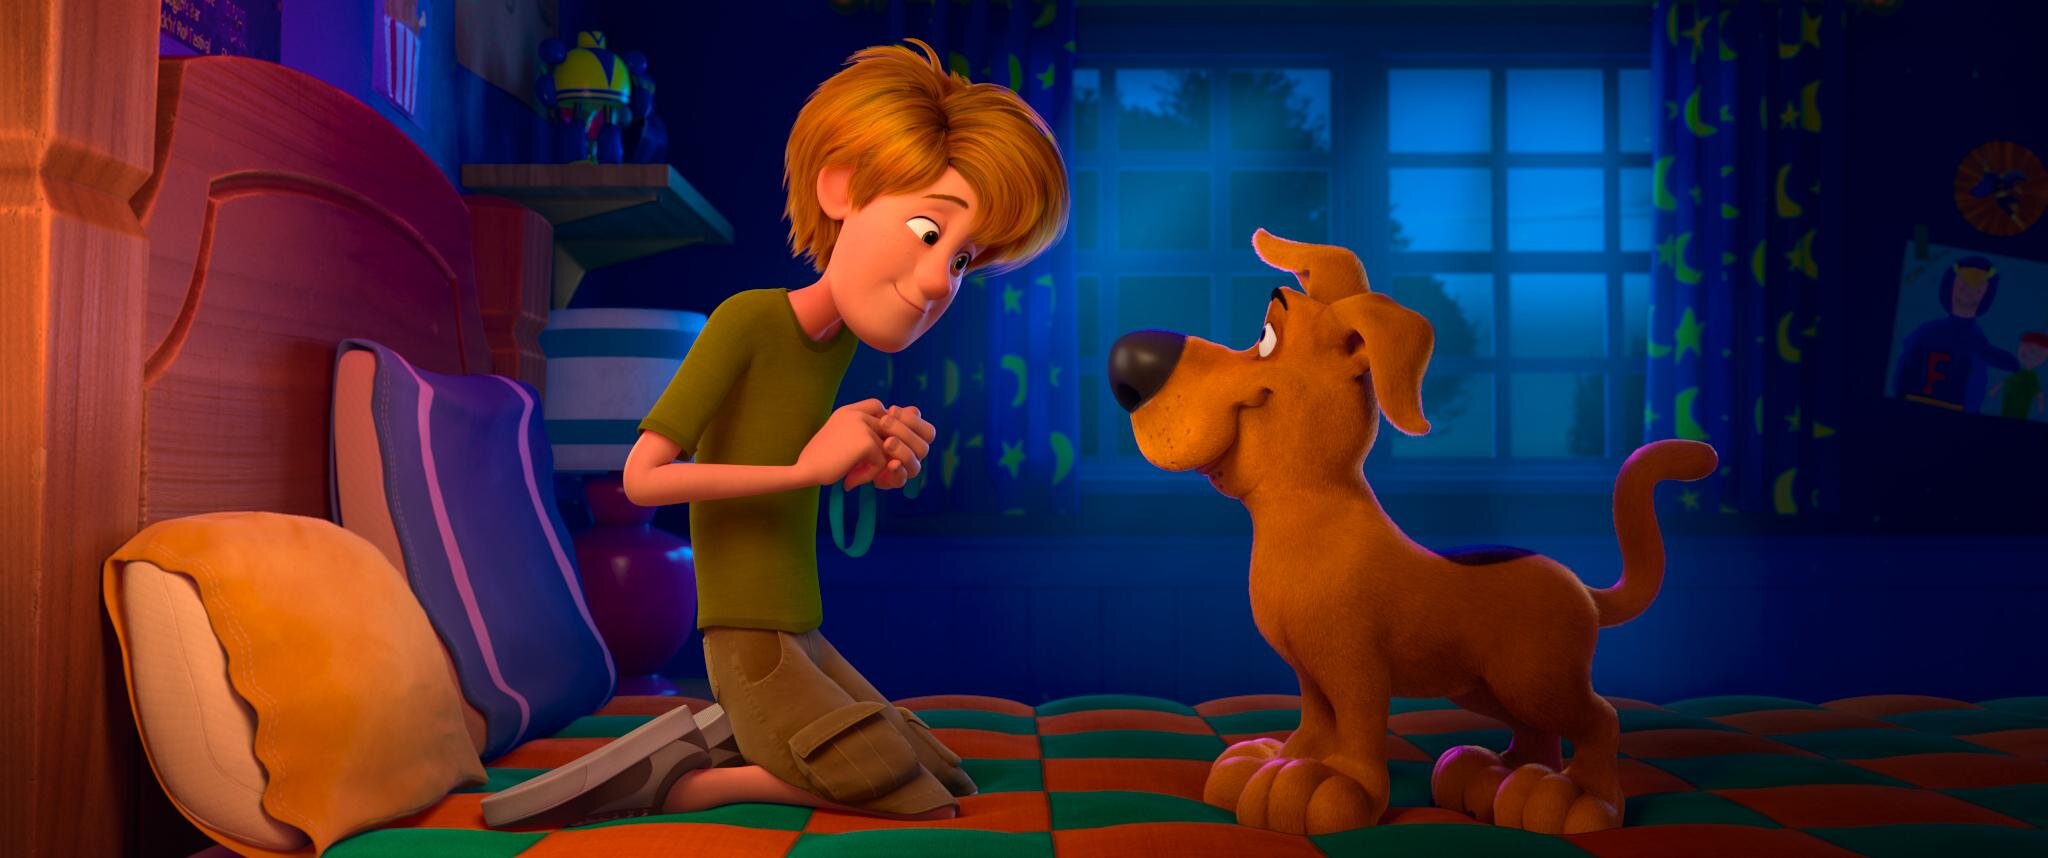
SCOOB! and Best Friends Animal Society
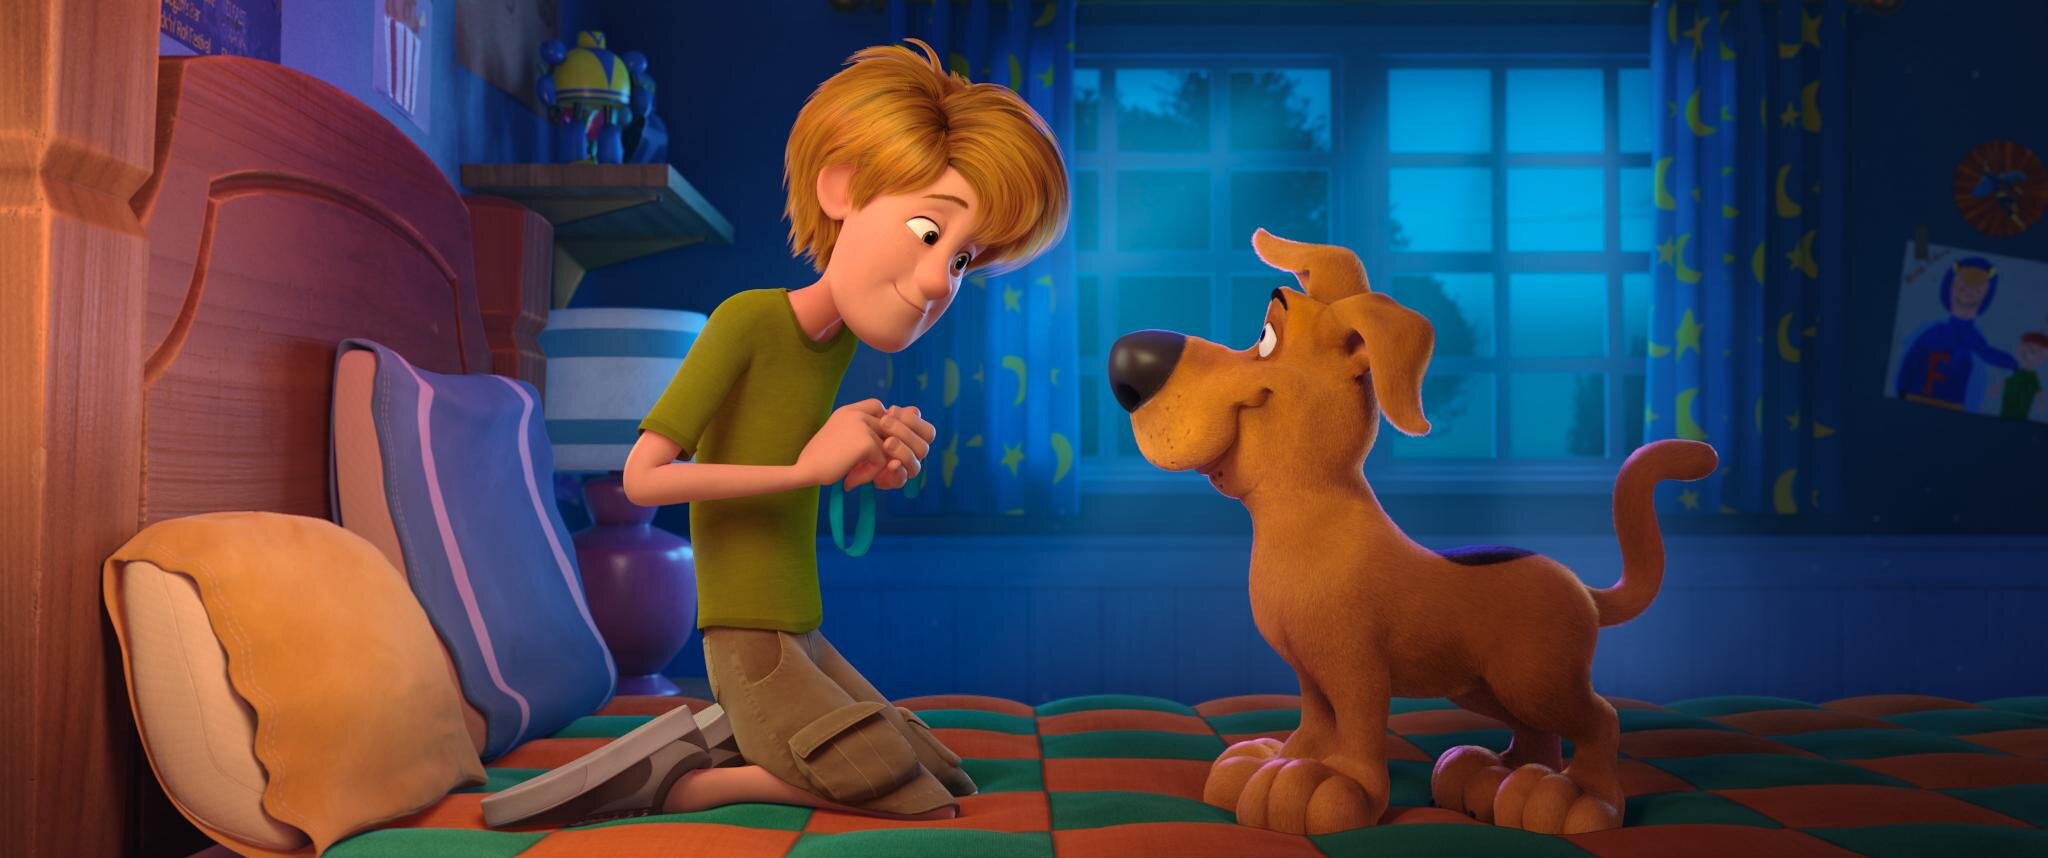
It's not a mystery, everyone needs a best friend! I couldn’t imagine life without my little man Toshi! Watch Shaggy meet his new friend, rescued dog Scooby Doo, in this new PSA from @BestFriendsAnimalSociety. And you can enjoy Exclusive Early Access to the new animated movie @SCCOB with Home Premiere! Available to own May 15th.
@scoob #SCOOB @bestfriendsanimalsociety #SaveThemAll #fosteringsaveslives #thelabellefoundation

SCOOB!

My Dog Toshi
A Huge thank you to TheLabelleFoundation for bringing us together!

A Brief History of HDR
A brief history of John Daro’s experience creating HDR moving images.
Read More