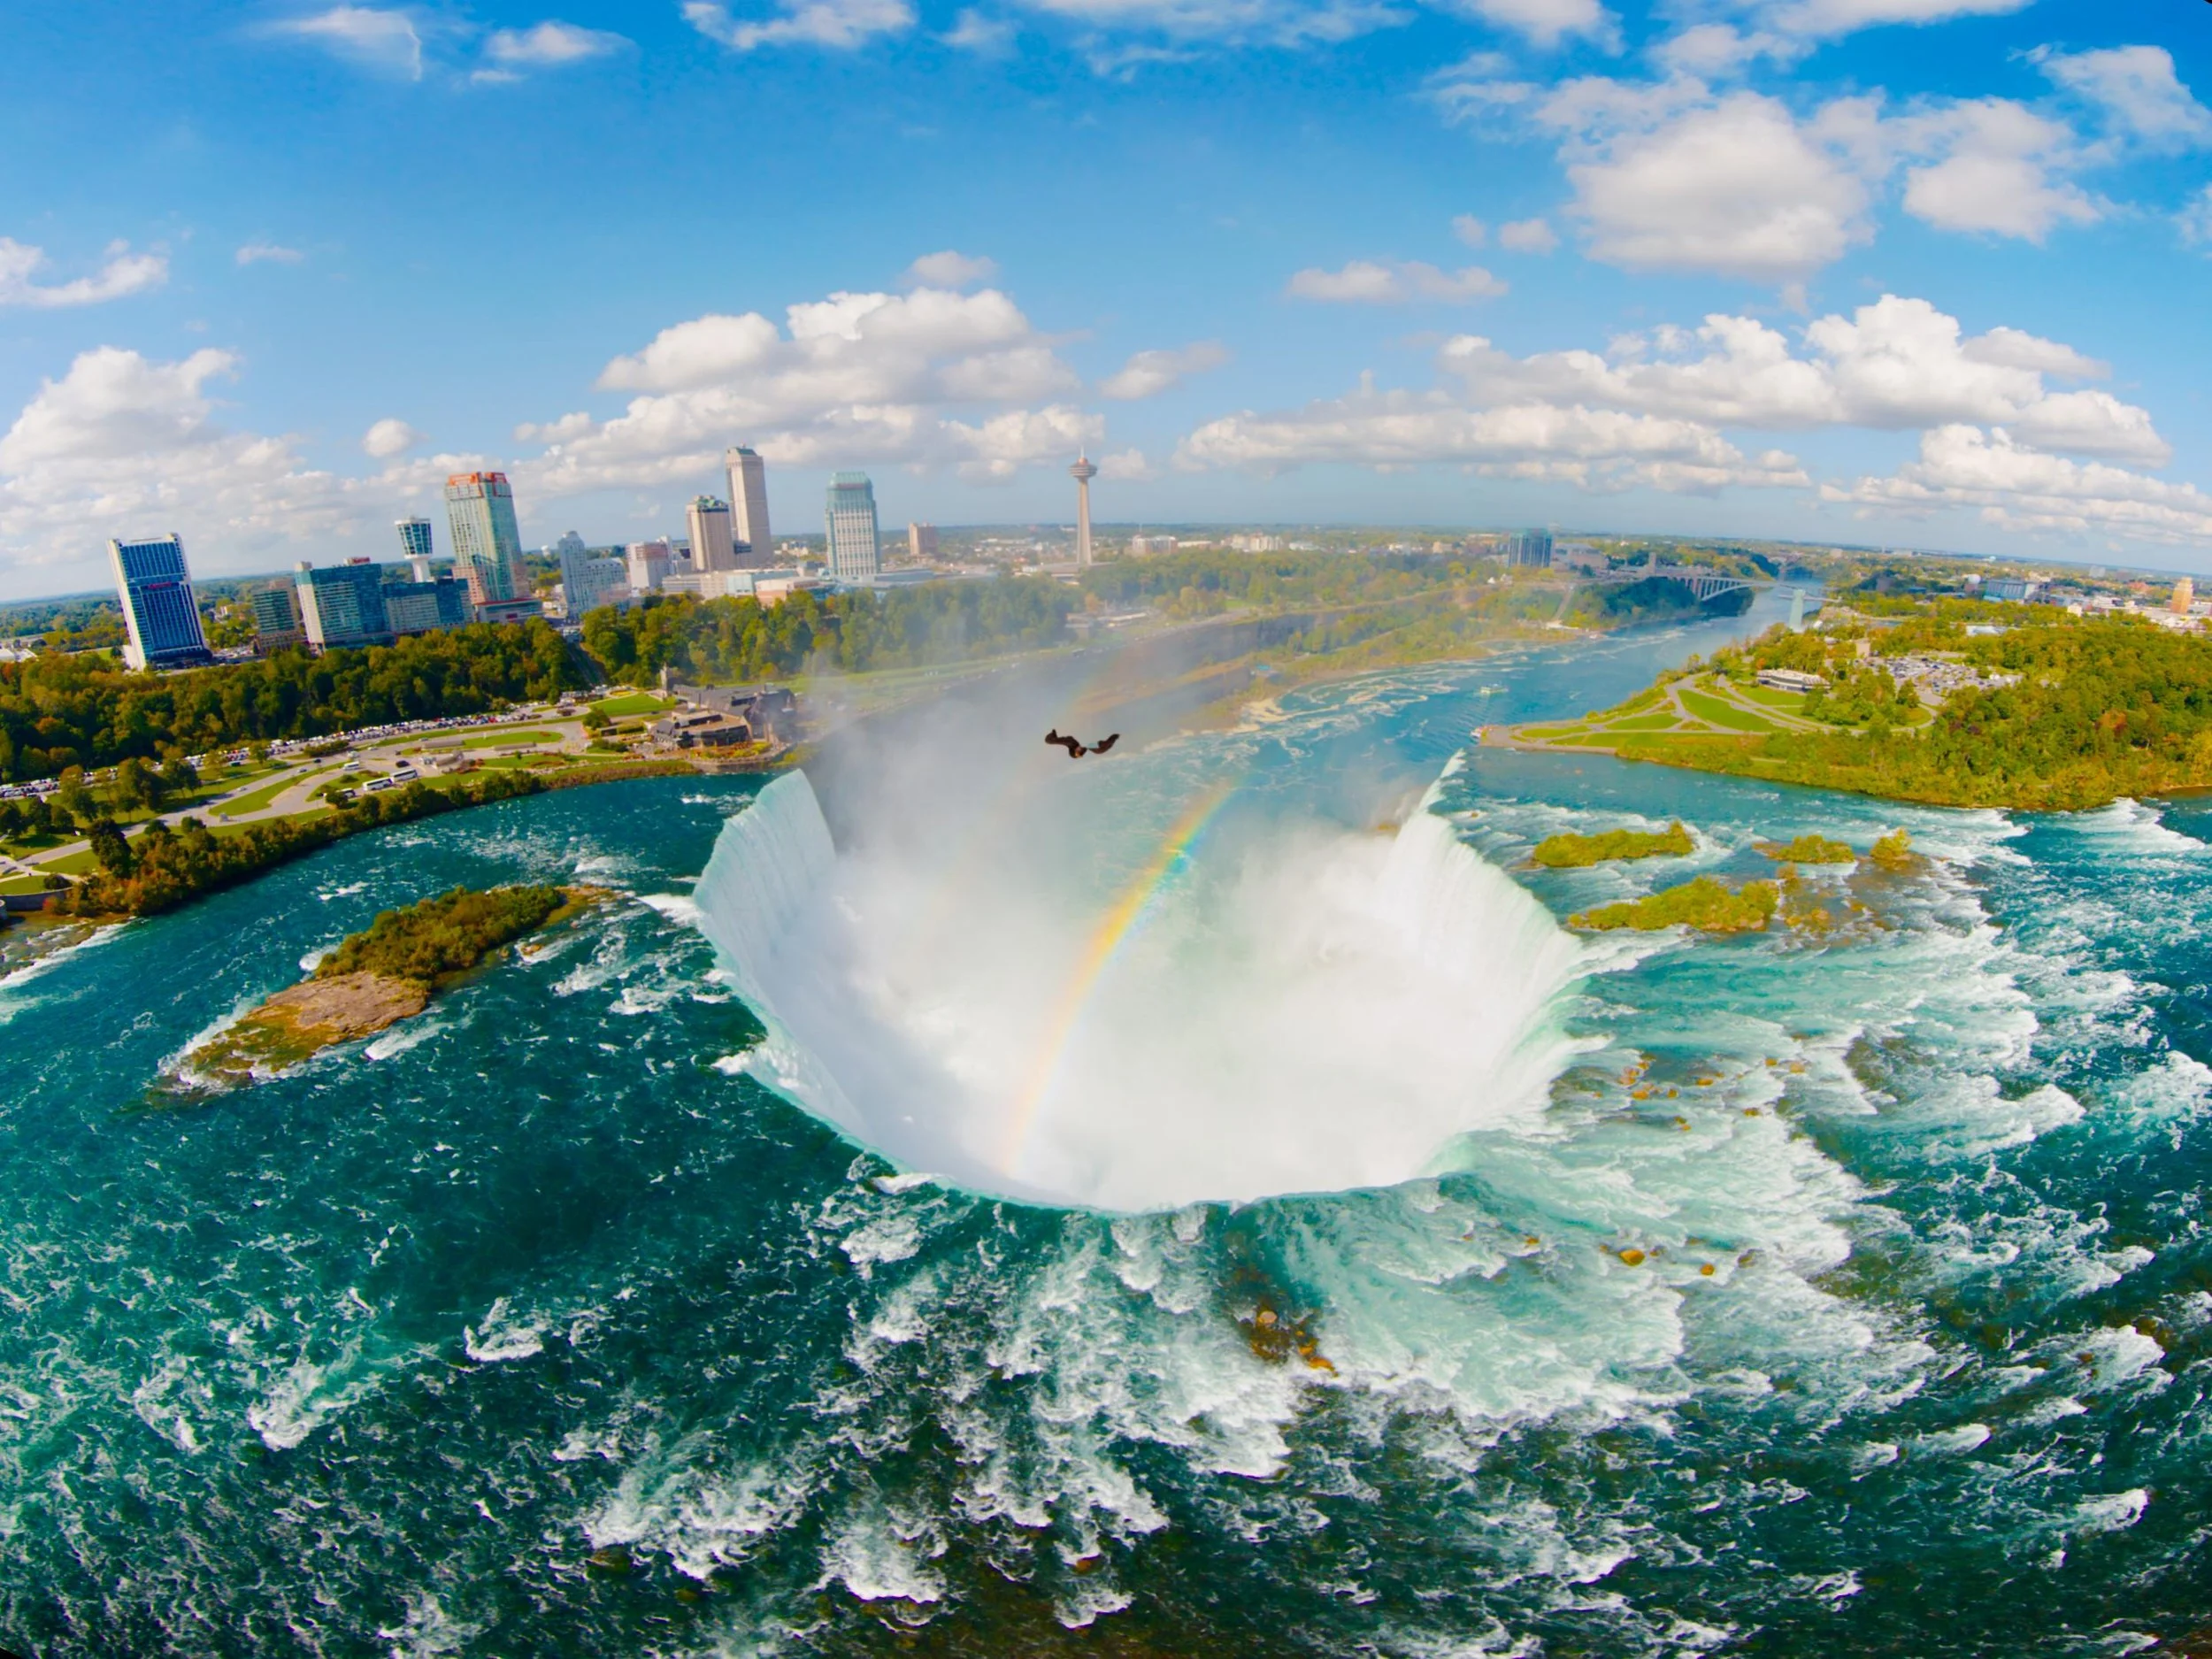
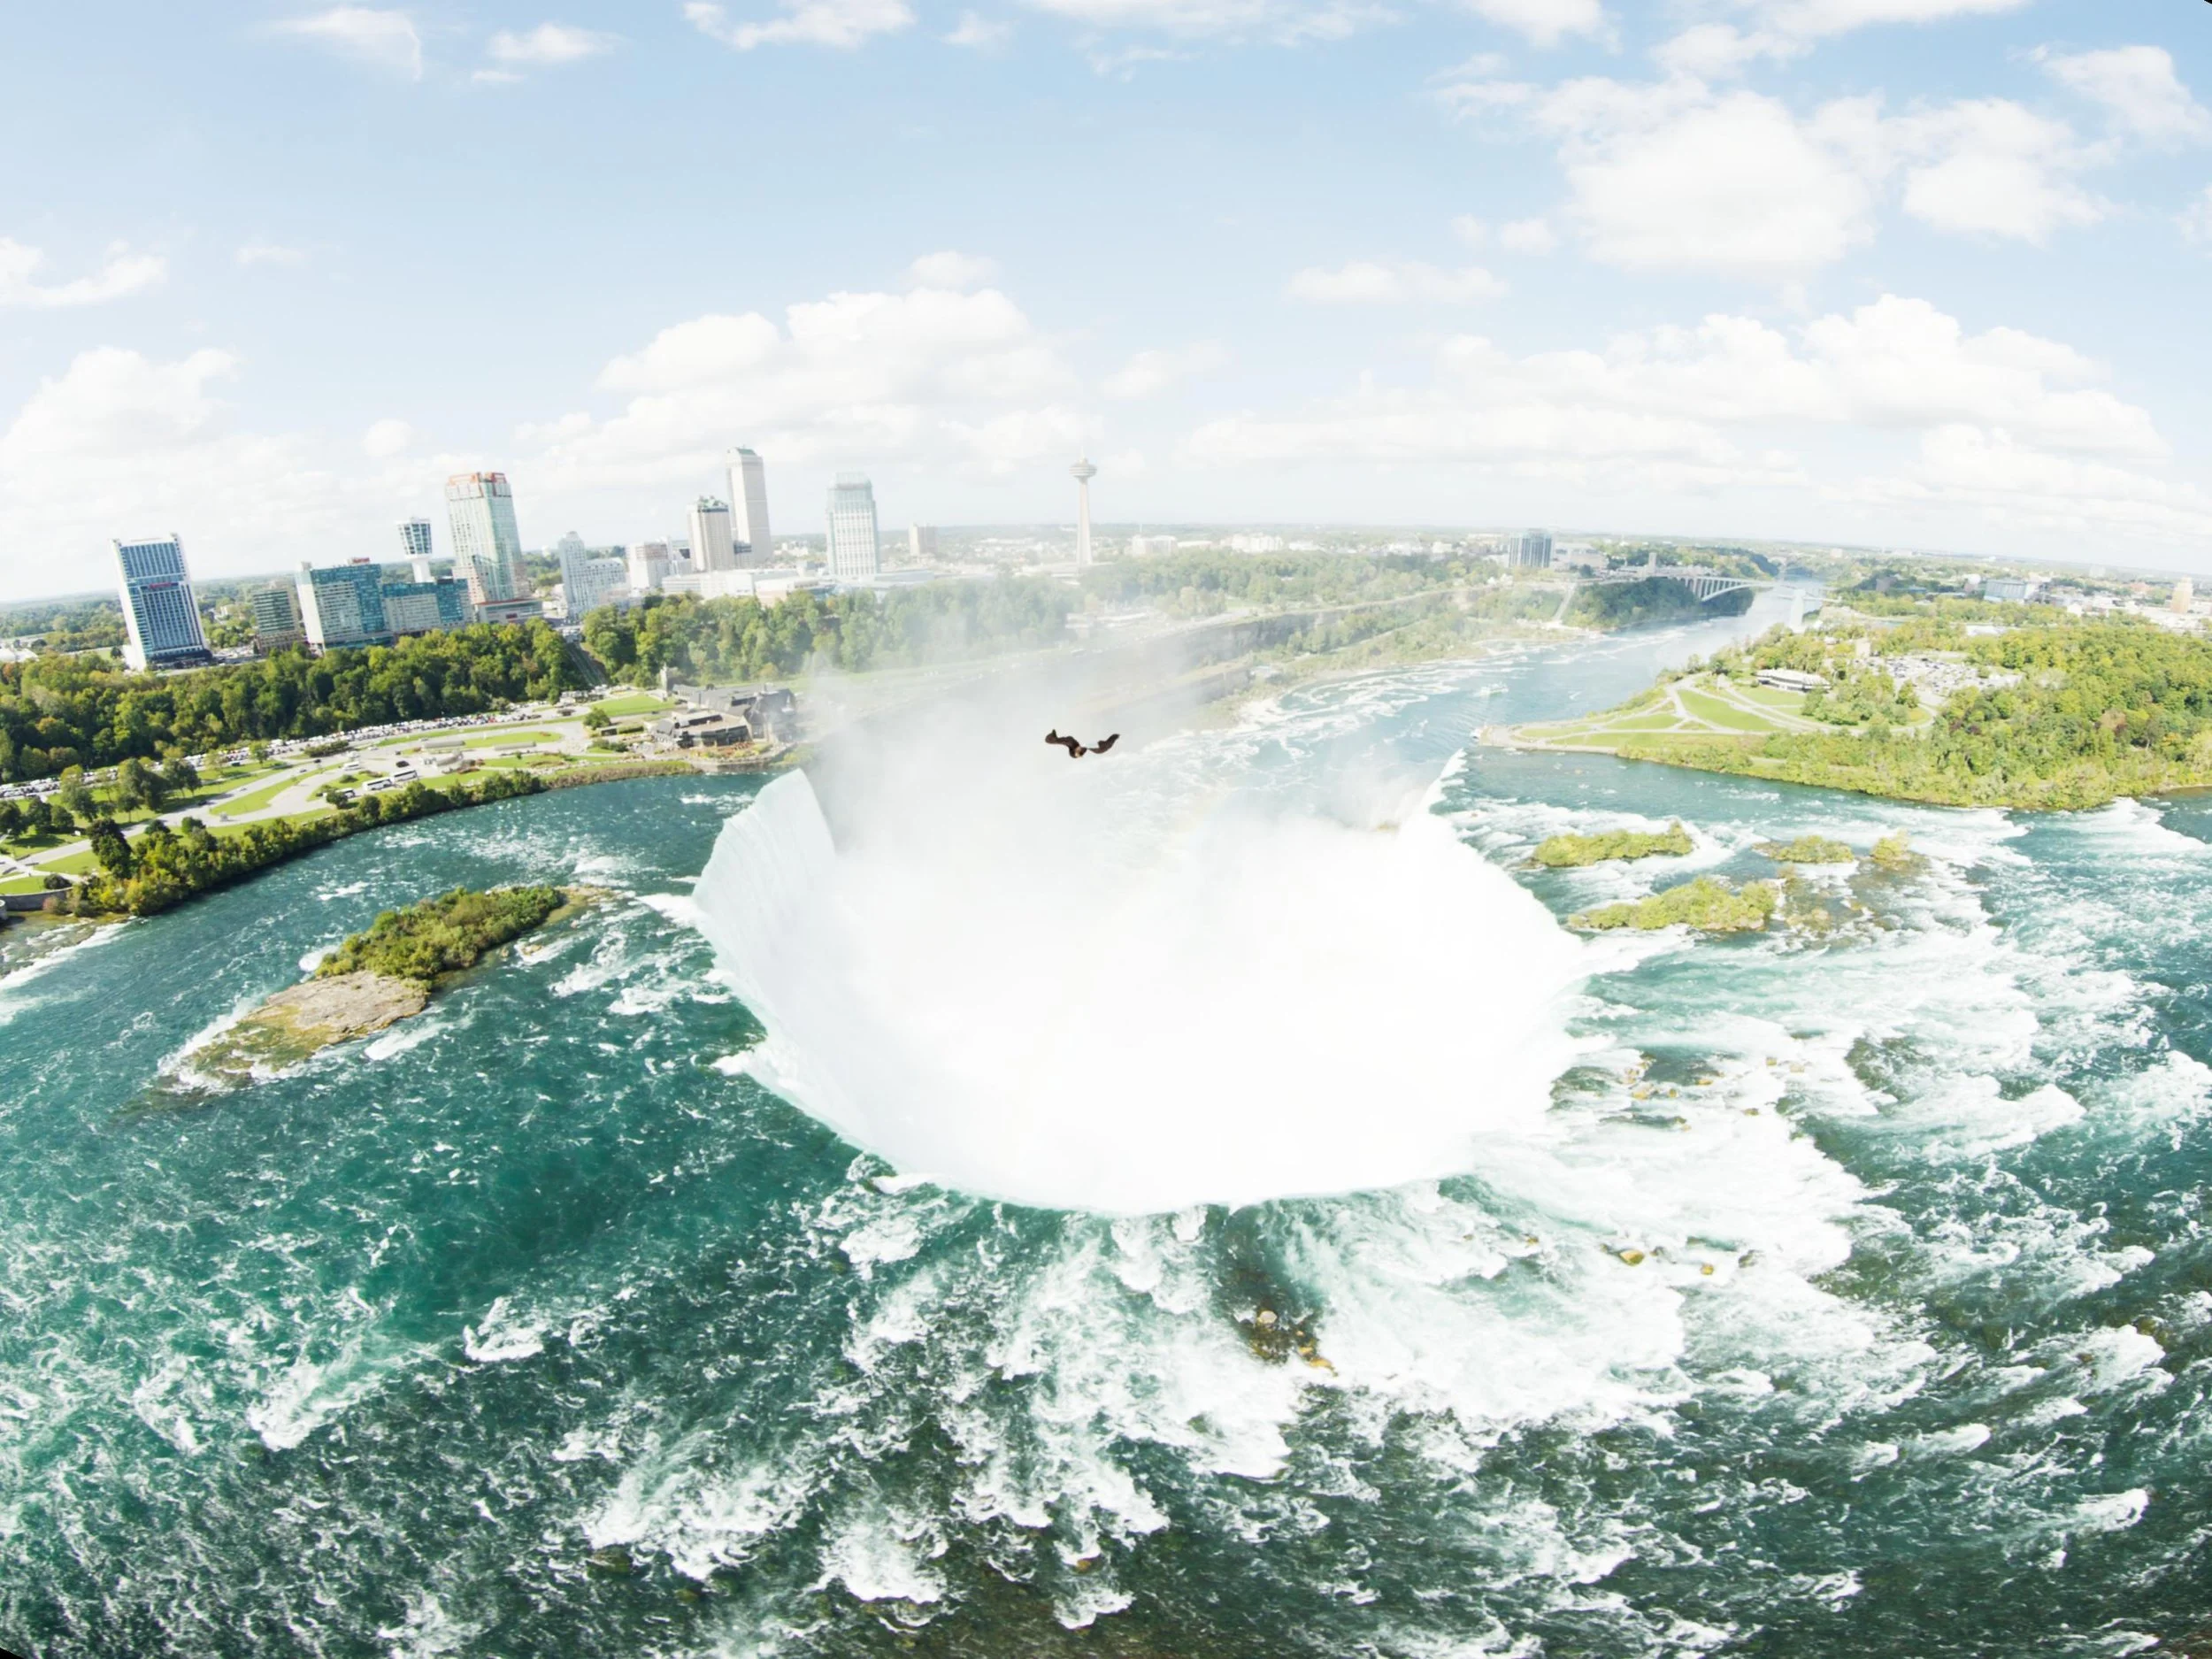
It’s scarier in a theater! Go check it out
Building a Retro CRT Effect: From Shadertoy to Baselight Matchbox Shader
Hey everyone, lately, I've been asked to dive back into the world of retro aesthetics, and one thing that always stands out is the look of old CRT (Cathode Ray Tube) monitors. That characteristic scanline flicker, the subtle noise, and the slight color fringing – it's all part of a nostalgic visual language. I wanted to bring that look into Baselight (last time I did this it was for Mistika. https://www.johndaro.com/blog/2020/10/28/vhs-shader), so I built a custom Matchbox shader that accurately simulates these CRT artifacts. This post breaks down the process, from finding inspiration to creating a user-friendly tool.
The Inspiration: Shadertoy
My journey started on Shadertoy, a fantastic resource for exploring and learning about GLSL shaders. I found a great CRT effect shader (https://www.shadertoy.com/view/Ms3XWH) that captured the essence of the look I was after. It used clever techniques to generate scanlines, add noise, and even simulate chromatic aberration (that slight color separation you see at the edges of objects on old TVs).
However, Shadertoy shaders are self-contained and designed for a specific environment. To make this useful in Baselight I needed to adapt it for the Matchbox framework.
From Shadertoy to GLSL Standard
The first step was to "translate" the Shadertoy-specific code into standard GLSL. This involved a few key changes:
mainImage
tomain
: Shadertoy uses a function signaturemainImage(out vec4 fragColor, in vec2 fragCoord)
. Standard GLSL, and Matchbox, usevoid main(void)
. We also replacefragCoord
with the built-ingl_FragCoord
and output the color togl_FragColor
.Uniform Inputs: Shadertoy provides inputs like
iResolution
(screen resolution) andiChannel0
(the input texture) automatically. In Matchbox, we need to explicitly declare these asuniform
variables:adsk_result_w
,adsk_result_h
, andsrc
, respectively. We also addediTime
as a uniform to control animation.Texture Sampling: Shadertoy's
texture
function becomes the standardtexture2D
in GLSL.
Here's a snippet illustrating the change:
Shadertoy:
void mainImage( out vec4 fragColor, in vec2 fragCoord ) { vec2 uv = fragCoord.xy / iResolution.xy; // ... vec4 tex = texture(iChannel0, uv); fragColor = tex; }
Standard GLSL (for Matchbox):
uniform float adsk_result_w; uniform float adsk_result_h; uniform sampler2D src; void main (void) { vec2 uv = gl_FragCoord.xy / vec2(adsk_result_w, adsk_result_h); // ... vec4 tex = texture2D(src, uv); gl_FragColor = tex; }
Making it Controllable: Matchbox XML
The real power of Matchbox comes from its ability to expose shader parameters as user-adjustable controls. This is done through an XML file that describes the interface. I wanted to give users control over the key aspects of the CRT effect:
Scanline Width: How thick the scanlines appear.
Noise Quality: The granularity of the vertical noise (lower values create more distinct lines).
Noise Intensity: The amount of horizontal jitter.
Scanline Offset: The intensity of the vertical scanline displacement.
Chromatic Aberration: The strength of the color fringing.
Time: The speed of the animation.
To achieve this, I did the following:
GLSL Changes: In the GLSL code, I replaced the
const float
variables that controlled these parameters withuniform float
variables. This is crucial – it tells Matchbox that these values can be changed externally.
// Before (hardcoded): const float range = 0.05; // After (Matchbox controllable): uniform float scanlineRange;
XML Creation: I created an XML file (with the same name as the GLSL file) that defines the controls. Each control is specified using a <Uniform>
tag. The most important attribute is Name
, which must match the corresponding uniform
variable name in the GLSL code.
<Uniform Max="0.1" Min="0.0" Default="0.05" Inc="0.001" ... Name="scanlineRange"> </Uniform>
The XML also includes attributes like DisplayName
(the label in the Baselight UI), Min
, Max
, Default
, Tooltip
, and layout information (Row
, Col
, Page
). These define how the control appears and behaves in Baselight.
Putting it All Together
The final step was to place both the .glsl
and .xml
files in the usr/fl/shaders directory. Baselight automatically recognizes the shader and makes it available in the Matchbox node. Pro tip, my shaders directory is a link to a network location. This way all the Baselights can share the same shaders and it makes updating easier.
Now, when I add a Matchbox node and select the CRT effect, I get a set of sliders and controls that let me tweak the look in real-time. I can easily adjust the scanline thickness, add more or less noise, and dial in the perfect amount of retro goodness.
Download the Files
You can download the complete GLSL and XML files for this Matchbox shader here:
Conclusion
This project was a great upgrade to my GLSL knowledge, demonstrating how to take a cool shader effect from a platform like Shadertoy and adapt it into a practical, user-friendly tool for Baselight. The combination of GLSL's power, speed, and Matchbox's flexibility opens up a world of possibilities for creating custom effects that can be used through out the entire post pipeline. It might be old tech but still very useful today. I hope this breakdown inspires you to experiment with your own implementation. Let me know what you think, and feel free to share your own shader creations!
How to - Add a LUT in Avid Media Composer
There are several ways to load LUTs into Avid Media Composer:
1. Through Source Settings:
Right-click on a clip in your bin or timeline.
Select "Source Settings."
Under the "Color Encoding" tab, go to "Color Adapter Type."
Click on the dropdown menu and choose "User Installed LUTs." You can add LUTs you have already loaded to the source clip and hit “Apply”
To load a LUT click Color Management Settings and then click “Select LUT file”
Browse your LUT file's location (.cube or .lut format) and select it.
Click "Open" to load the LUT.
2. Through Color Management Settings:
Go to "Settings" in the menu bar.
Select "Color Management."
Under the "Project" or "Shared" tab (depending on where you want the LUT to be available), click "Select LUT File."
Browse for your LUT file and select it.
Click "Open" to load the LUT.
3. Using the "Color LUT" Effect:
Go to the "Effects" tab in the Effect Palette.
Under "Image" effects, find and drag the "Color LUT" effect onto your clip in the timeline.
In the Effect Editor, click on the dropdown menu next to "LUT File" and choose your loaded LUT.
Additional Tips:
LUTs should be in either .cube or .lut format to be compatible with Avid.
Make sure to place the LUT files in a location you can easily access and remember.
You can organize your LUTs by creating subfolders within the Avid LUTs directory.
Shared LUTs are available to all projects, while project-specific LUTs are only accessible within the current project.
For more detailed instructions and visual guides, you can refer to these resources:
https://www.bouncecolor.com/blogs/tutorials/use-luts-avid-editing
I hope this helps! Let me know if you have any other questions.
Cheers to "The Sea Beast" Best Animated Feature Film Nomination!
Sending a big cheers and congratulations to Netflix and The Sea Beast crew for their nomination today. The film is a beautiful culmination of an elite group of artists' fantastic work. I am super grateful and proud to have been a part of the team.
Cheers to "The Sea Beast" Best Animated Feature Film Oscar Nomination!
Flippers crossed for a win on the day!
Best Animated Feature Film Nominations
“Guillermo del Toro’s Pinocchio,” Guillermo del Toro, Mark Gustafson, Gary Ungar and Alex Bulkley
“Marcel the Shell With Shoes On,” Dean Fleischer Camp, Elisabeth Holm, Andrew Goldman, Caroline Kaplan and Paul Mezey
“Puss in Boots: The Last Wish,” Joel Crawford and Mark Swift
“The Sea Beast,” Chris Williams and Jed Schlanger
“Turning Red,” Domee Shi and Lindsey Collins
DC League of Super Pets
Super excited for everyone to check out the latest from Warner Animation. DC League of Super Pets is a super fun romp expertly animated by the talented team at Animal Logic.
Toshi the Wonder Dog!
Anybody that has ever had a pet is going to love this movie.
Post services provided by Warner PPCS include an ACES HDR picture finish and sound. Truly a post-production one-stop-shop.
The project was supervised by Randy Bol. The great thing about working with Randy is we have a level of trust that has been built over many other projects collaborating together. There is definitely a shorthand when both of us are in the suite. One of the best post sups you’ll work with plus just a good dude too.
Color was supervised by co-director Sam Levine. This guy was cracking me up every session. Not only was he hilarious, but damn, what an eagle eye. I was sort of bummed when our time together ended.
A big thanks to Paul Lavoie and Leo Ferrini too for keeping the ship afloat. I would be drowning in a pile of pixels without these guys.
Now go see DC League of Super Pets only in theaters… Preferably a Dolby Cinema one.
The Sea Beast Teaser | Netflix
Here is a first look at the latest project from Chris Williams and Netflix that I graded. An awesome project with an animation A-team. Let me know what y’all think.
Colorist PSA:
Stop using camera log images as your "before"
Colorist PSA - Logarithmic isn't Before
Camera Log is Not Your Before
This is a short service announcement aimed at colorists submitting before and after’s to showcase their work. This post will also be of interest to DPs, Directors, Producers, Facility Managers, or anyone else that is tasked with evaluating or choosing a color professional.
Over the last year, I have received many reels from colorists looking for work. One pet peeve of mine is seeing a clip where there is a “before” that is logarithmic and then “graded” to the display referred “after.”
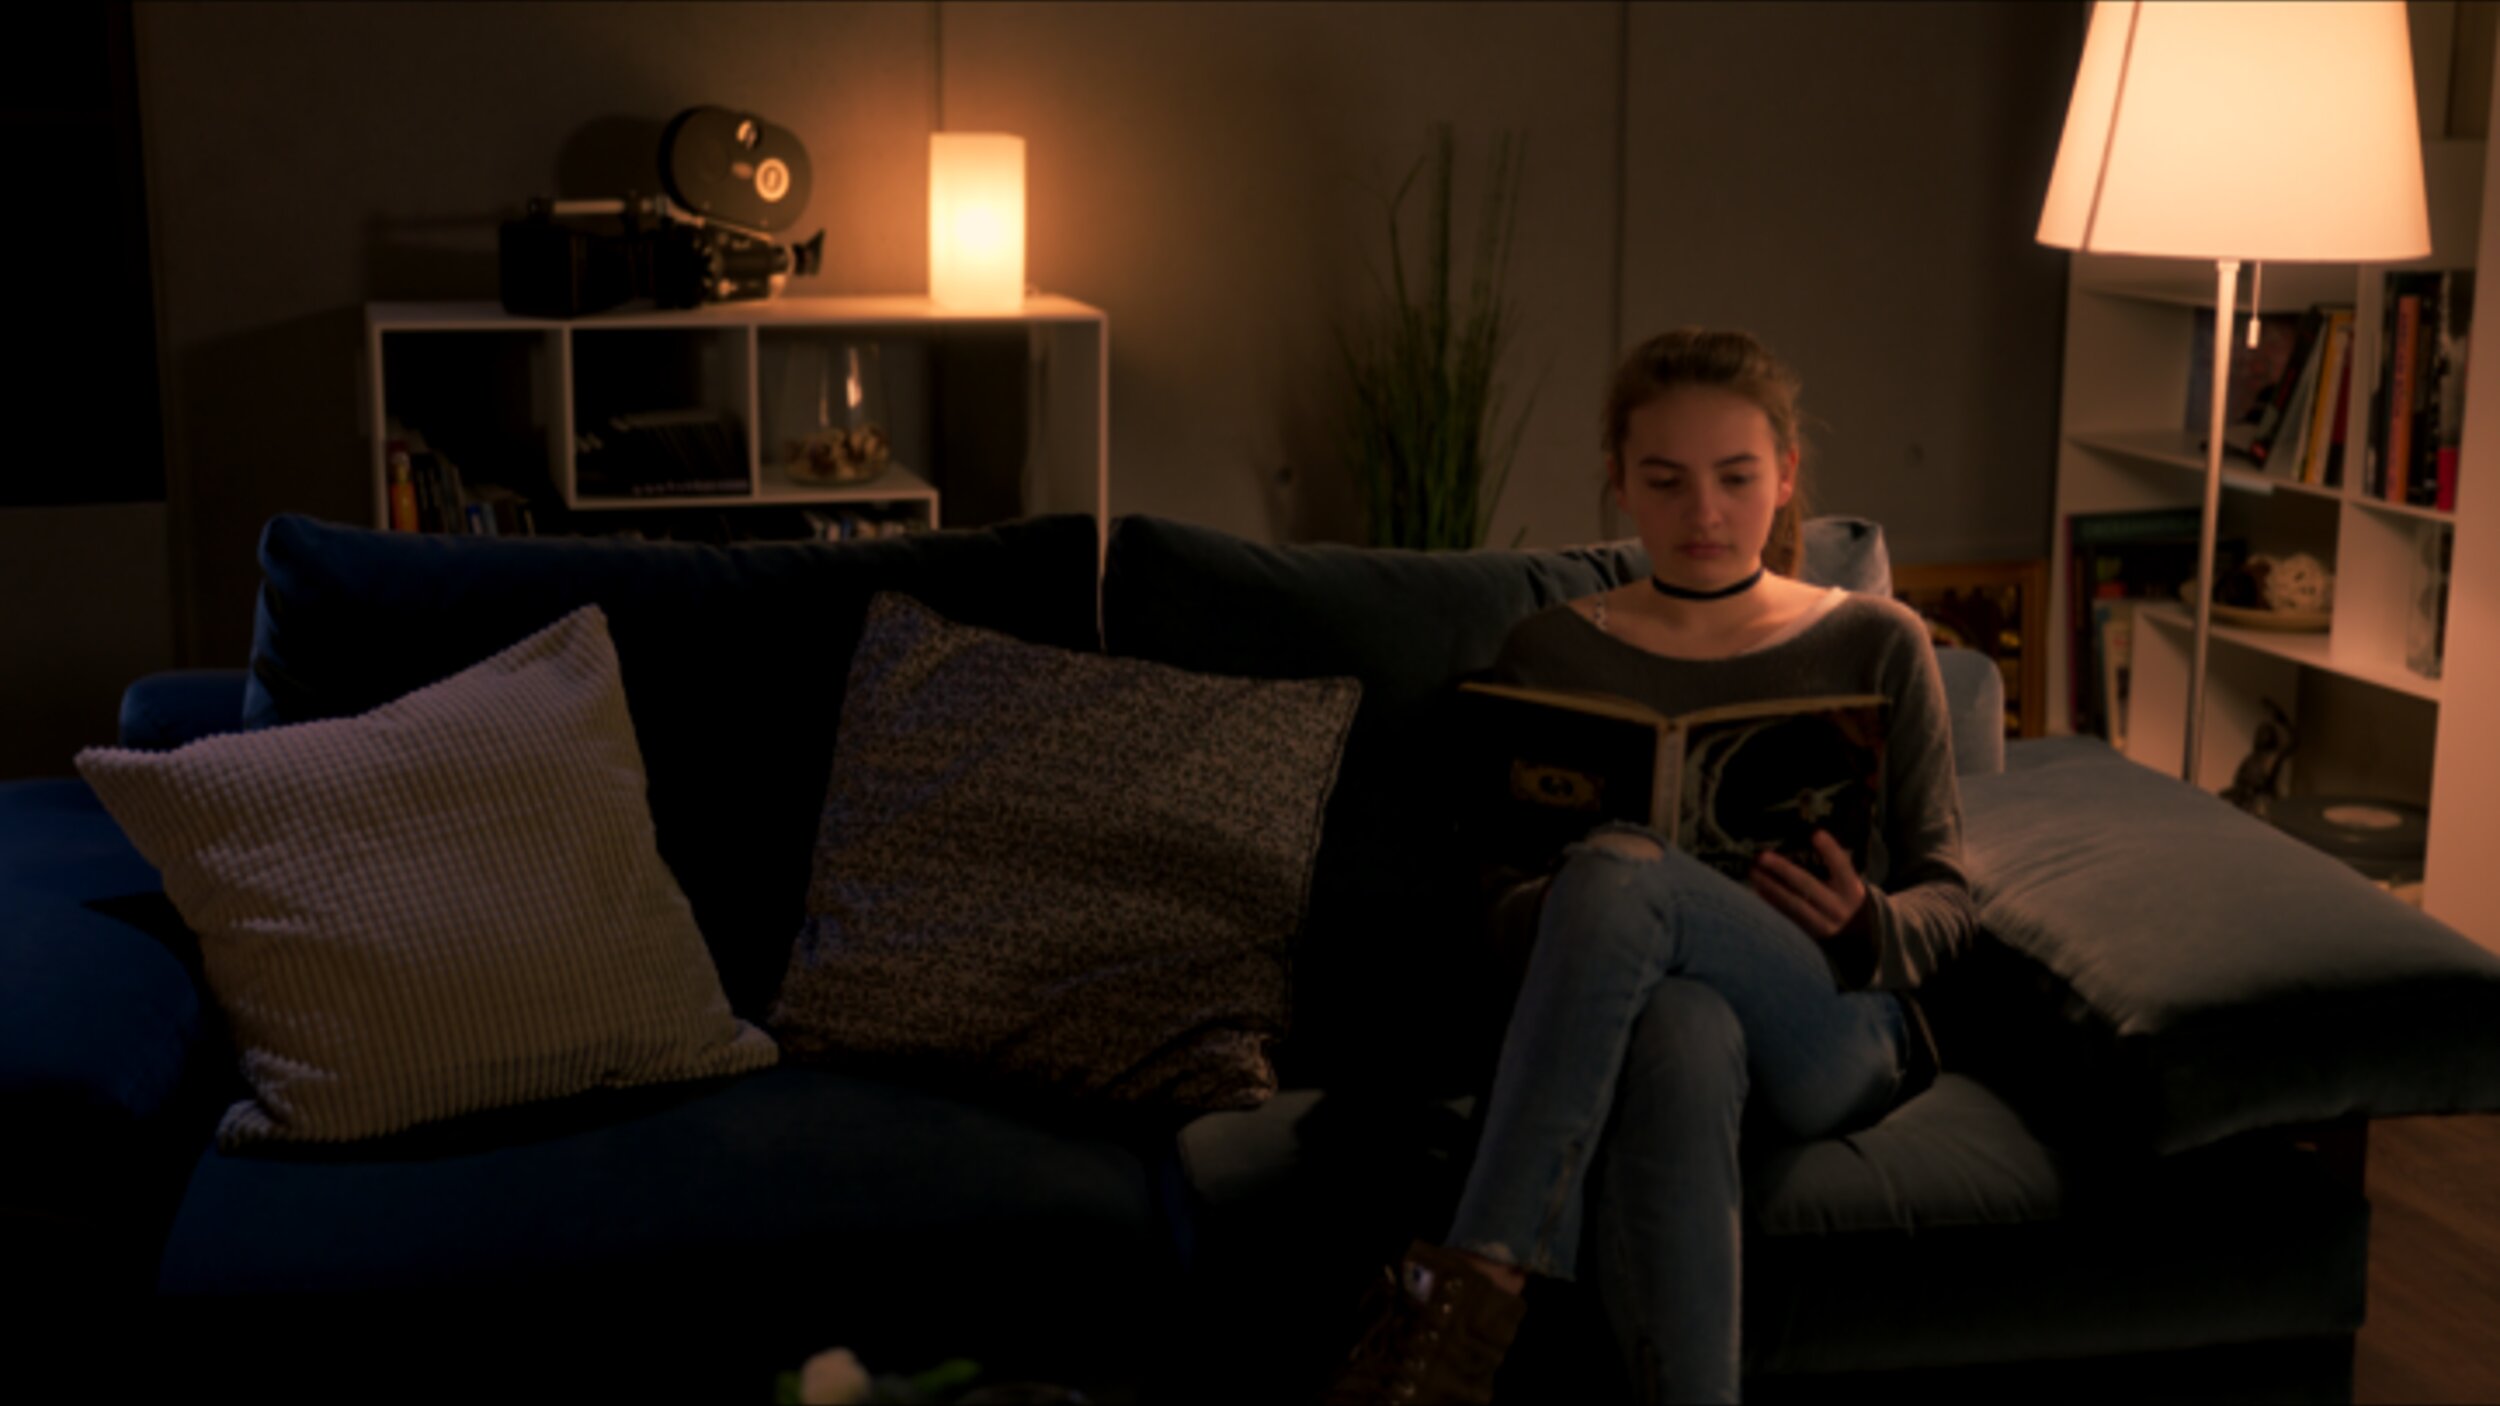
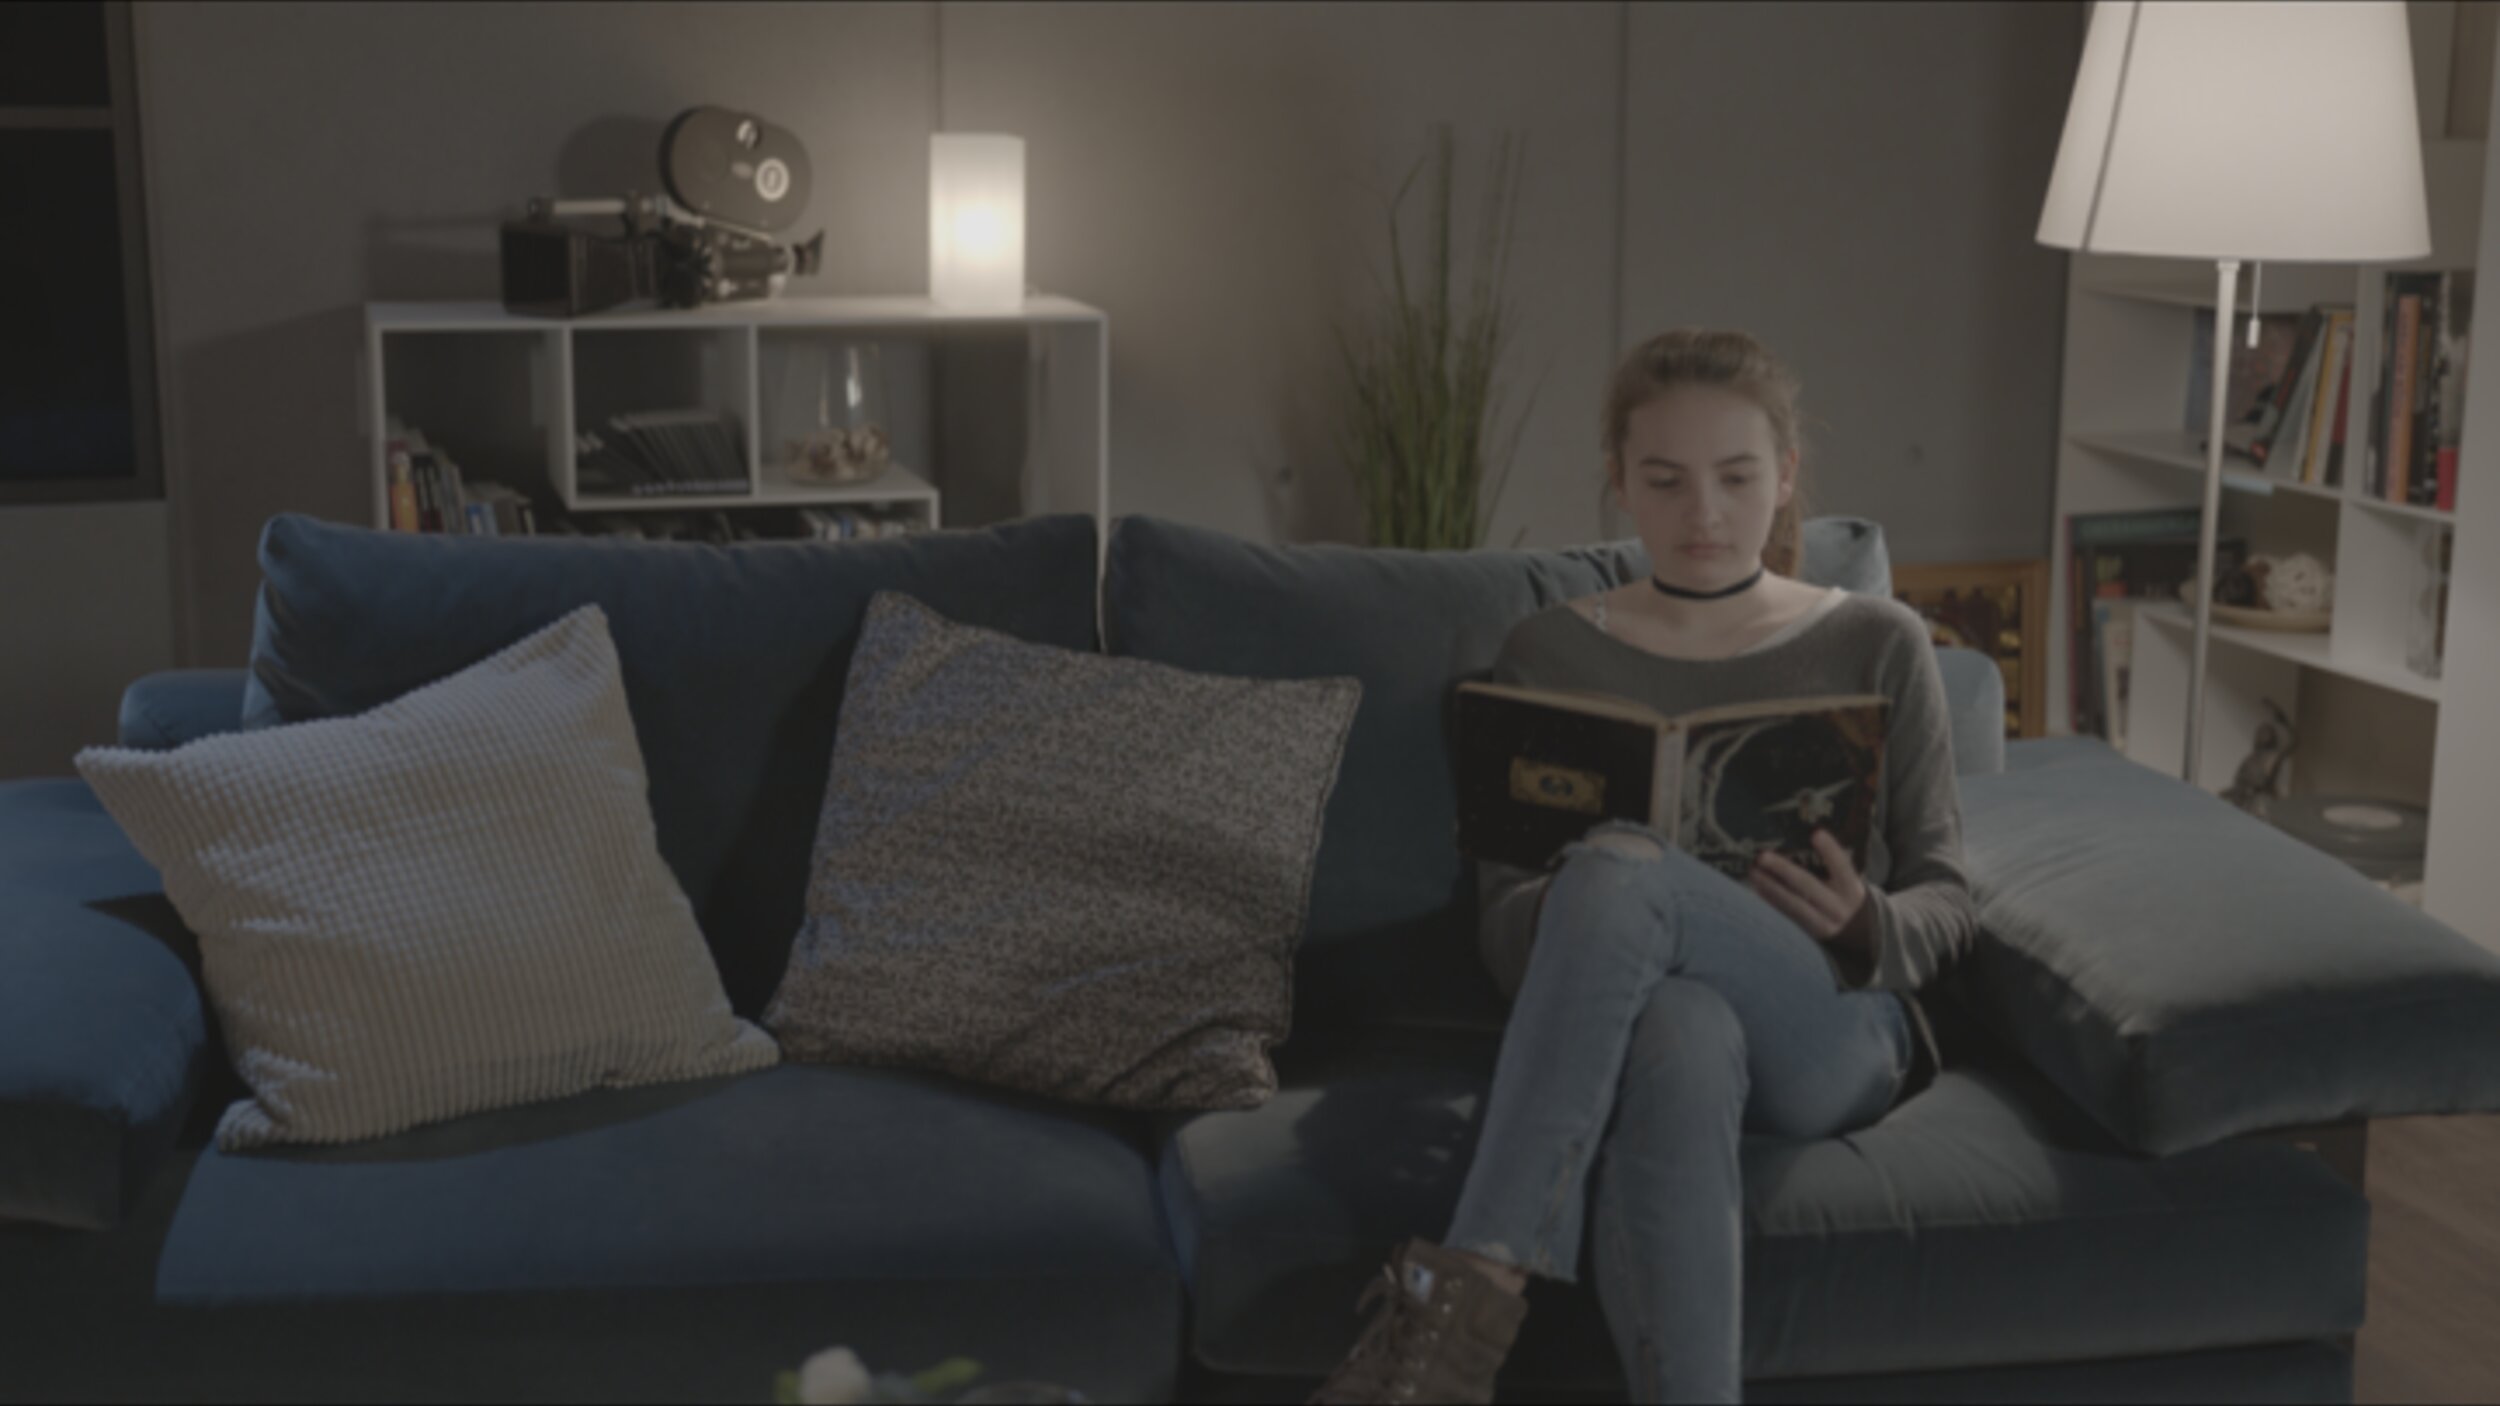
LogC VS Graded Rec.709
Although this might seem like a drastic transformation, and a great grade, what this tells me instead, is the colorist has a poor understanding of display spaces. It’s pretty much an instant next for me.
Negative VS Camera Raw
Imagine if anyone did the same with film negative. I started with this and I colored it to look like this!
Negative VS Arri Rec.709
Did you, or was that 100+ years of Kodak color science? The log images we start with today are positve but the analogy stills holds. The log file could be considered your digital negative. It’s not ready to be shown until you “print” it. Now there are different ways to take it to display space and all of that is important in the development of the images, but every camera manufacturer has a standard display transform. Think of this as the base from which all other creative assessments should be measured.
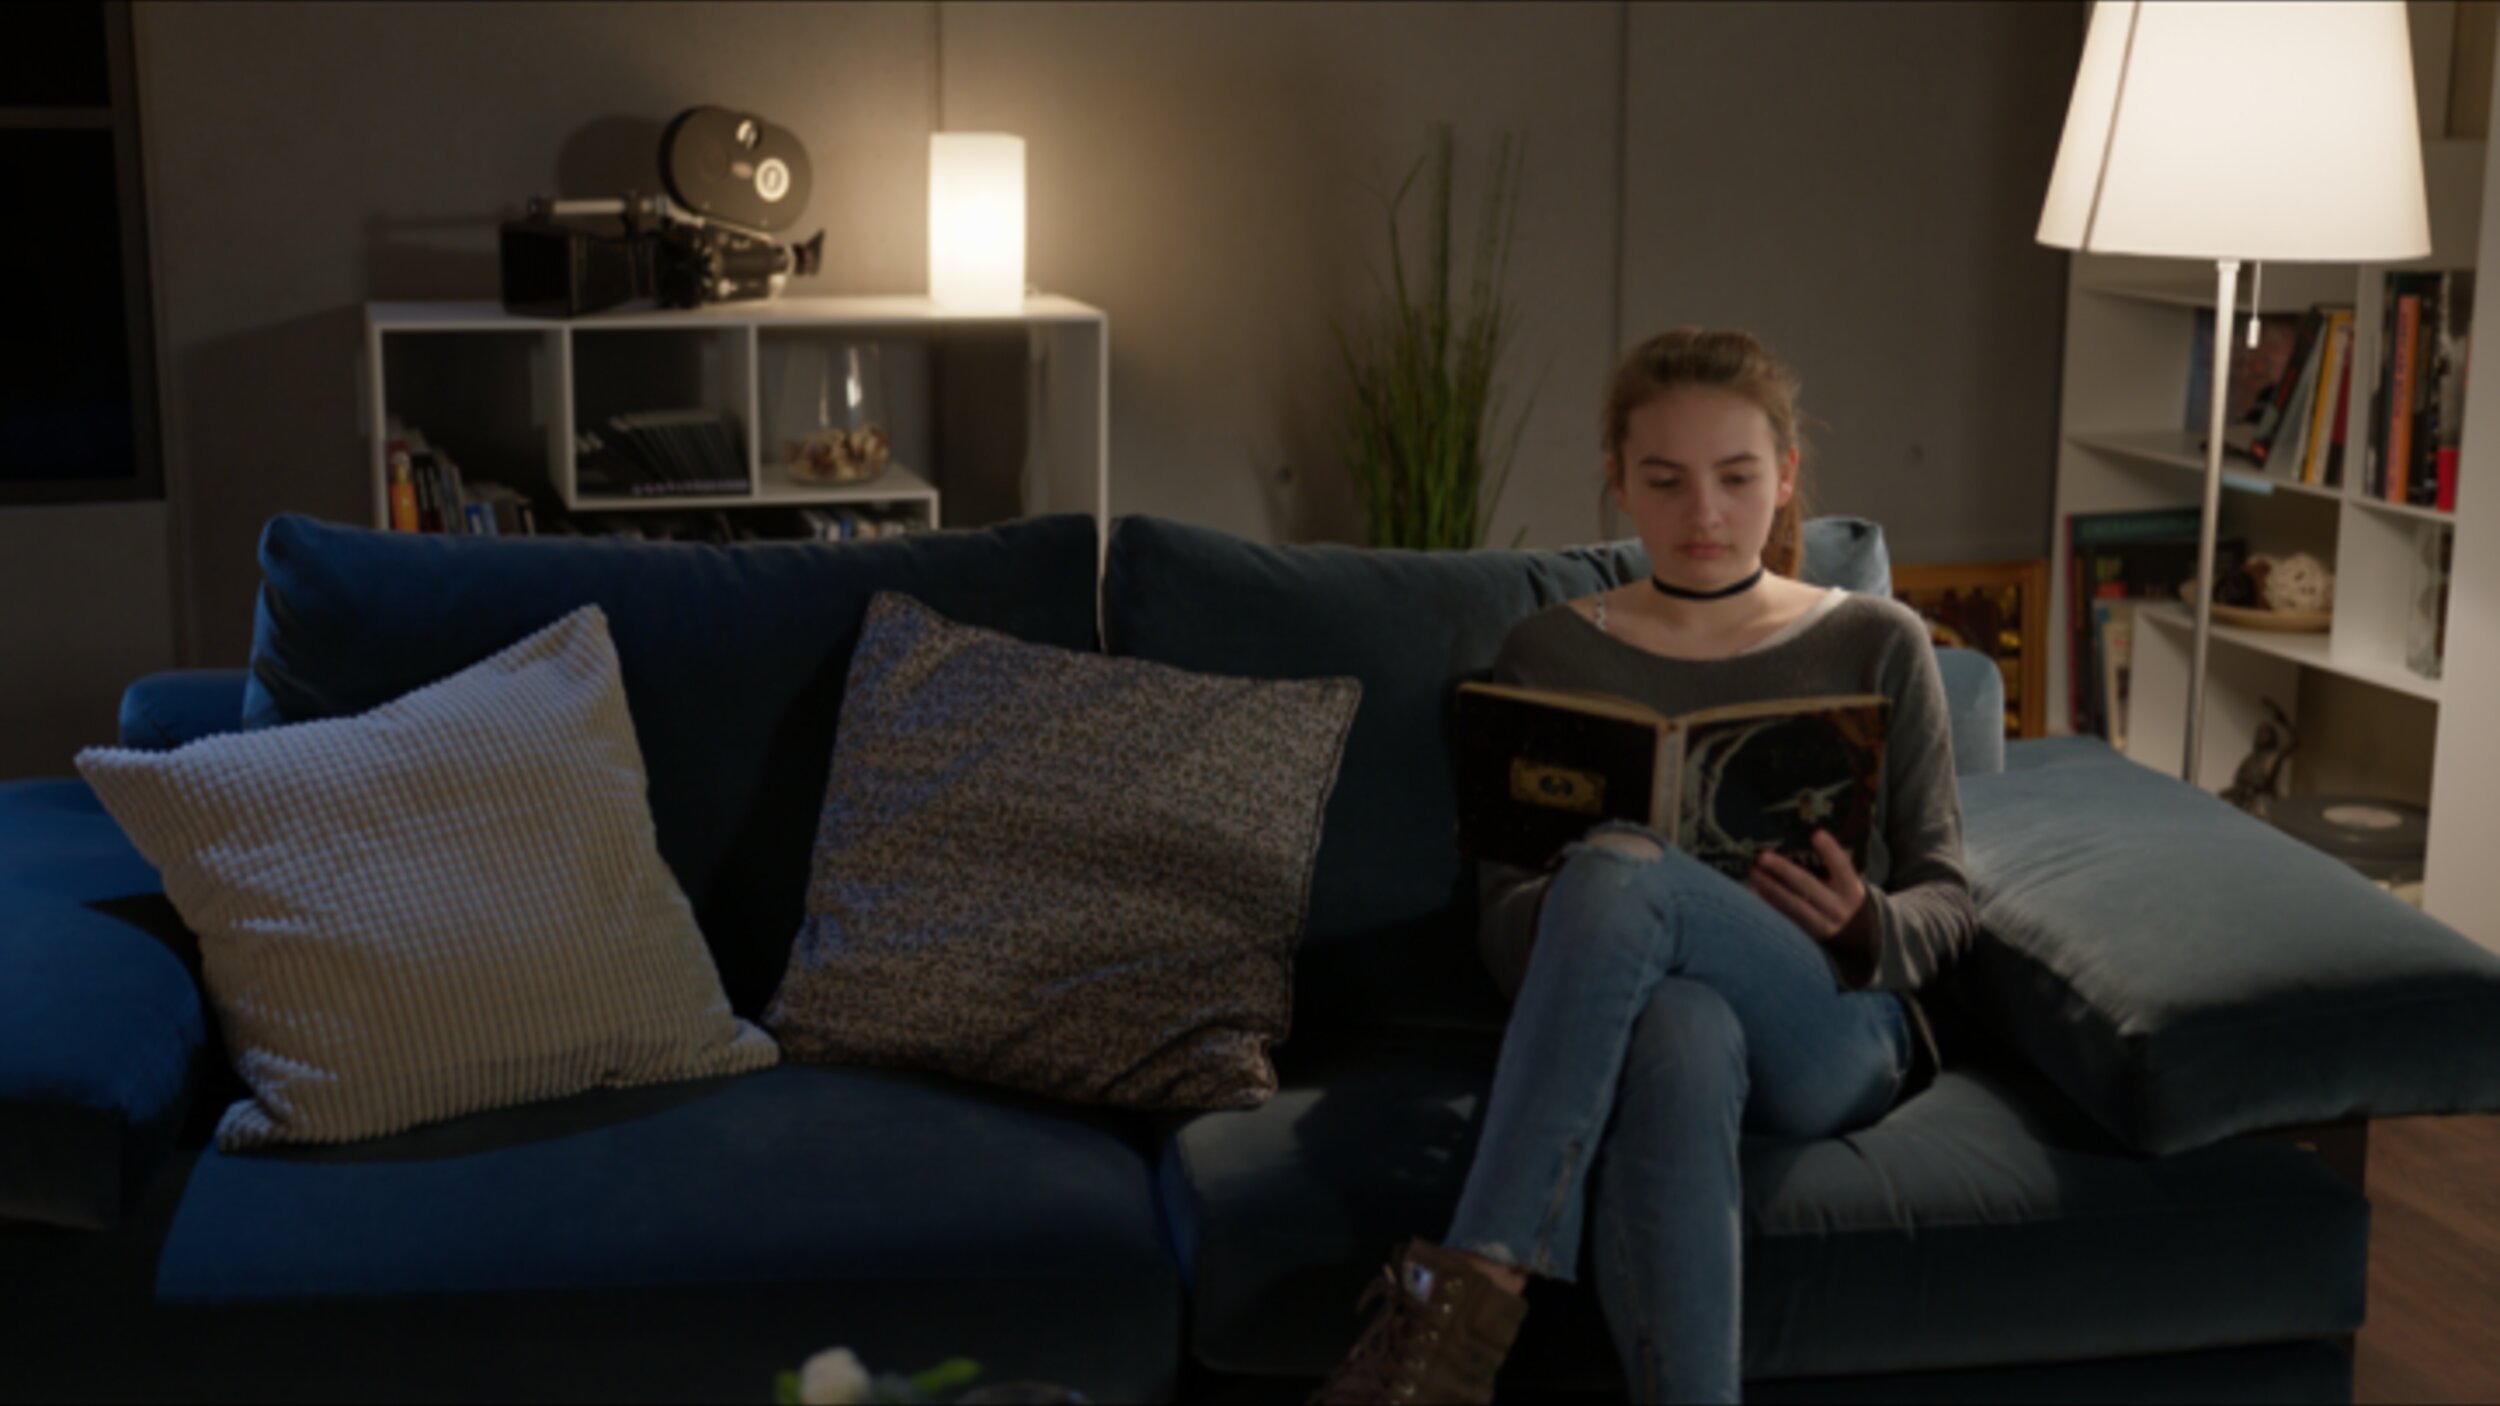
LogC VS Standard Arri Rec.709
YouTube is Making Bad Colorists
I often see “tutorials” where an “expert” will start with a log image, then start adding a bunch of nodes, contrast, and curves, and then say ta-dah, here is before and here is after.
The reality is that colorists should be showing, “this is the manufacturer standard math to rec709” and, “here is what I did.” Regardless if that grade is display referred which is another topic, at least it is an apples-to-apples comparison.
Standard Arri Rec.709 VS Graded Rec.709
Your Before and Afters Shouldn’t be That Drastic
There is always a base look for a project. Whether this is the standard camera curves or something custom from a colorist. This should be considered the stock for the show. Colorists are there to help the DP and Director create a particular feeling or response to a set of images. The best grades are the simplest ones. Sure, there are times when shapes are necessary, but your DP knew this on the day, did the cost-benefit analysis, and knew what they could achieve in the DI bay. Most before and afters should show a subtle hand. One that is repeatable so the Director and DP can get consistent and expected results.
When is Log Viewing Appropriate
Filmmakers often want to see their un-LUT’d images. This is always in a technical capacity. It is not uncommon for a DP to want to see a log feed on set to confirm exposure or a director that wants to see their VFX with the LUT off to feel confident that the vfx work is clean and not hiding under the LUT. That said, there is rarely a time when the log image helps you evaluate the beauty or feeling of an image. This should always be done in a display referred space. There was a period, circa 2010 (right around when the first Alexas came out) where a flat washed-out picture was in vogue. I have a hunch this was caused by a creative seeing an un-LUTed monitor and saying “that’s perfect! exactly like that.” Now that’s fine to find inspiration wherever it comes from, but I think we could have avoided that milky period in grading history.
Know your target
Your before and afters should always be in the same target space. The difference should be the work that went into it. You wouldn’t show your PQ HDR “after” in 709 without a transform, so please don’t do it with the log “before.”
Standard Arri rec.709 VS P3 D65 PQ
I imagine your starting point was a well-exposed log picture. You would only need to show it to me if it wasn’t, but that would be doing your DP a disservice and He/She is your number 1,2 and 3 most important priority. In conclusion, a good colorist will never kiss and tell.
Thank You
Thanks for ensuring there is no more harm done to our scene-referred log images. Help me fight the fight to end misrepresented pixels. Thanks for reading and happy grading!
The War With Grandpa
Hey everyone! Here is a project I graded prior to the shutdown. The picture is eyeing an October 9th release. Fingers crossed we are in a better place with COVID by then. Check out the link below.
SCOOB! and Best Friends Animal Society
It's not a mystery, everyone needs a best friend! I couldn’t imagine life without my little man Toshi! Watch Shaggy meet his new friend, rescued dog Scooby Doo, in this new PSA from @BestFriendsAnimalSociety. And you can enjoy Exclusive Early Access to the new animated movie @SCCOB with Home Premiere! Available to own May 15th.
@scoob #SCOOB @bestfriendsanimalsociety #SaveThemAll #fosteringsaveslives #thelabellefoundation
SCOOB!
My Dog Toshi
A Huge thank you to TheLabelleFoundation for bringing us together!
The Last Summer Trailer →
Strong grade, proud of this one. Cinematography by Luca Del Puppo. Colored by John Daro.