Project: Niagara Takes Flight - An On-site Color Grading Adventure
Niagara Takes Flight opens today! Its a beautifully Immersive 4d adventure over Niagara Parks. I’m very greatfull that my long time collaborator Rick Rothschild tapped me again to make the images sing like the locations do in real life. Rick and I go all the way back to Soarin’ Over California when we first met. It’s honor to work with such a consummate professional and true leader and innovator in the space.

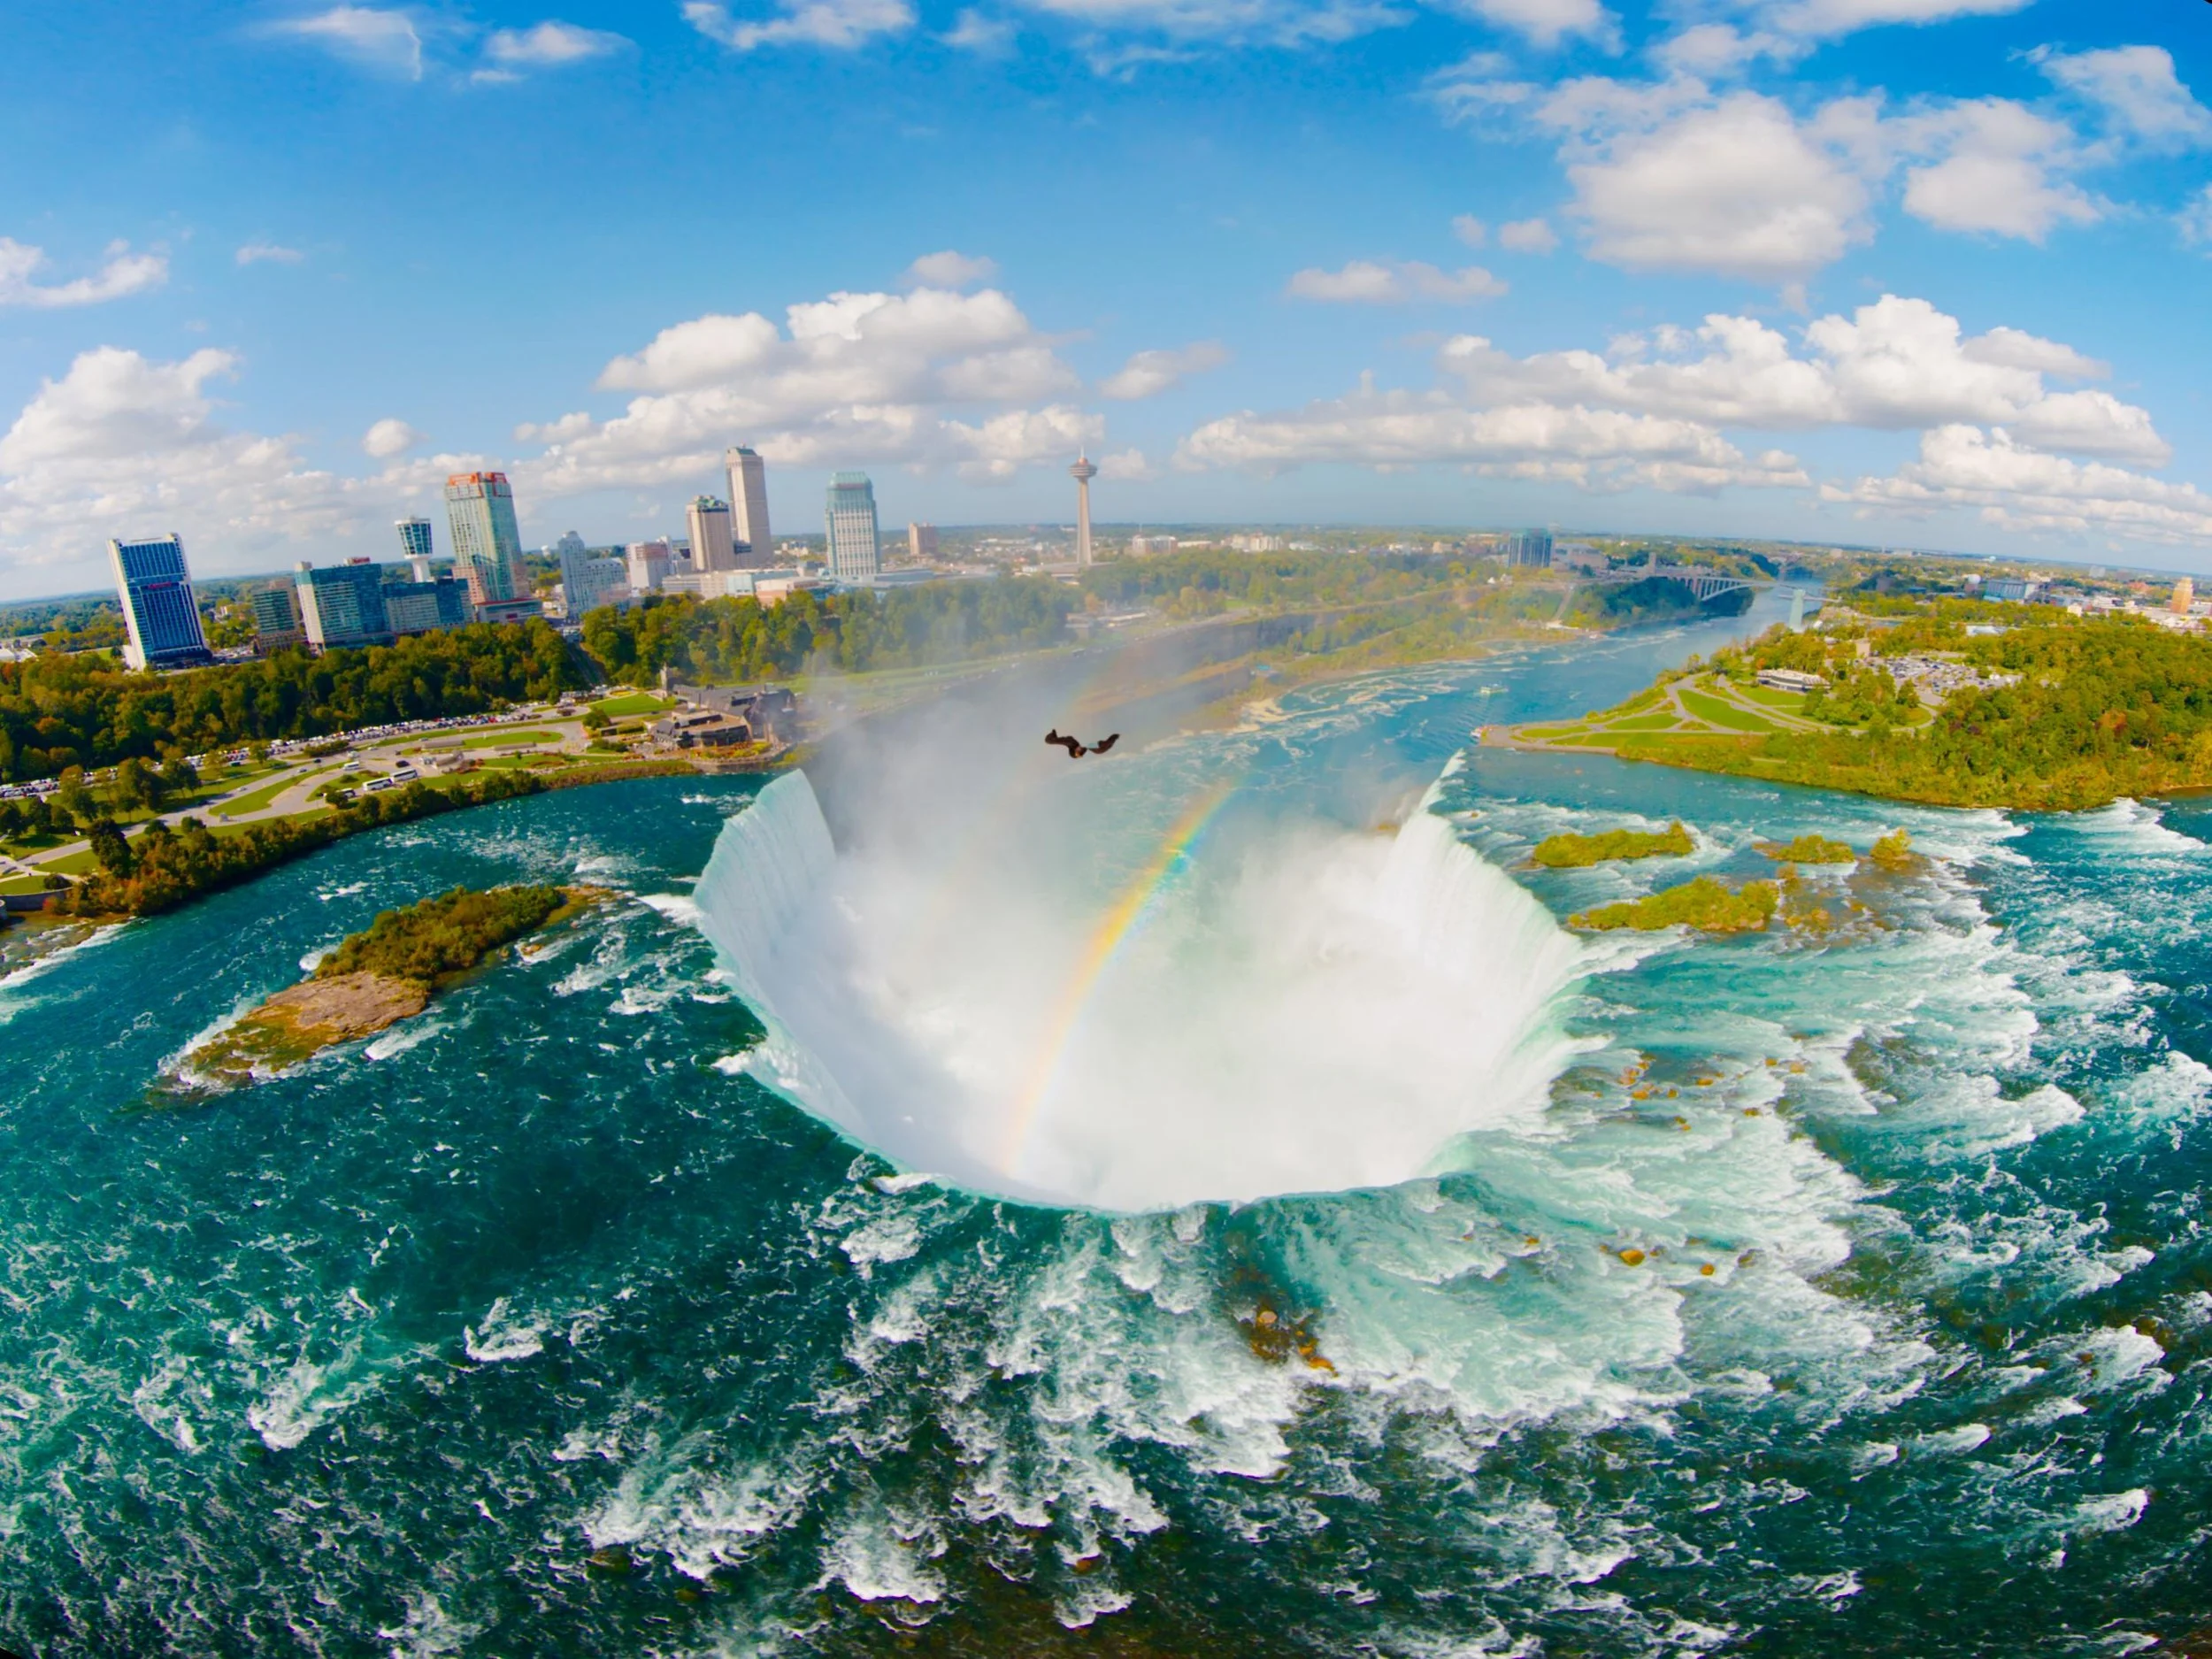
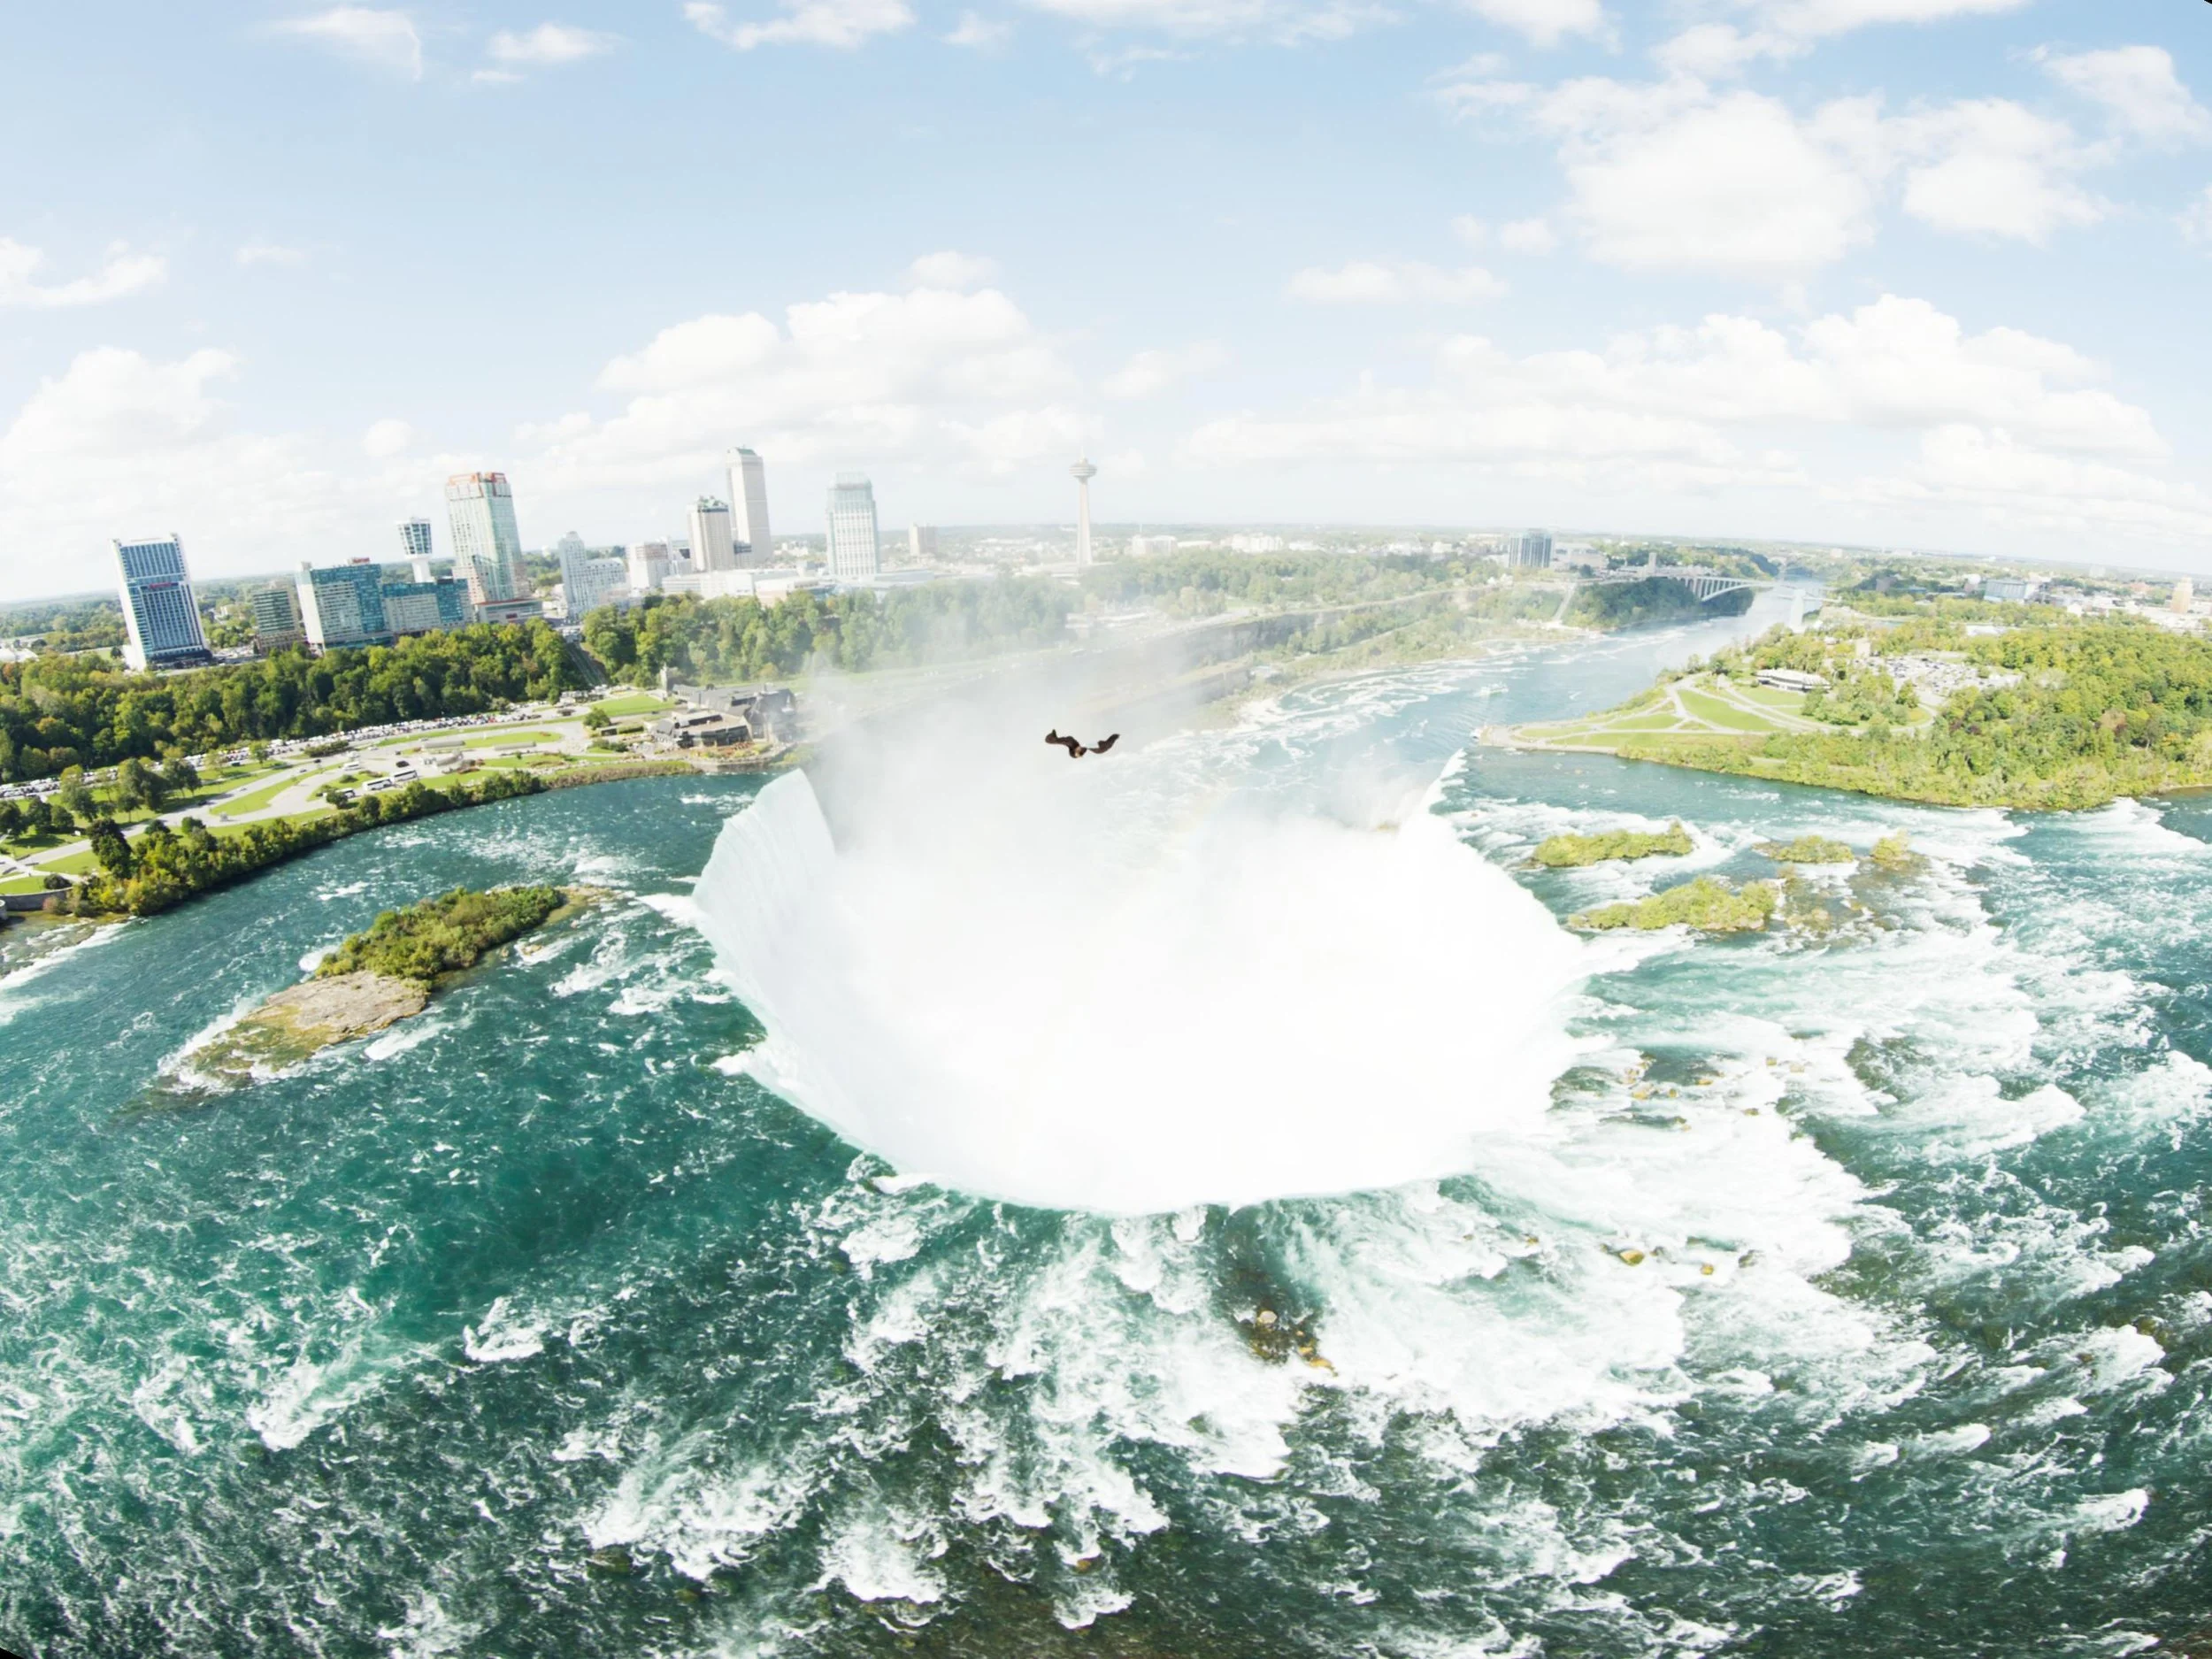
I've spent a lot of time in the controlled environment of the theater at Warner Bros. Water Tower Color, but sometimes a project comes along that requires you to get out in the field. This was one of those times. "Niagara Takes Flight" is an immersive ride experience that uses four laser projectors and a Seventh Sense system to warp and project the content onto a massive, curved dome.
There's just no substitute for being in the venue. The interaction between those four projectors presents a unique set of grading challenges that you simply can't solve in a standard grading suite. My goal was to create a seamless, powerful, and truly immersive experience for the audience. To do that I had to take Water Tower Color to Niagara.
The Powerhouse Duo
My portable setup was built around a MacBook Pro M3 Ultra and a 12TB IOdyne Pro Data drive, configured in RAID 0 for pure performance. The disk's speed and small footprint made all the difference; honestly, there's nothing else on the market that would have let me travel so light, and set up so fast.
My Peripherals

Control Surface: Tangent Elements. My first choice would have been a Slate, but the Elements' modularity made it perfect for packing.
I/O: A Blackmagic UltraStudio Mini 4K connected via Thunderbolt.
Storage: An IOdyne Pro Data 12TB array. Be sure to enable multipathing and connect the disk on two different busses, for example 1&3 not 1&2.
Misc: An Elgato Stream Deck for macros and a 4th gen iPad Pro used as a secondary display for scopes and stills via Sidecar.

Media and Timeline:
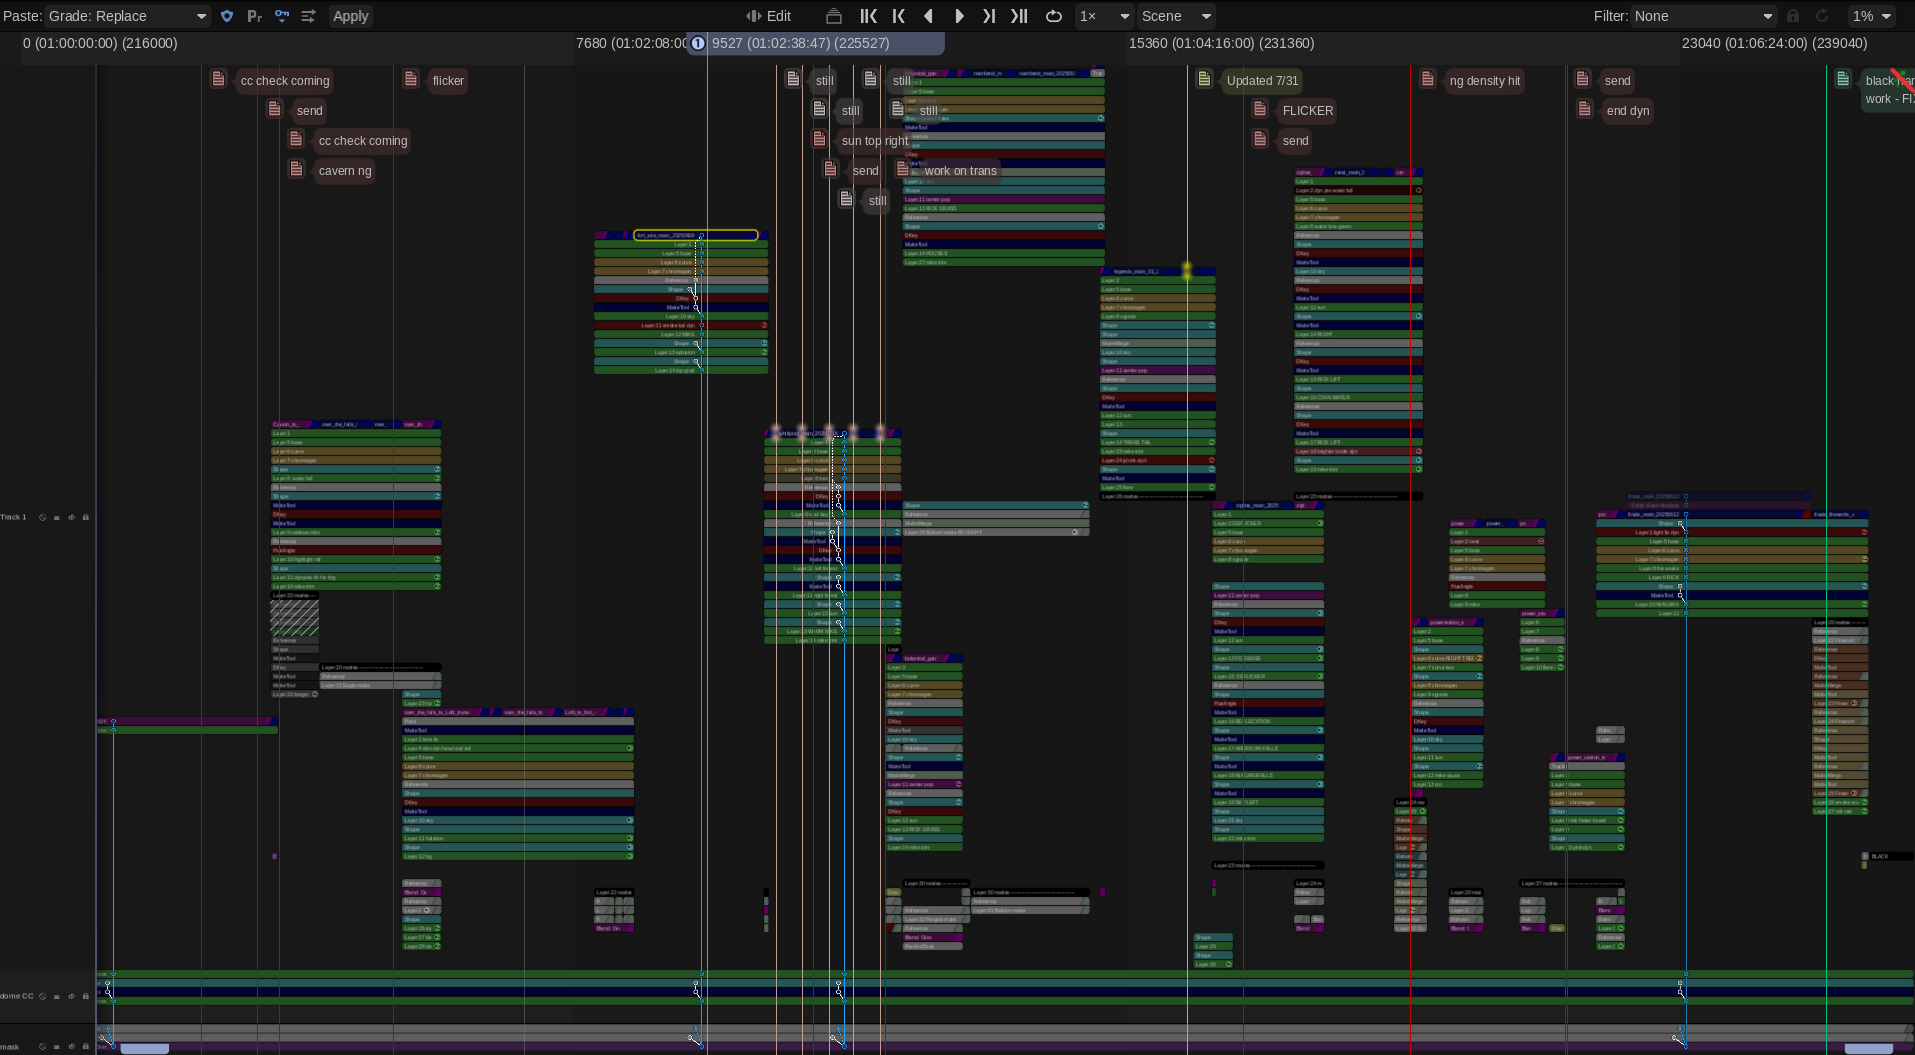
The footage was 60fps, 5760x4320 PIZ-compressed 16-bit half-float EXR files. I kept my Baselight project on the Mac's local database, but all the source media, caches, proxies, and renders lived on the Pro Data drive. The timeline was complex. We worked in a scene-referred grading space, which meant I wasn't doing any harm to the pixels, keeping the master as fluid as water until the final delivery targets were struck for the theater and frozen into ice, ACES archival elements, and other client versions were also rendered which insures longevity for any systems that may come along in the future.
Performance & Reliability:
Playback was a dream—60fps with no problem. I did have one render hiccup: the Mac went to sleep during a long render when it ran out of power even though it was connected to the Pro Data. The solution was simple— disconnect the panels and breakout box, since they're not needed for rendering and just plug in the power adapter in.
Shout Outs
Peter Postma and the Filmlight crew came through in a big way with early versions of Baselight M. It’s such a pleasure to have that kind of power in my backpack. Another huge thank you to Mike Gitig and the entire IOdyne team for thier support. I also want to thank NPC, Brogent, Rick Rothschild and Mike Quigley for allowing me to contribute my small part to this spectacular attraction. I have a feeling it will be there for many years to come so go check it out next time you are planning your family vacation! The falls are truly one of those bucket list places you must visit. Nothing else like it on the planet.