Dear Mama

7/12 - Update: “Dear Mama” Emmy nomination for Best Documentary or Nonfiction Series

Well, if you are my age and grew up in the ’90s, you listened to Tupac. Even all of us white boys from Camarillo knew every word to every song. His music really was the soundtrack to the last decade of the millennium and my youth.

Tonight is the final installment of “Dear Mama.” FX’s most-watched unscripted show.

Perfect for a Mother’s Day weekend! Please go check it out on FX tonight or streaming on Hulu.


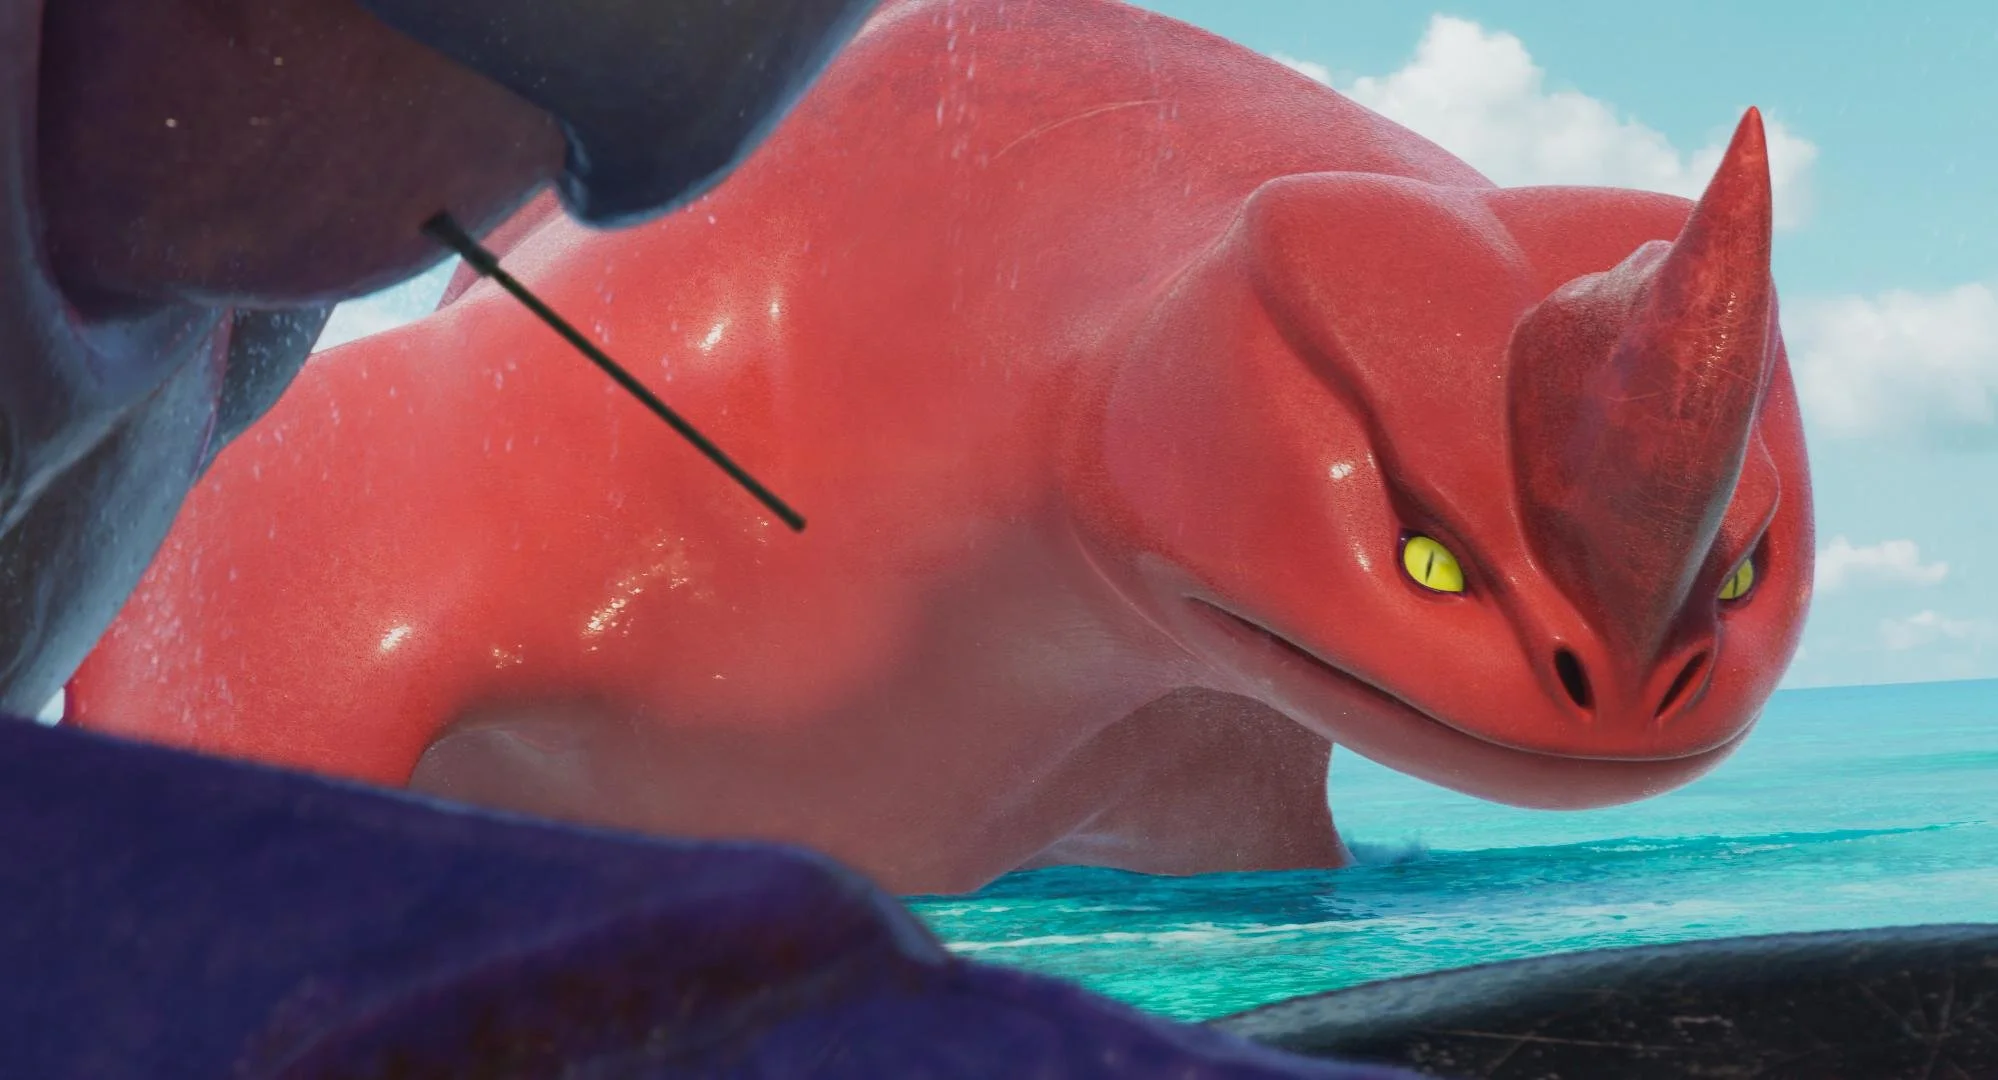
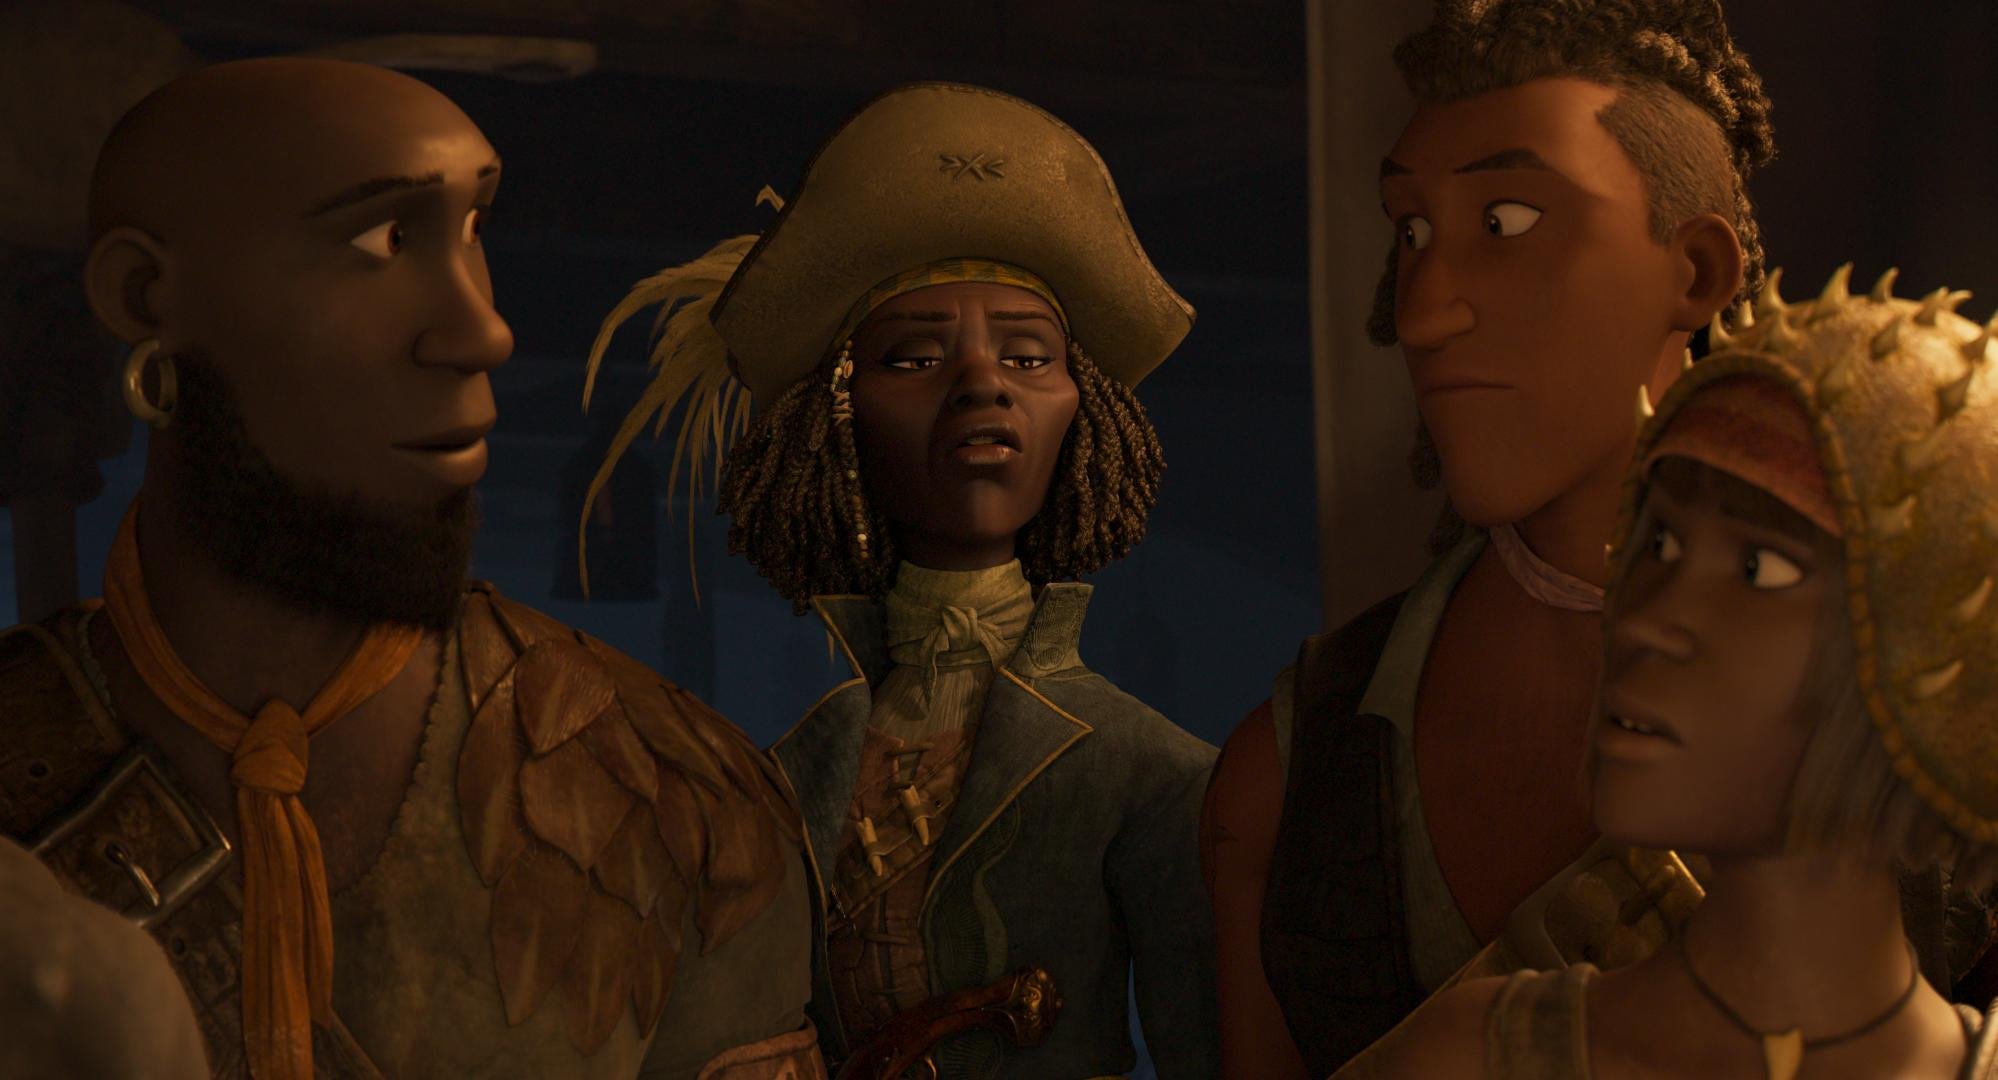
Allen Hughes directed this insightful docuseries. Fitting because Allen and his brother directed Tupac’s early music videos. Sure, there was a bit of drama, but that adds to the flavor of the story. That connection to the material made Hughes the quintessential choice for captaining this ship. Tupac wasn’t any one thing; more like an eclectic stew of many influences and identities. One thing is for sure. Dude was thug life for real.

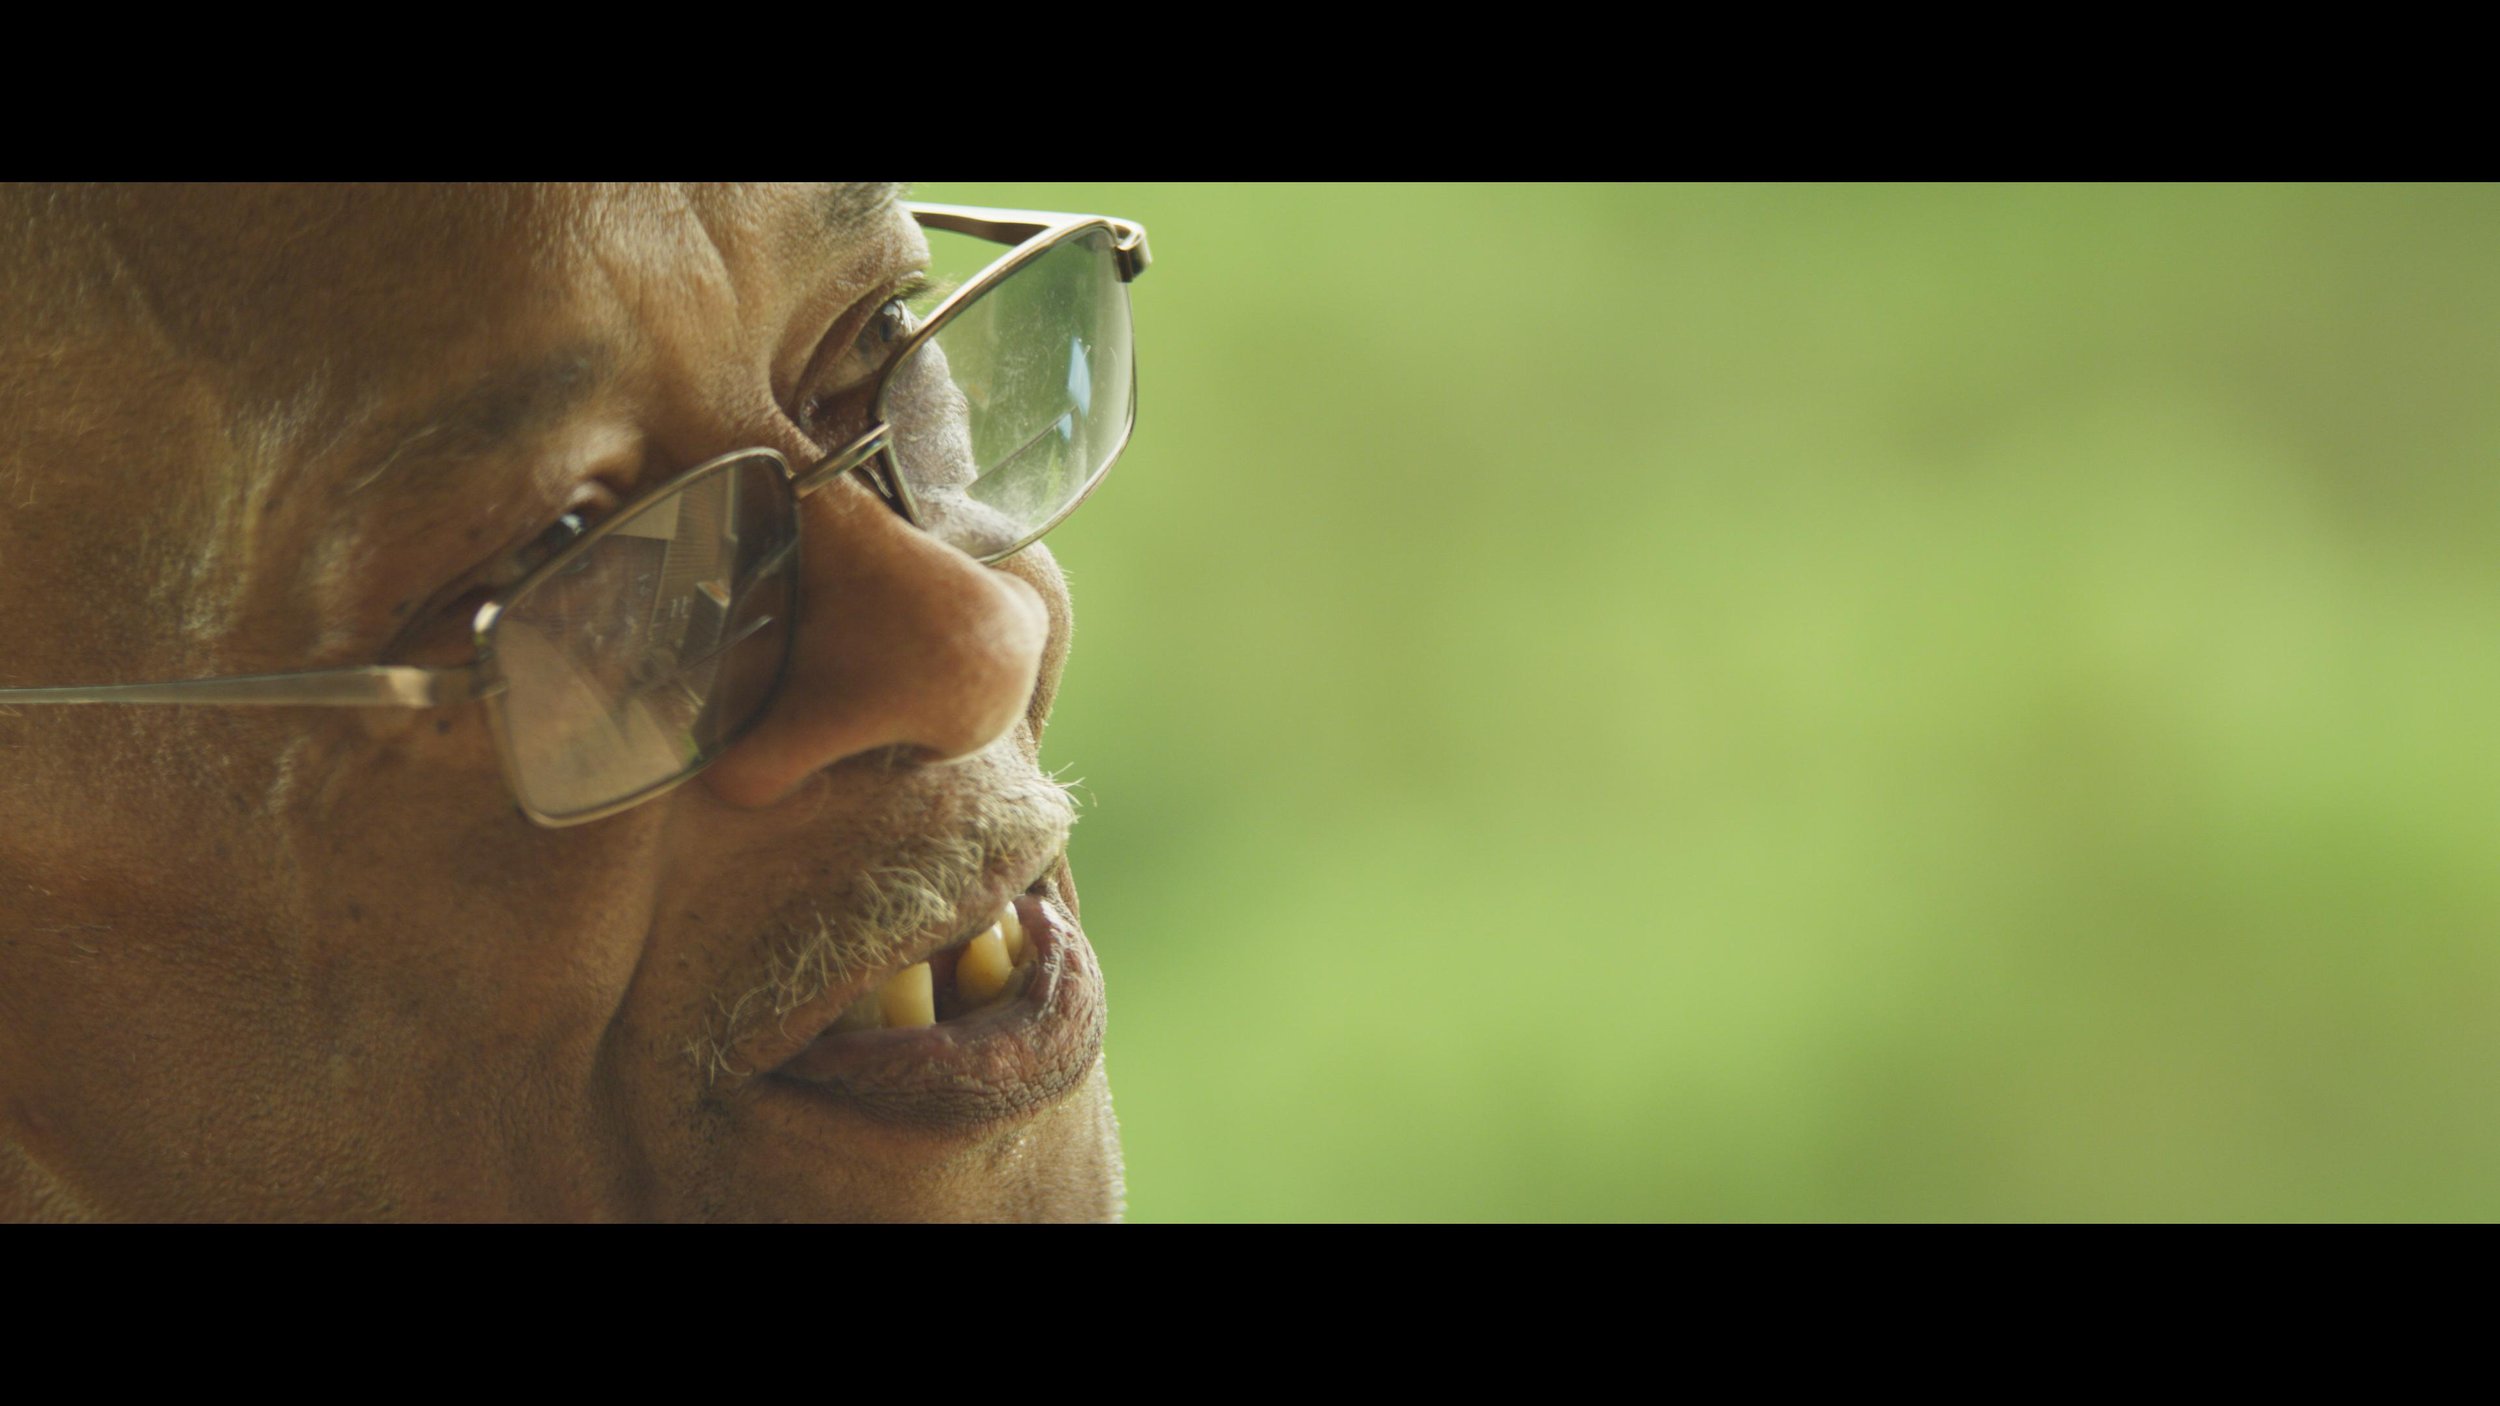
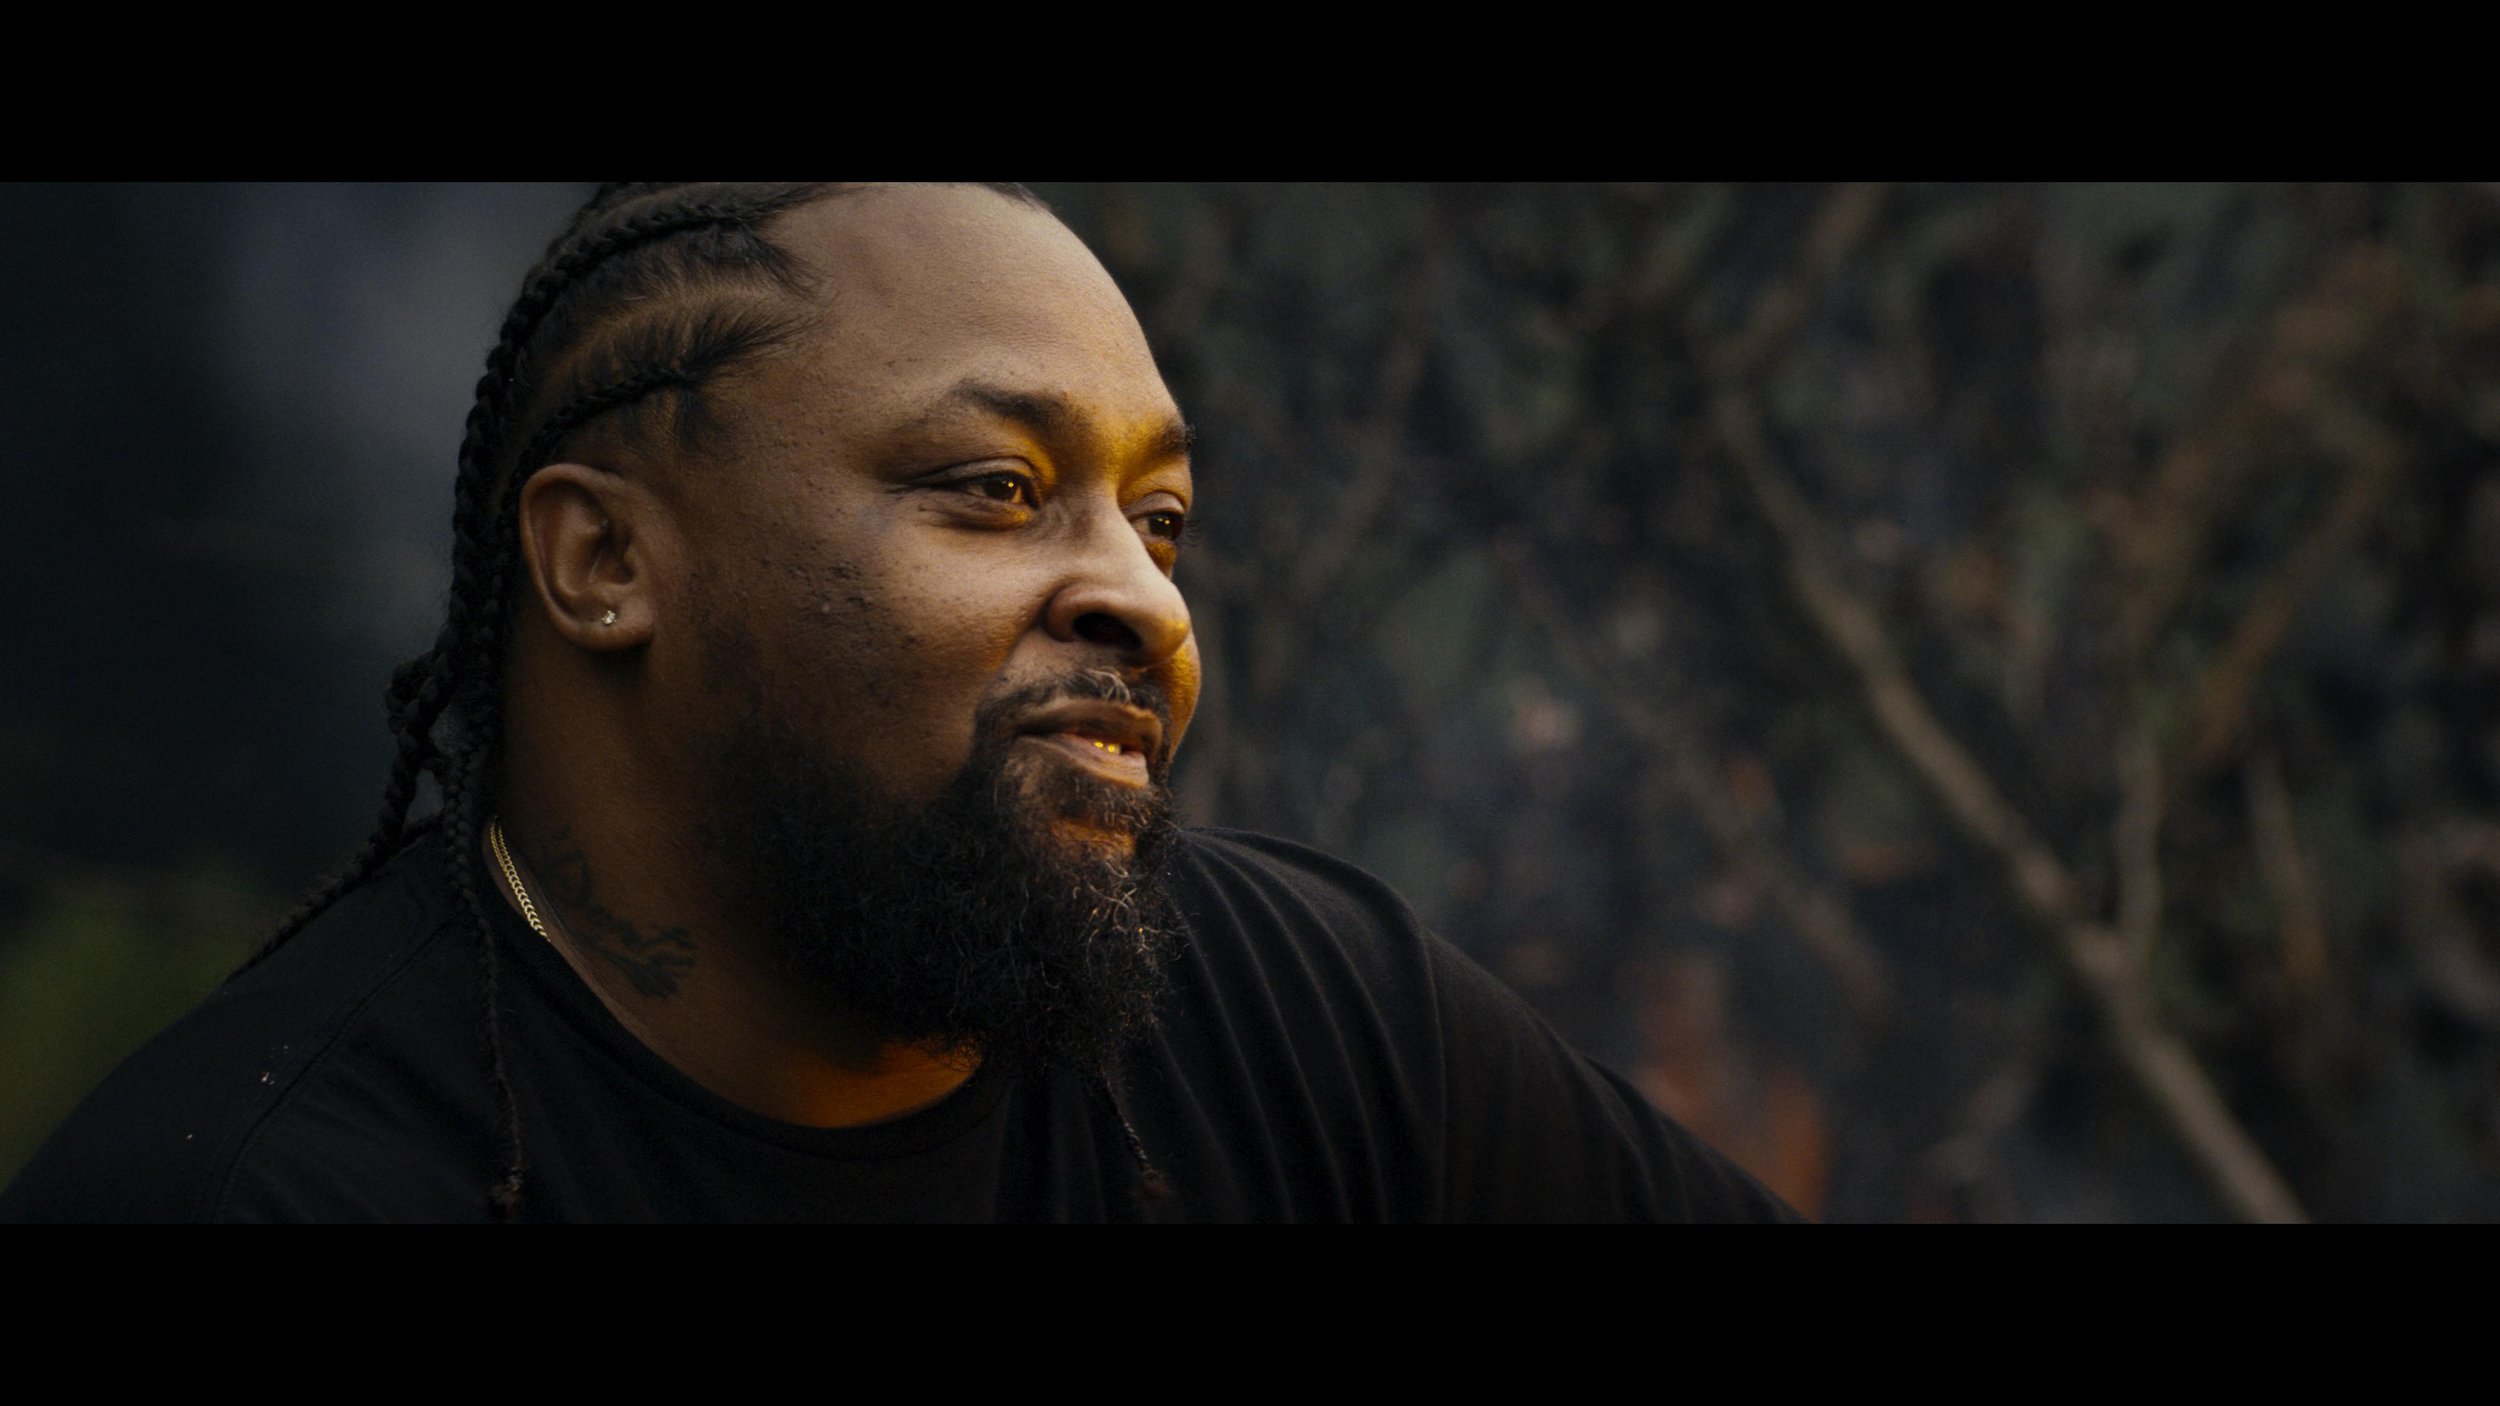
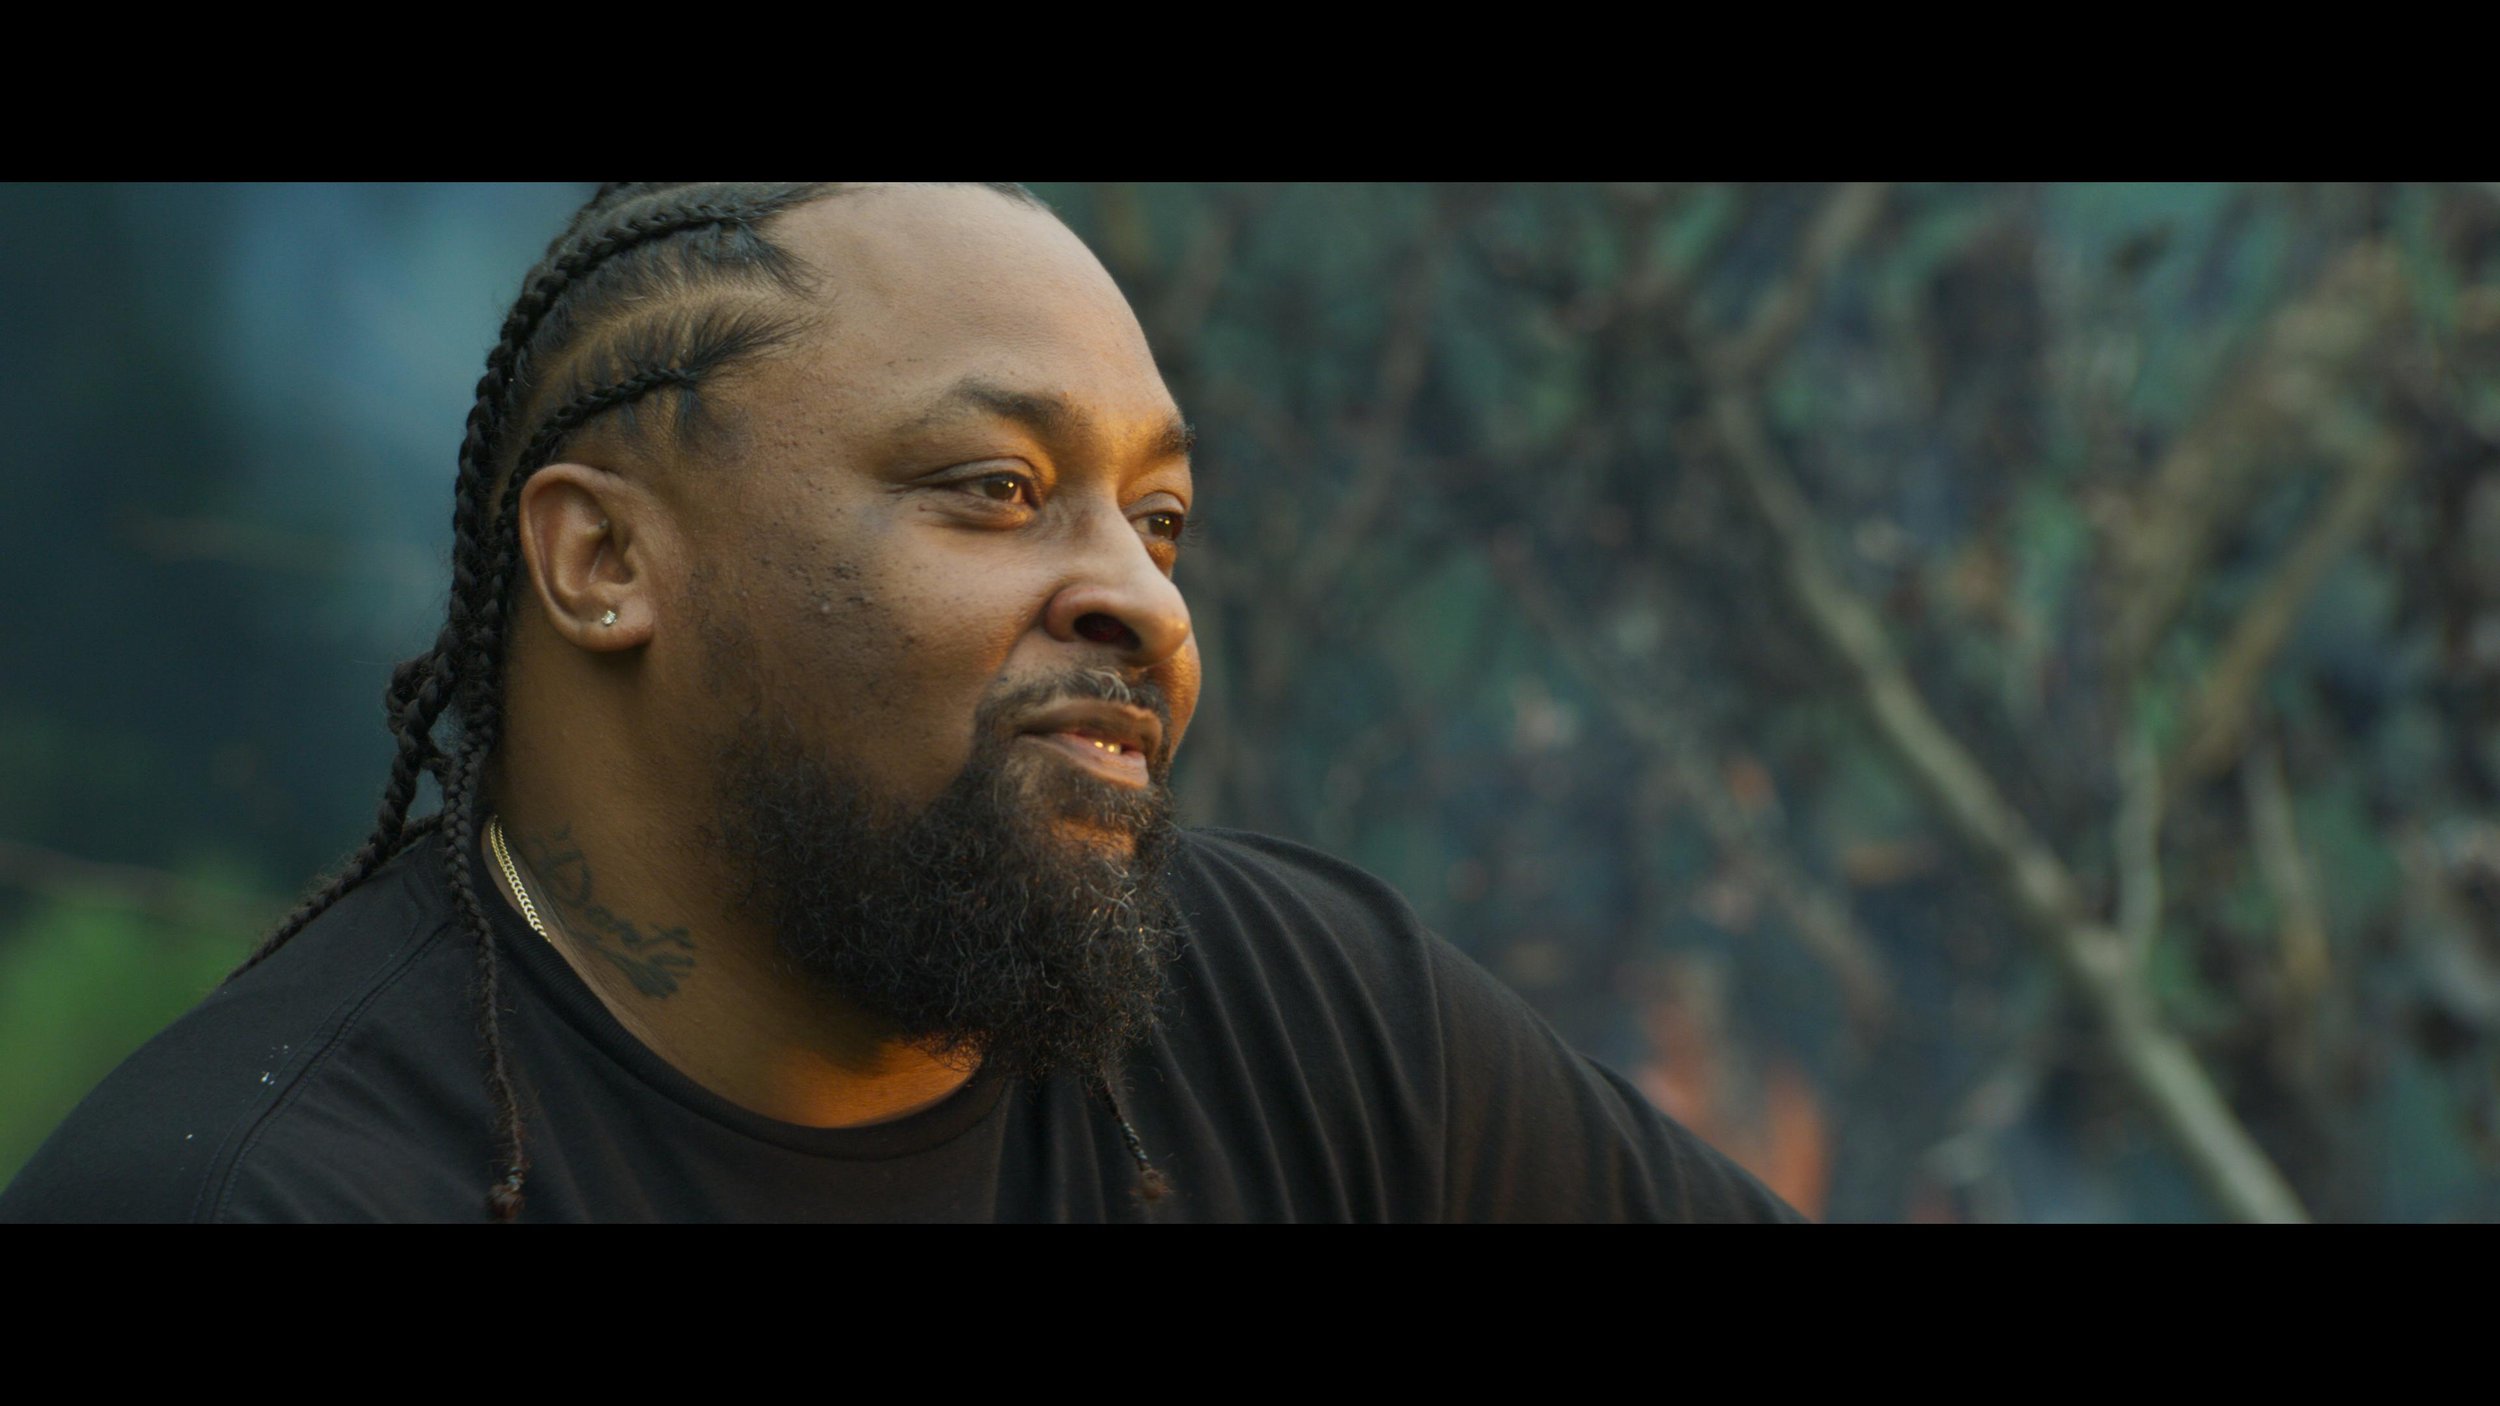
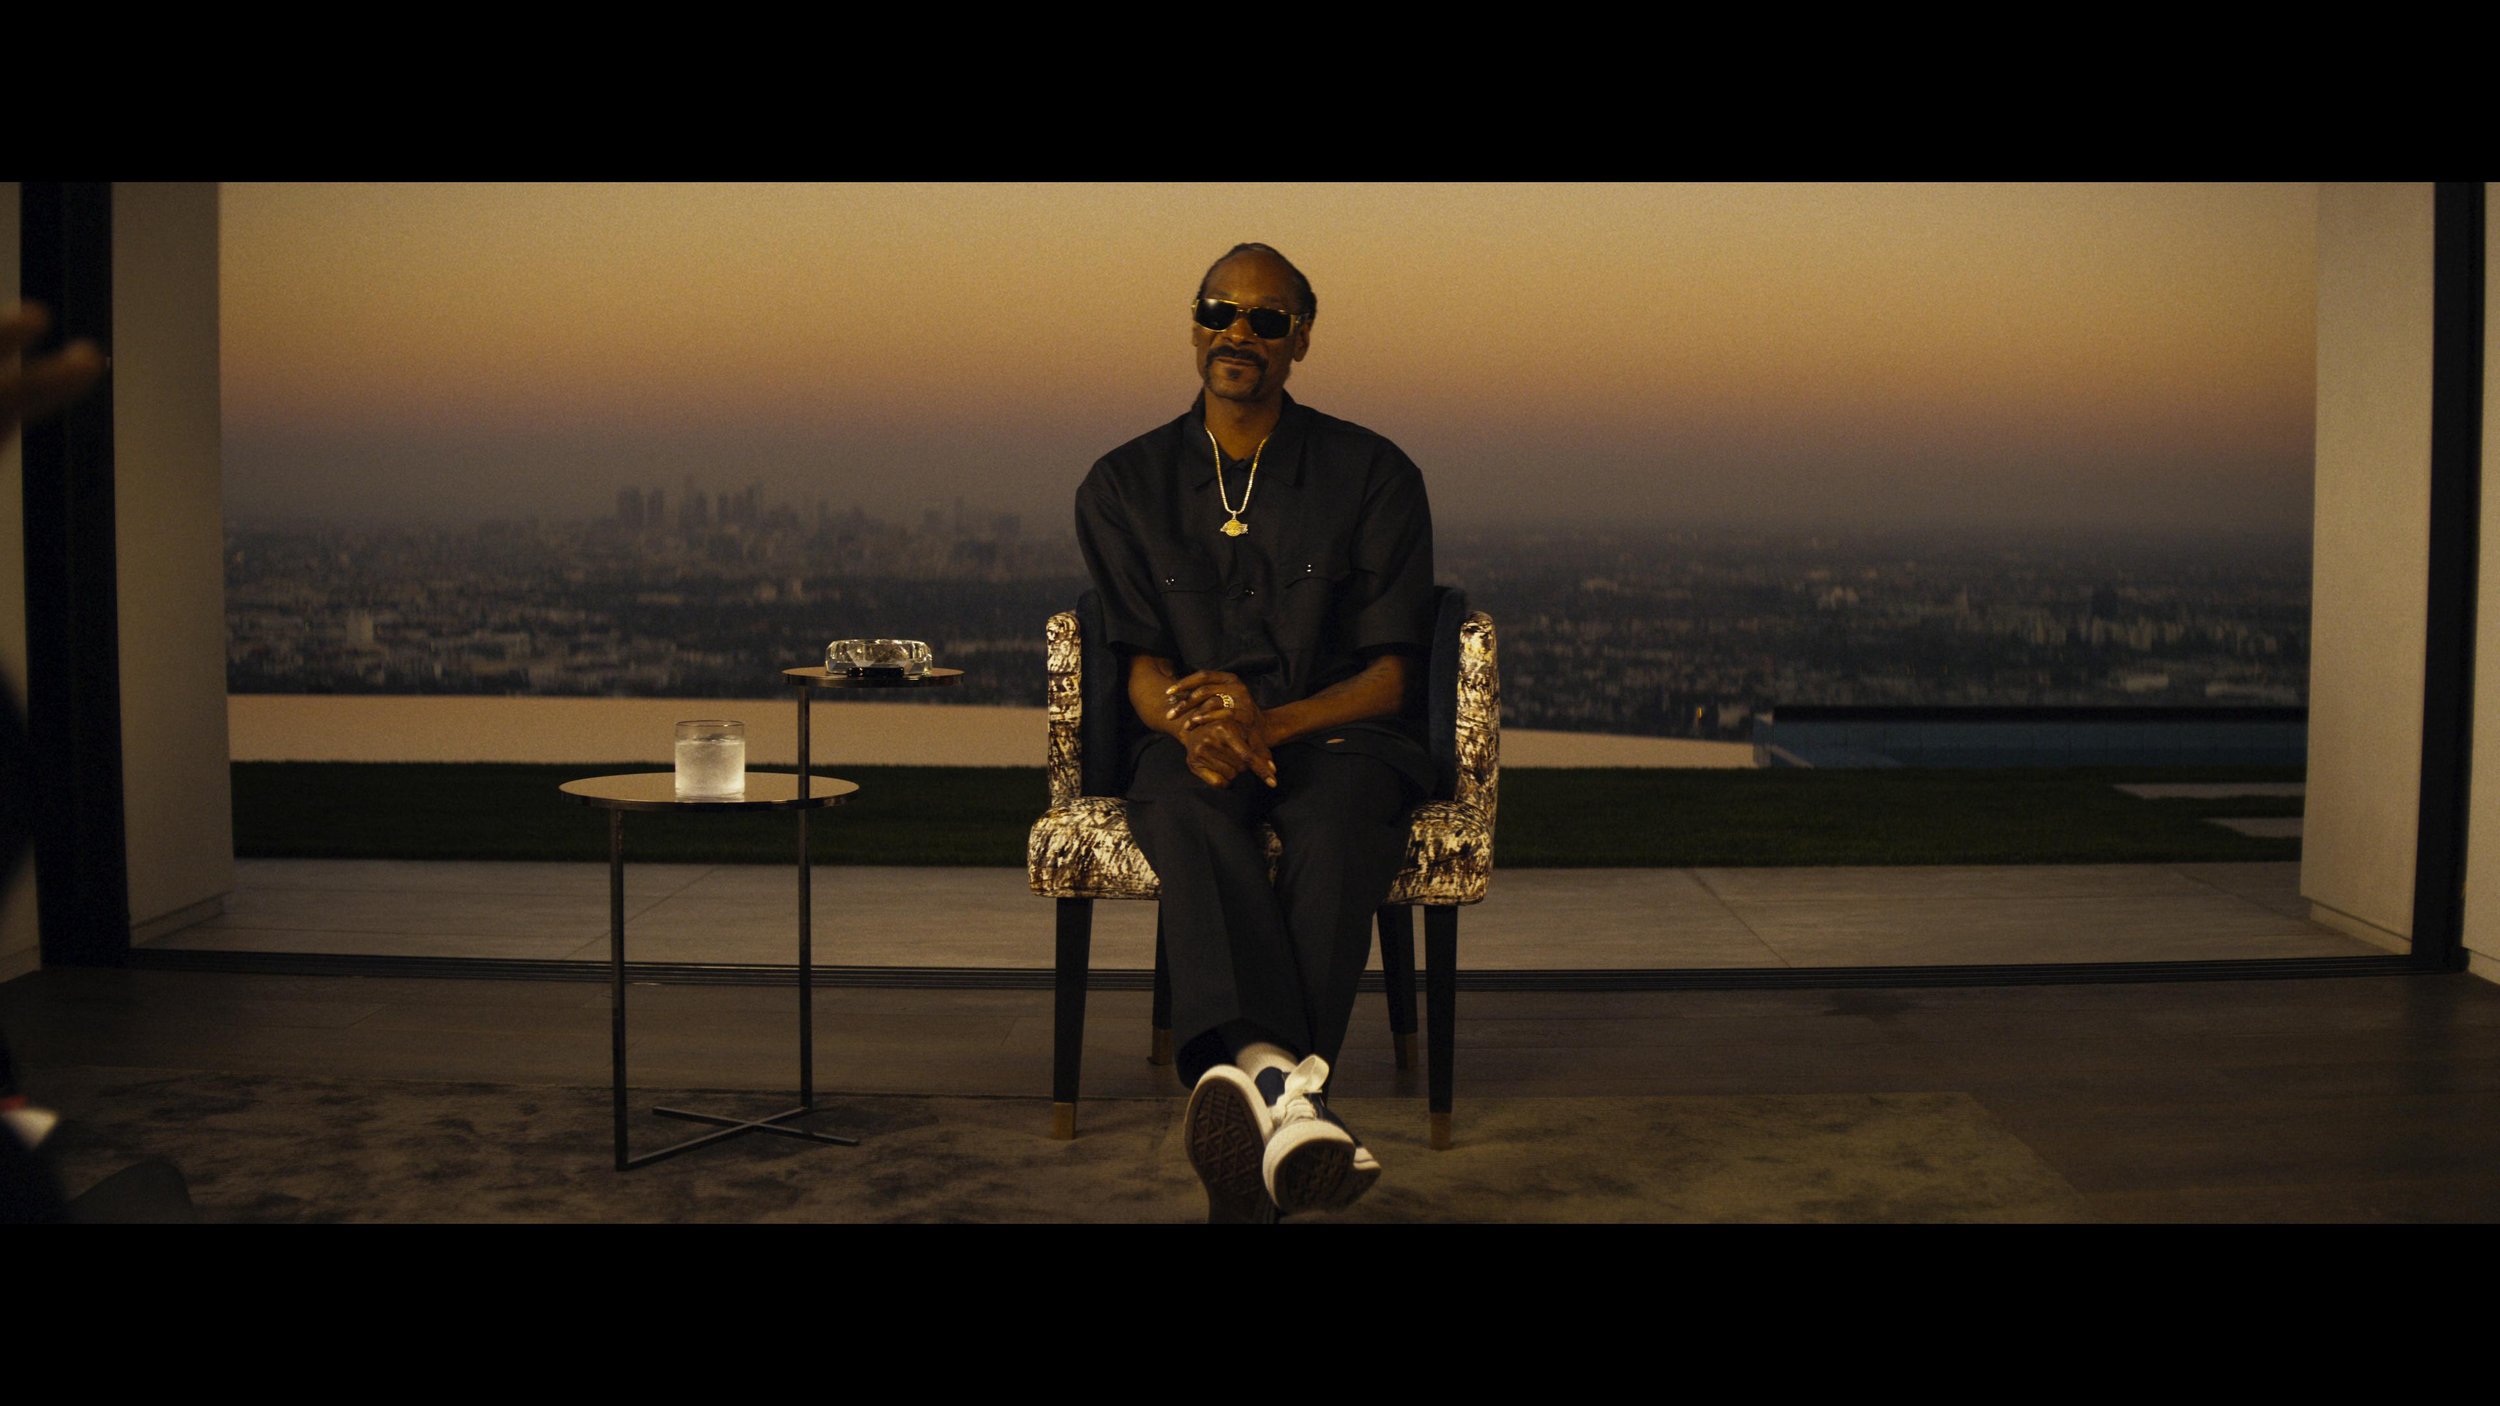
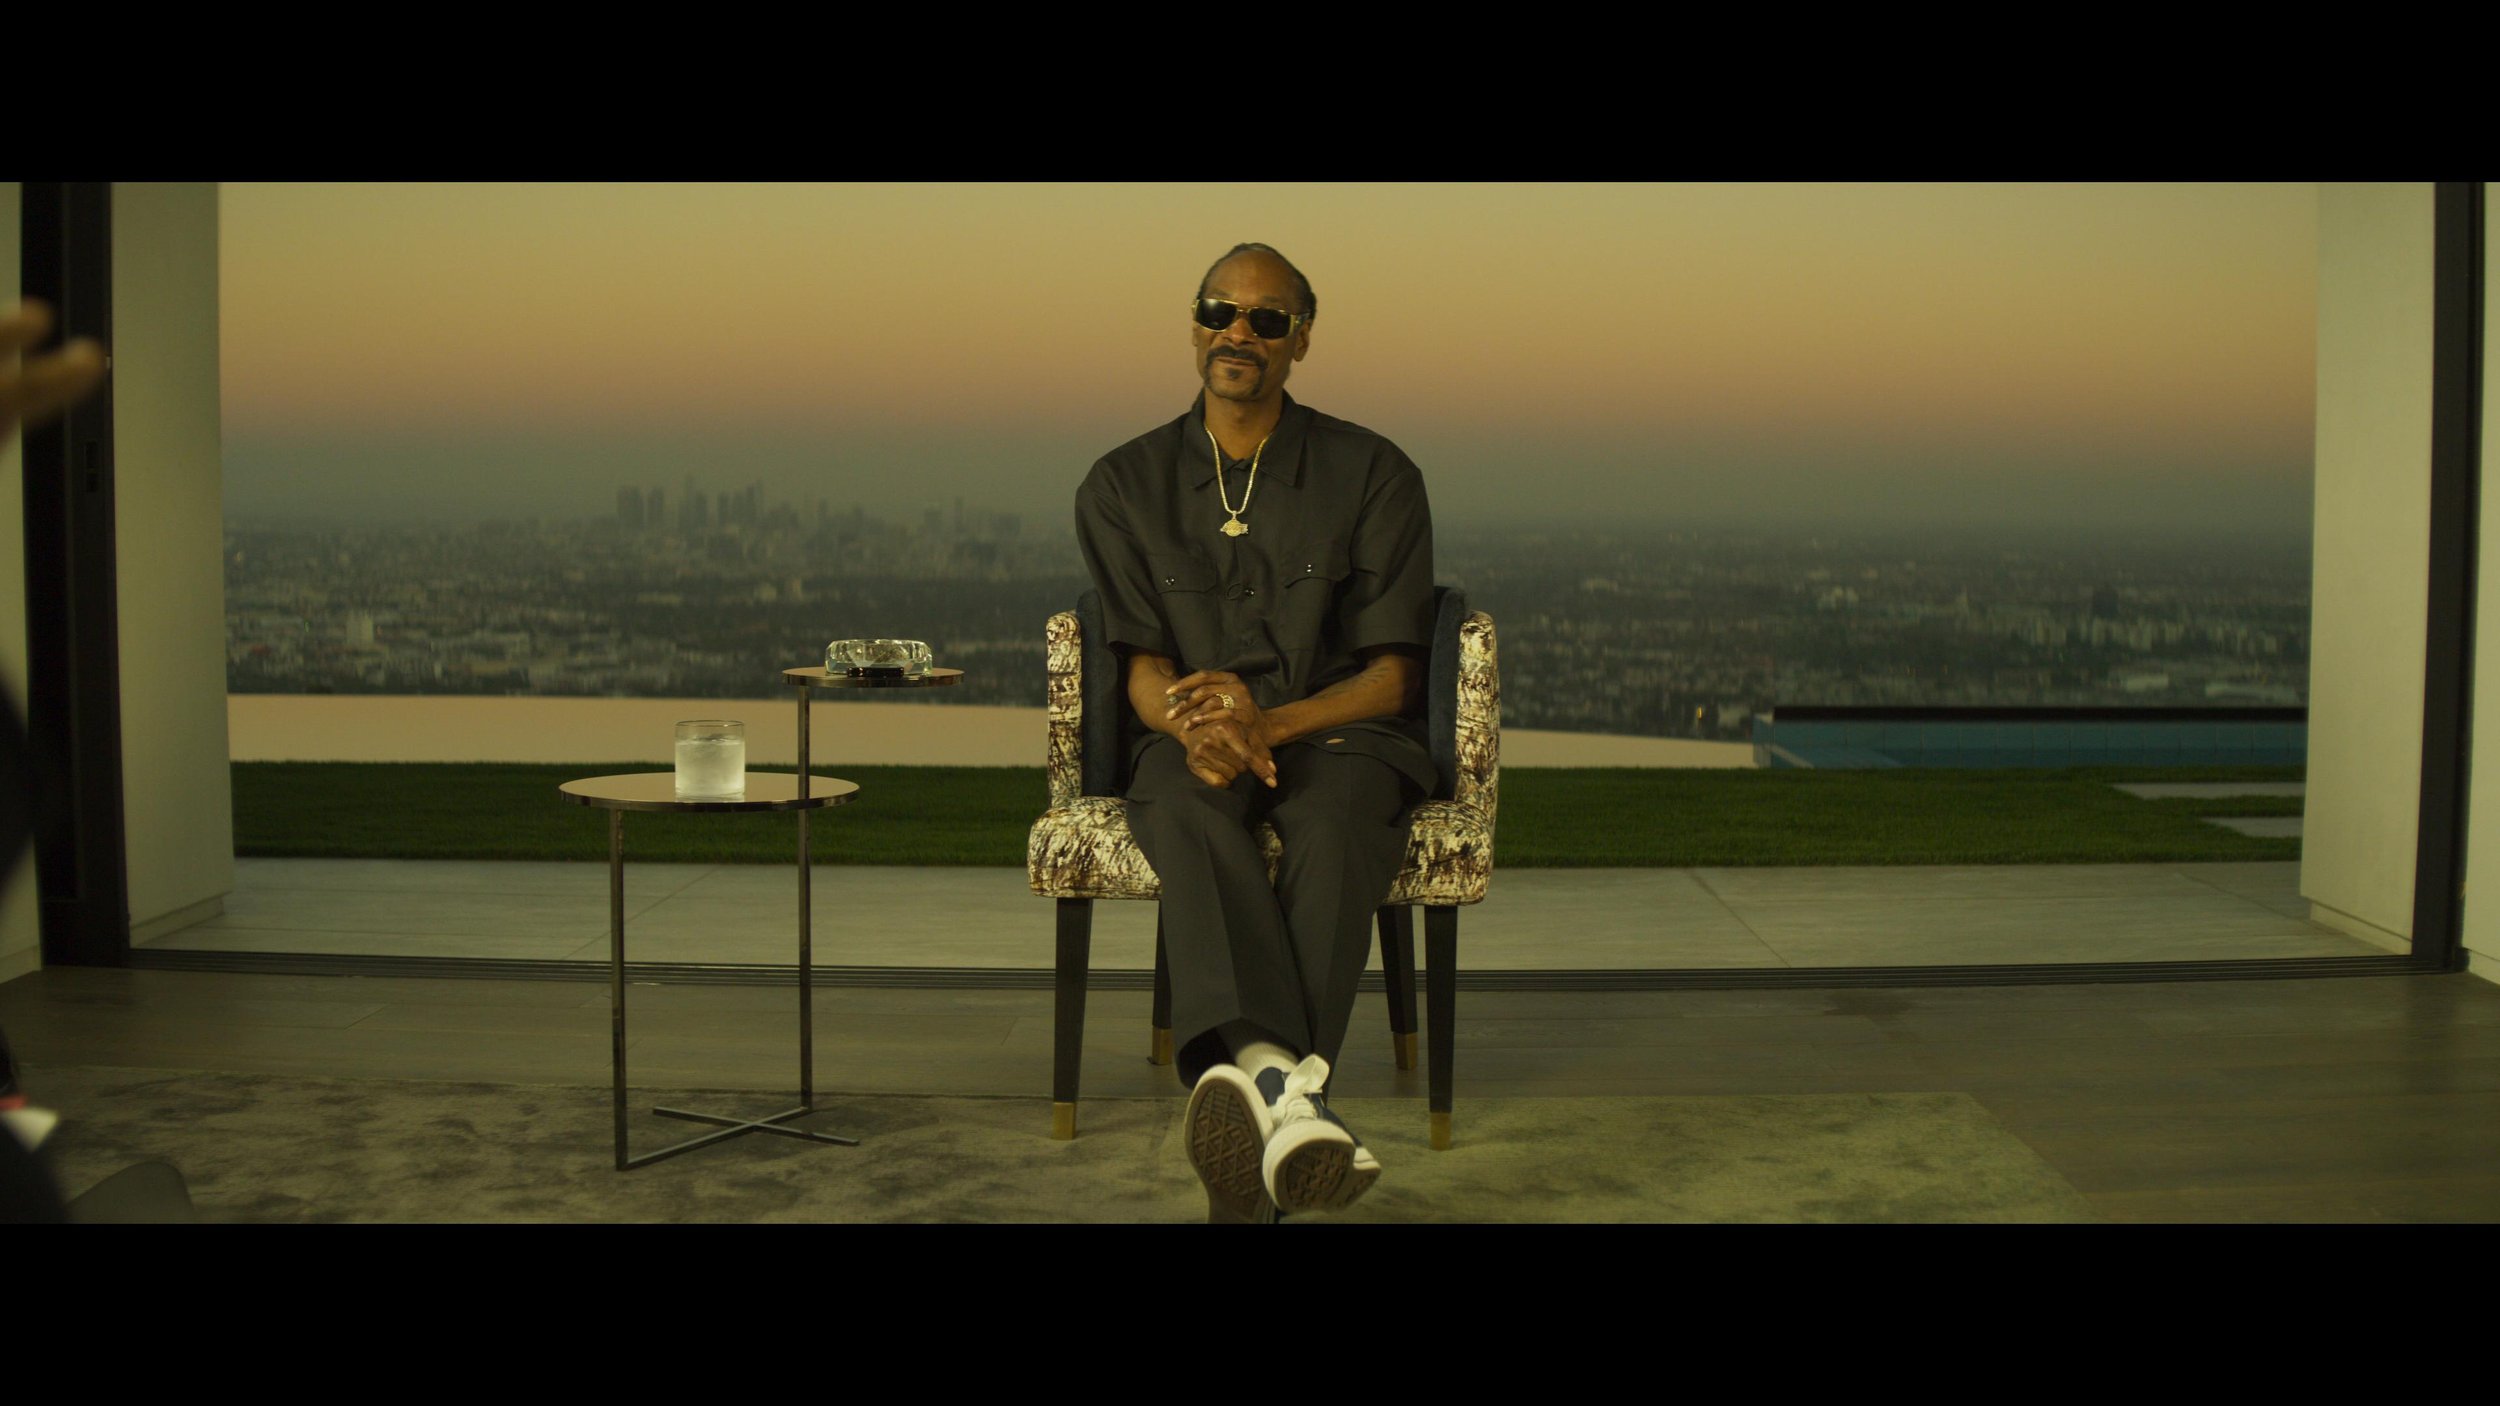
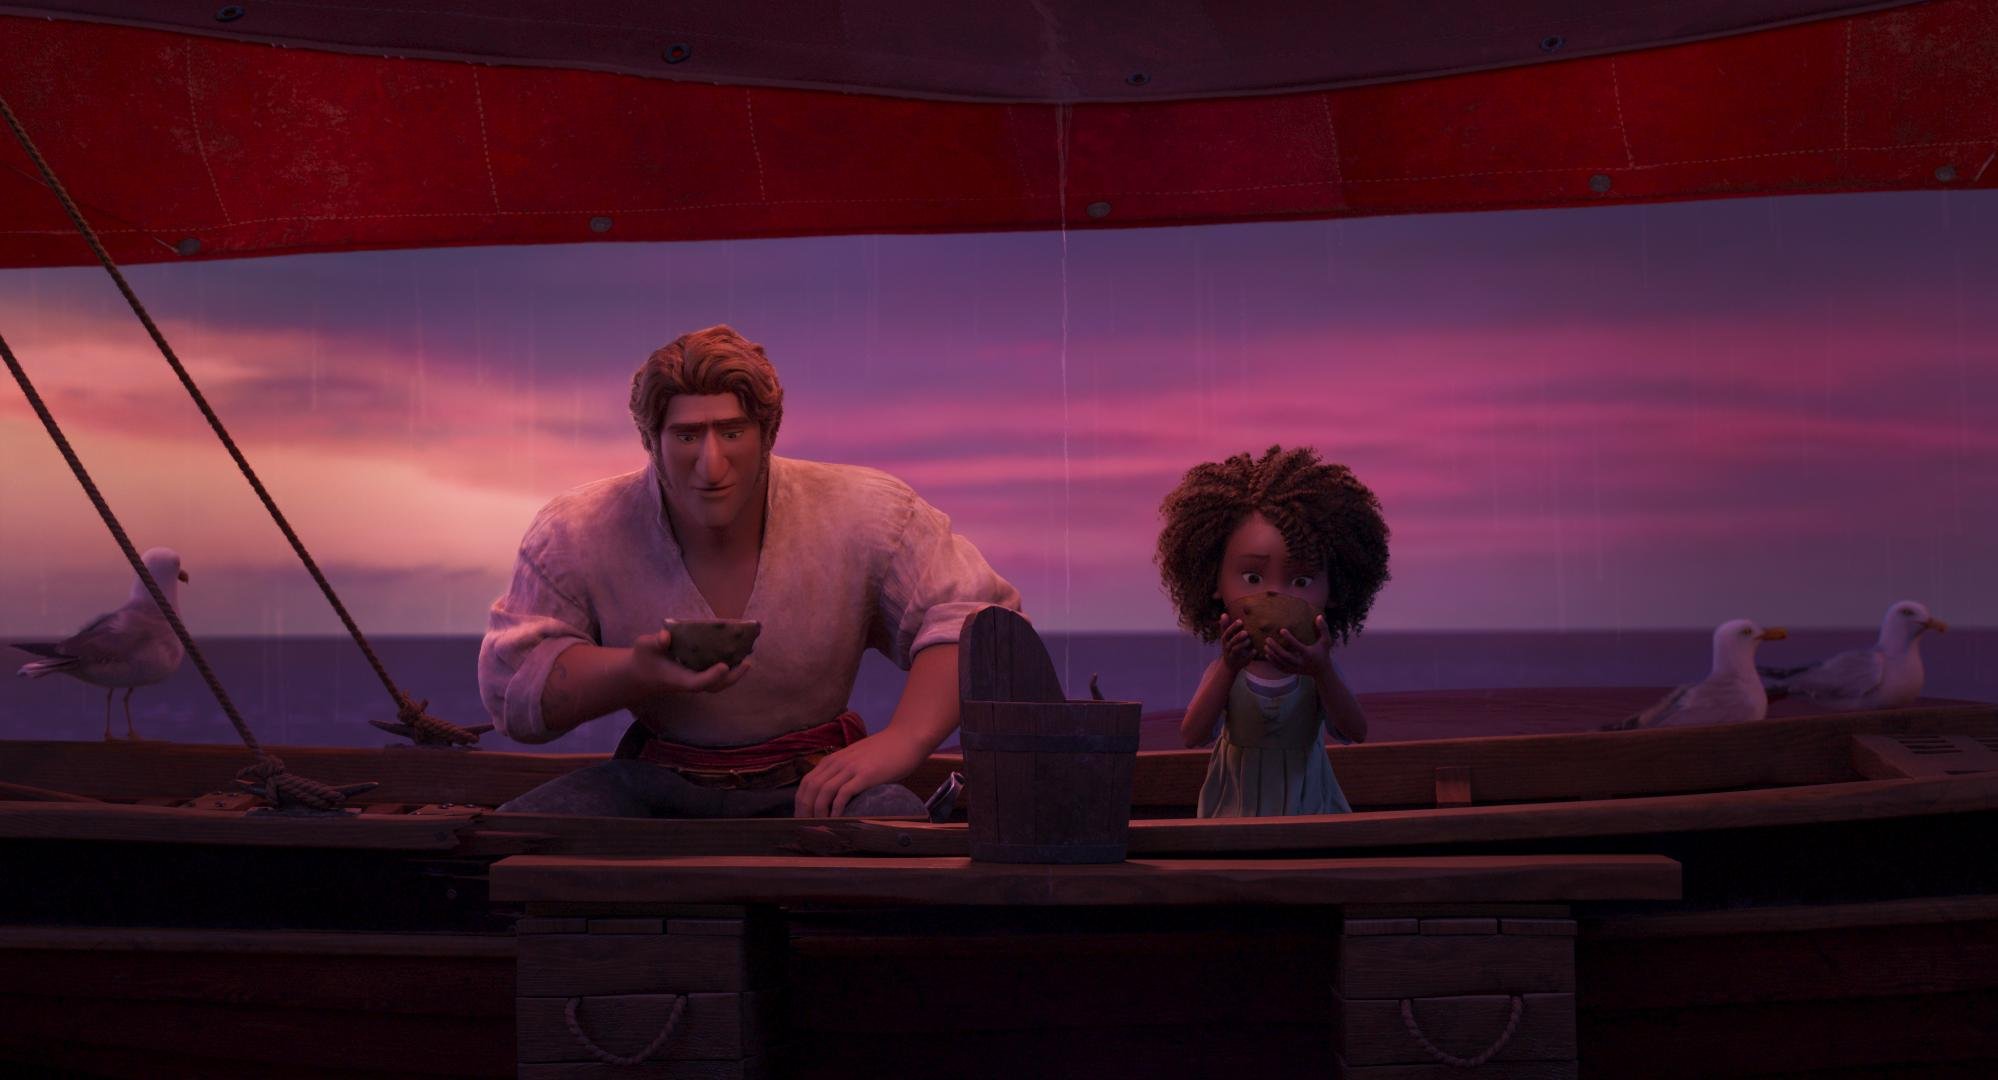
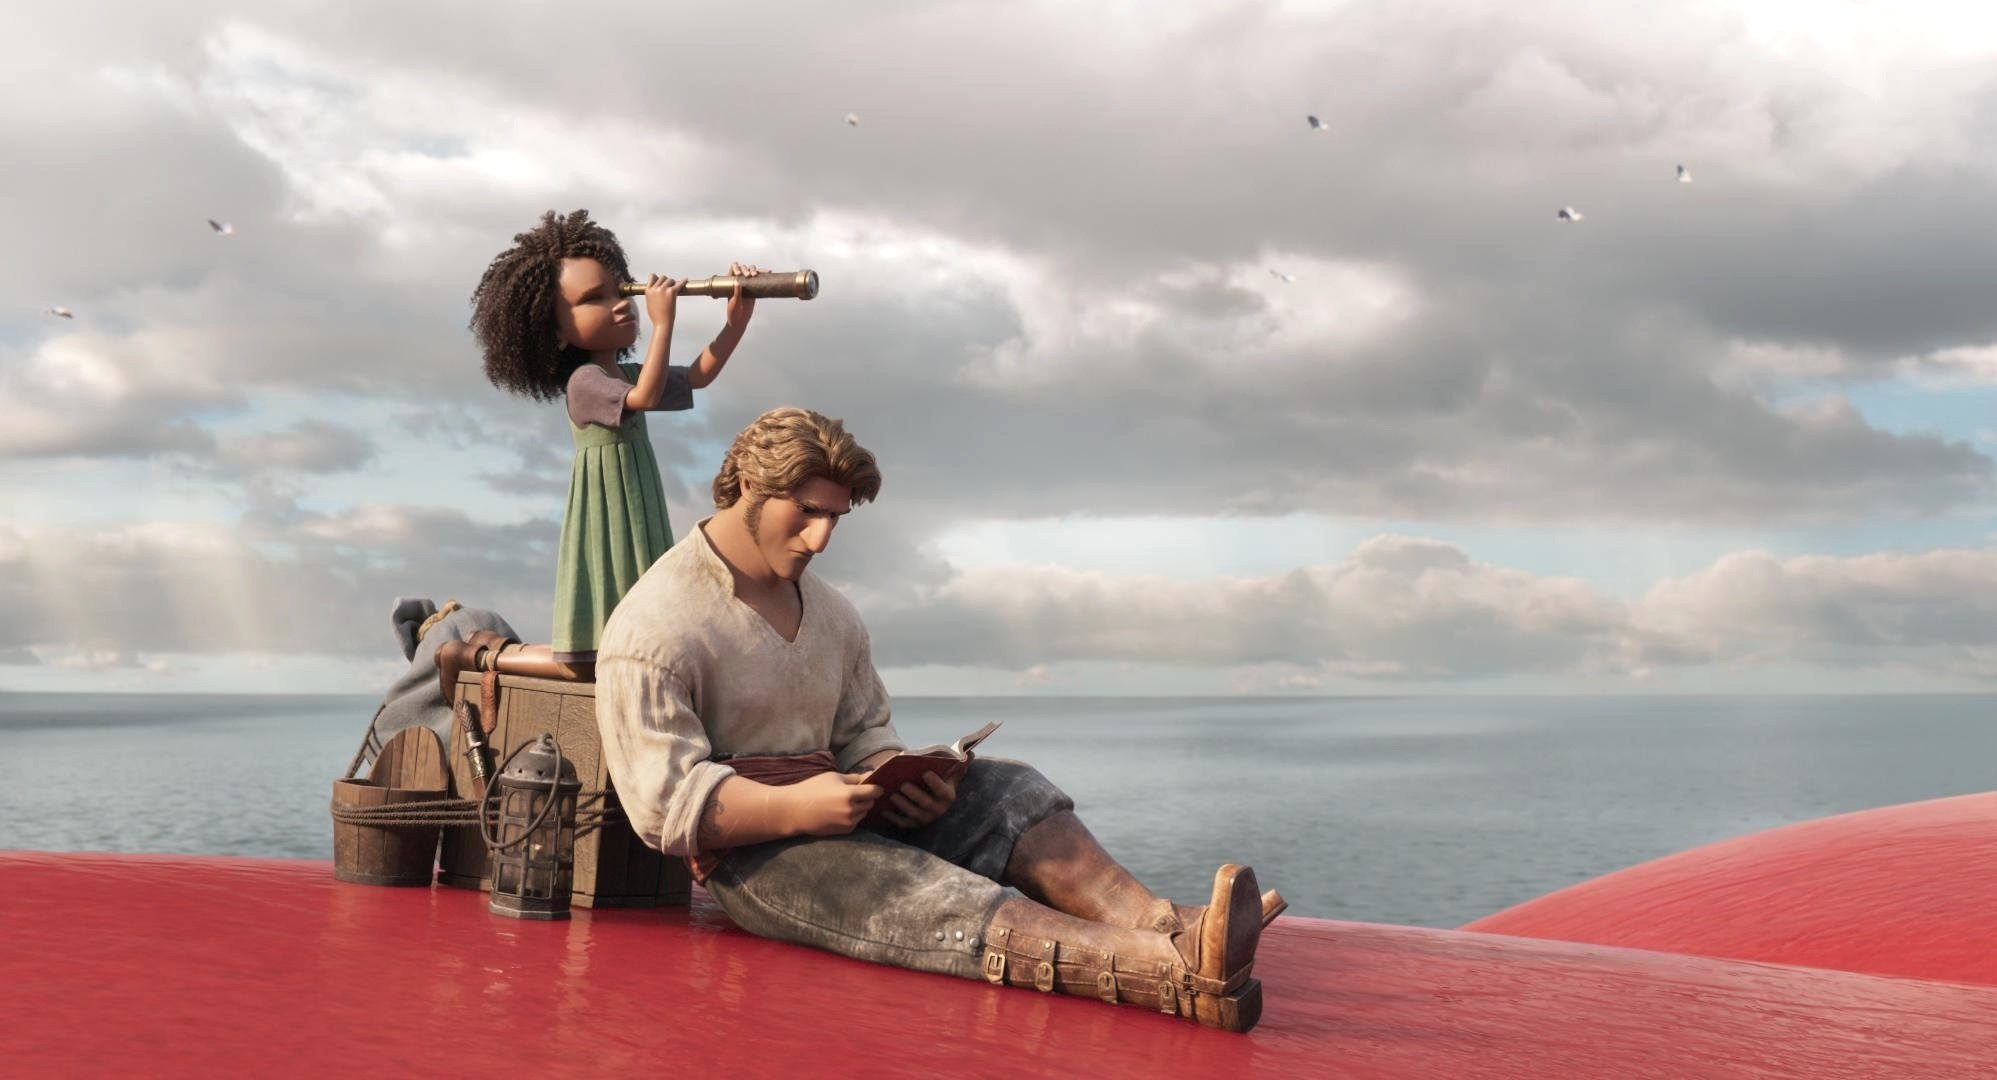
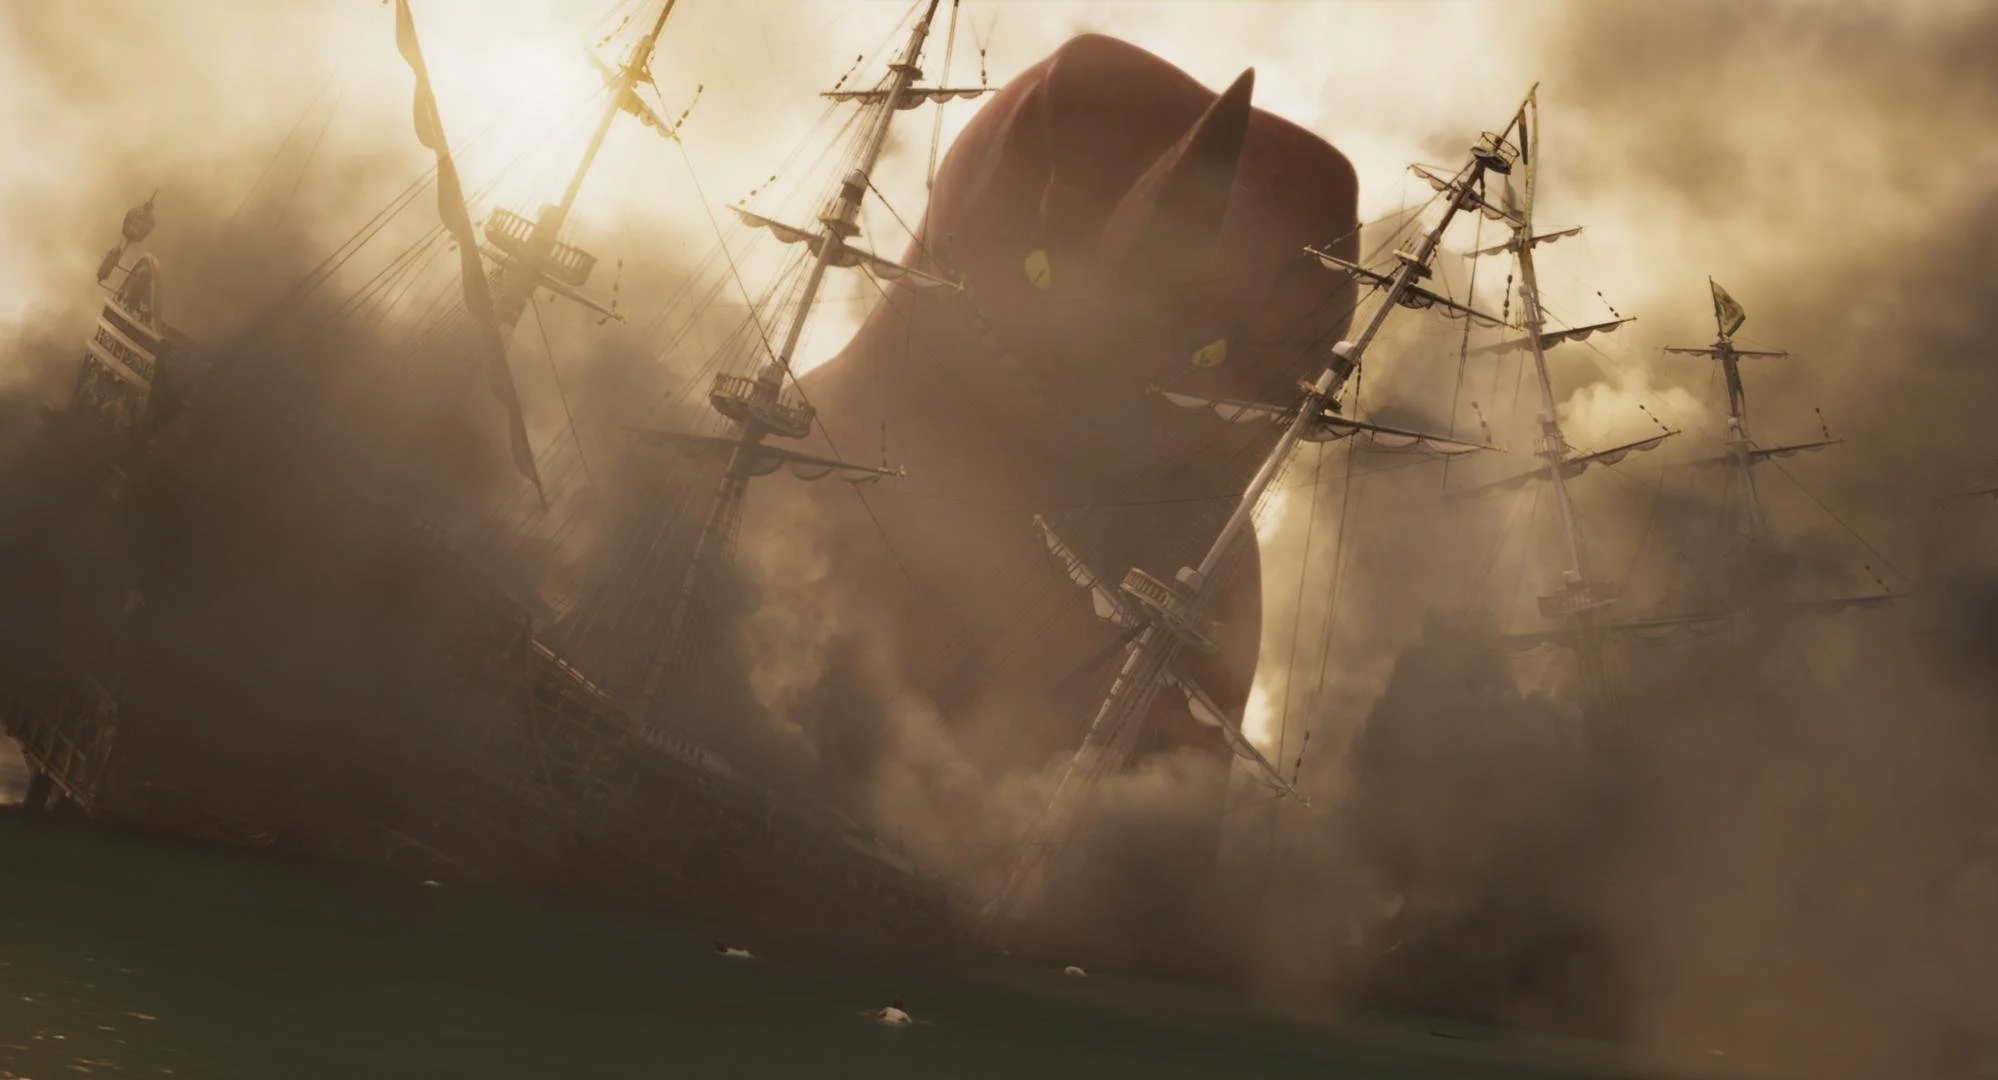
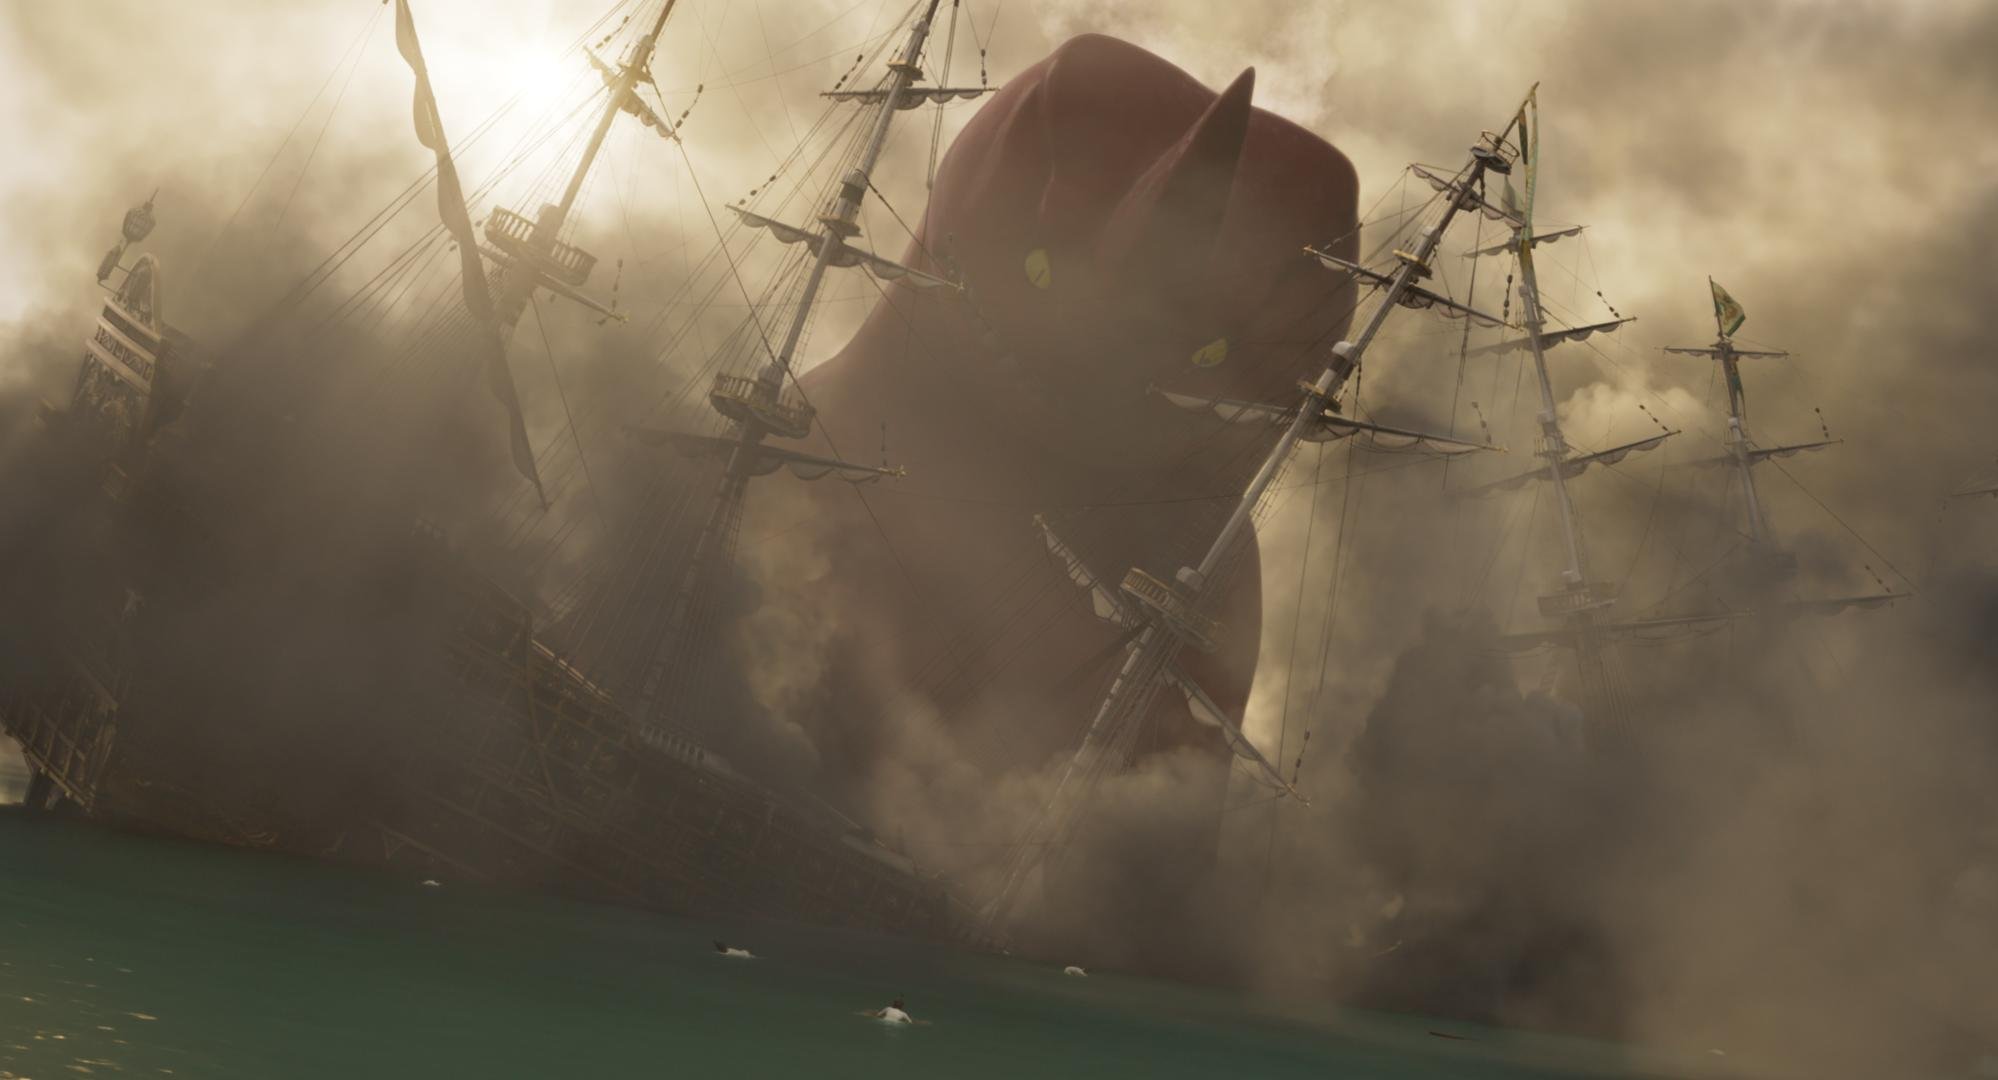
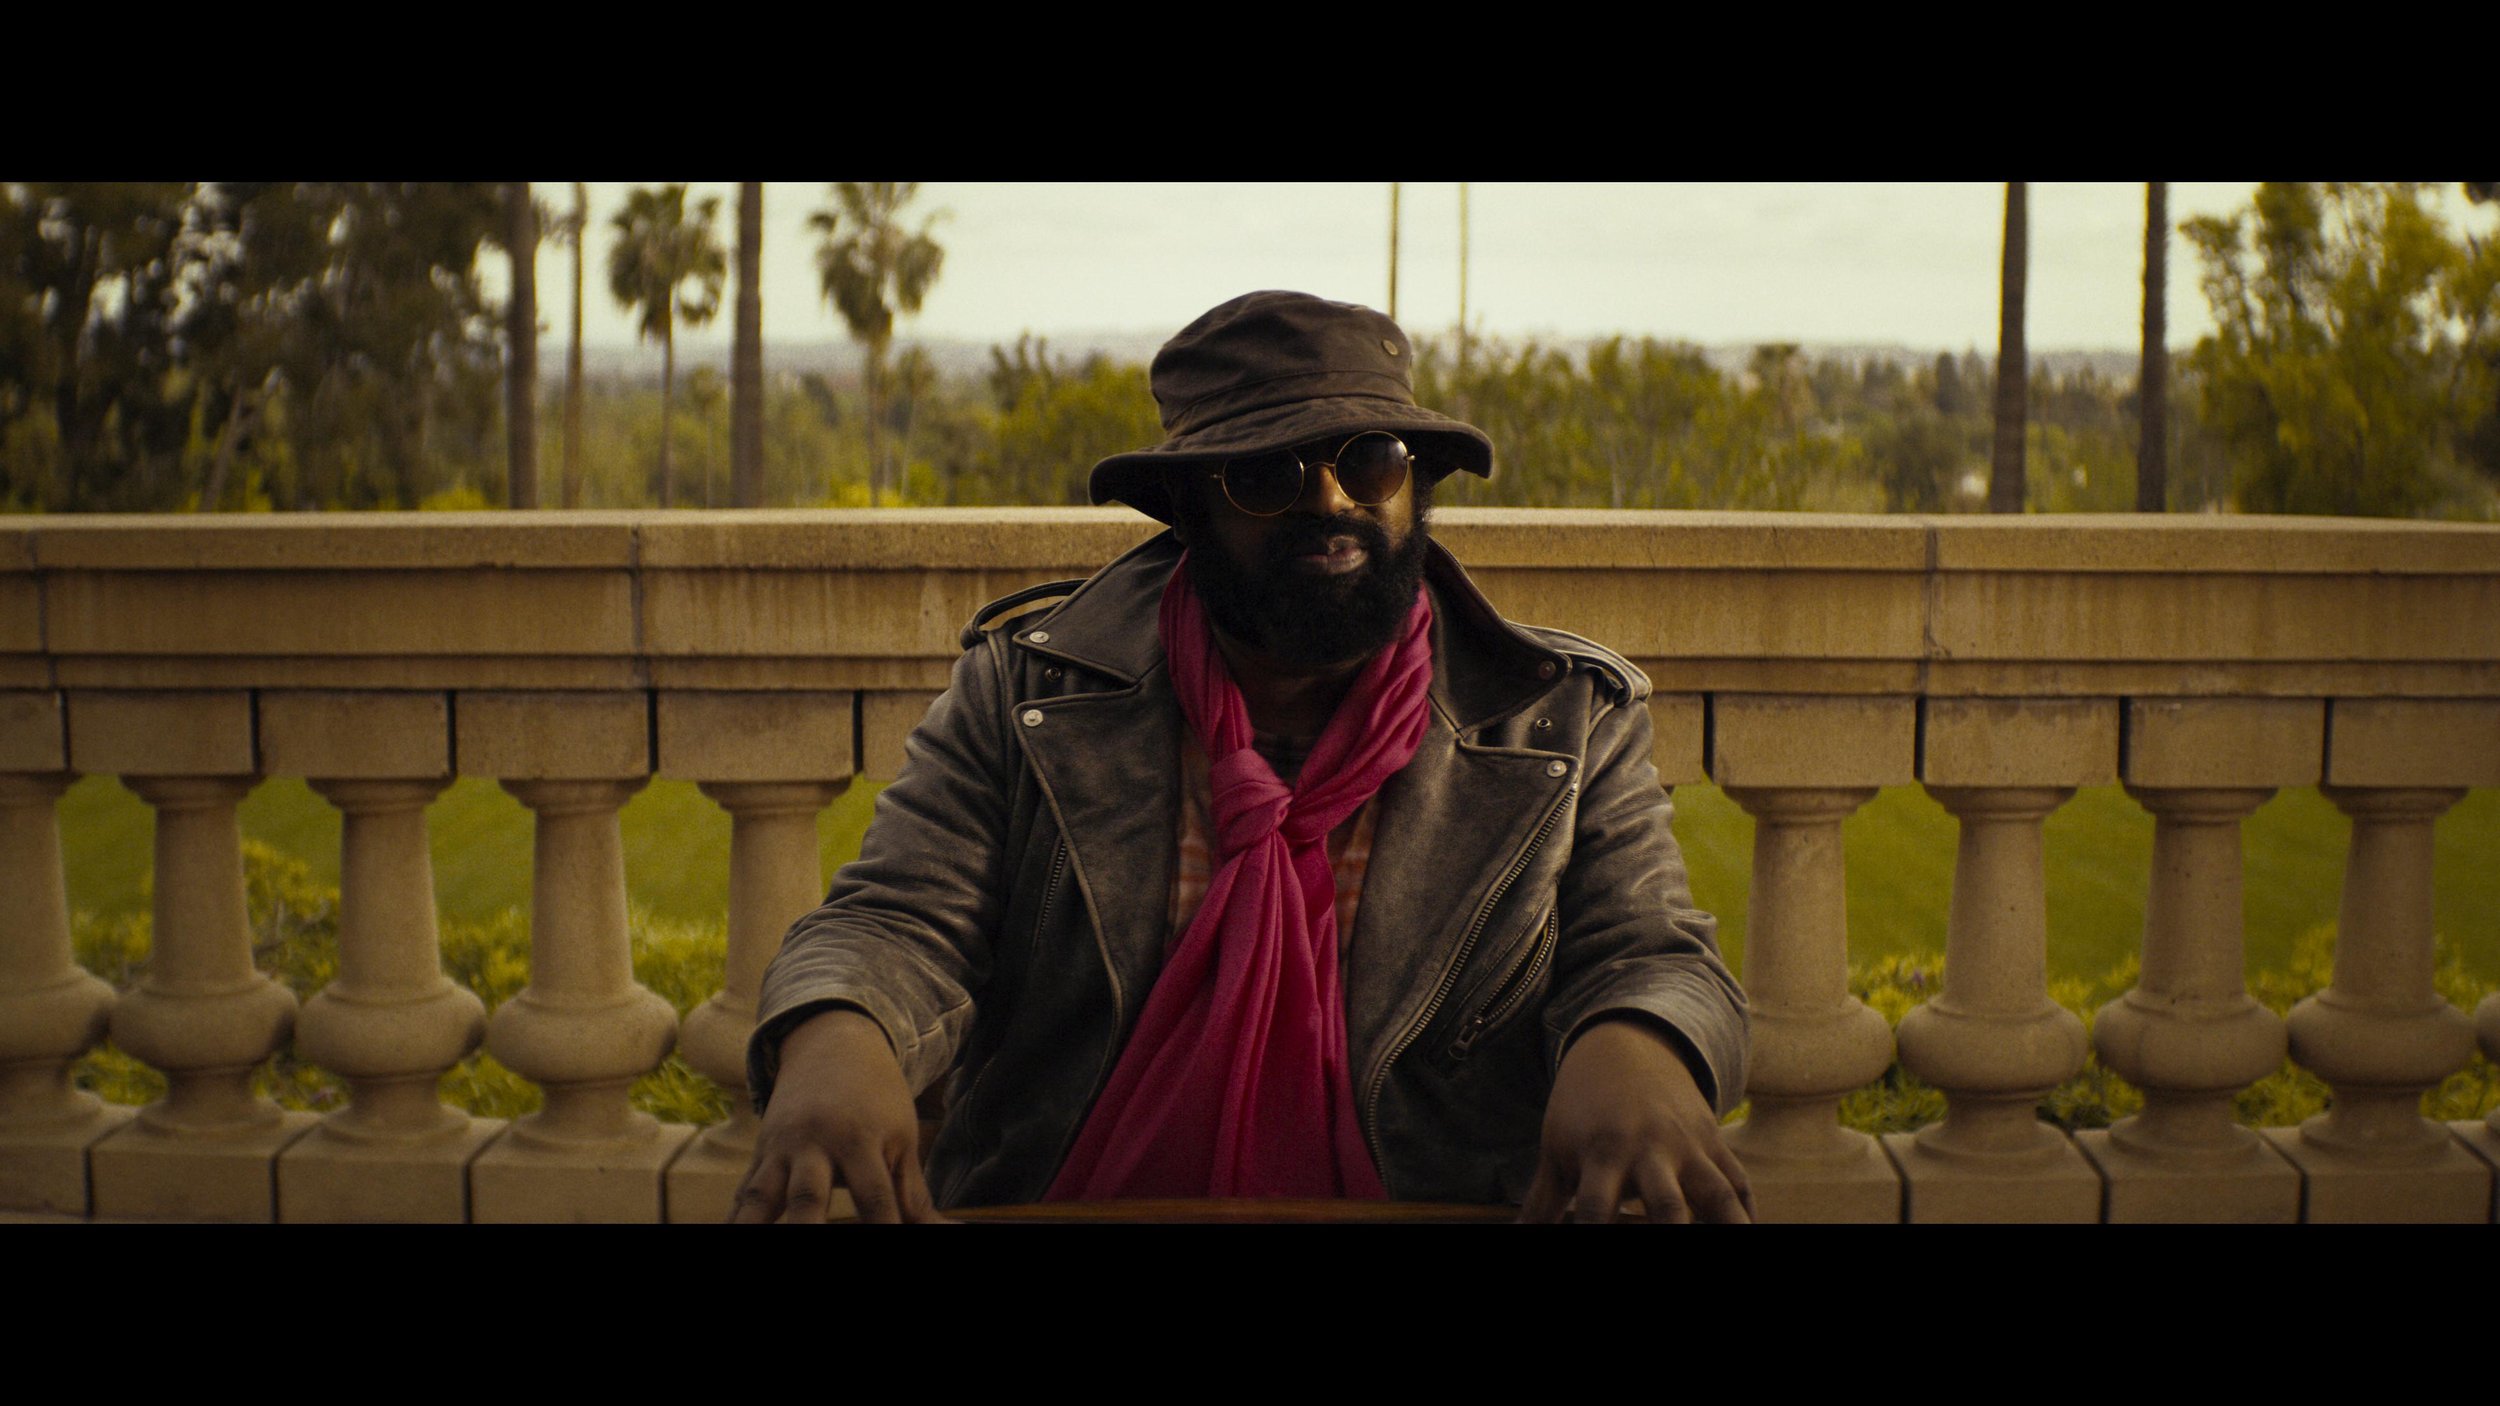
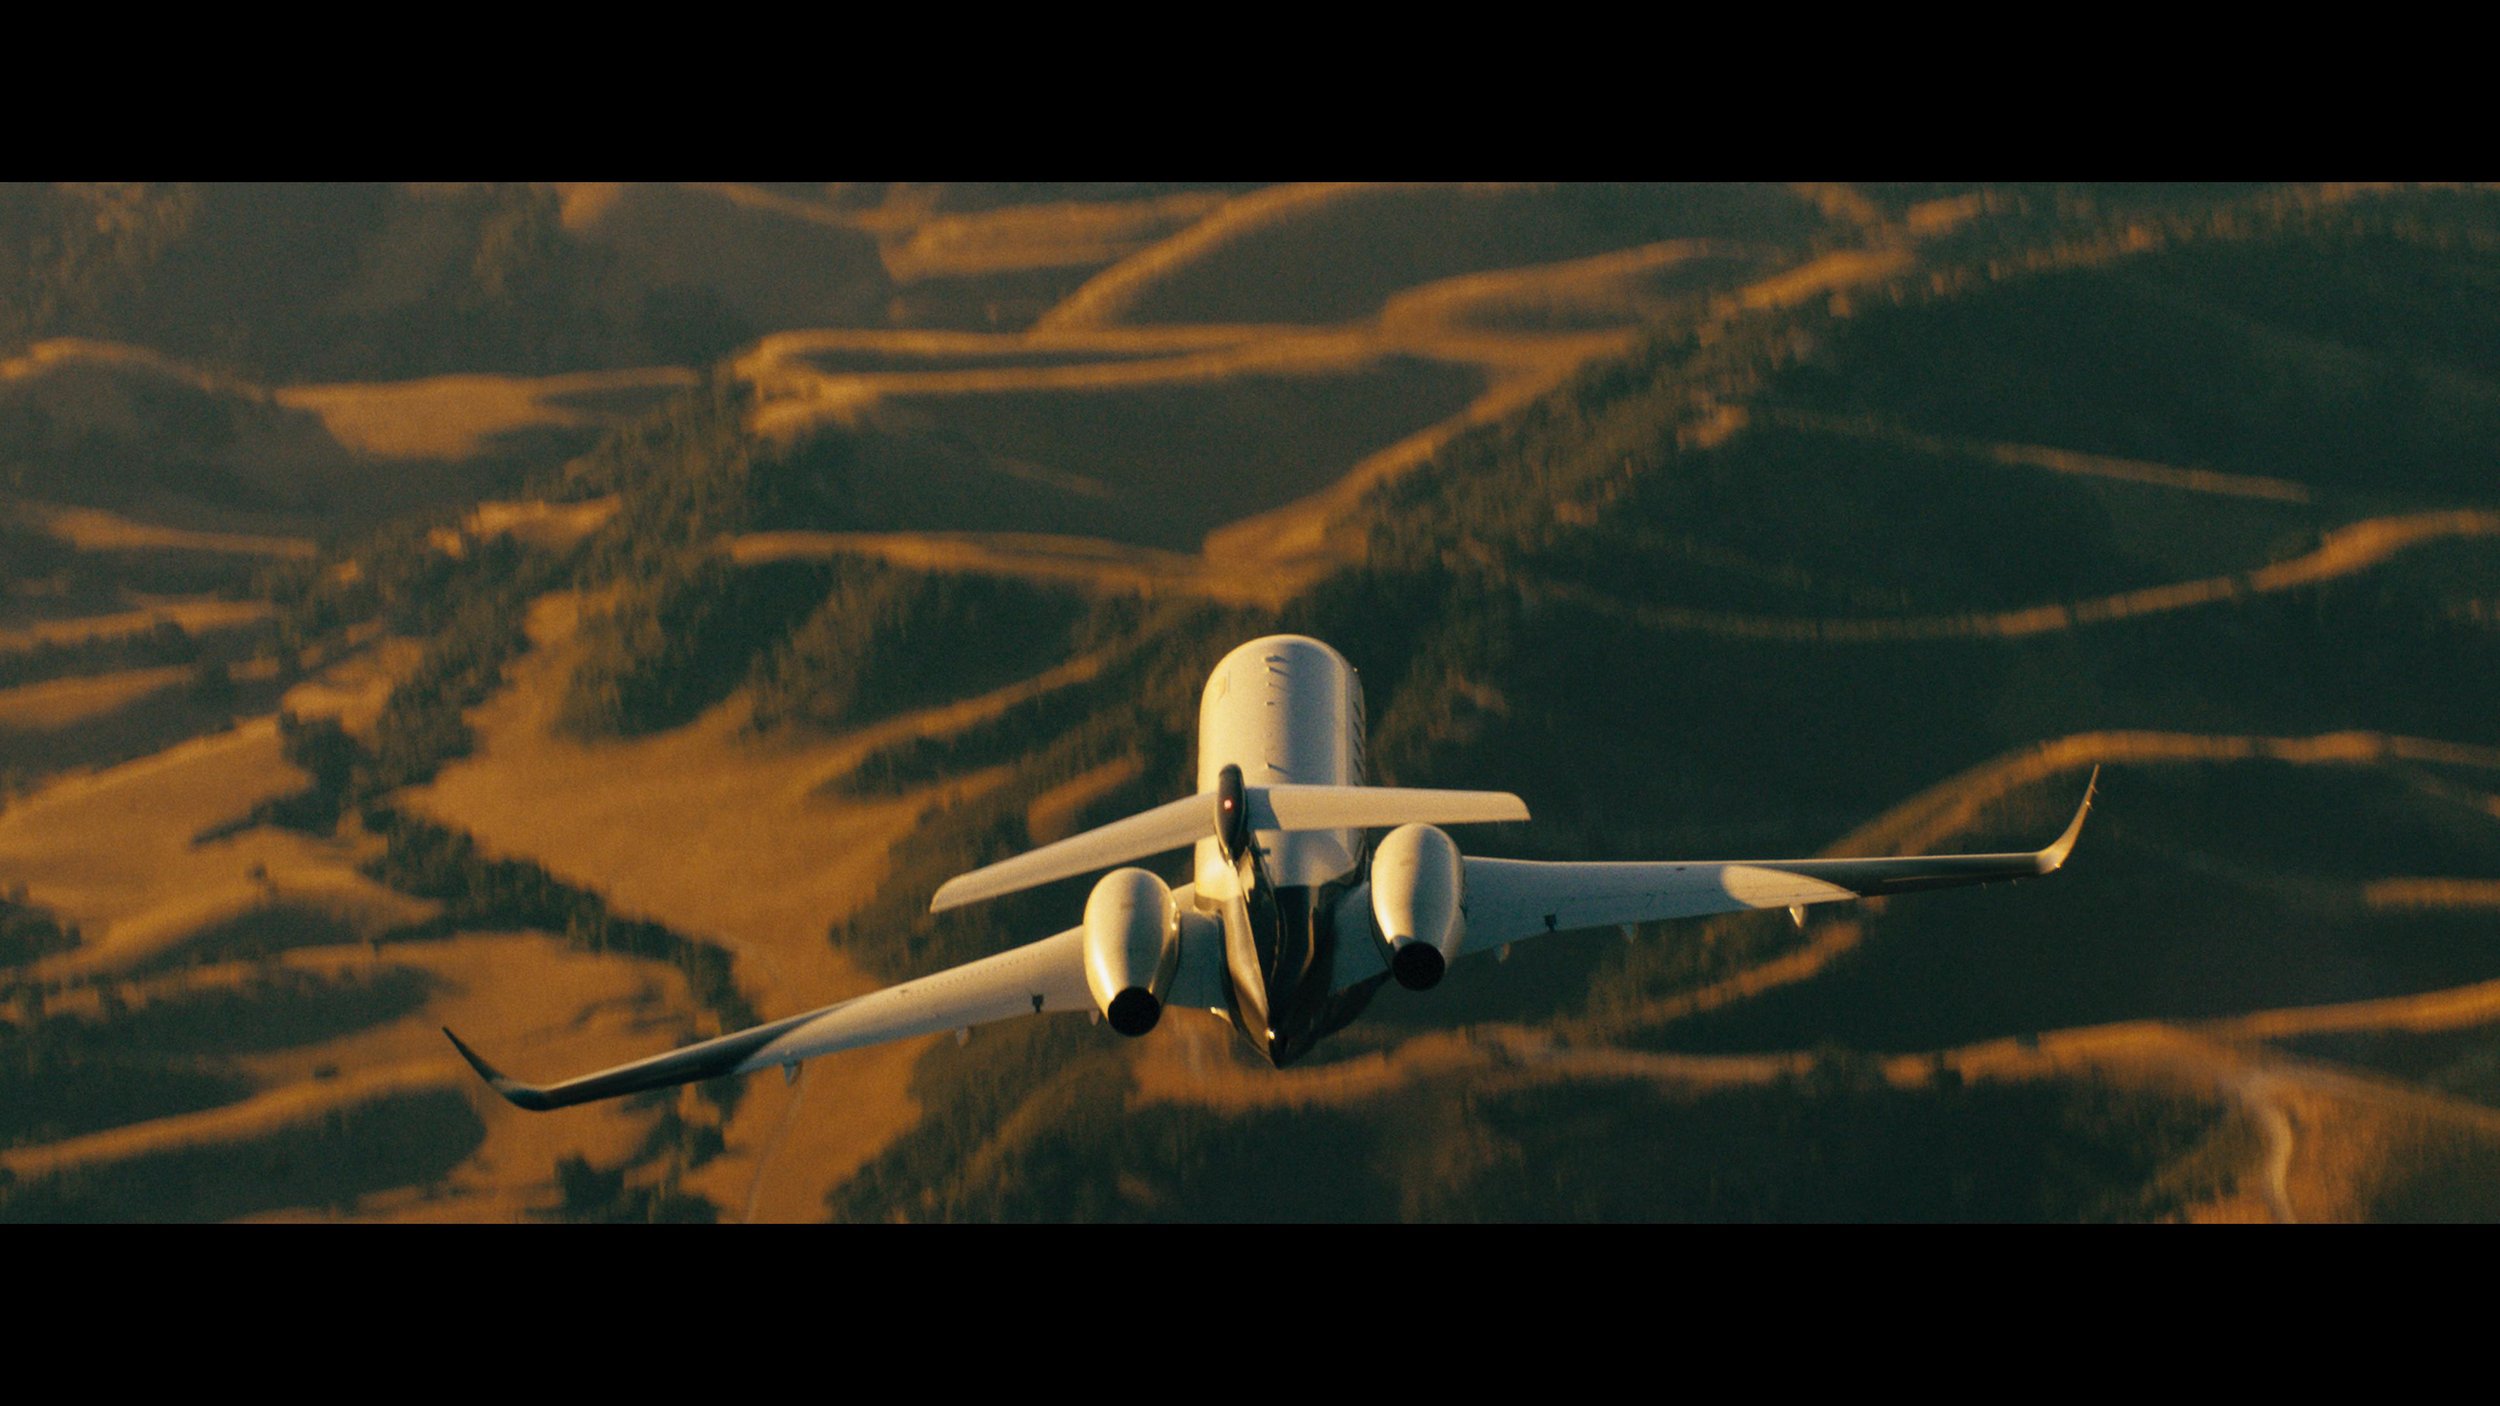
Cognac hues or Hughes as it were

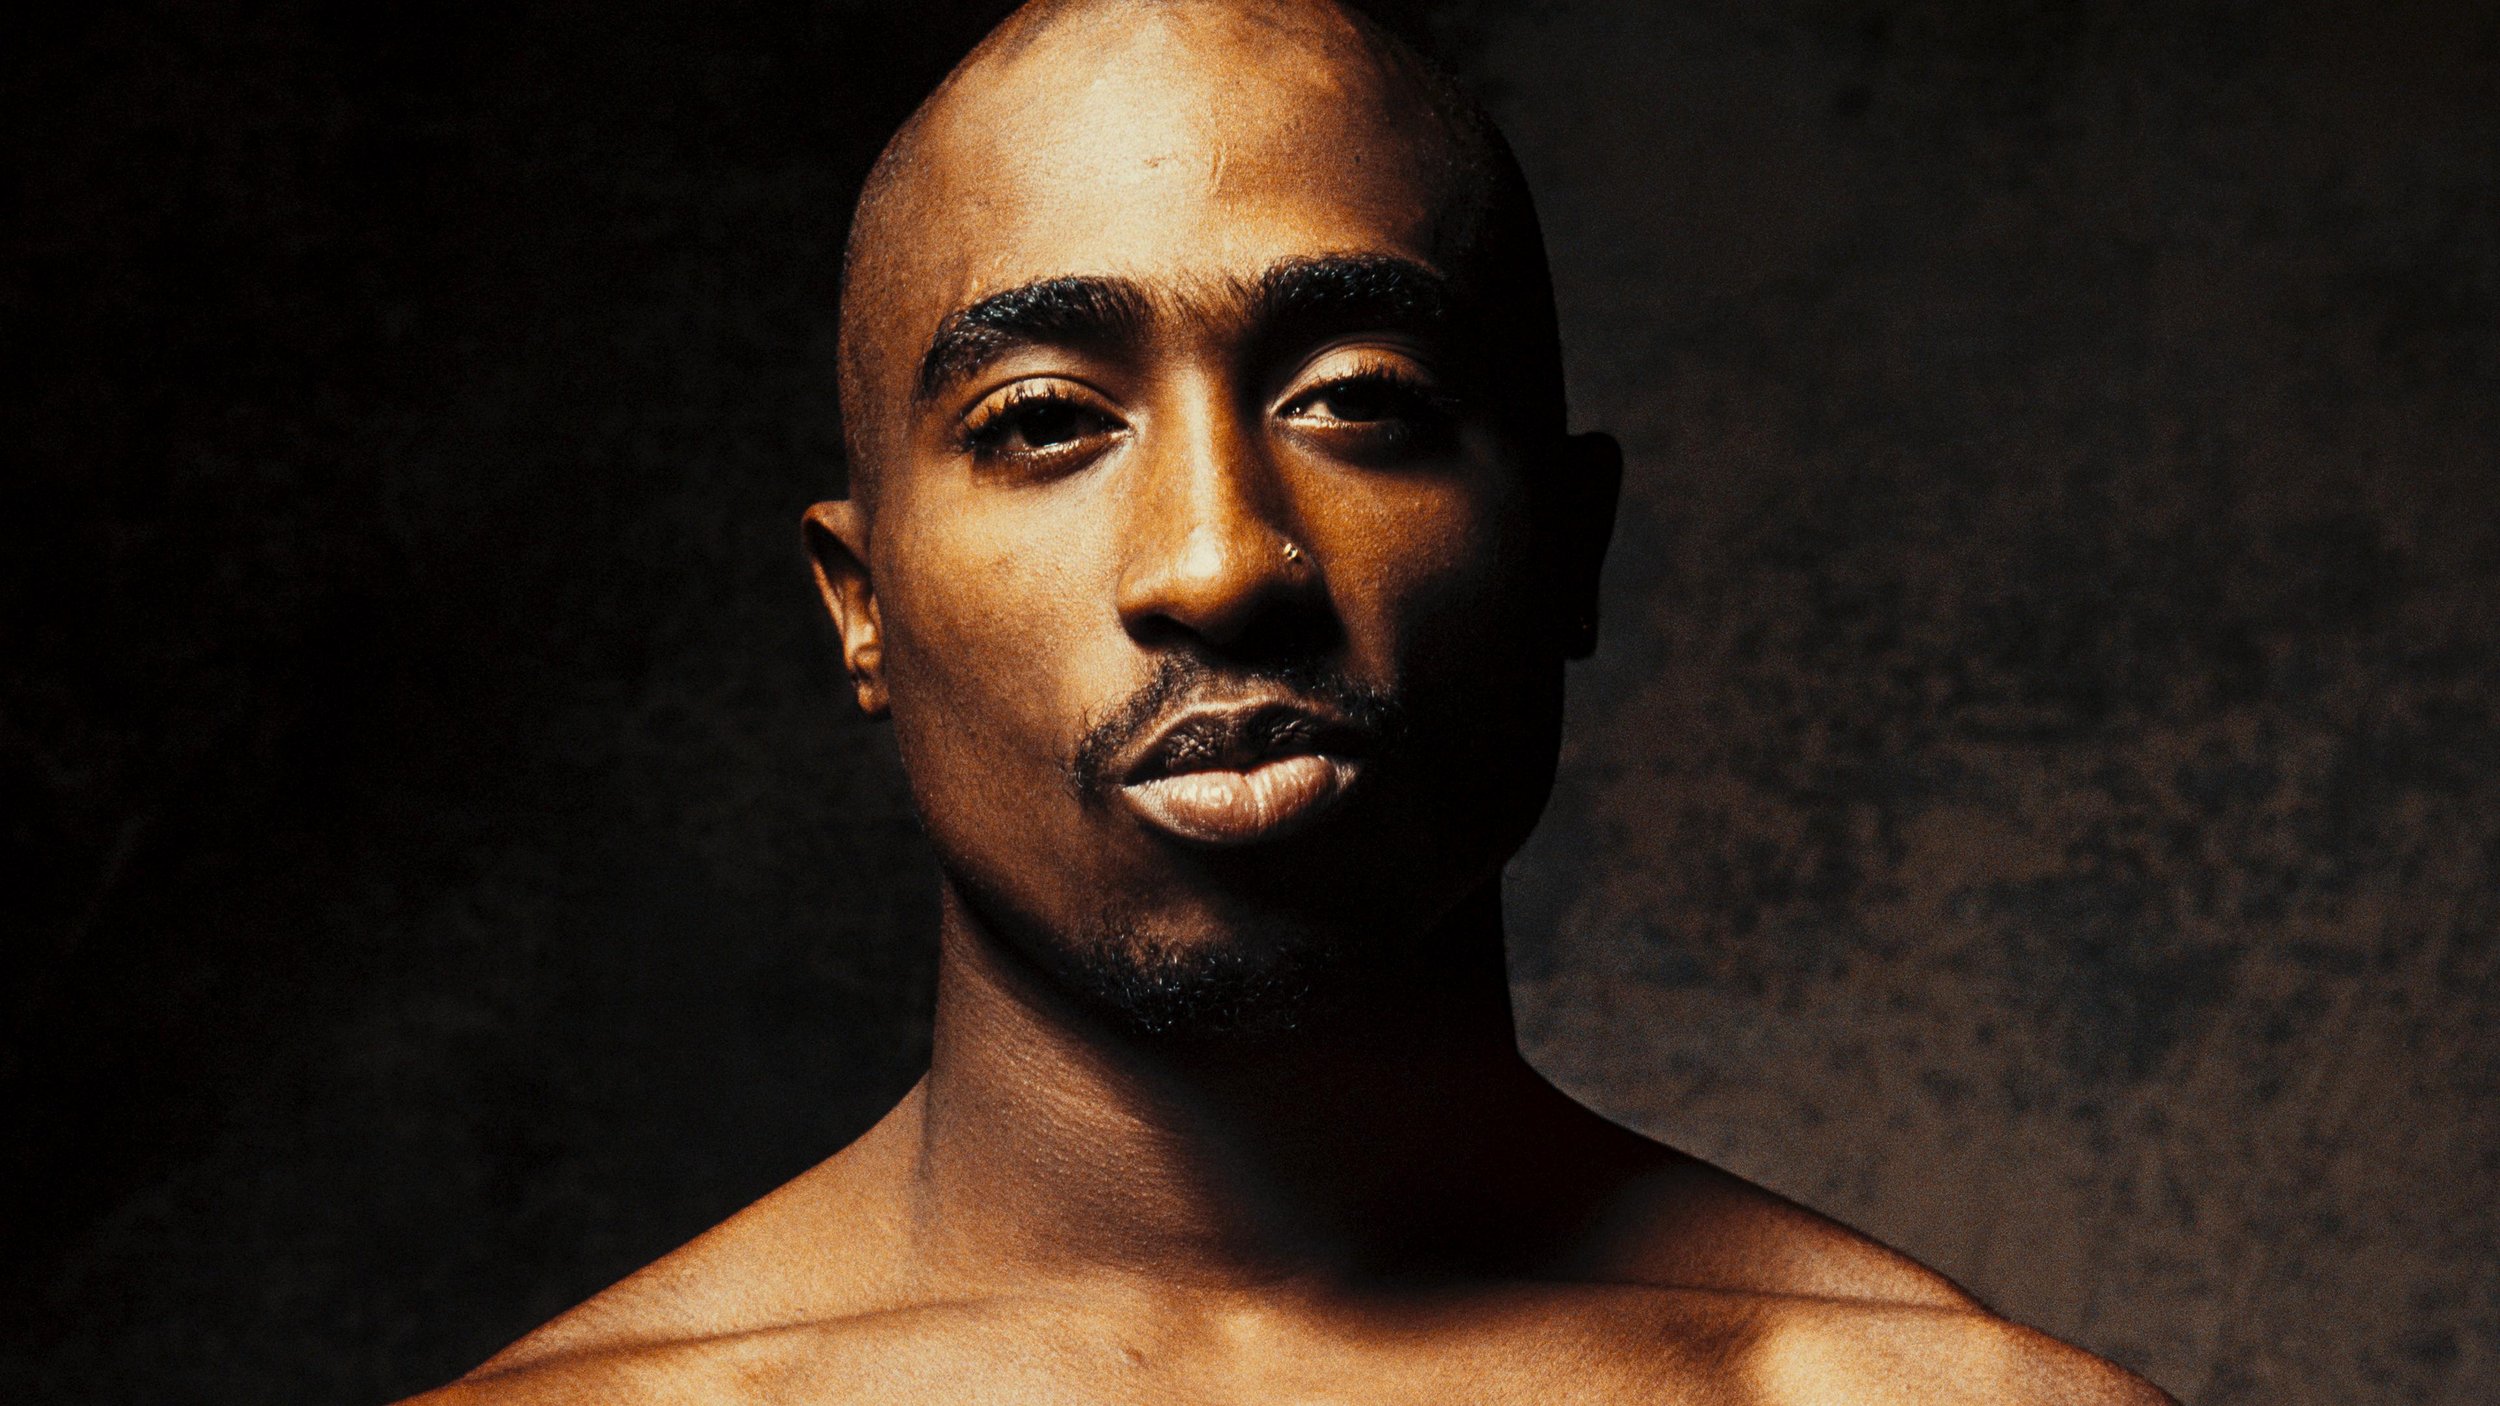
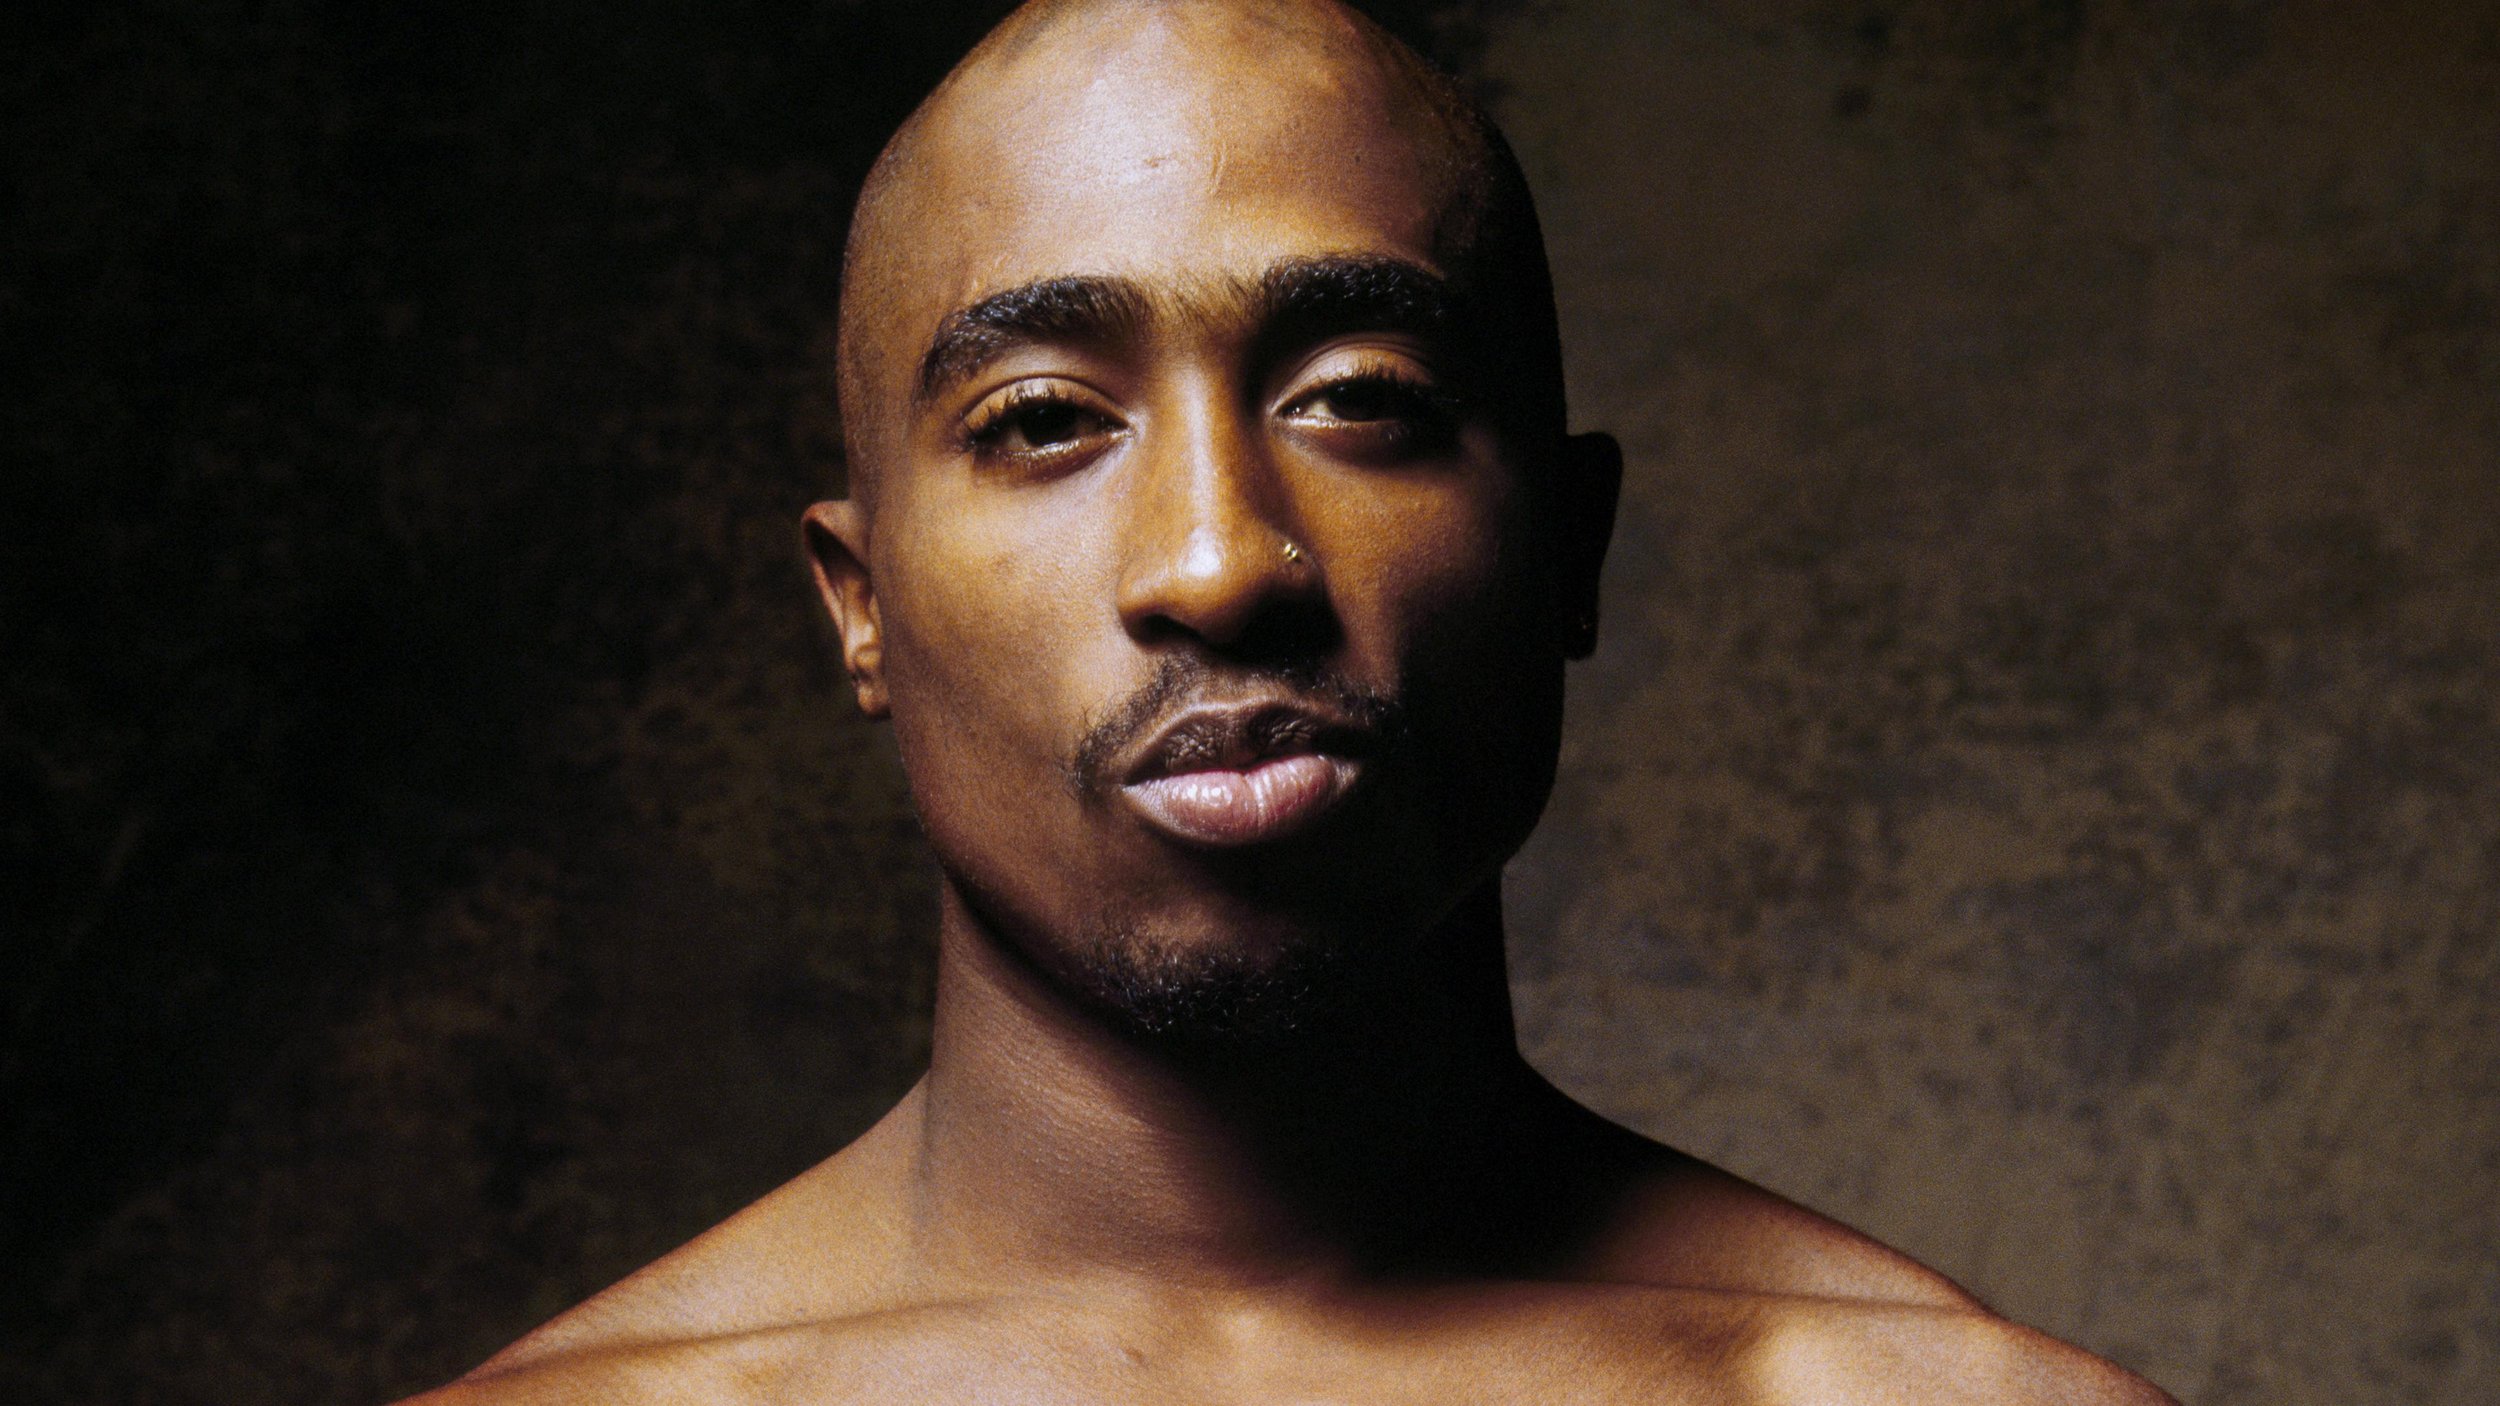
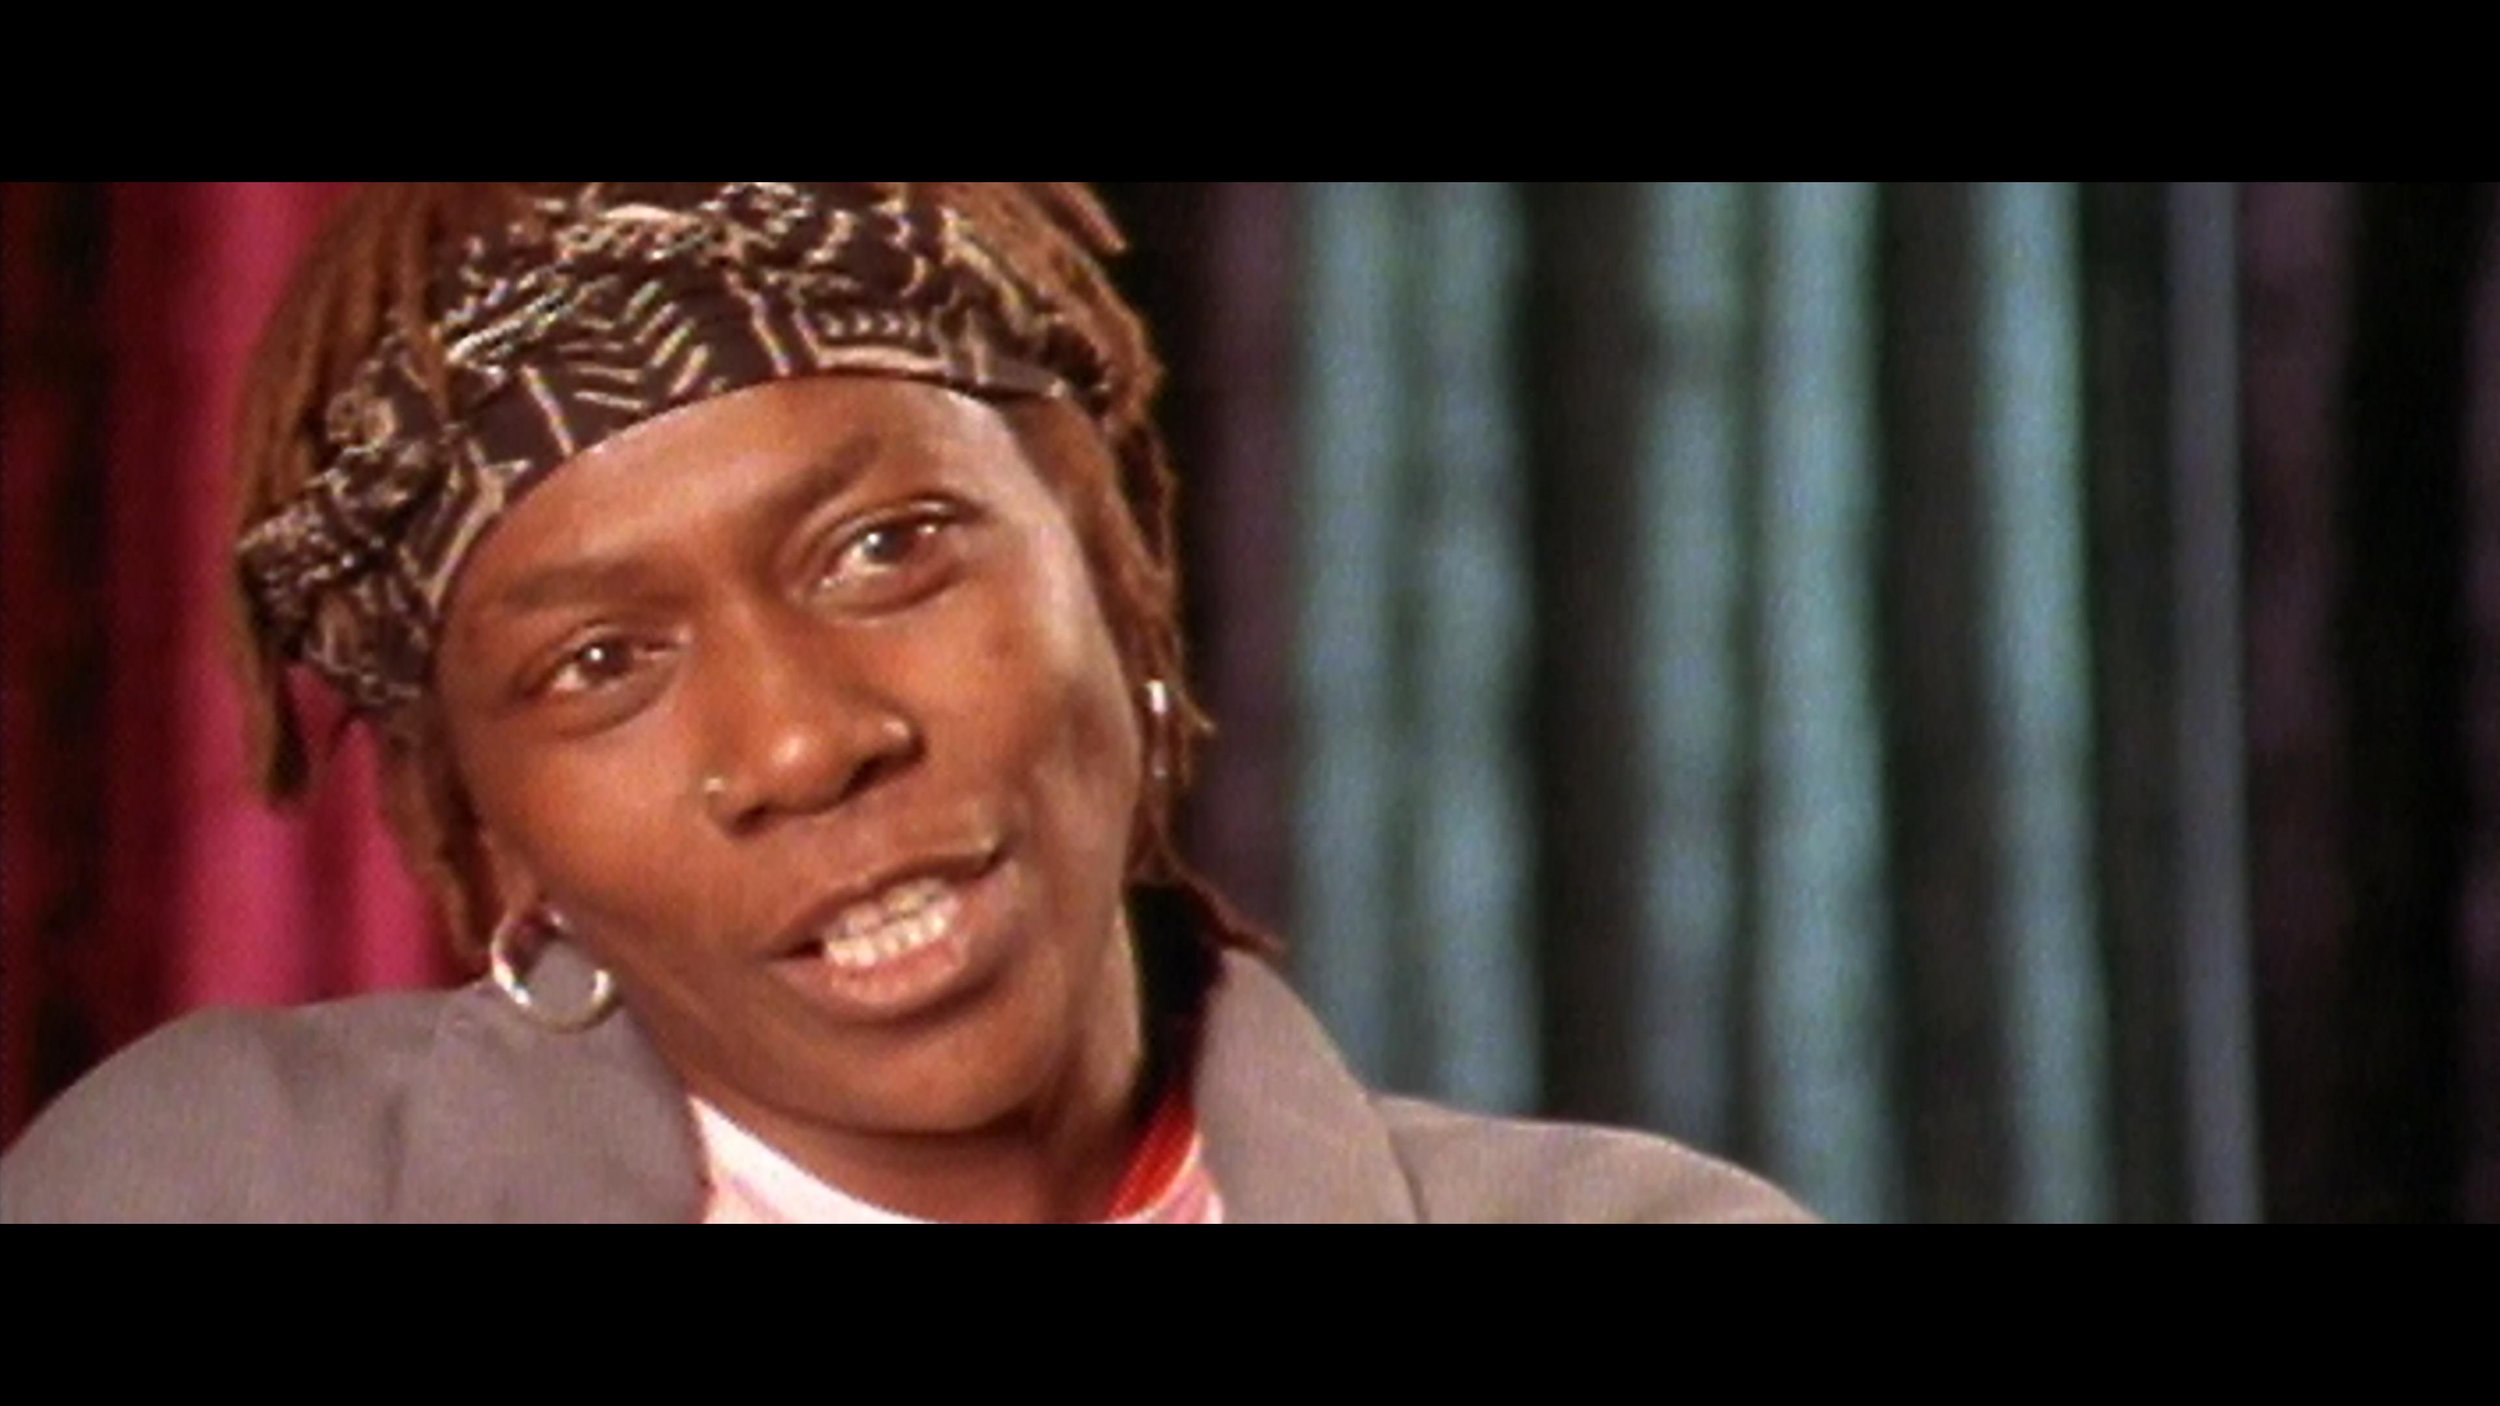
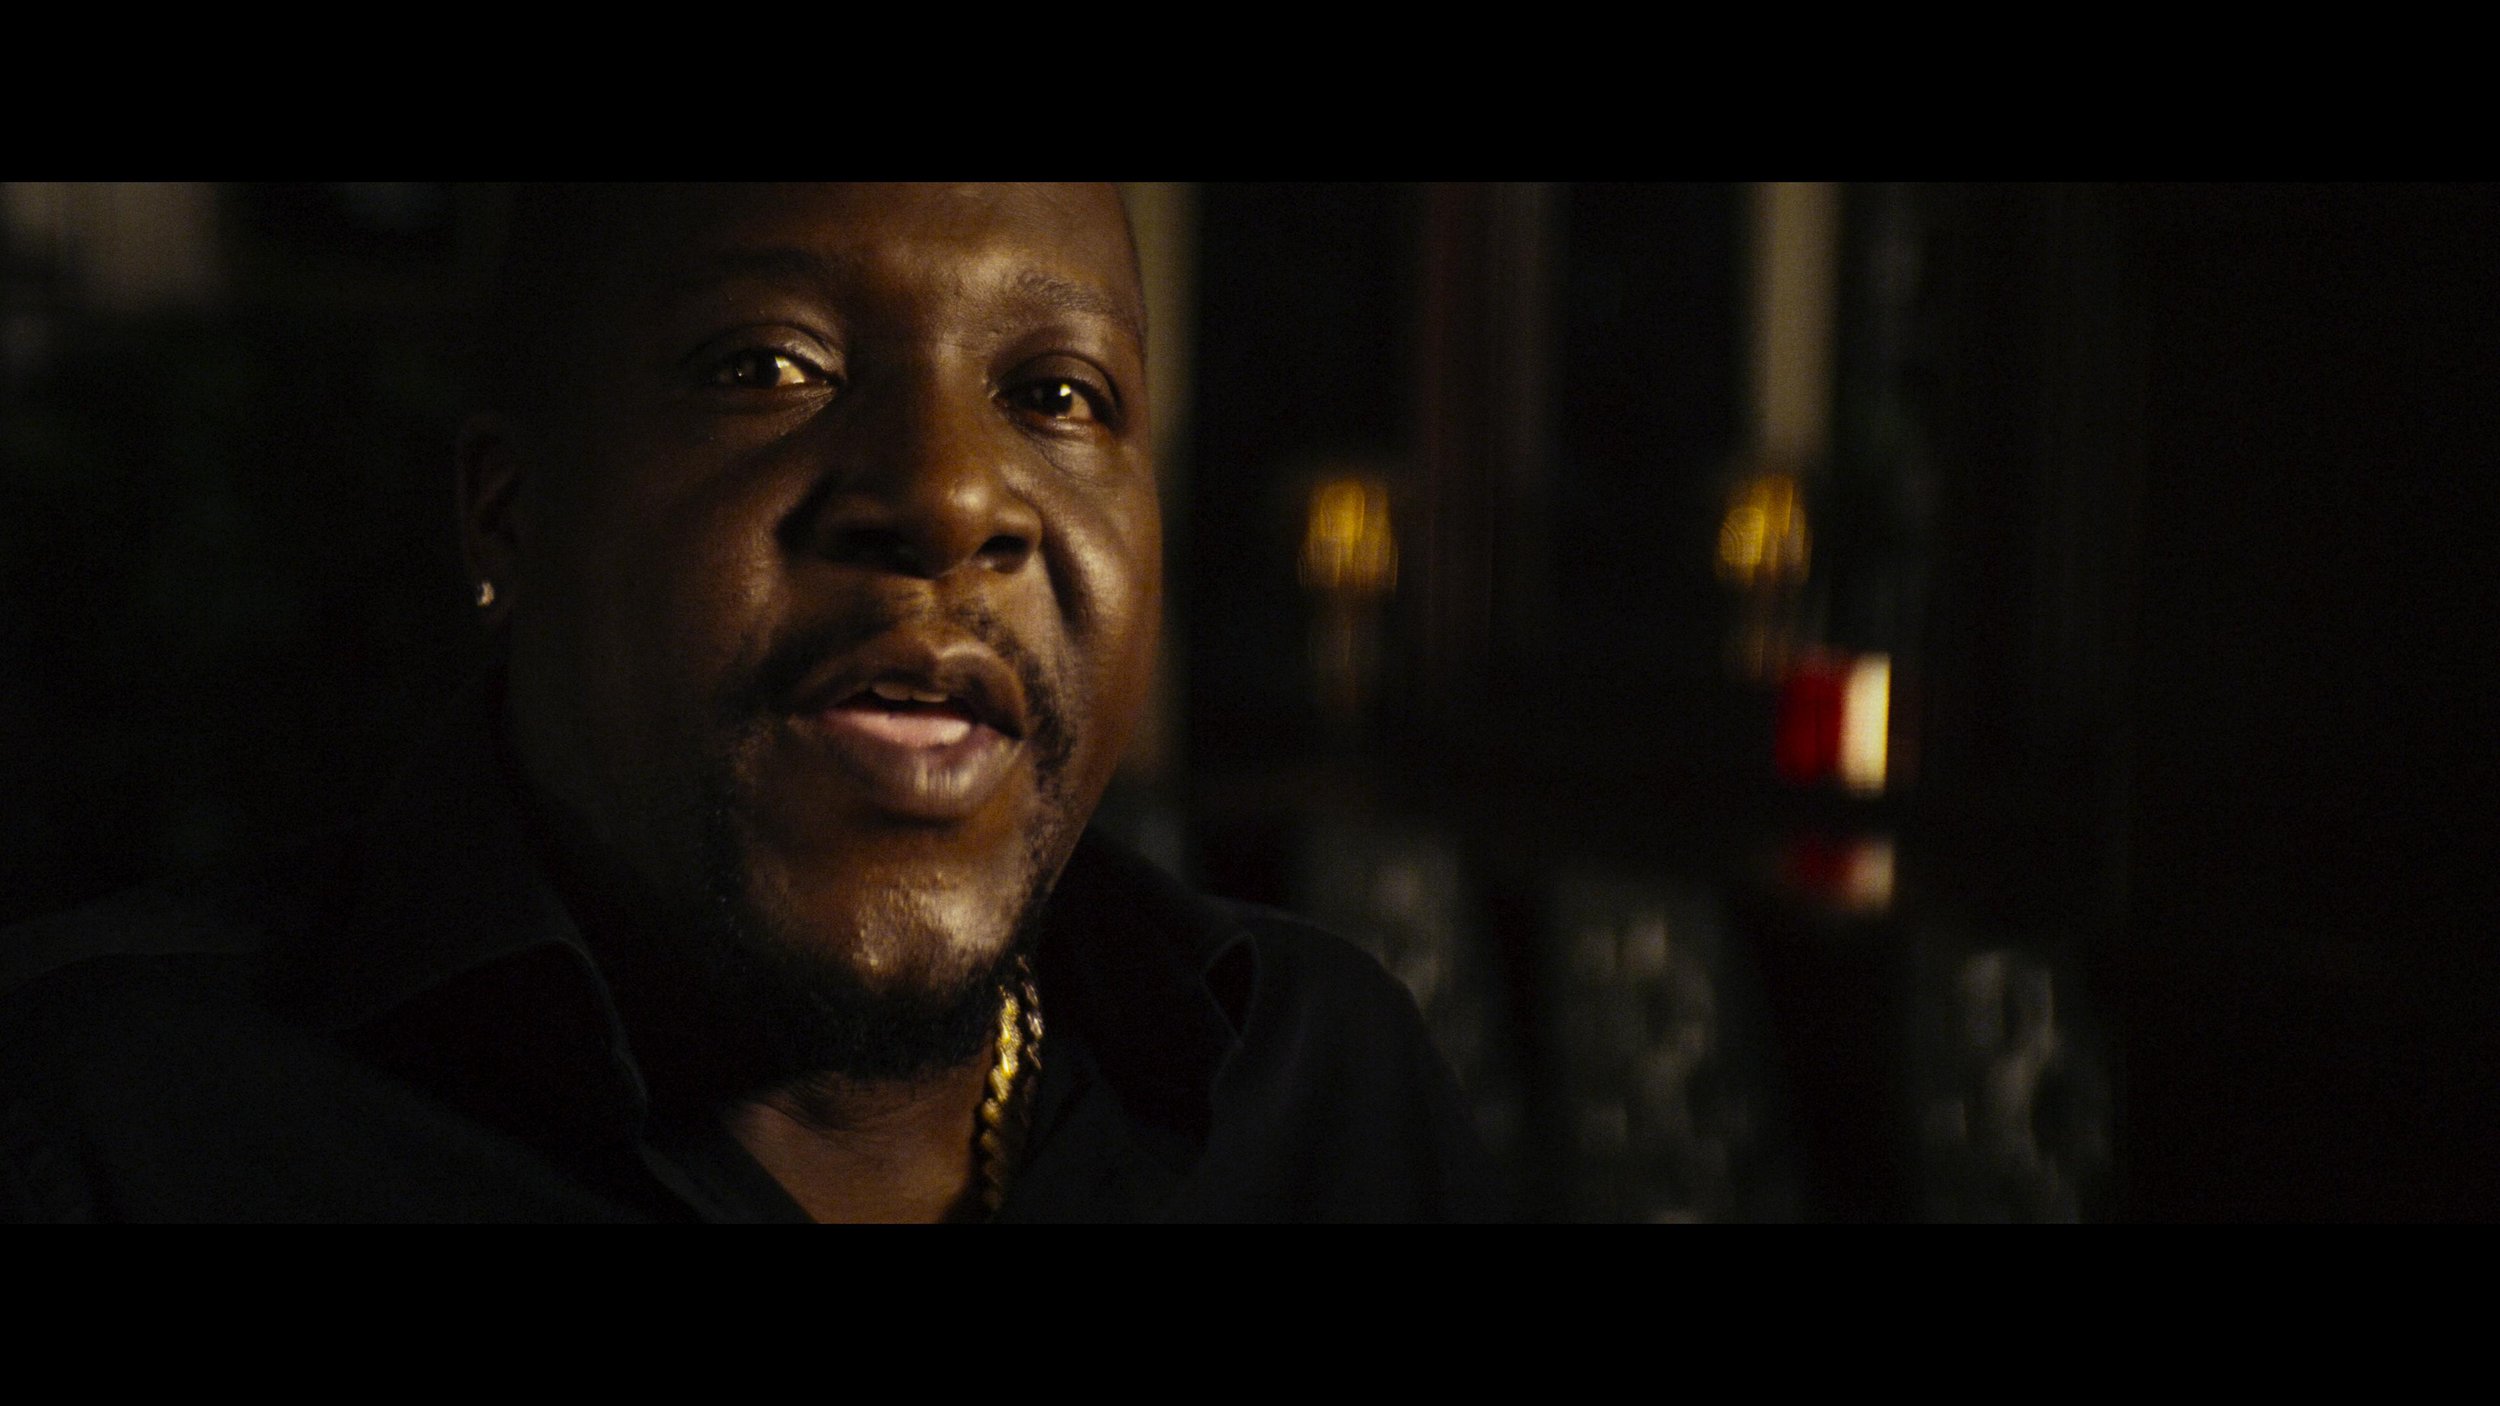
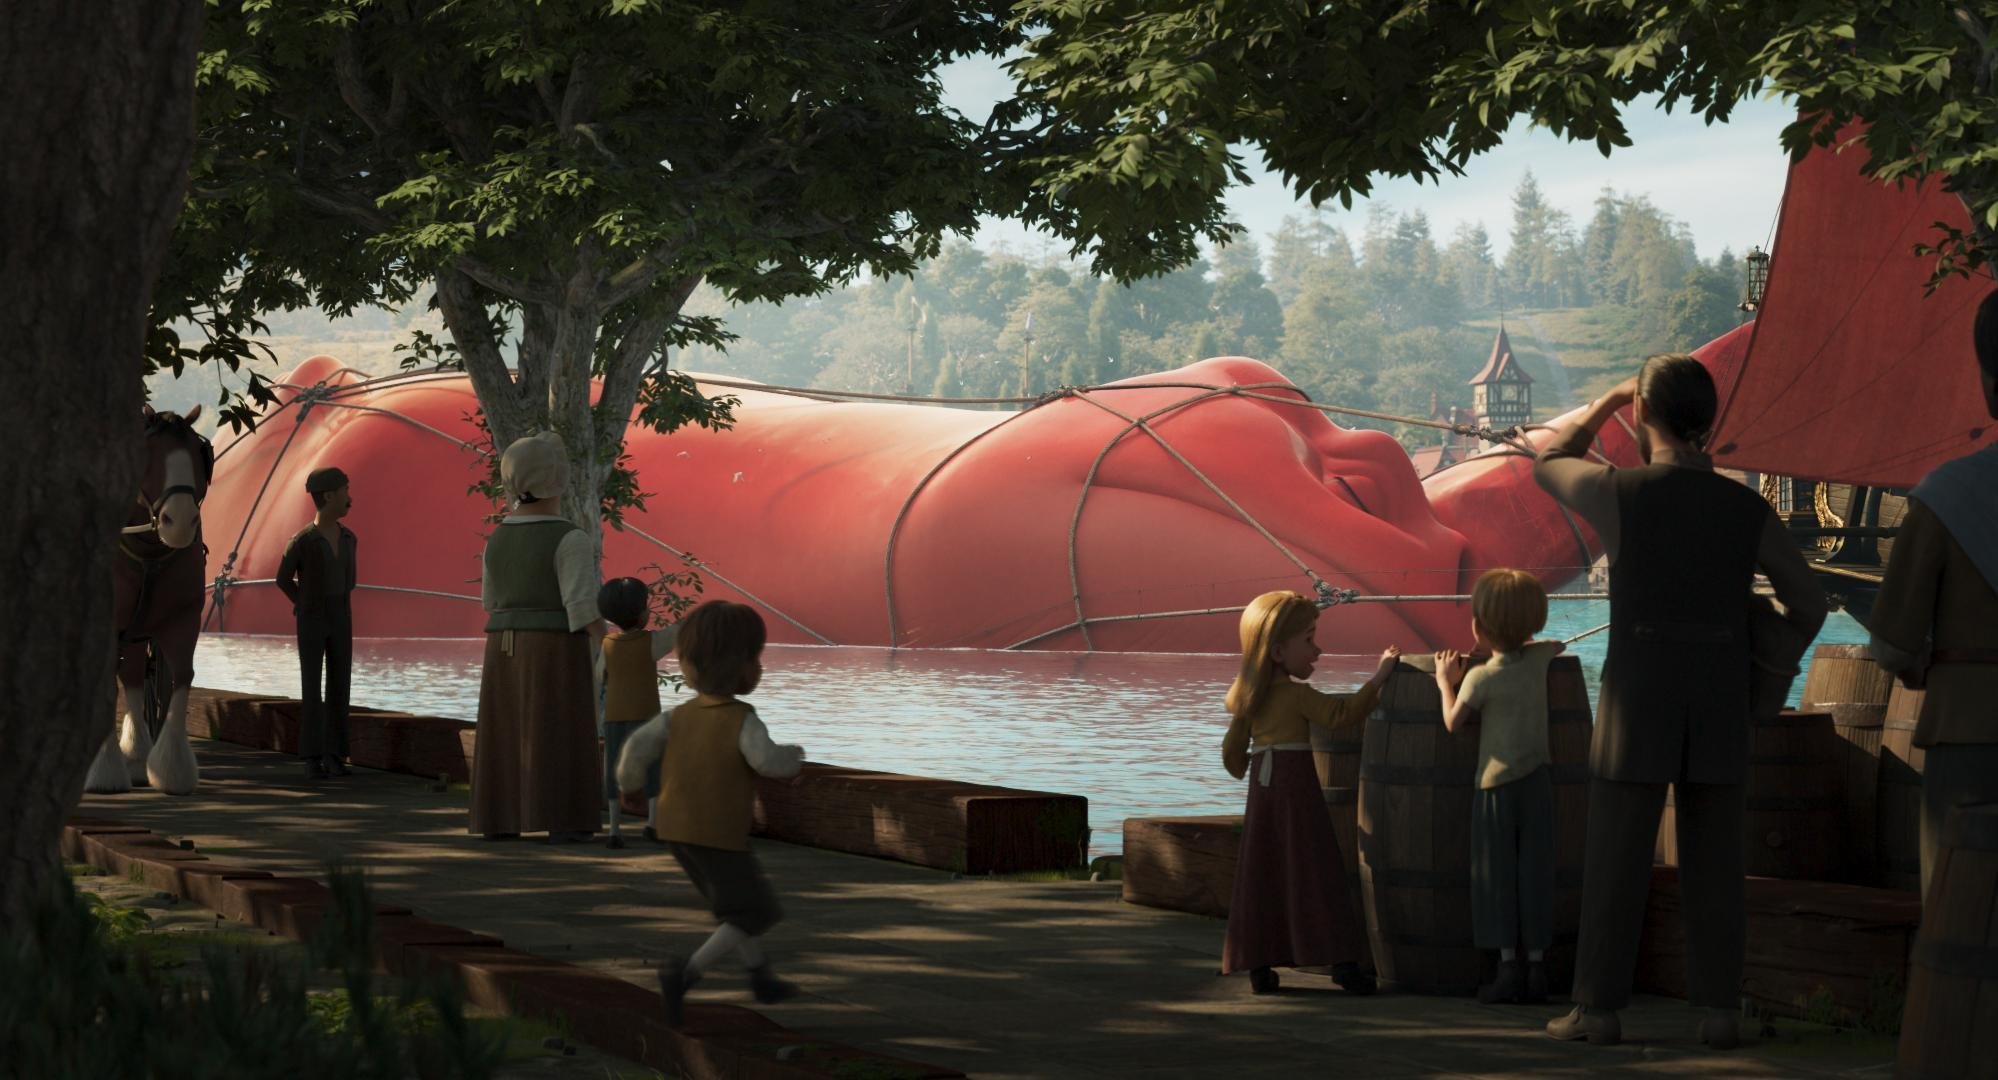
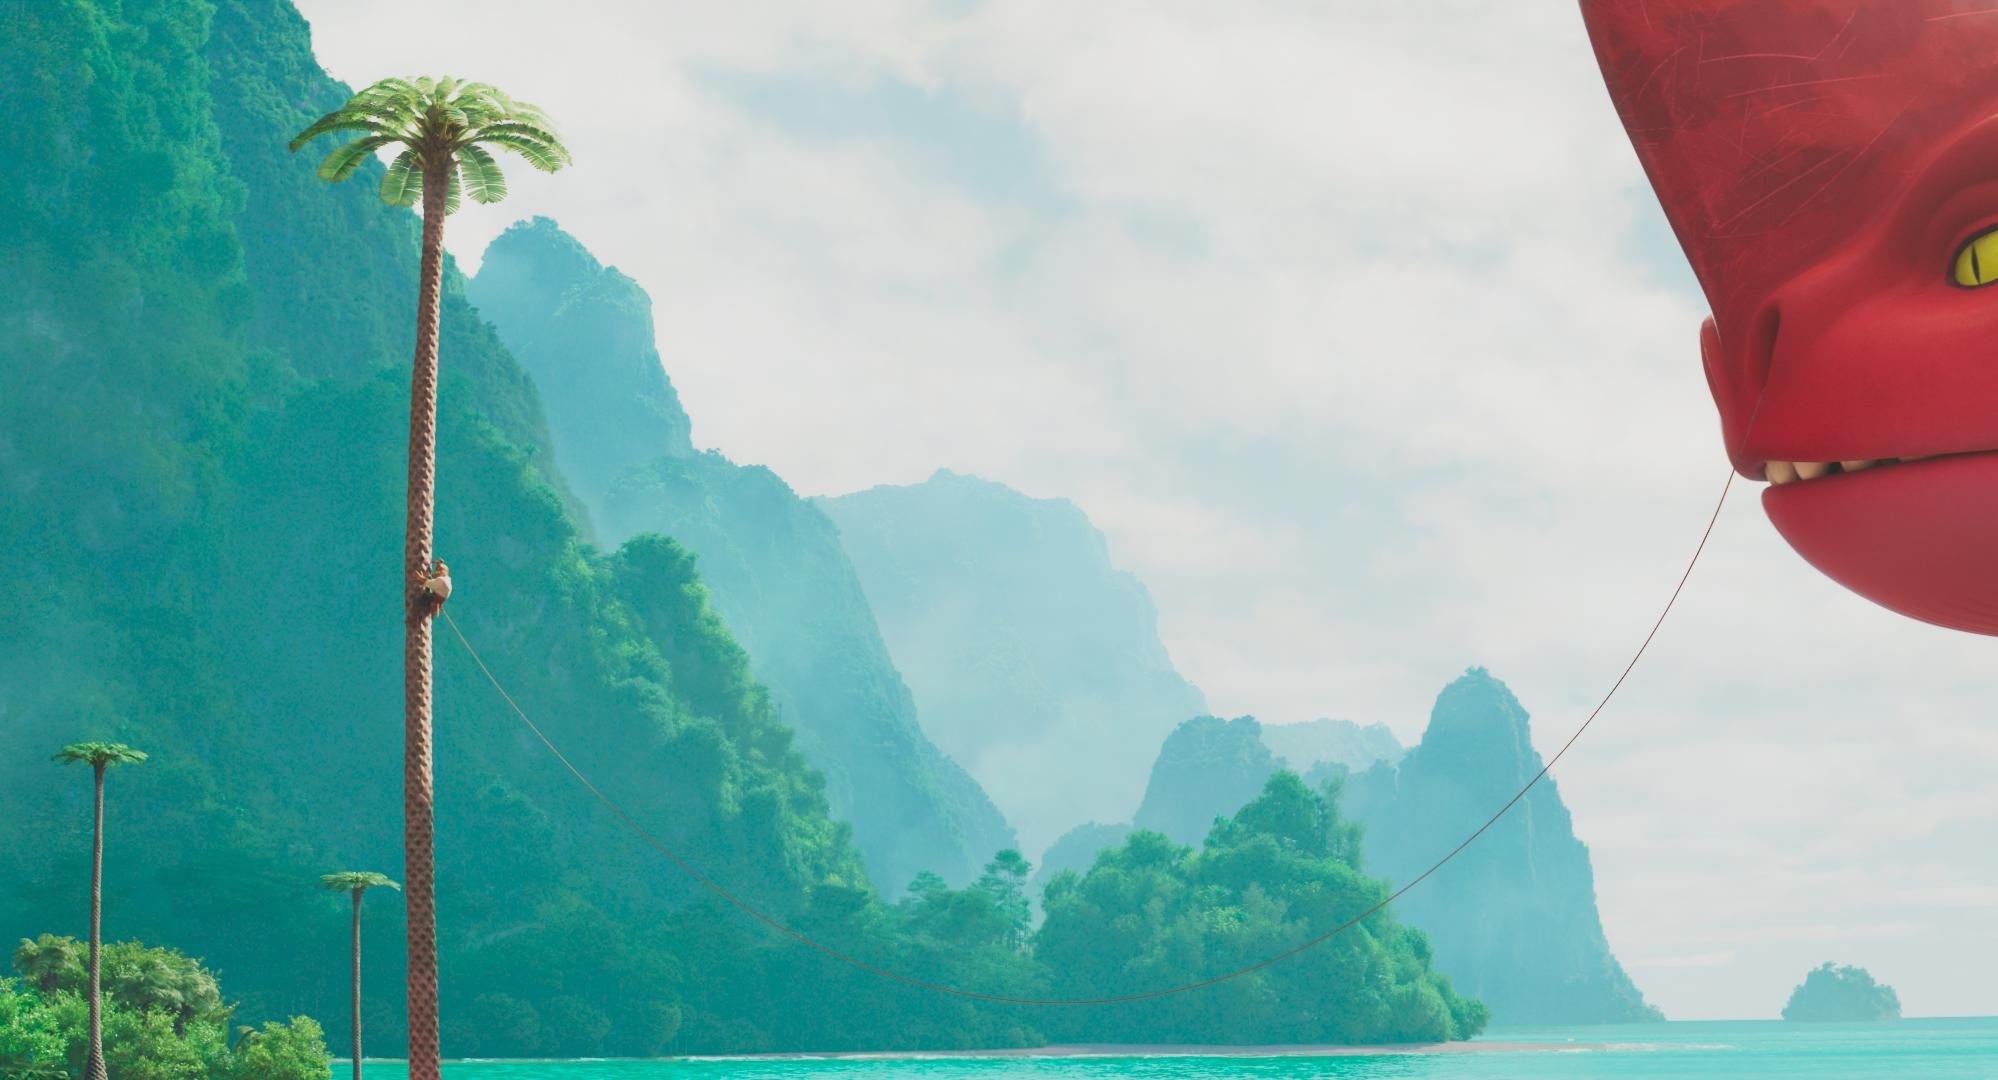
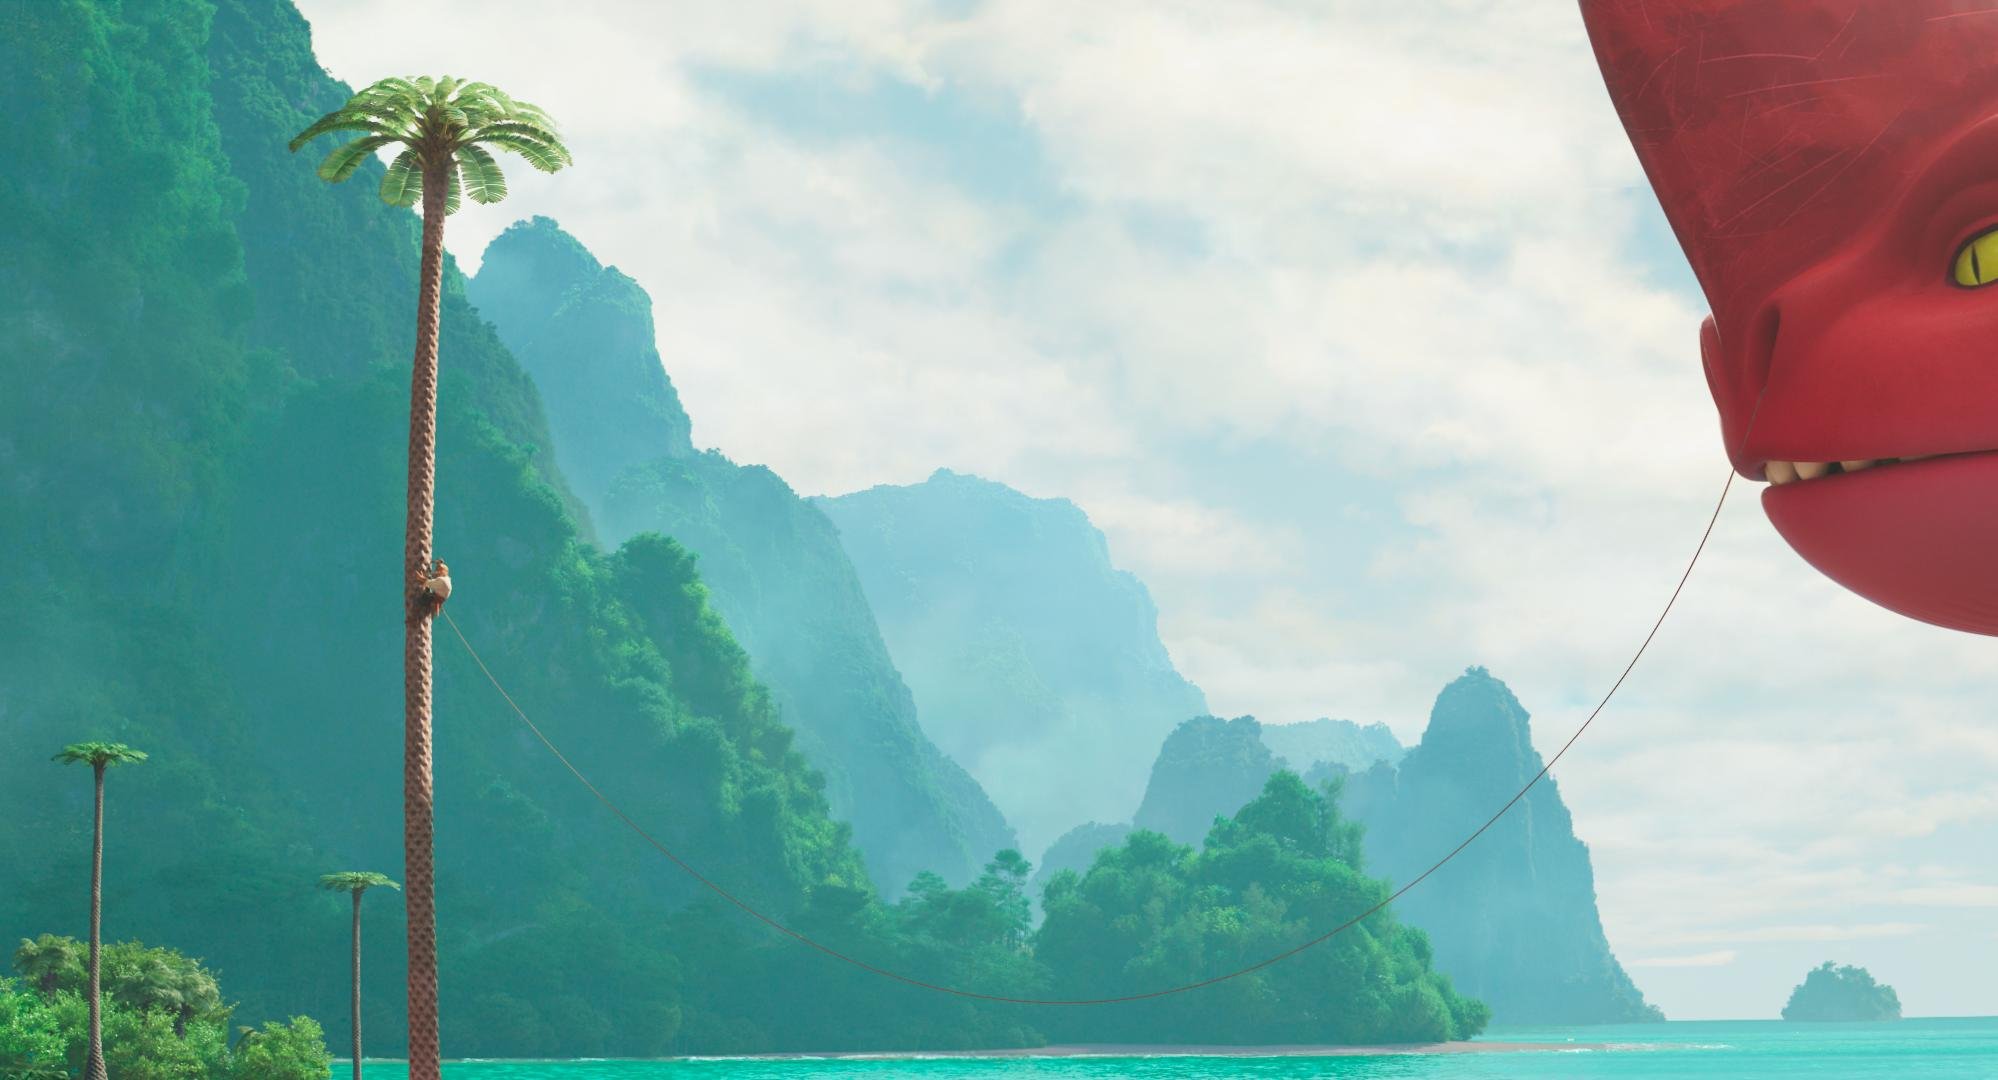
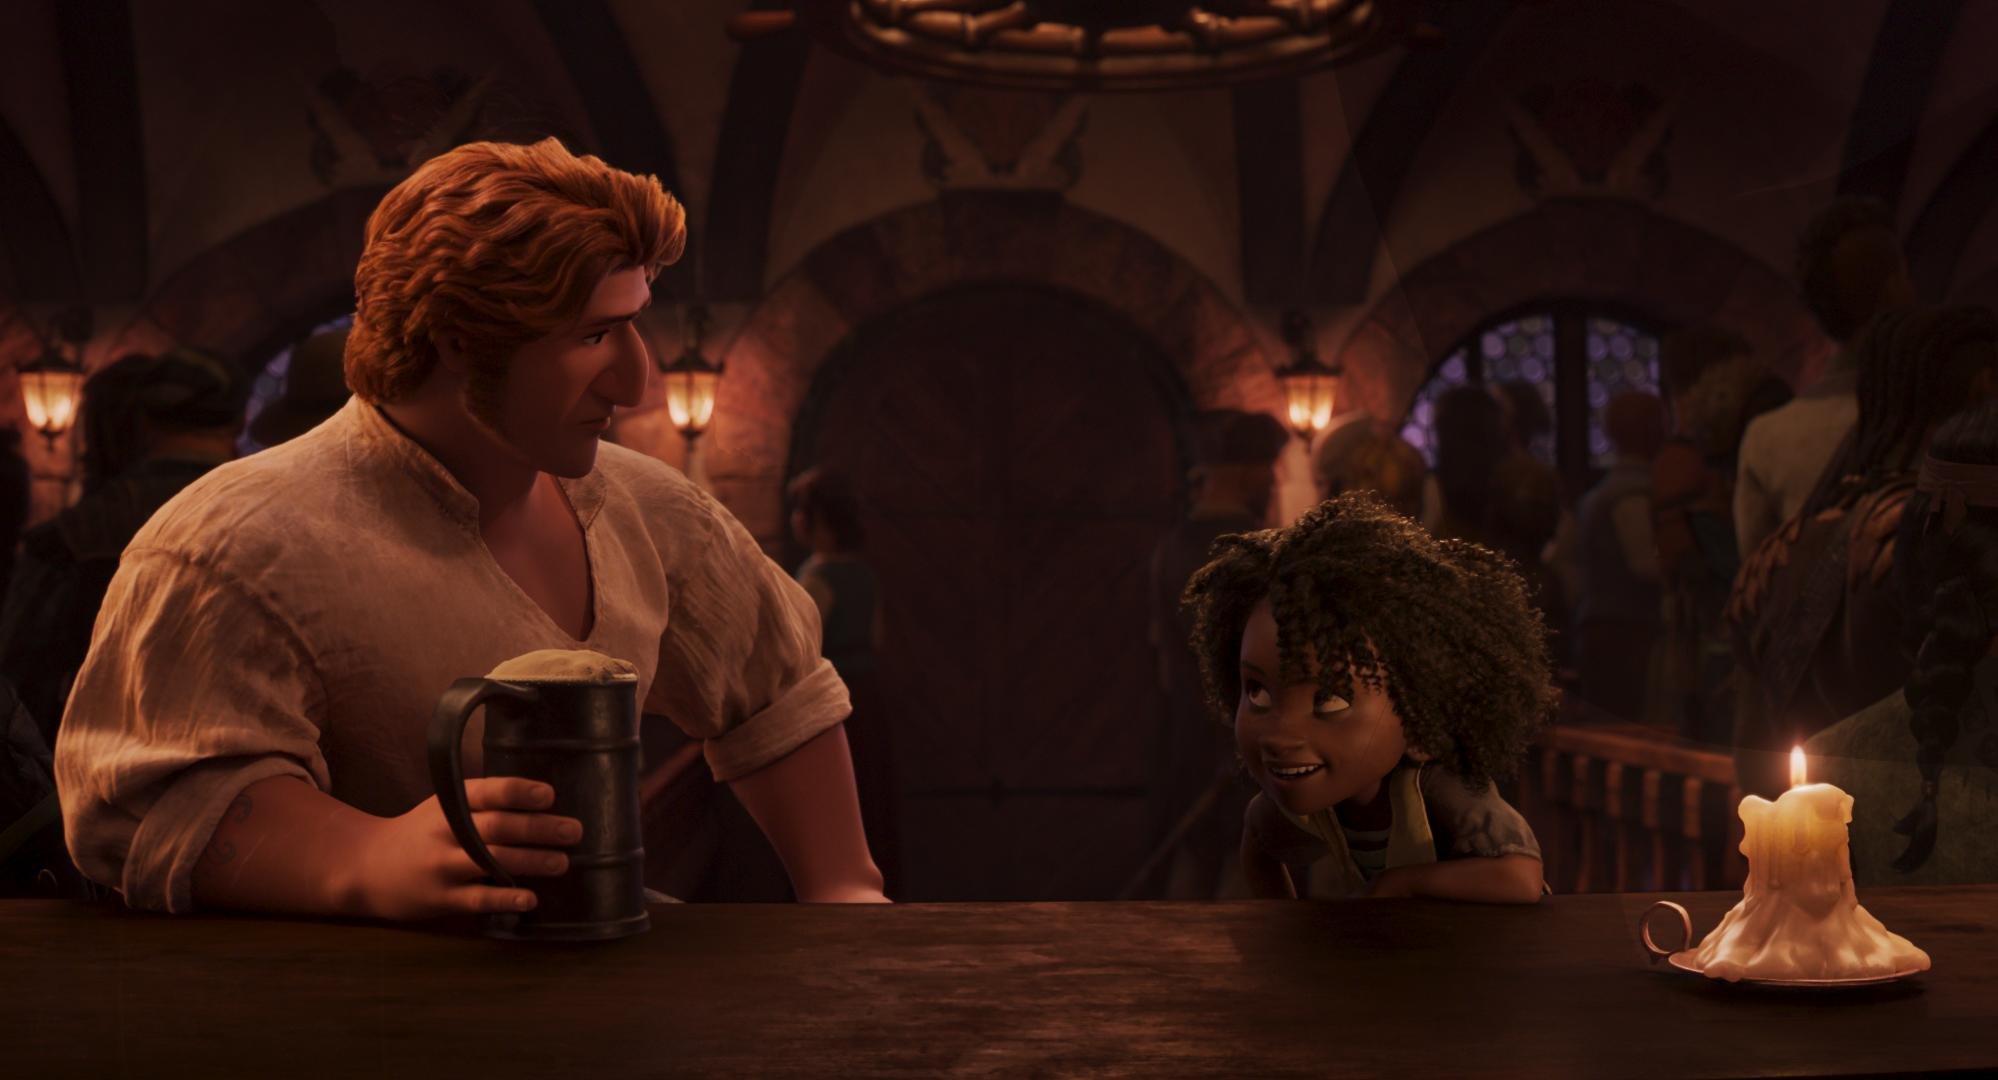
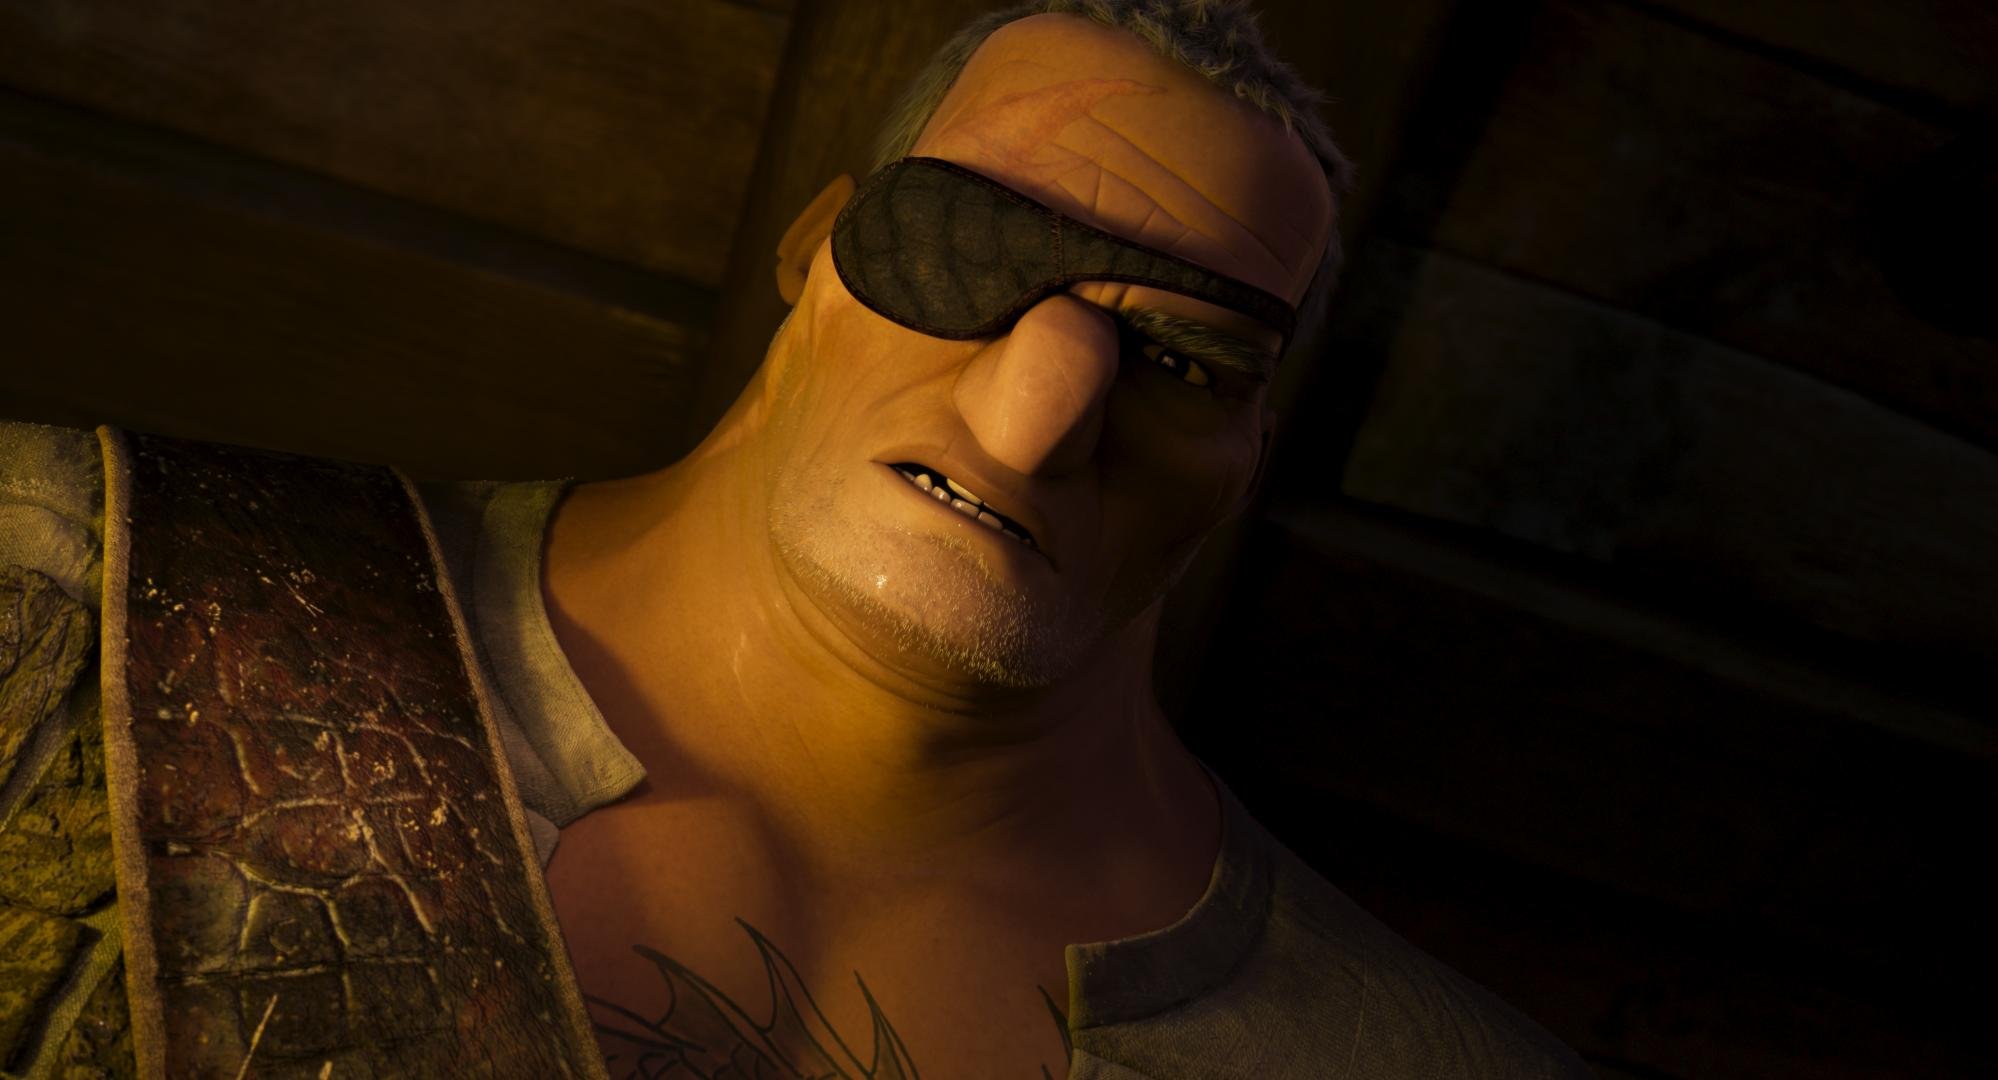
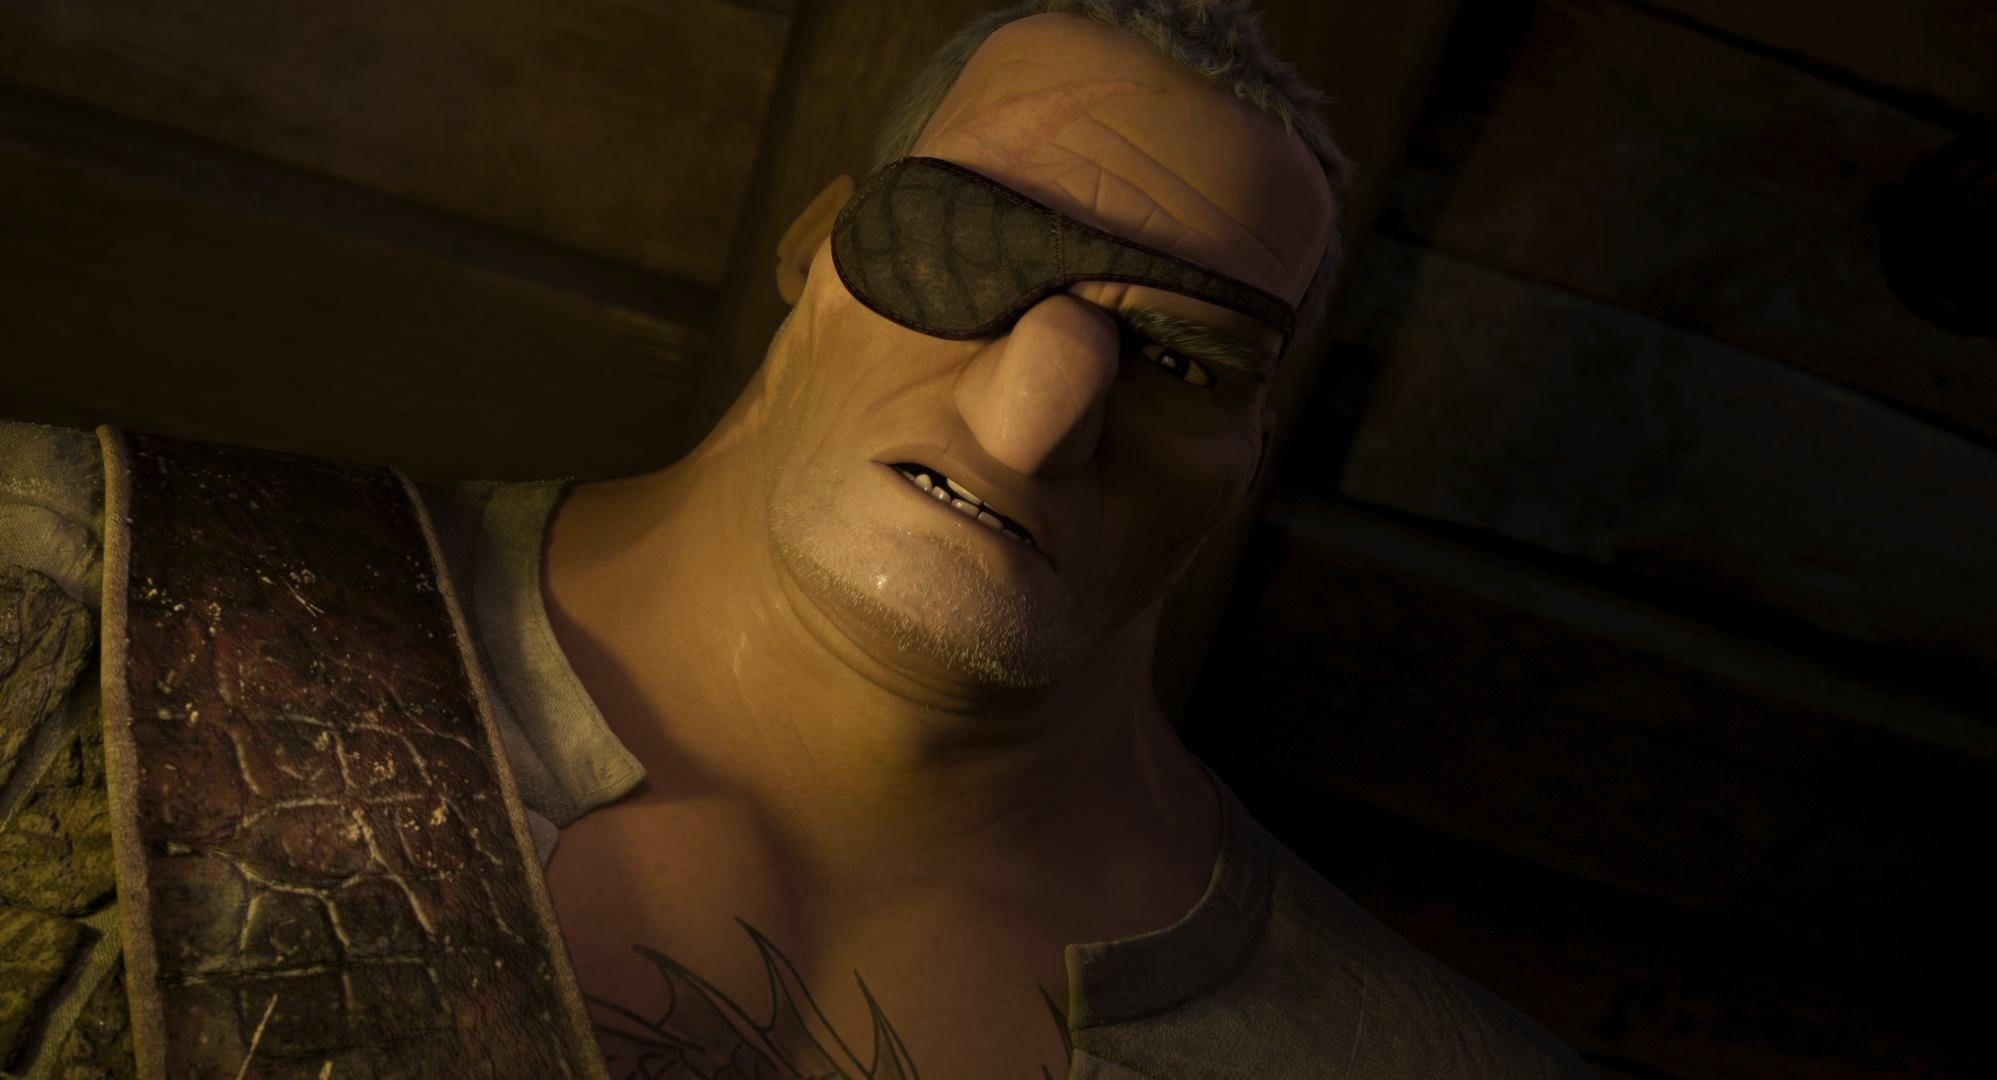
Allen was clear on the look and vibe he wanted for the series. Cognac was the word. We spent a couple of weeks developing a look that feels like you have filtered the light through a fine liquor. We also used Live Grain to achieve that end-of-the-film-era perfect Kodak grain structure of the 90s.


Documentary grading is an entirely different beast. Here are a few tips for you to tackle your next interview-based production.

  1. Color management - I preach this a lot, but even more critical with many different sources.

  2. Sounds basic, but group your interviews.

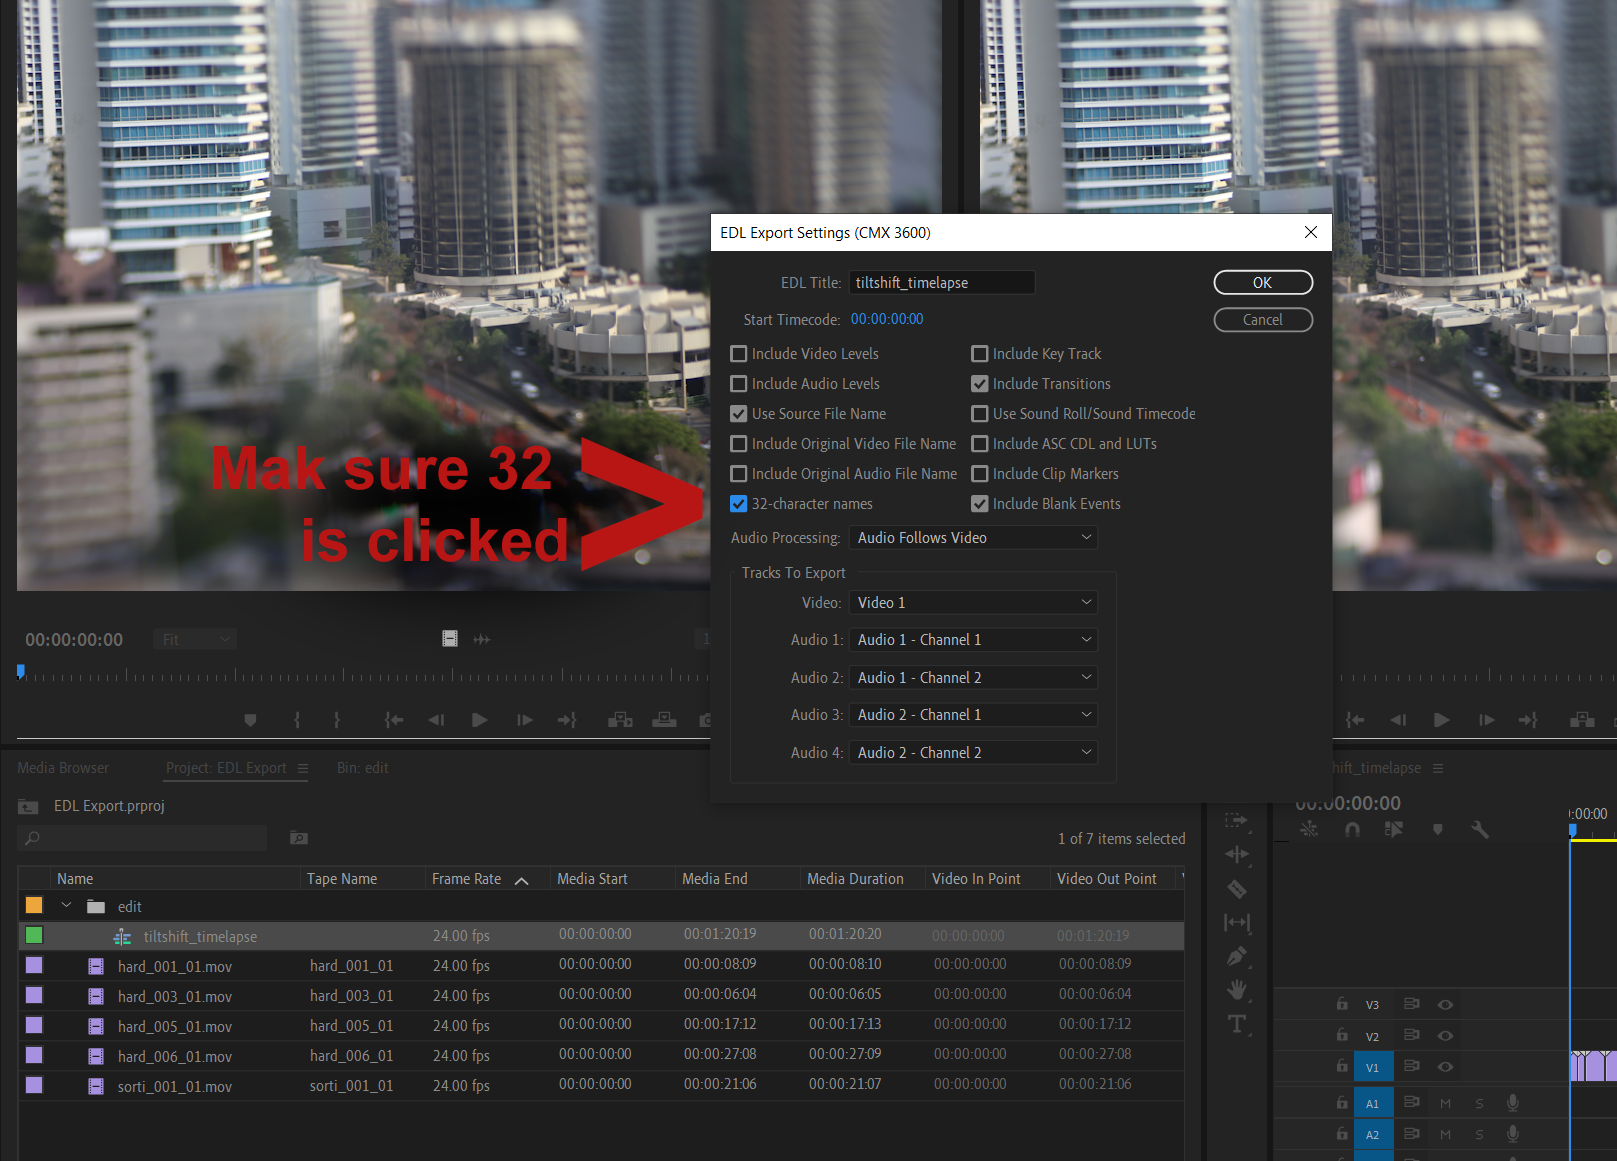
  3. Normalize the frame rate upfront.

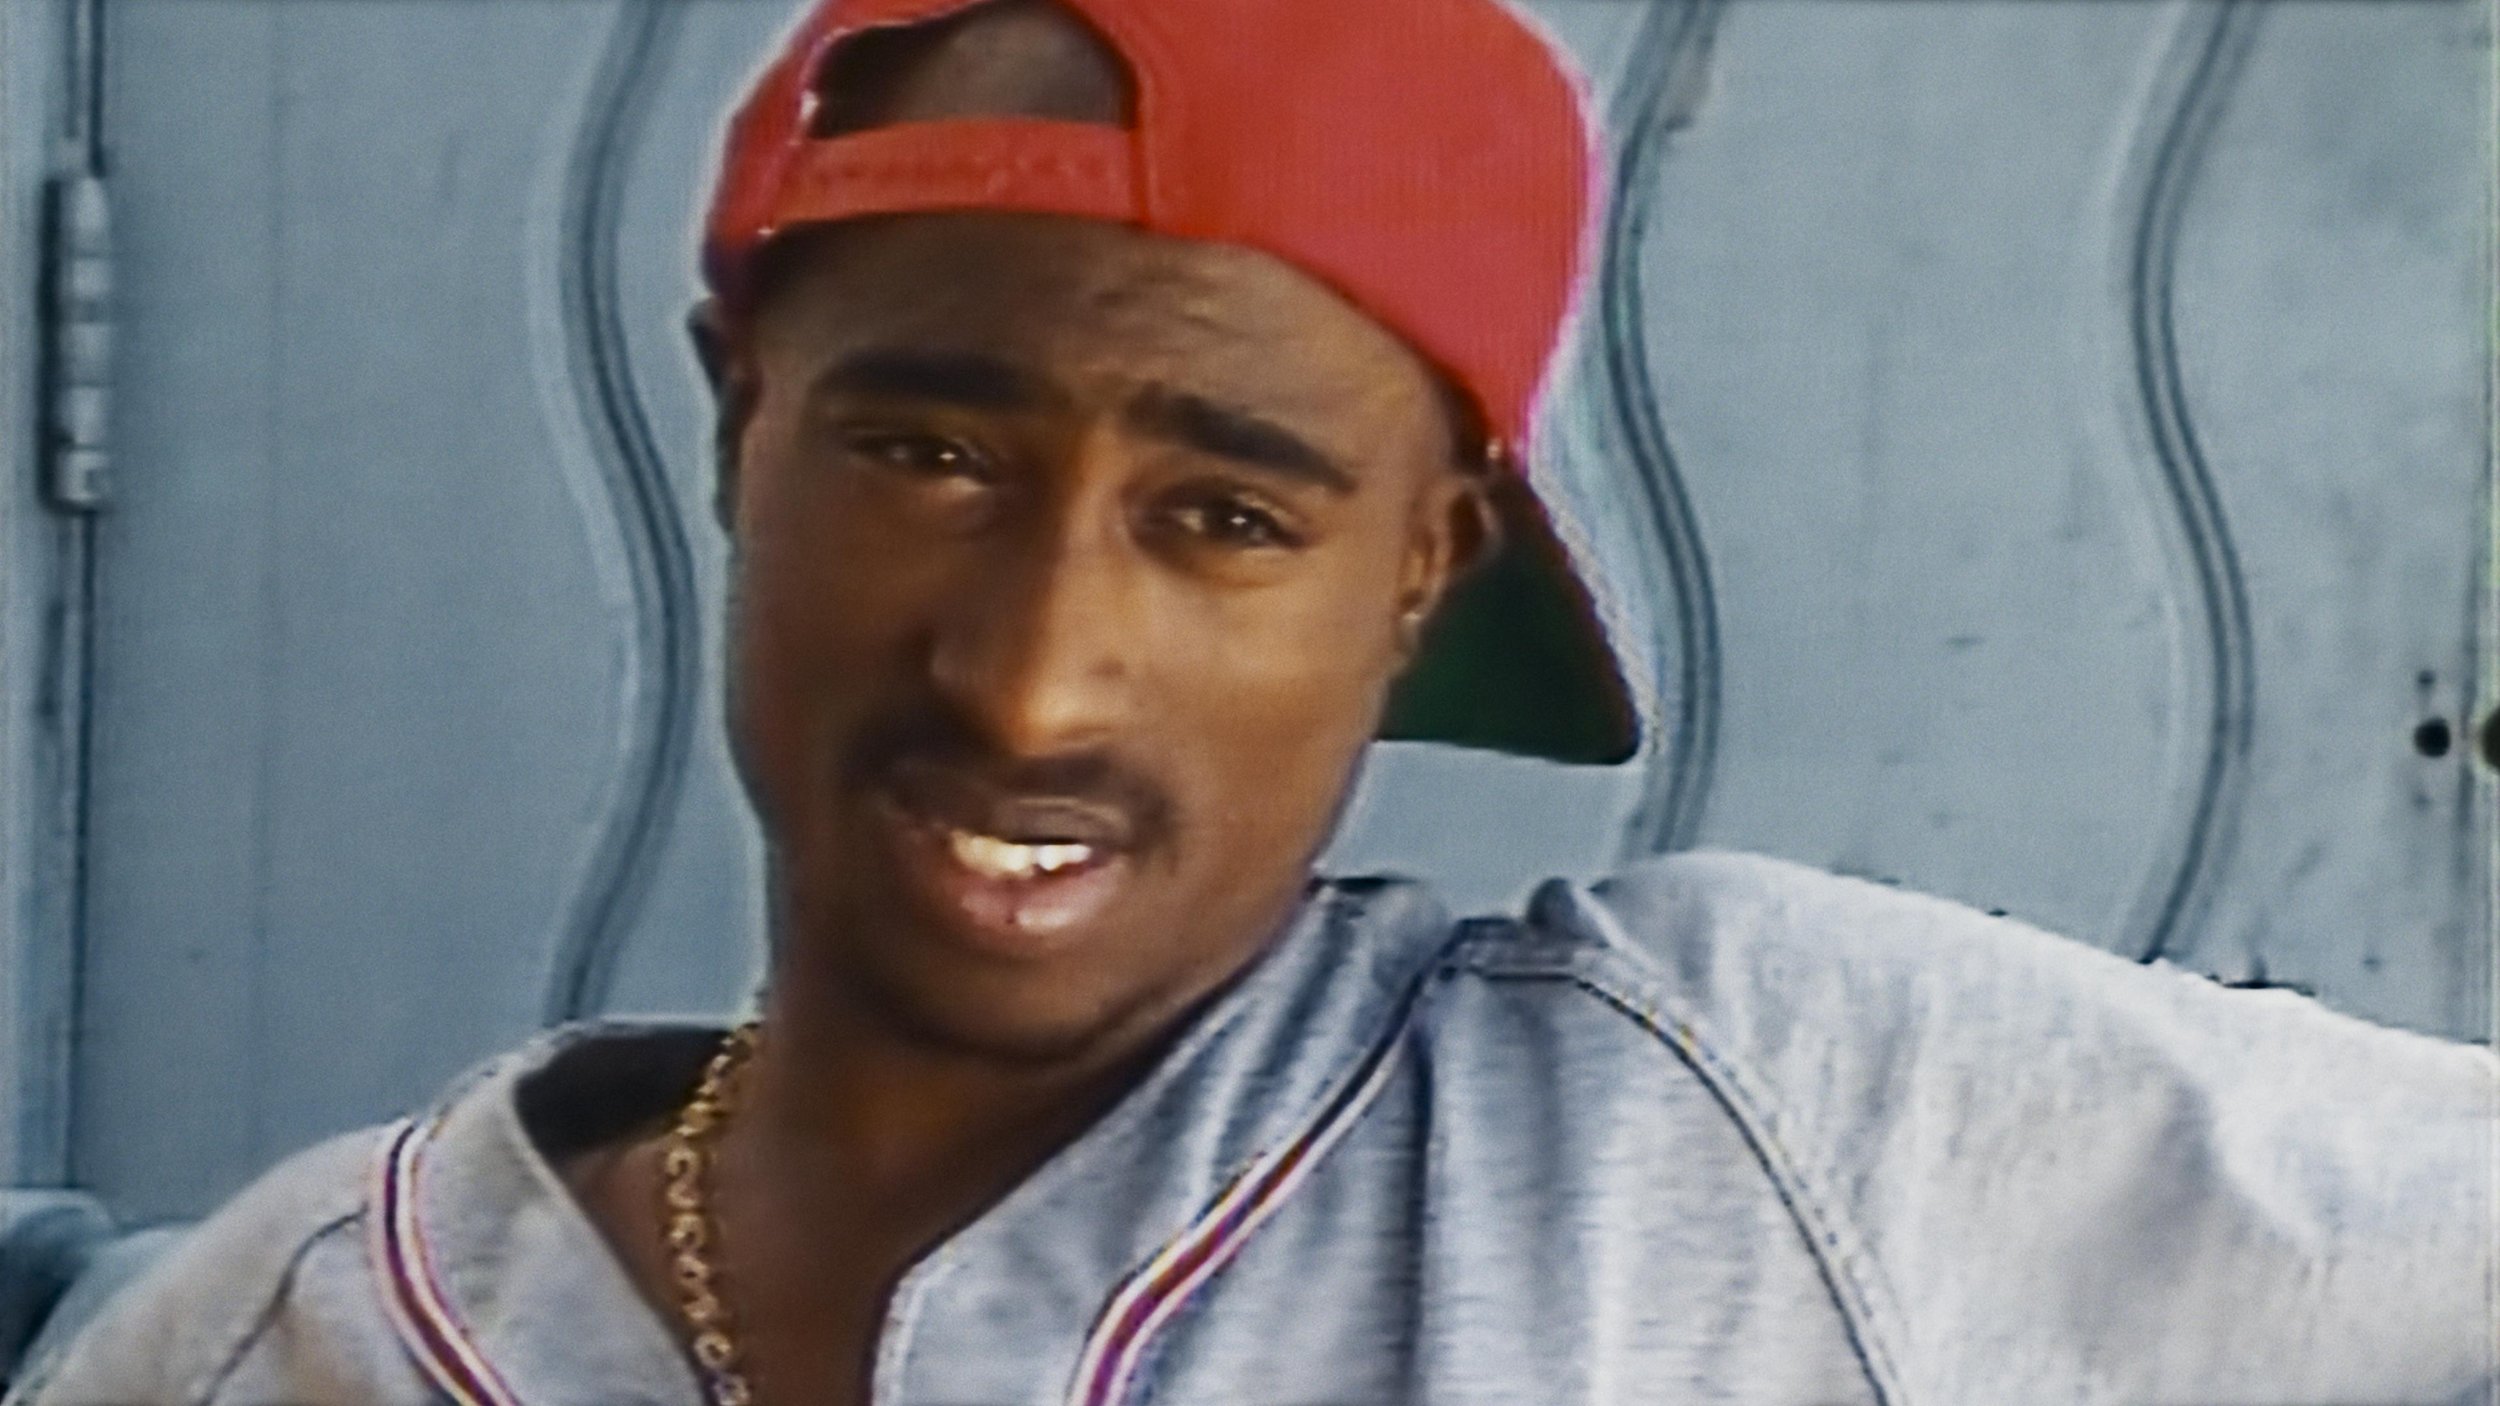
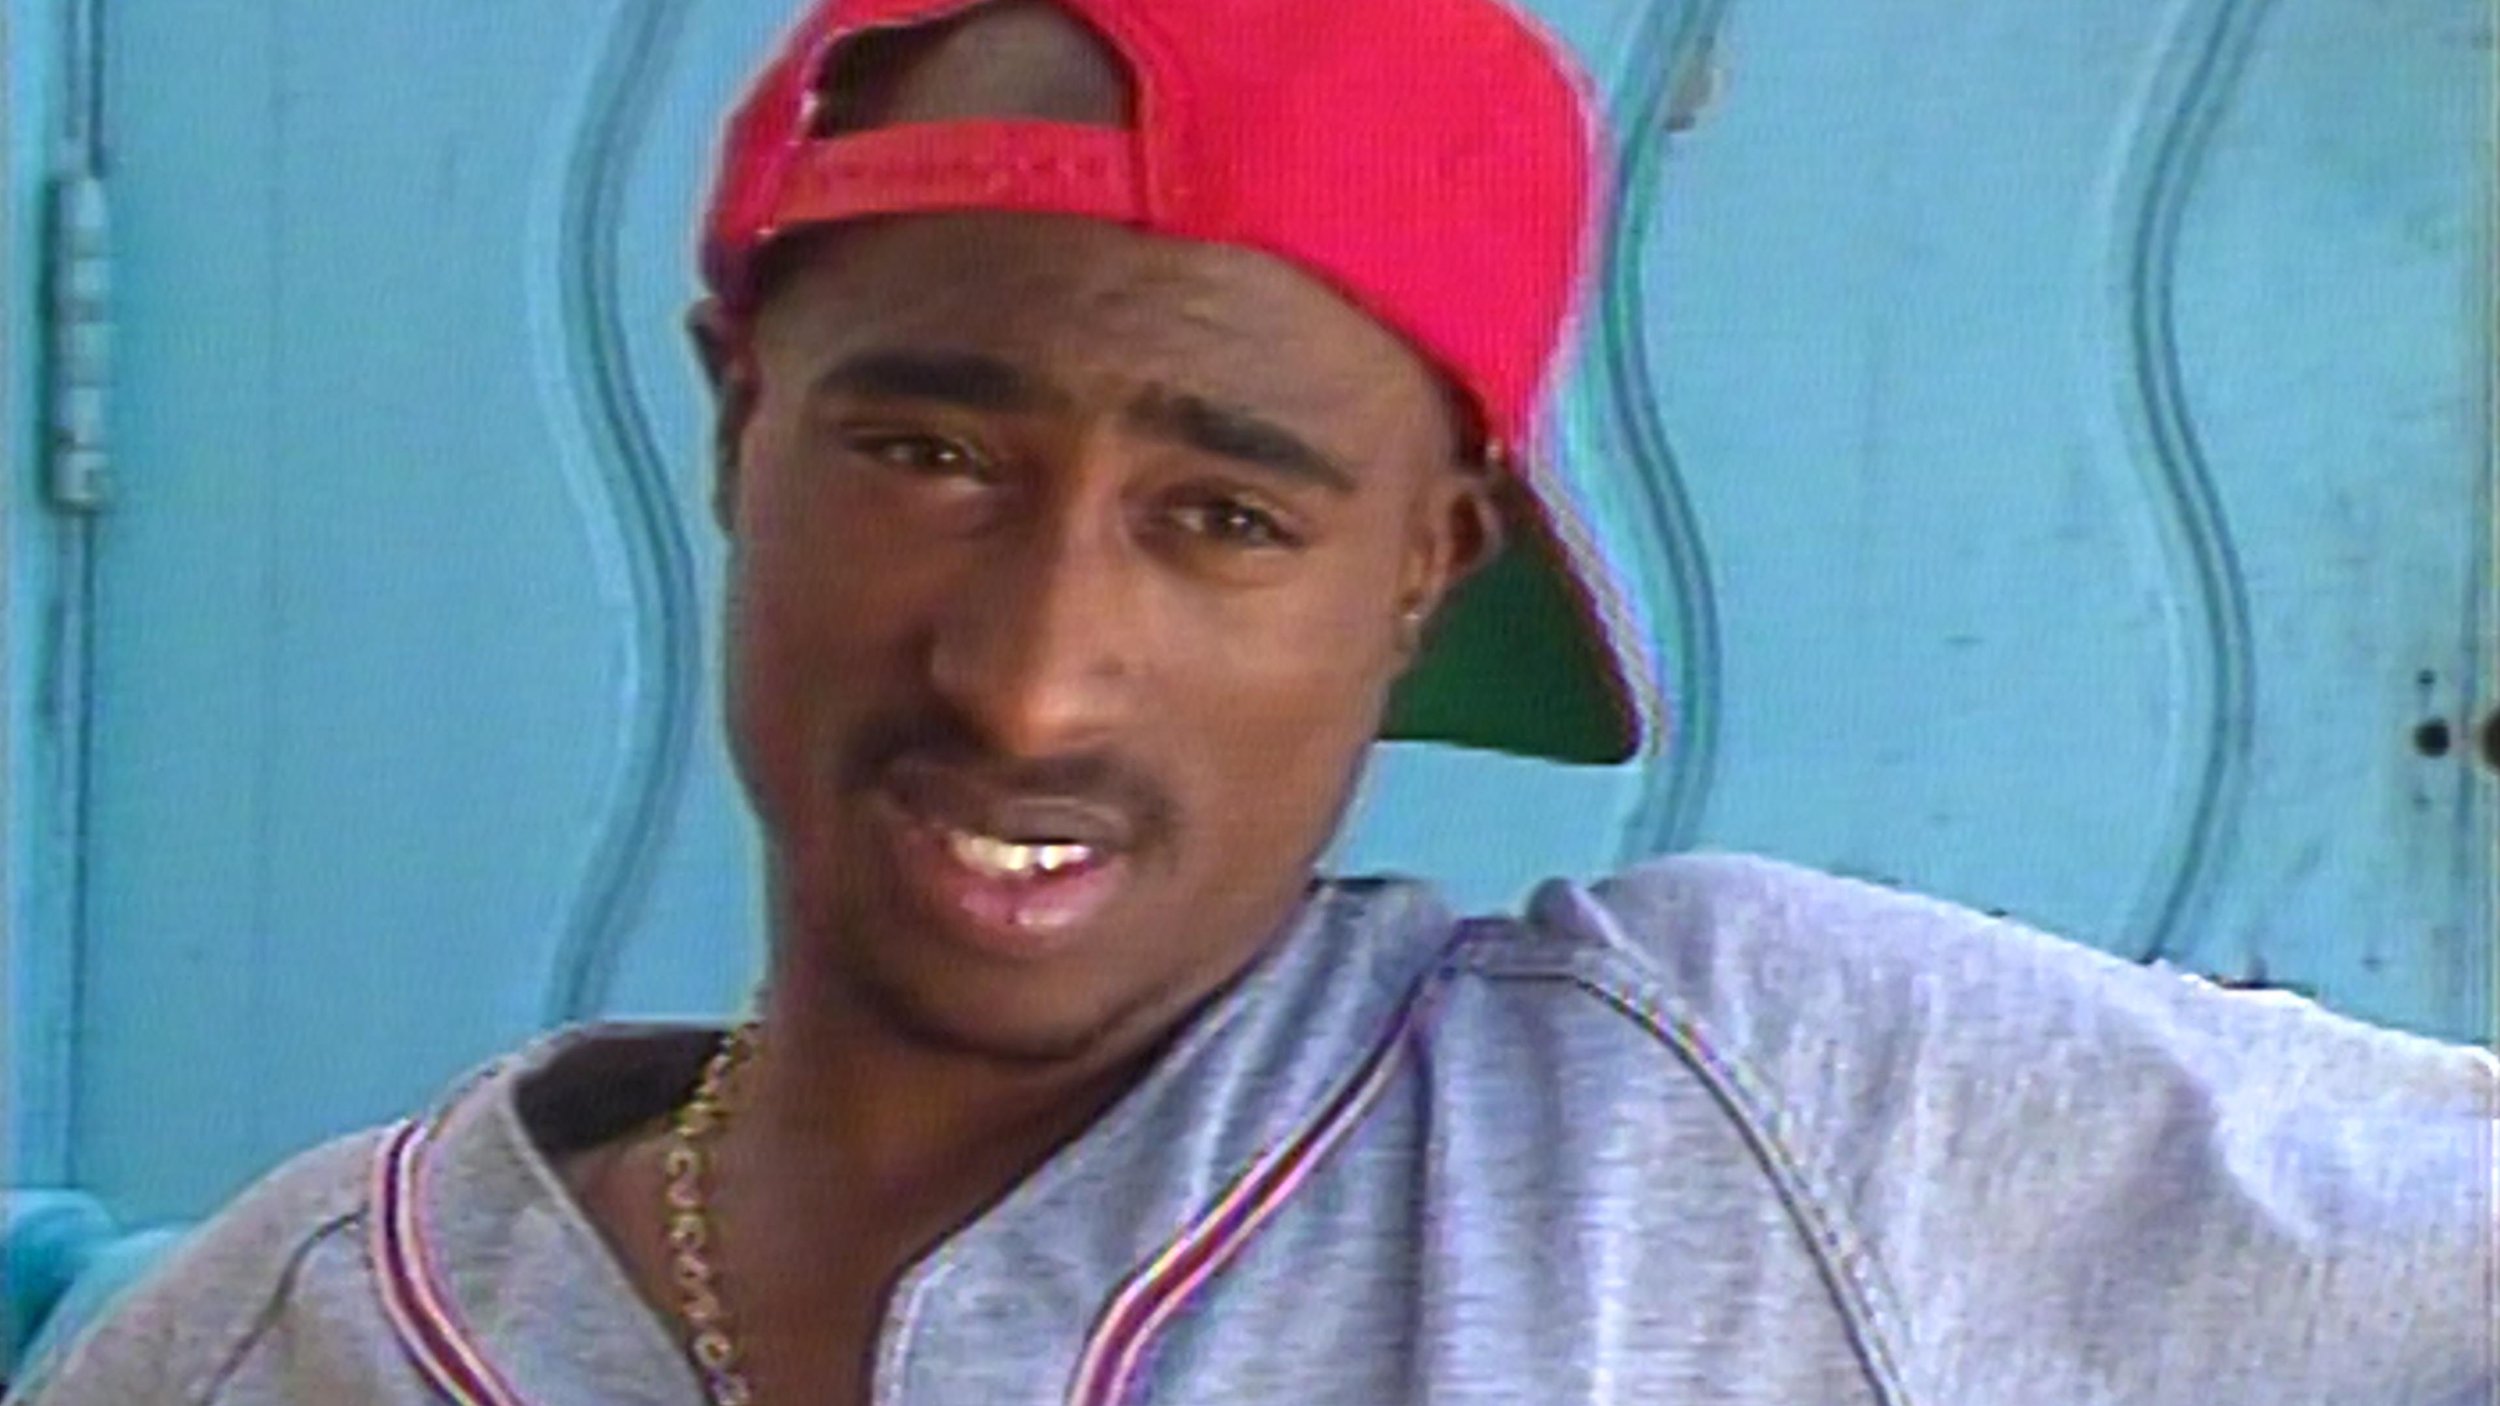
  4. AI up-rez is like salt; a little is good, but too much ruins the dish. Don’t be afraid to let some pictures just look old.

  5. Build a KEM reel of all interview setups. Having the A and B cam shots together in the timeline will help you reference grades quickly.

The first step was look development. Allen had already shot some of the interviews we used to refine the look. I built an LMT that had the cognac golden vibe. I used that look and the ACES standard outputs to create a 709 LUT for Avid media creation. Eric DeAzevedo was the operator responsible for many terabytes of dailies. We also normalized all the archival footage to 23.98 during the dailies step. Cortex was used to make the mxf files and bins. We had to double-hop to render in LiveGrain since it wasn’t supported in Cortex at the time.

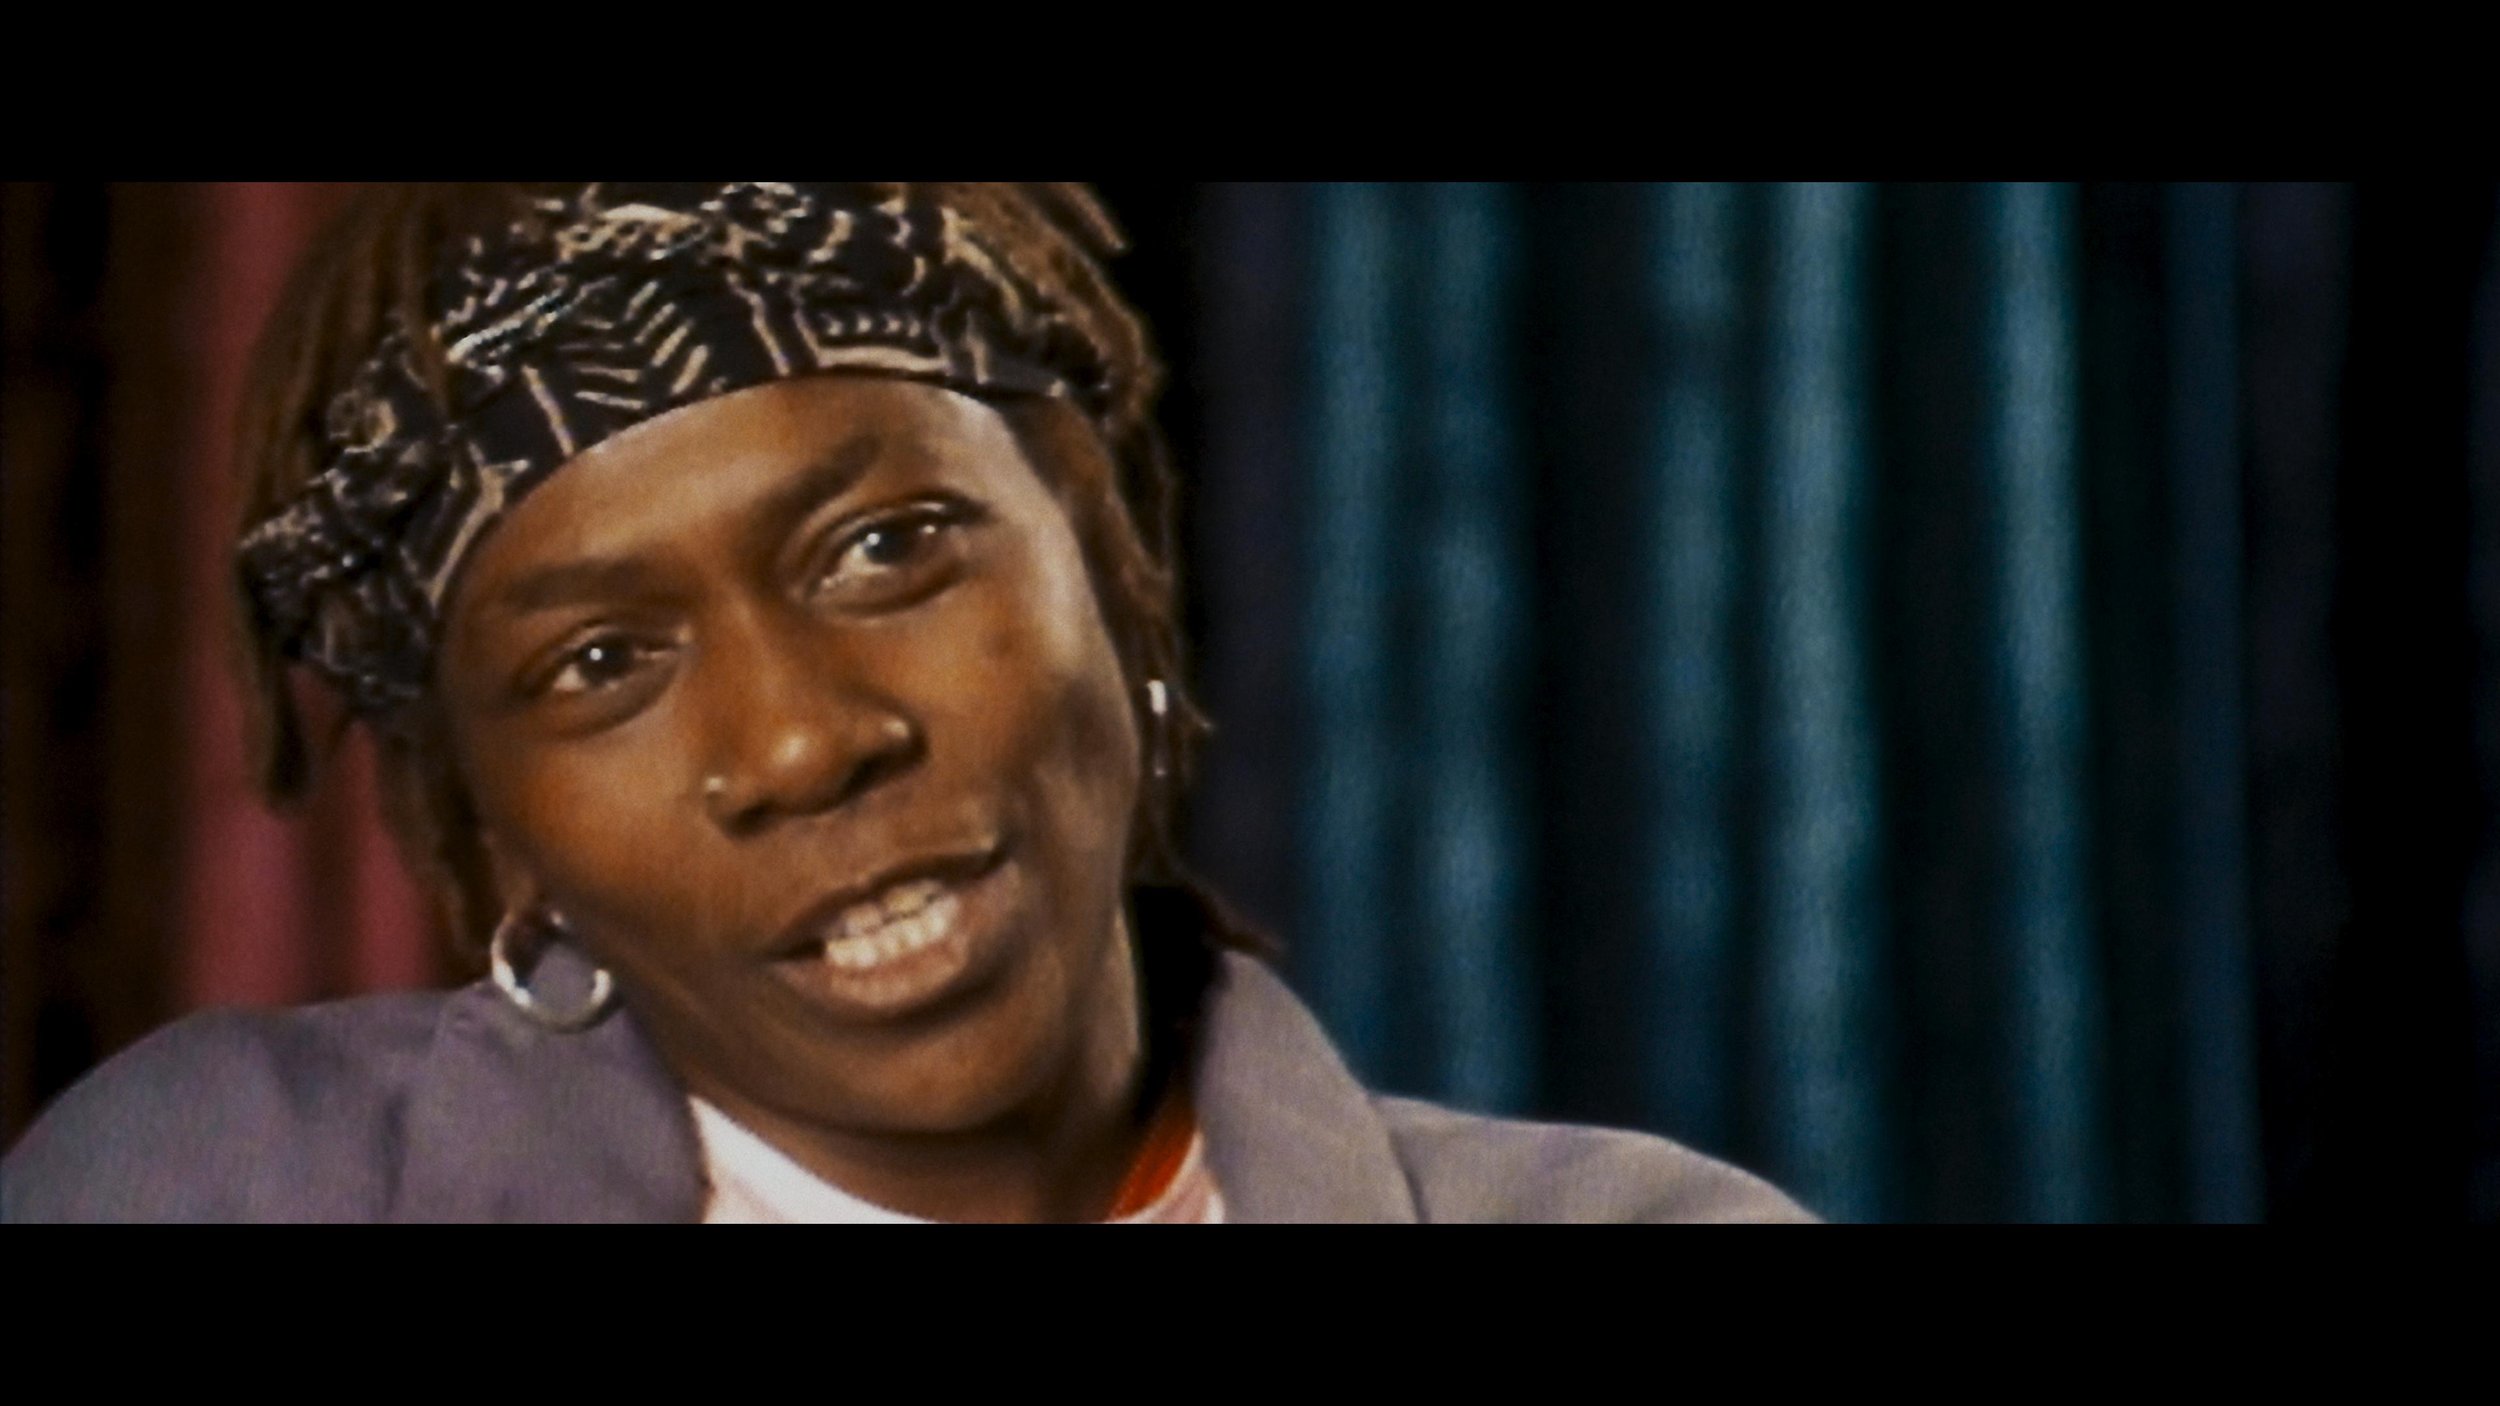
Early on, we were still in the late stages of the COVID lockdown. I built a reel of every interview setup and had a ClearView session with Hughes and Josh Garcia (Producer). This scene was super critical to our success going forward. It set the bible for the show's look and ensured that Allen’s vision was consistent through the many days of shooting. At the start of each episode, I applied our base settings using a “Fuzzy” match. (yes, that is a real Baselight thing.) Basically, “Fuzzy” is a setting that allows the machine to match grades presumed to be from the same camera roll rather than a timecode approach. This put all the interviews 90% of the way there from the get-go. The next step was to sort the timeline by clip name and time of day. I would then work through a pass where I would track the shapes and balance out any inconsistencies in lighting as the sun hung lower throughout the day. The archival footage didn’t have as graceful of a strategy applied. Each shot was its own battle as the quality differed from source to source. My main goal was to ensure that it was cohesive and told the story Allen was crafting.

The first deliverable out of the gate was a theatrical version for the Toronto International Film Festival. I graded in ACES cc going out to PQ 1000nits. Then that was run through the DoVi analysis, and a P3D65 48nit version was trimmed. Finally, we applied a P3D65 to XYZ lut on the output render to create the DCDM.

The biggest challenge of this show was keeping up with editorial. As you can imagine, documentary storytelling is honed in the edit bay. The edit was constantly being updated as shots were cleared or discovered. Back at my shop, Leo Ferrini would constantly update my project to chase editorial. Multi-Paste (Remote Grades for our Resolve friends) was clutch in this situation. We took the old grades and copied them across. Leo would categorize the new material so I could sort the scene for the changes. The timelines constantly evolved and took shape until we got Allen in for the final grade. Allen has a great eye and religiously kept us in the world he had envisioned. We paid particular attention to eye-trace and ensured the information from each visual told a straightforward story without distraction. Next was a pass of Dolby trimming to take the approved PQ to 709. We would send that 709 file to Allen and get notes before creating the final IMF for delivery.

A super big thanks to Paul Lavoie for managing this one. There were many moving parts on this production but thanks to him, I rarely felt it. It’s a blessing to have a partner that doesn’t mind getting his hands dirty even though he’s one of the suits😜.


Be sure to check out this killer doc about one of our generation’s most prolific artists, told through Hughes's equally unparalleled artistic voice. Allen is a true master of many formats but has solidified his place as one of the best documentarians. Thanks for taking the time to peek behind the curtain, and let me know what you think.

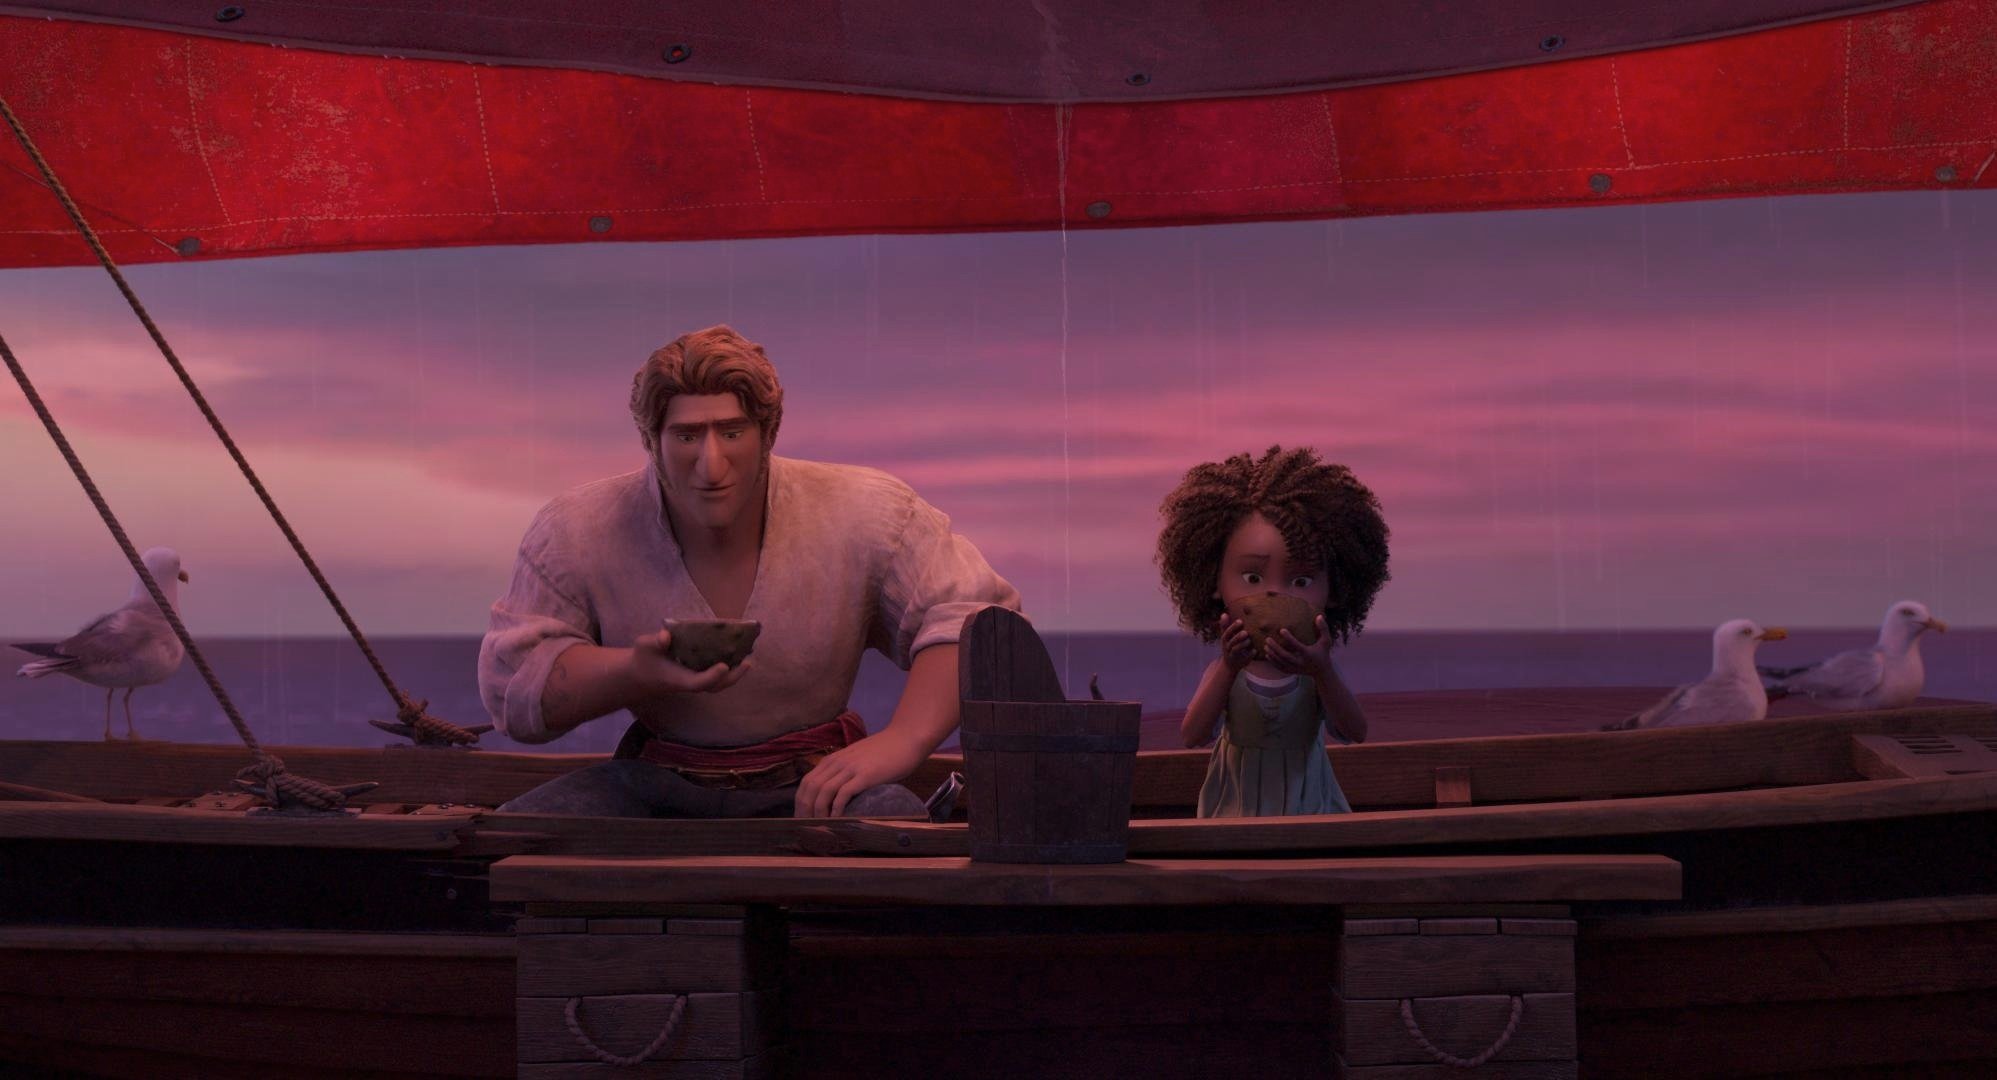
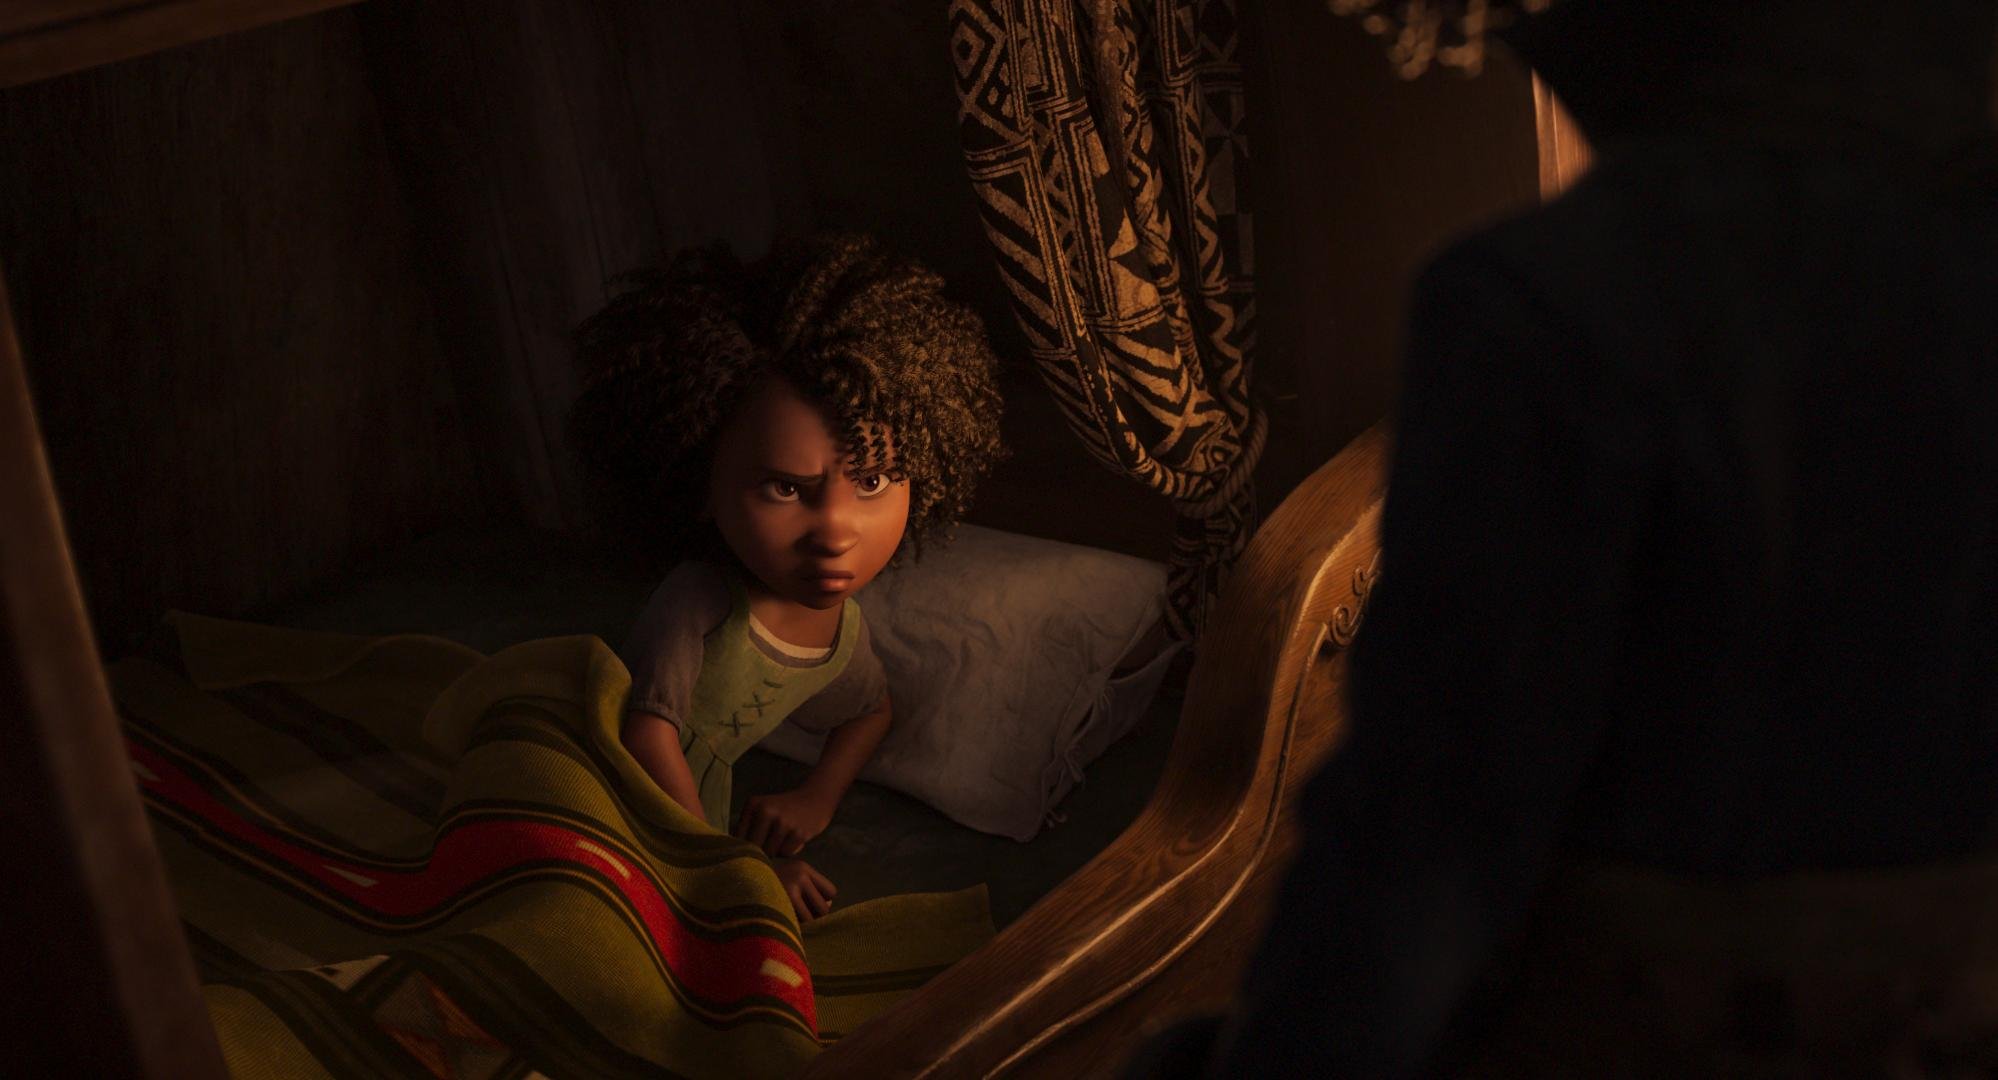
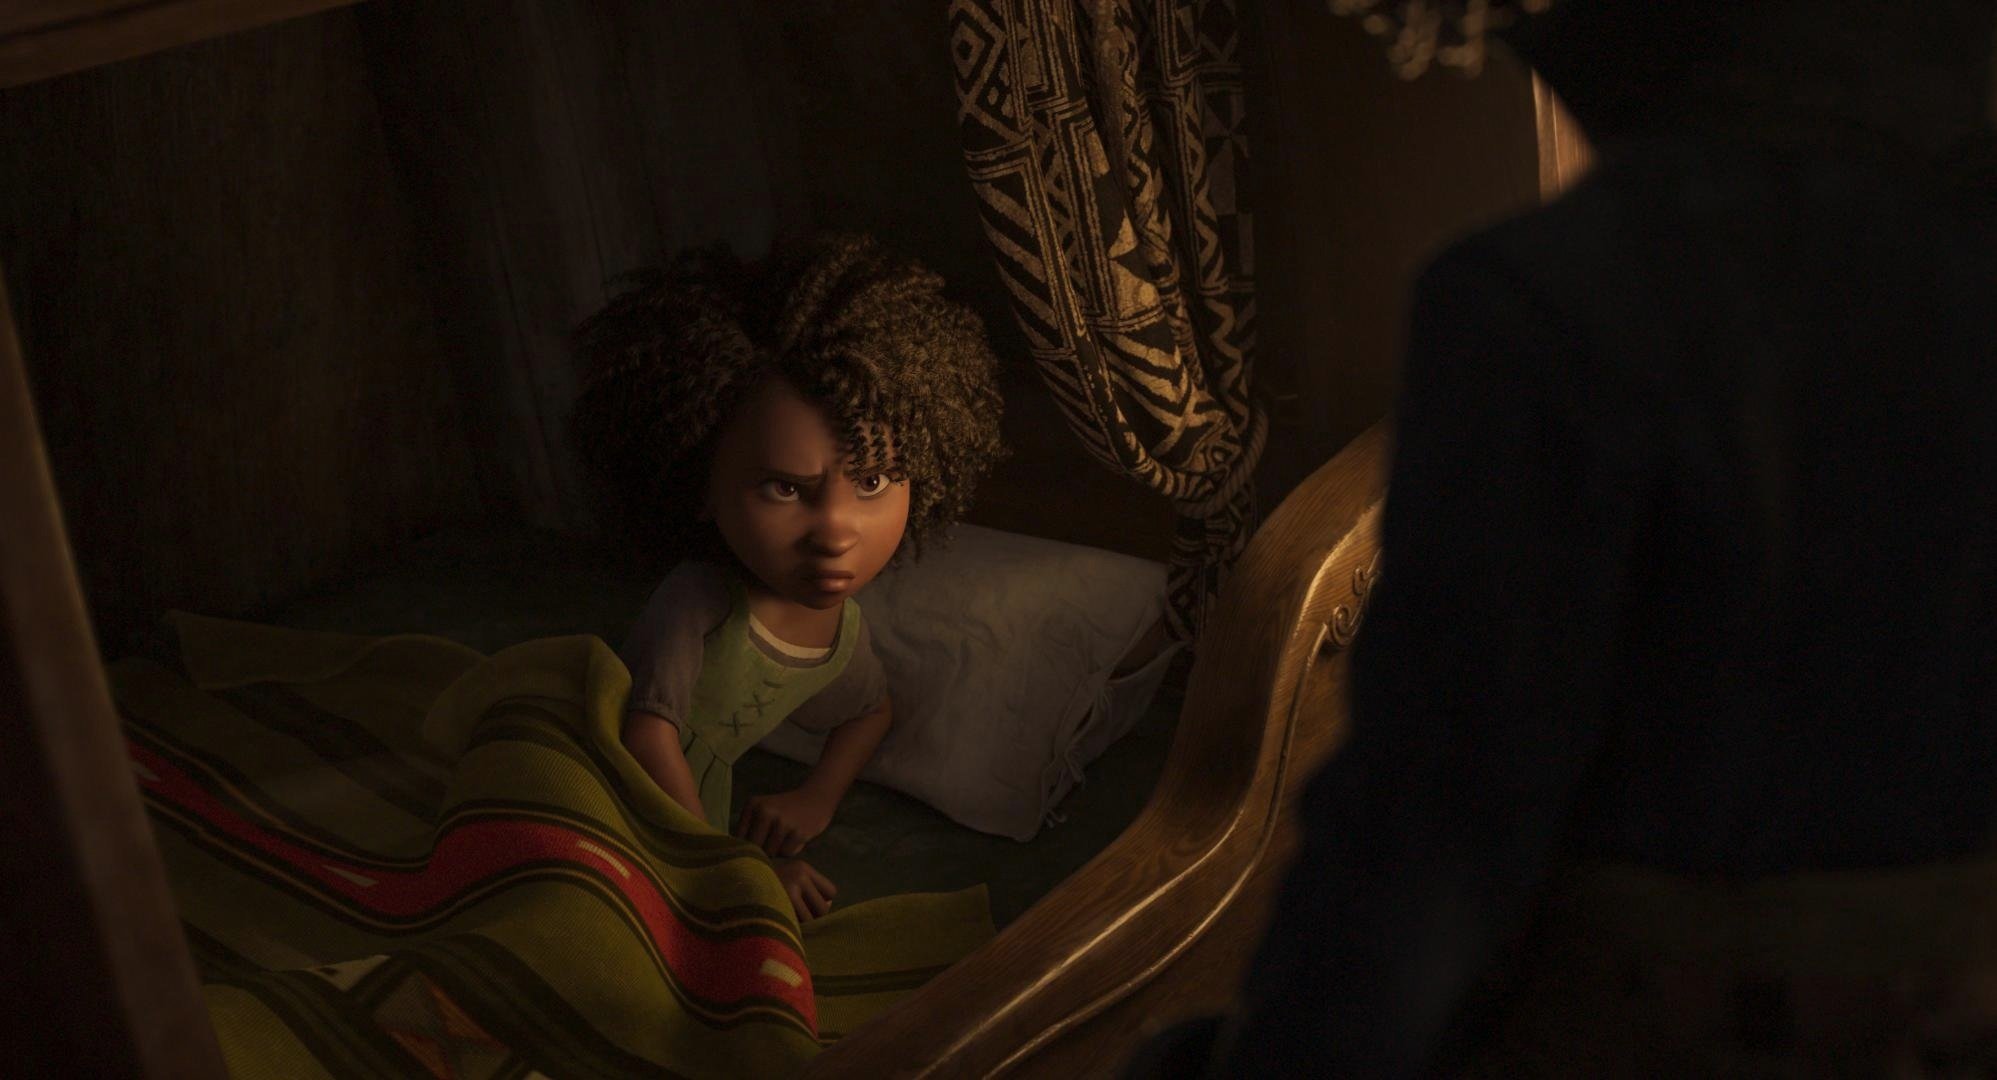
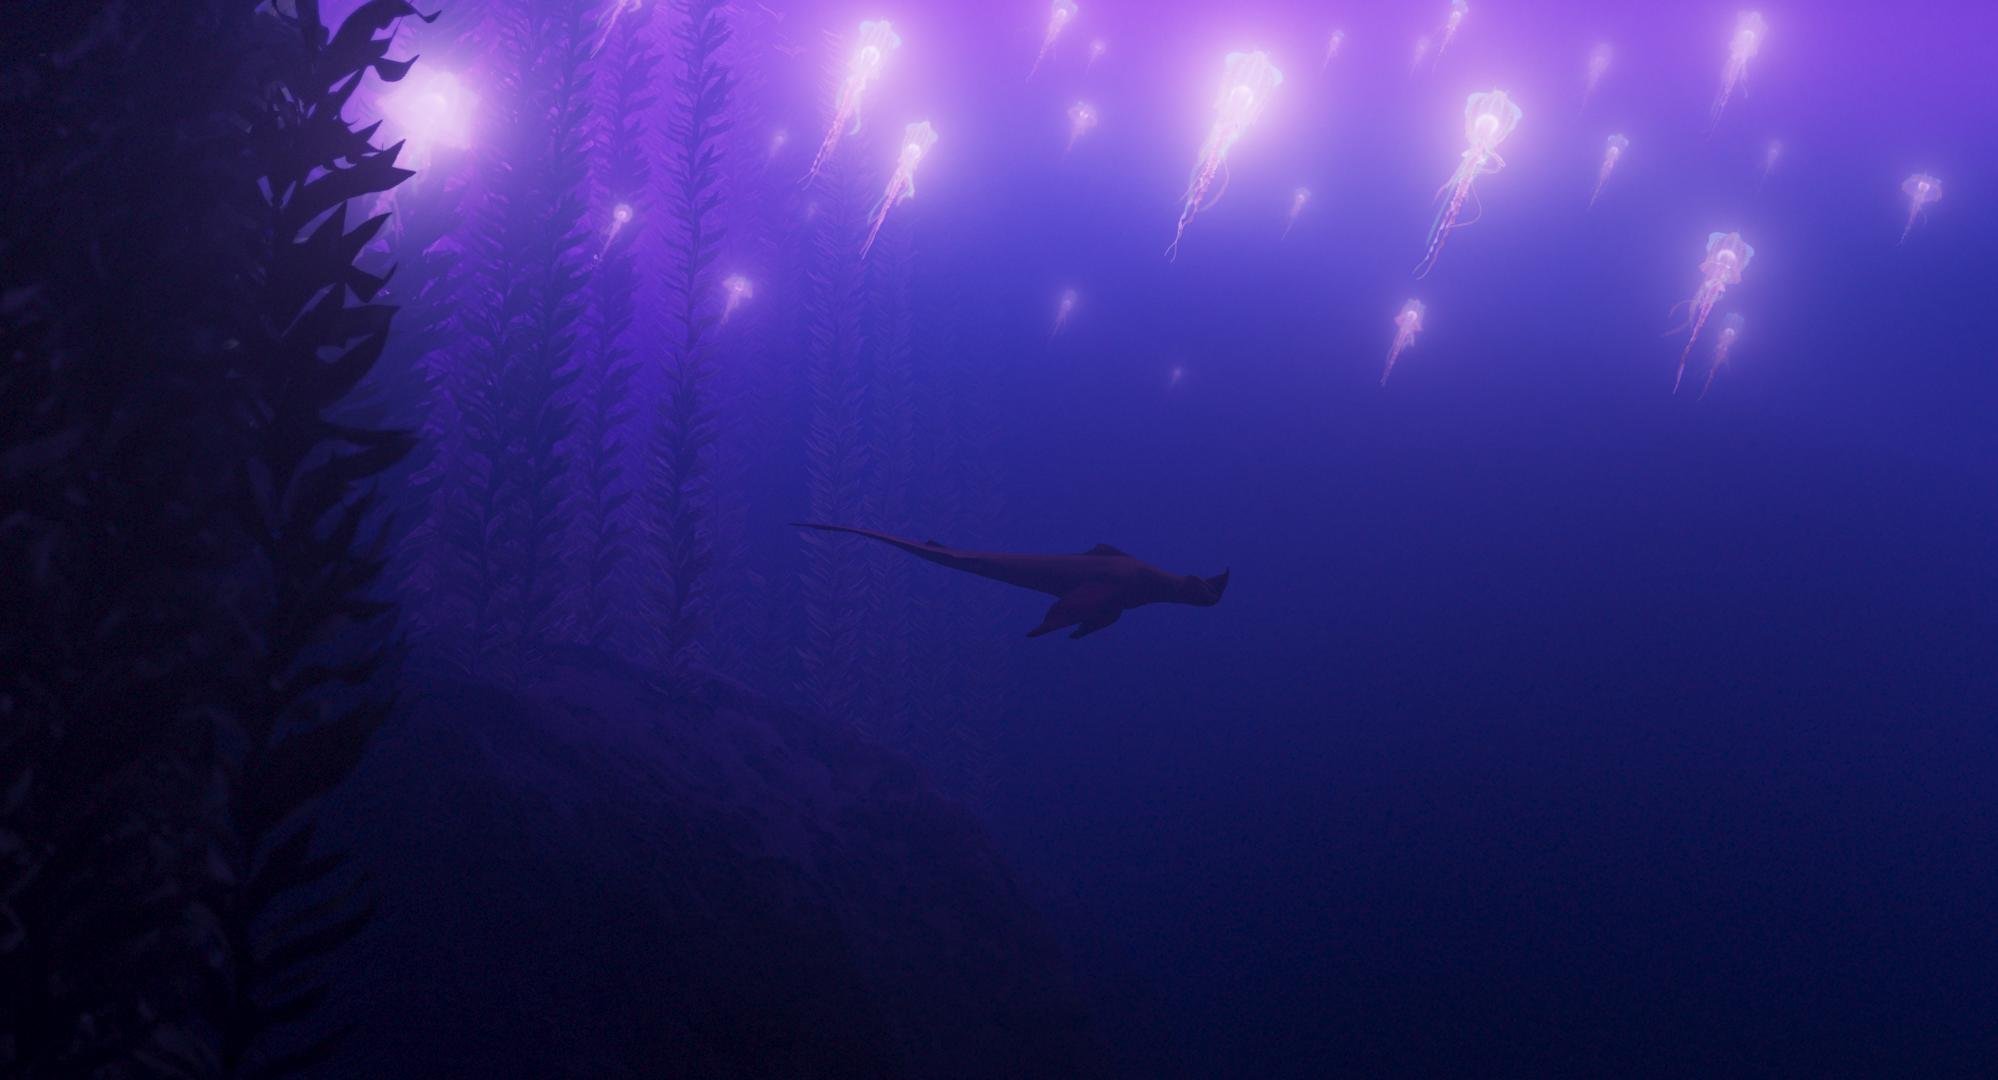
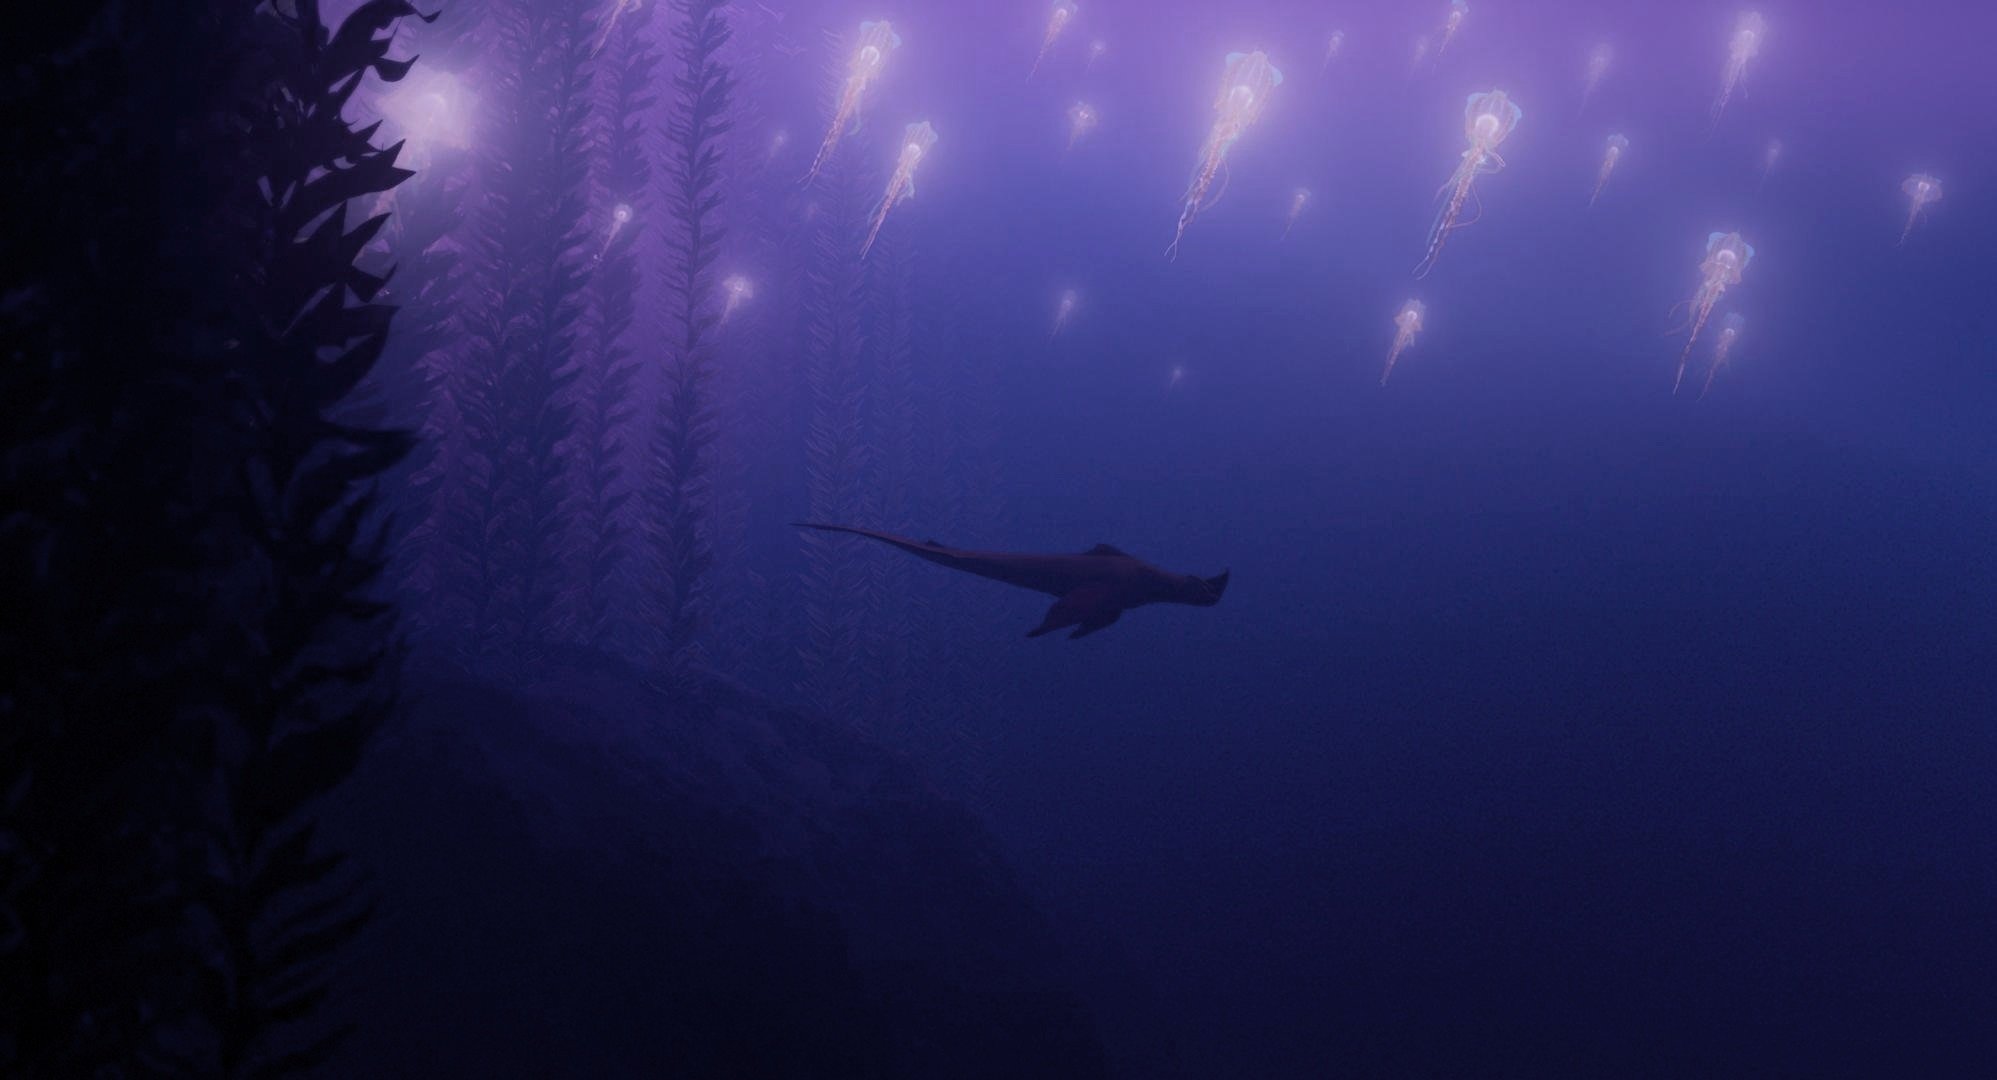
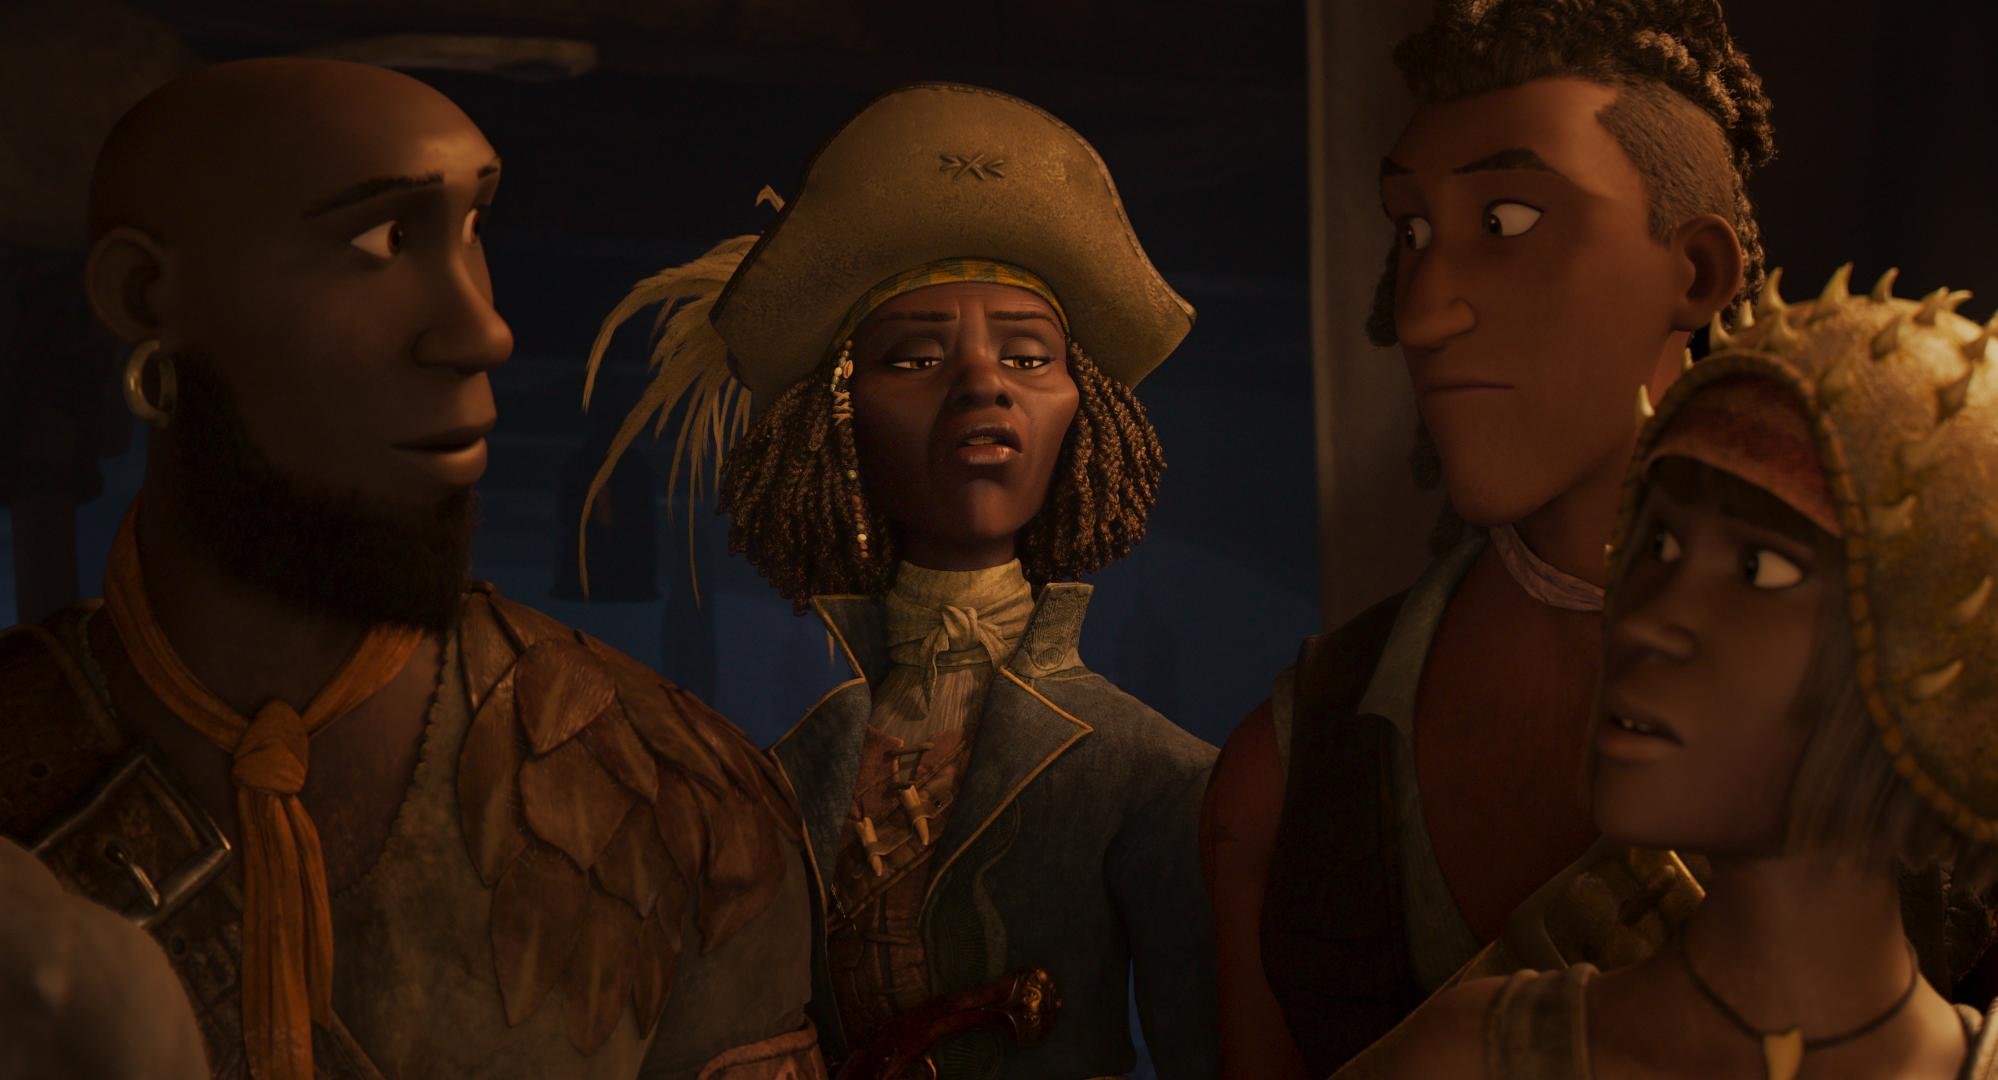
Here are some more before and afters. Mellow yella’ Dan Muscarella would have been proud.


How To - AAF and EDL Export

AAF and EDL Exporting for Colorists

Here is a quick howto on exporting AAFs and EDLs from an Avid bin. Disclaimer - This is for colorists, not editors!

Exporting an AAF:

First, open your project. Be sure to set the frame rate correctly if you are starting a new project or importing a bin from another.

First, open your project. Be sure to set the frame rate correctly if you are starting a new project or importing a bin from another.

Next, open the bin that contains the sequence you want to export an AAF from.

Next, open the bin that contains the sequence you want to export an AAF from.

Select the timeline and right click it. This sequence should already be cleaned for color. Meaning, camera source on v1, opticals on v2, speed fx on v3, vfx on v4, titles and graphics on v5.

Select the timeline and right click it. This sequence should already be cleaned for color. Meaning, camera source on v1, opticals on v2, speed fx on v3, vfx on v4, titles and graphics on v5.

After you right click, go “Output” -> “Export to File”

After you right click, go “Output” -> “Export to File

Navigate to the path that you want to export to.. Then, click “Options”

Navigate to the path that you want to export to.. Then, click “Options”

In the “Export As” pulldown select “AAF.” Next, un-check “Include Audio Tracks in Sequence” and make sure “Export Method:” is set to “Link to(Don’t Export) Media.” Then click “Save” to save the settings and return to the file browser.

In the “Export As” pulldown select “AAF.” Next, un-check “Include Audio Tracks in Sequence” and make sure “Export Method:” is set to “Link to(Don’t Export) Media.” Then click “Save” to save the settings and return to the file browser.

Give the AAF a name and hit “Save.” That’s it! Your AAF is sitting on the disk now.

Give the AAF a name and hit “Save.” That’s it! Your AAF is sitting on the disk now.

Exporting an EDL:

We should all be using AAFs to make our conform lives easier, but if you need an EDL for a particular piece of software or just want something that is easily read by a human, here you go.

Setup the project and import your bin the same as an AAF. Instead of right-clicking on the sequence, go -> “Tools” -> “List Tool” and it will open a new window. I’m probably dating my self, but back in my day, this was called “EDL Manager.” Li…

Setup the project and import your bin the same as an AAF. Instead of right-clicking on the sequence, go -> “Tools” -> “List Tool” and it will open a new window. I’m probably dating my self, but back in my day, this was called “EDL Manager.” List Tool is a huge improvement since it lets you export multi-track EDLs quickly.

Select “File_129” from the “Output Format:” pull-down. This sets the tape name to 129 characters (128+0 =129) which is the limit for a filename in most operating systems. Next, click the tracks you want to export.

Select “File_129” from the “Output Format:” pull-down. This sets the tape name to 129 characters (128+0 =129) which is the limit for a filename in most operating systems. Next, click the tracks you want to export.

Double-click your sequence in the bin to load your timeline into the record monitor. Then click “Load” in the “List Tool” window. At this point, you can click “Preview” to see your EDL in the “Master EDL” tab. To save, click the “Save List” pull-dow…

Double-click your sequence in the bin to load your timeline into the record monitor. Then click “Load” in the “List Tool” window. At this point, you can click “Preview” to see your EDL in the “Master EDL” tab. To save, click the “Save List” pull-down and choose “To several files.” This option will make one EDL per video track. Choose your file location in the browser and hit save. That’s it. Your EDLs are ready for conforming or notching.

Alternate Software EDL Export

That’s great John, but what if I’m using something else other than Avid?

Here are the methods for EDL exports in Filmlight’s Baselight, BMD DaVinci Resolve, Adobe Premiere Pro, and SGO Mistika in rapid-fire. If you are using anything else… please stop.

Baselight

Open “Shots” view(Win + H) and click the gear pull-down. Next click “Export EDL.” The exported EDL will respect any filters you may have in “Shots” view, which makes it a very powerful tool, but also something to keep an eye on.

Open “Shots” view(Win + H) and click the gear pull-down. Next click “Export EDL.” The exported EDL will respect any filters you may have in “Shots” view, which makes it a very powerful tool, but also something to keep an eye on.

Resolve

In the media manager, right-click your timeline and select “Timelines“ -> “Export“ -> “AAF/XML/EDL“

In the media manager, right-click your timeline and select “Timelines“ -> “Export“ -> “AAF/XML/EDL

Premiere Pro

Make sure your “Tape Name” column is populated.

Make sure your “Tape Name” column is populated.

Make sure to have your Timeline selected. Then go, “File“ -> “Export“ -> “EDL“

Make sure to have your Timeline selected. Then go, “File“ -> “Export“ -> “EDL

The most important setting here is “32 character names.” Sometimes this is called “File32” in other software. Checking this insures the file name in it’s entirety(as long as it’s not longer then 32 characters) will be placed into the tape id locatio…

The most important setting here is “32 character names.” Sometimes this is called “File32” in other software. Checking this insures the file name in it’s entirety(as long as it’s not longer then 32 characters) will be placed into the tape id location of the EDL

Mistika

Set your marks in the Timespace where you want the EDL to begin and end. Then select “Media“ -> “Output“ -> “Export EDL2” -> “Export EDL.“ Once pressed you will see a preview of the EDL on the right.

Set your marks in the Timespace where you want the EDL to begin and end. Then select “Media“ -> “Output“ -> “Export EDL2” -> “Export EDL.“ Once pressed you will see a preview of the EDL on the right.

No matter what the software is, the same rules apply for exporting.

  • Clean your timeline of unused tracks and clips.

  • Ensure that your program has leader and starts at an hour or ##:59:52:00

  • Camera source on v1, Opticals on v2, Speed FX on v3, VFX on v4, Titles and Graphics on v5

Many of us are running lean right now. I hope this helps the folks out there who are working remotely without support and the colorists who don’t fancy editorial or perhaps haven’t touched those tools in a while.

Happy Grading!

JD